Create a Full Android Backup with Orange Backup App
Note: Android rooting is required.
Android users who want to root their phone are advised time and time again to perform regular backups. It is not uncommon to find a rooted Android device messed up so having a backup to revert to is always a good idea. Don’t want to stress out over the loss of precious data? Then, do a NANDroid backup.
NANDroid backup can only be done in custom recovery and many prefer this method in spite of other new ways of creating backups since it provides the user with a full backup of the entire system. But having to reboot into recovery every single time is a hassle.
Orange Backup allows you to create a full Android backup right from within the app itself with the option to upload your backup to your cloud storage and create a schedule backup exercise at any time you like. Plus, it’s free.
30 Essential Apps For Your Android Phone
Android is one the largest OSs being used by mobile users all over the world. Therefore, from utility... Read more
Here are shortcuts for fast access:
- Getting Started
- How To Setup Cloud Network
- How To Upload Backup To Cloud
- How To Schedule Backup
- How To Restore Your Backup
Getting Started
Note that Orange Backup only works with the following requirements:
- Only works for Rooted devices
- Supports CWM, TWRP, and Ex4 recoveries
- Supports Android version 2.3 and above
Get the Orange Backup app. Install it and open it. You will be requested to permit a superuser request (Root Access). Choose Grant.

After that, let the app detect your device.

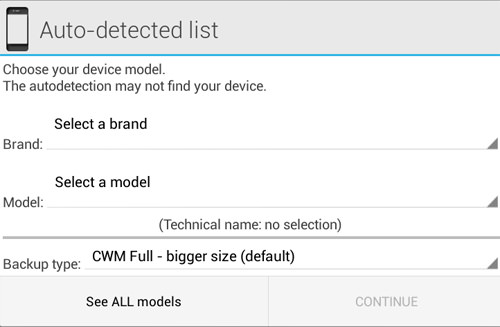
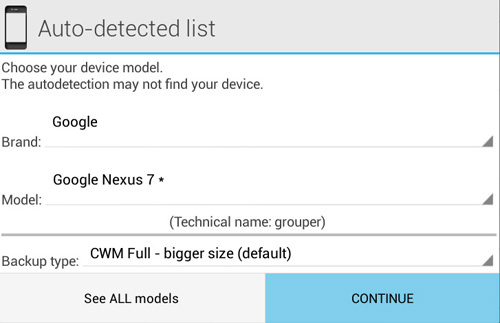
If the auto detection doesn’t work you can select your device from the ‘Auto-detected’ list. If you still don’t see your device on the list, manually download the patch and flash it using your custom recovery.
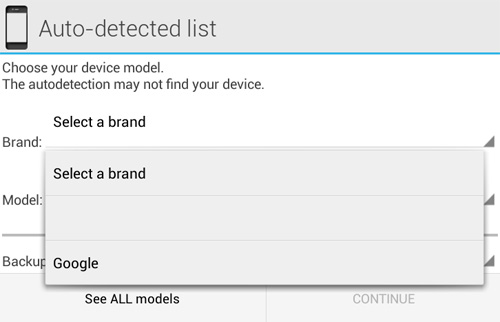
Select the brand. In my case, it’s Google.
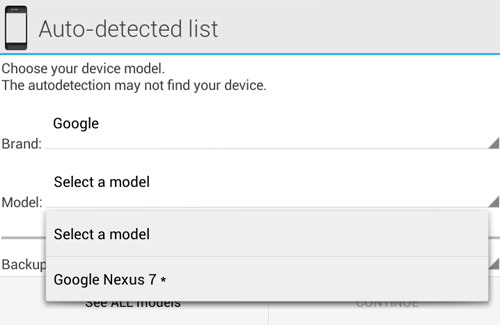
I’m selecting Nexus 7 as the device model.
Then choose your backup type, depending on the version of custom recovery that you have. If you are using CWM recovery, I suggest you to choose CWM Full – bigger size (default).
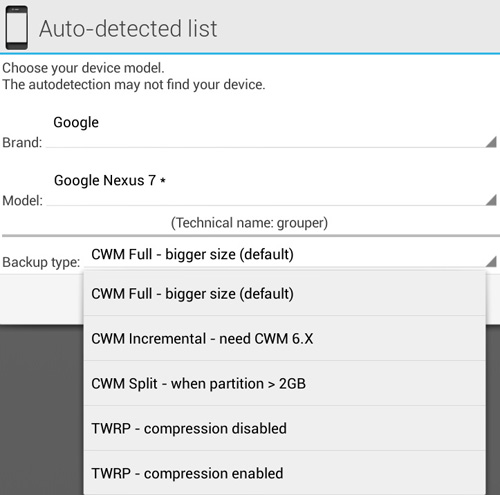
Next tap on CONTINUE.
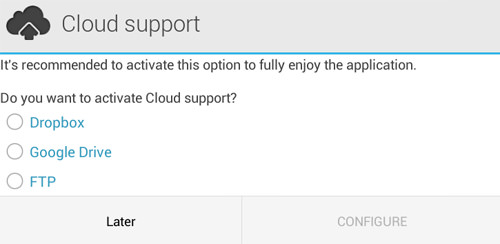
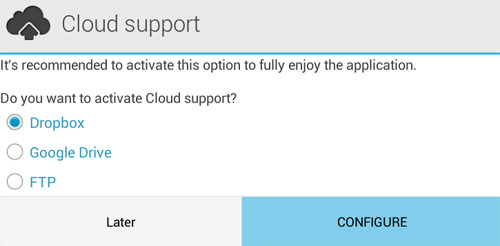
Then you will be prompted with a ‘Cloud Support’ window where you can connect to your Cloud Storage. Pick the storage support you need or do this later by tapping ‘Later’. The next section will deal with the cloud storage setup.
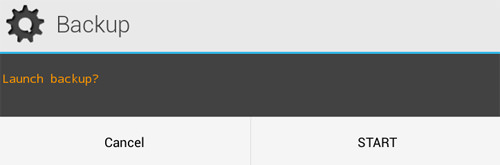
To start creating your backup, tap on the Magic Brand icon at the top right.

Next, tap on START to start the backup.
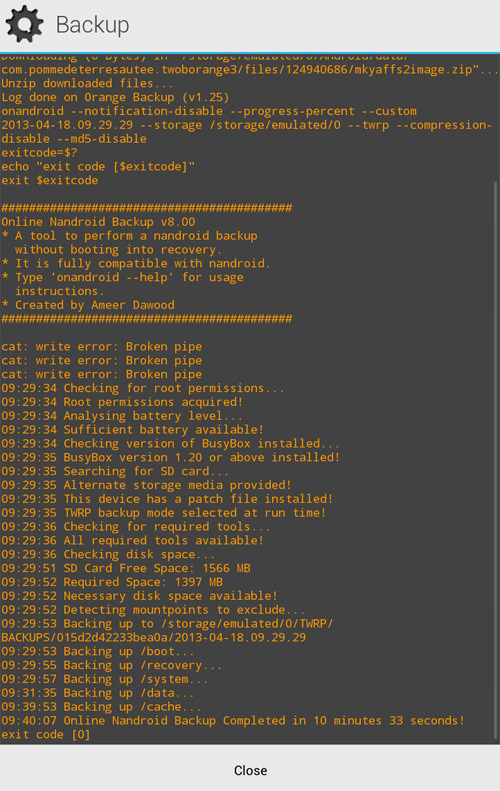
Let the backup run till it is done. You can also tap to hide the backup and let it run in the background.
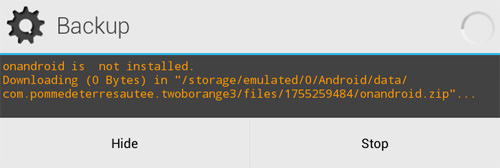
Once the backup is completed you will be prompted with a window like this. And you’re done!
Setup Cloud Network
If you did not setup your cloud network earlier, head to Settings. Choose ‘Cloud network’.

Choose your desired cloud storage. Then, tap on CONFIGURE.
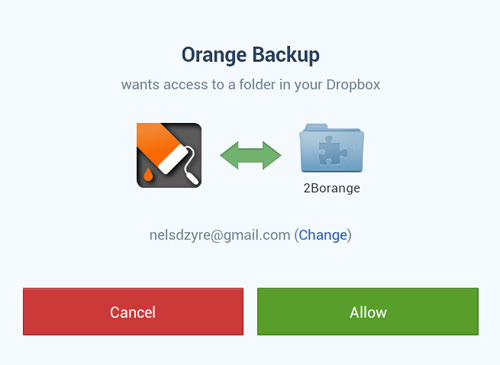
After that you will be prompted with a page requesting for your permission for access. Choose Allow.
How To Upload Backup to Cloud
By default, the upload would be done automatically by the app after you have setup a cloud network. But if you want to do the backup manually, follow these steps.
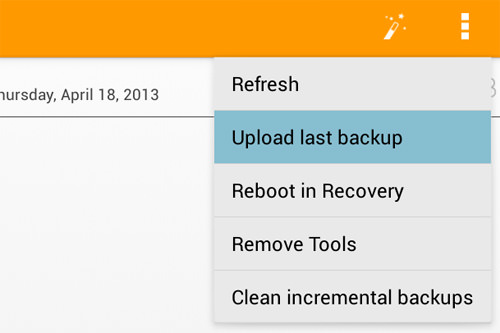
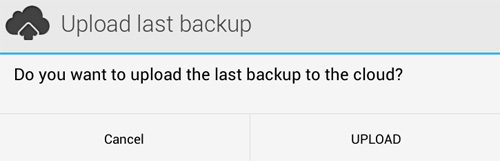
Return to the backup page, at the top right, there are 3 dots beside the Magic Brand Icon. Choose Upload last backup.
Next choose UPLOAD to start uploading.
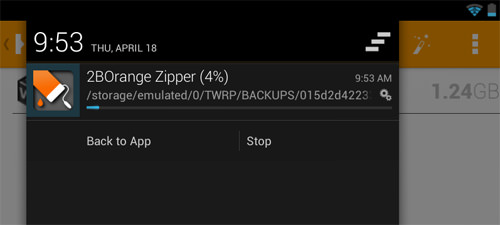
When the upload starts, you can watch the progress at your notification bar.
How To Schedule Backup
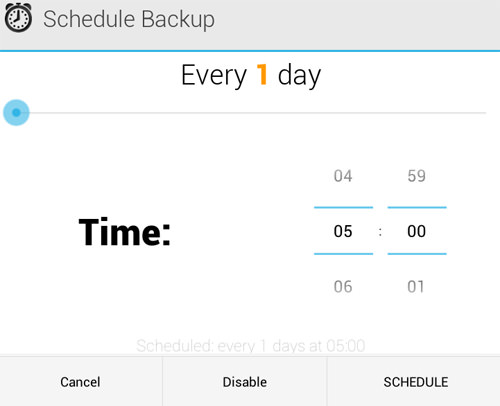
Head to Settings and tap on Schedule backup at the top of the list.
Pick a time to schedule your backup and tap on SCHEDULE.
How To Restore Your Backup
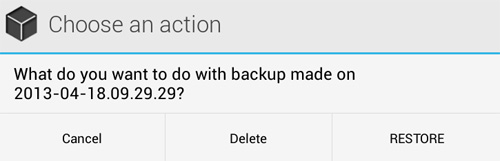
To restore your backup data, go to the Backup page and you will see your most recently created backup. Tap on it.

To restore your backup simply tap on RESTORE. This will reboot into recovery.
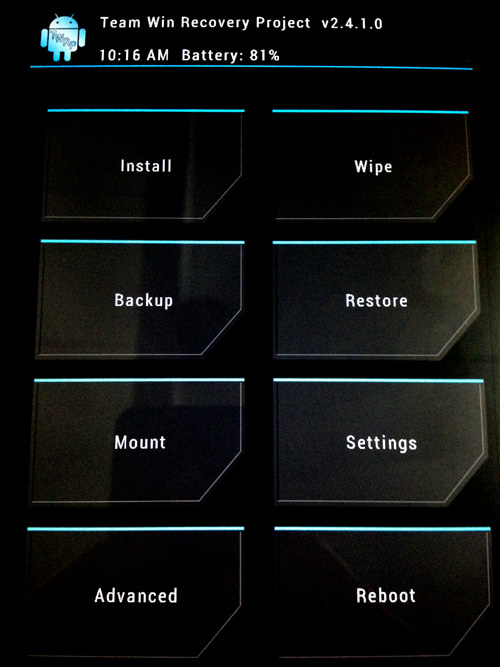
Every recovery should have a similar layout of functions. Head to Restore to start restoring your backup.
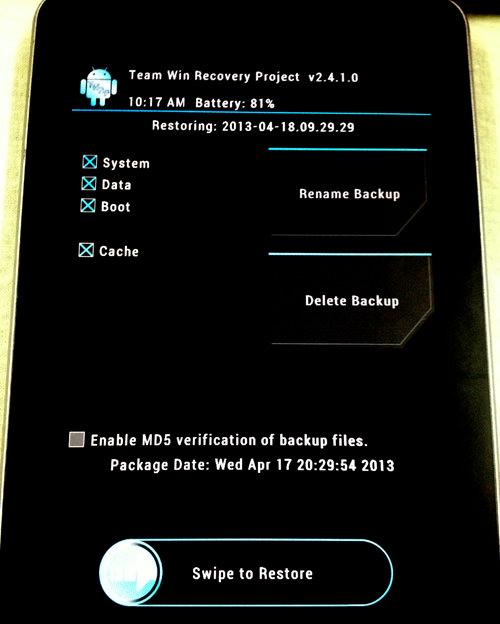
Select your recently created backup.

To restore your backup fully, leave all options ticked. Next, ‘Swipe to Restore’.
The process will start.

Congratulations, you have successfully restored your backup.

Problems?
If you are new to this, there is a chance that you may have a problem or two pop up during the process. One of the more popular ones could be caused by the user selecting the wrong device-specific path. The right path is needed to tell the script where to find the boot and recovery partitions. You can find the patches here.
Backups can be done all at once rather than by selecting particular partitions to backup. Orange Backup will handle backing up all the relevant partitions for you, so unless you know what you are doing, just leave it to Orange.
Be advised that you should only use the SD-EXT option if you use apps like app2sd, link2sd, data2sd, etc. Otherwise leave that option disabled. For more support, click here.