How to Accept Crypto Payments Using Crypto.com Pay
Accepting crypto does not have to mean rebuilding your checkout from scratch. If you already sell online, Crypto.com Pay gives you a fairly direct way to accept cryptocurrency while still pricing products in your usual currency.
This guide walks through the merchant setup, the business verification steps, and the basic button integration flow. The dashboard screens may change over time, but the overall setup is still the same: create a merchant account, complete verification, choose how you want payouts handled, then connect the payment button to your site.
Before You Start
Crypto.com Pay works best if you already have a live website, clear product pricing, and a simple idea of how you want customers to pay. If you are still getting the store basics in place, this guide on starting your first online shop is a useful companion.
For merchants using Shopify, WooCommerce, or another ecommerce platform, check whether a native or app-based integration is available first. Manual button integration still works, but it makes more sense when you want a lightweight checkout for a small catalog or a single product page.
1. Sign Up as a Crypto.com Pay Merchant
Go to Crypto.com Pay for Business and start the merchant signup flow. You will be asked for the usual business basics, including your business name, website, country, and preferred settlement currency.

If you are signing up as an individual seller or freelancer, pay close attention to the business-type options during onboarding. That choice affects the information and documents you will need later.
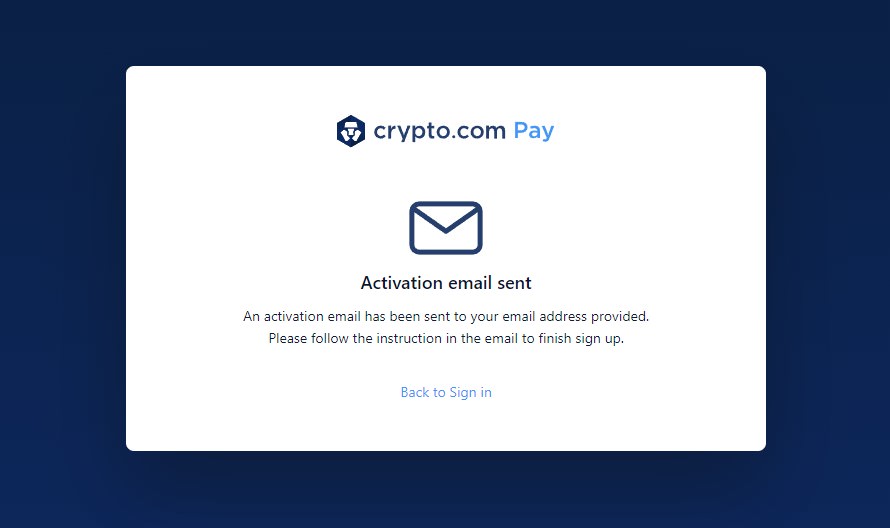
2. Confirm Your Account
After signup, confirm your registration from the activation email. This is the easy part.
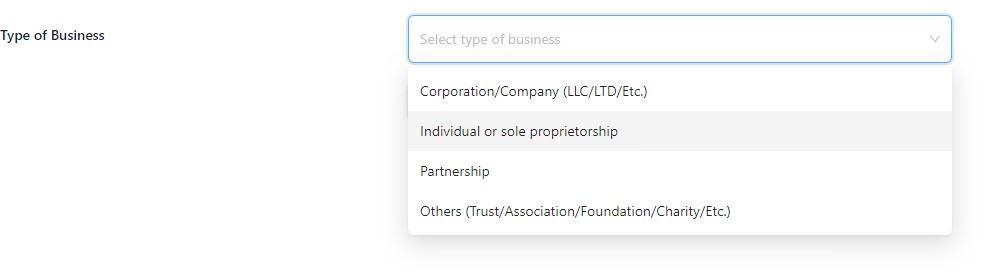
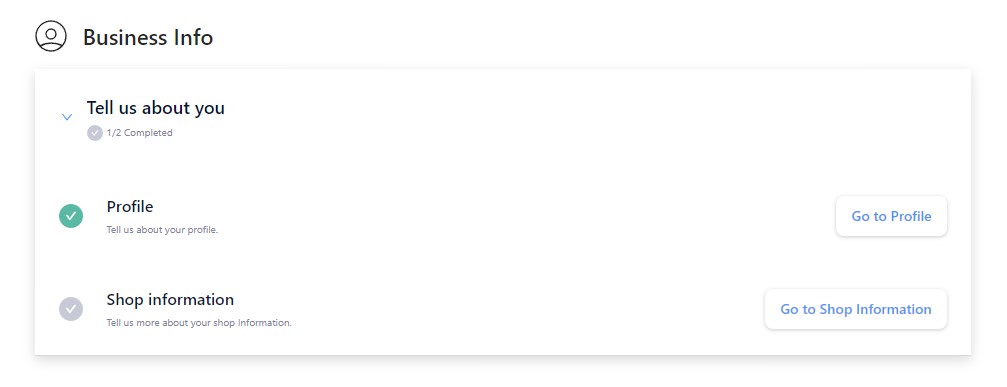
3. Create Your Business Profile
Once inside the dashboard, complete your business profile. Crypto.com Pay will ask for your website, business model, settlement preference, and whether you are operating as a merchant or acquirer.
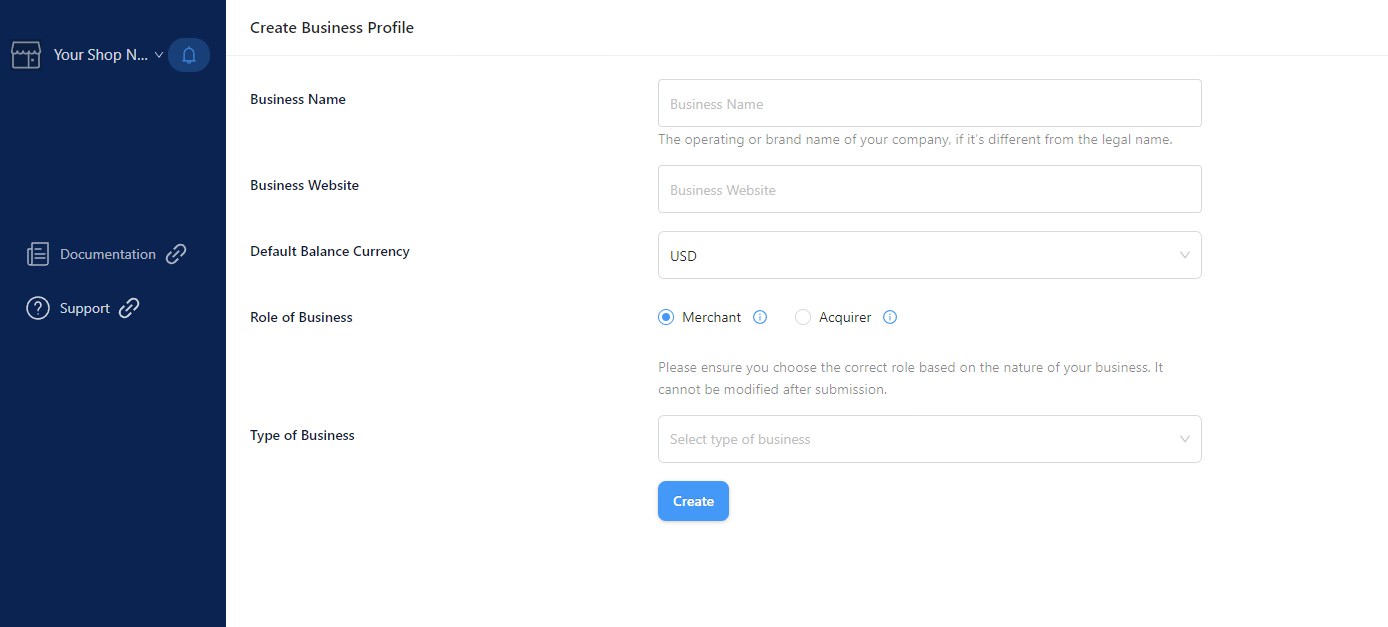
For most site owners selling directly to customers, the merchant path is the obvious fit. If you are dealing directly with other businesses, the acquirer option may be more appropriate.
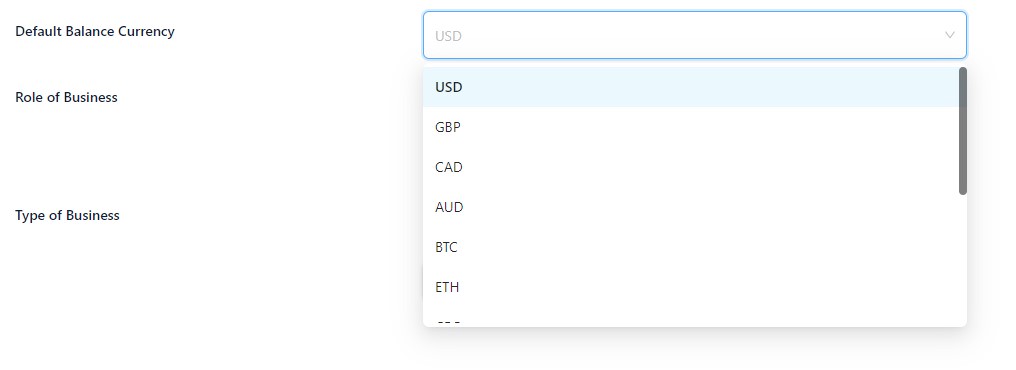
You will also choose your main payout currency. Think this through before you rush ahead. Some merchants want to keep part of their revenue in crypto, while others prefer settlement in fiat for cleaner accounting and fewer surprises.
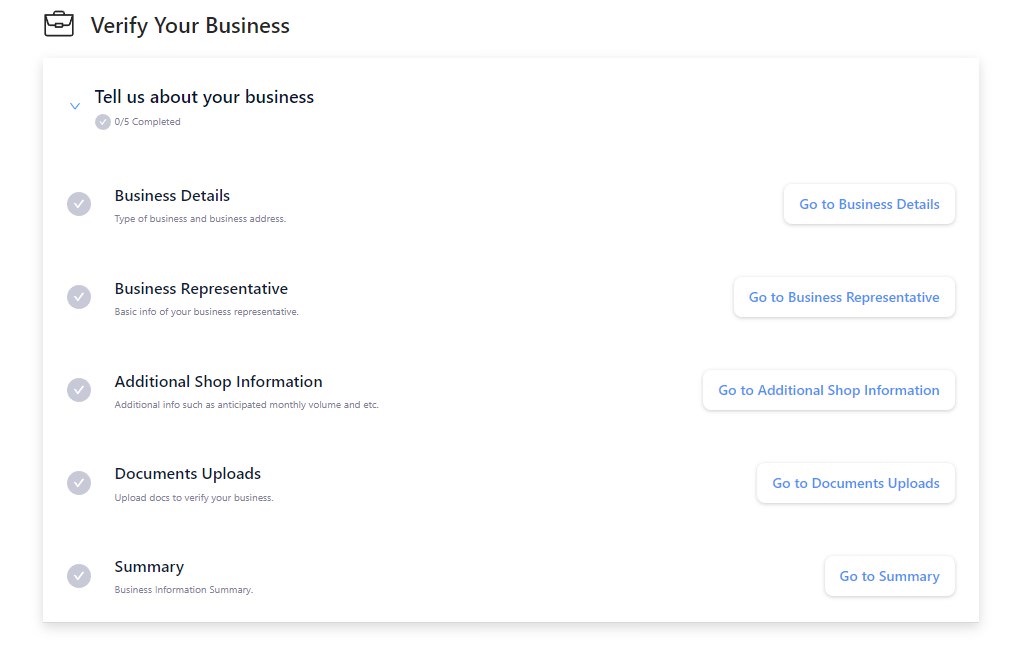
4. Verify Your Business
This is where the real paperwork begins. Crypto.com Pay will ask for identity details, business records, address information, and related compliance documents before your account is fully usable.
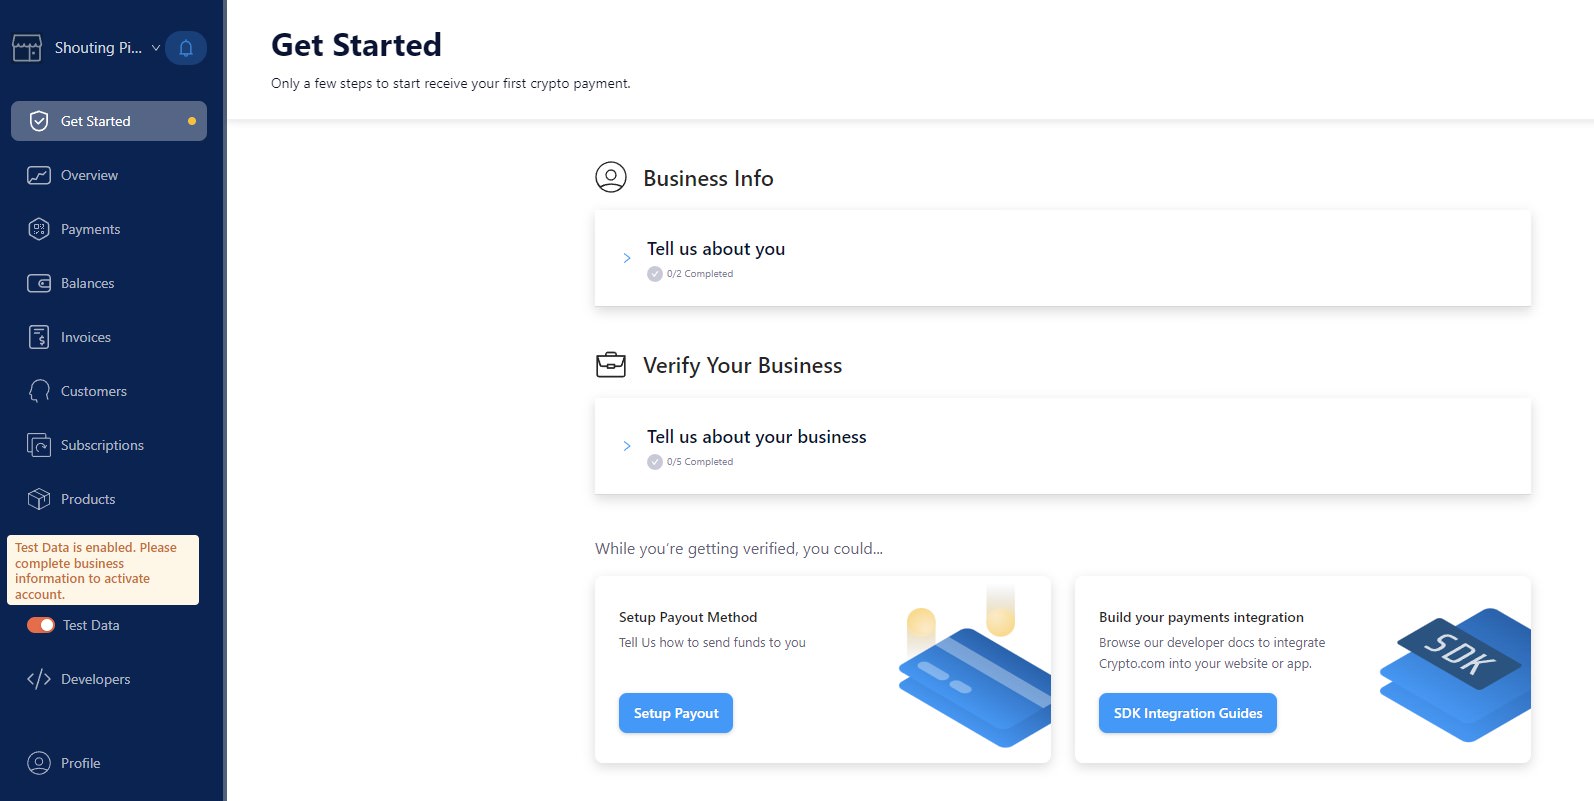
Expect a Know Your Customer process similar to what you see with payment gateways and exchanges. If your website is unfinished or thin on business details, clean that up first. Verification tends to go more smoothly when your public site already looks like a real business and not a weekend experiment.
5. Set Up Payouts
Next, decide how you want funds settled. Crypto.com Pay lets merchants define payout methods, currency preferences, and related settlement options.

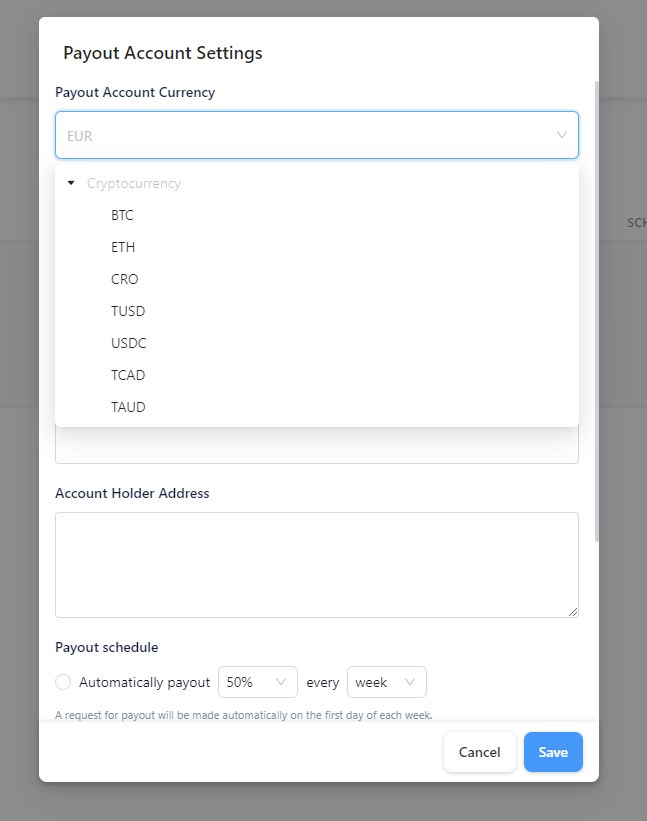
This part matters more than it looks. Payout choices affect accounting, tax handling, and how exposed you are to price swings between payment and settlement.
6. Choose Your Integration Method
Crypto.com Pay supports a few ways to accept payments, including platform integrations and direct developer flows. If you already run a busy store, the cleaner route is usually a platform integration or a more complete API-based setup rather than pasting buttons by hand into dozens of product pages.
For simpler sites, a checkout button still does the job. If you only sell one product, one service, or a small number of digital items, the manual route is perfectly reasonable.
If you are improving the store around this payment flow, these essential e-commerce tools are worth a look too.
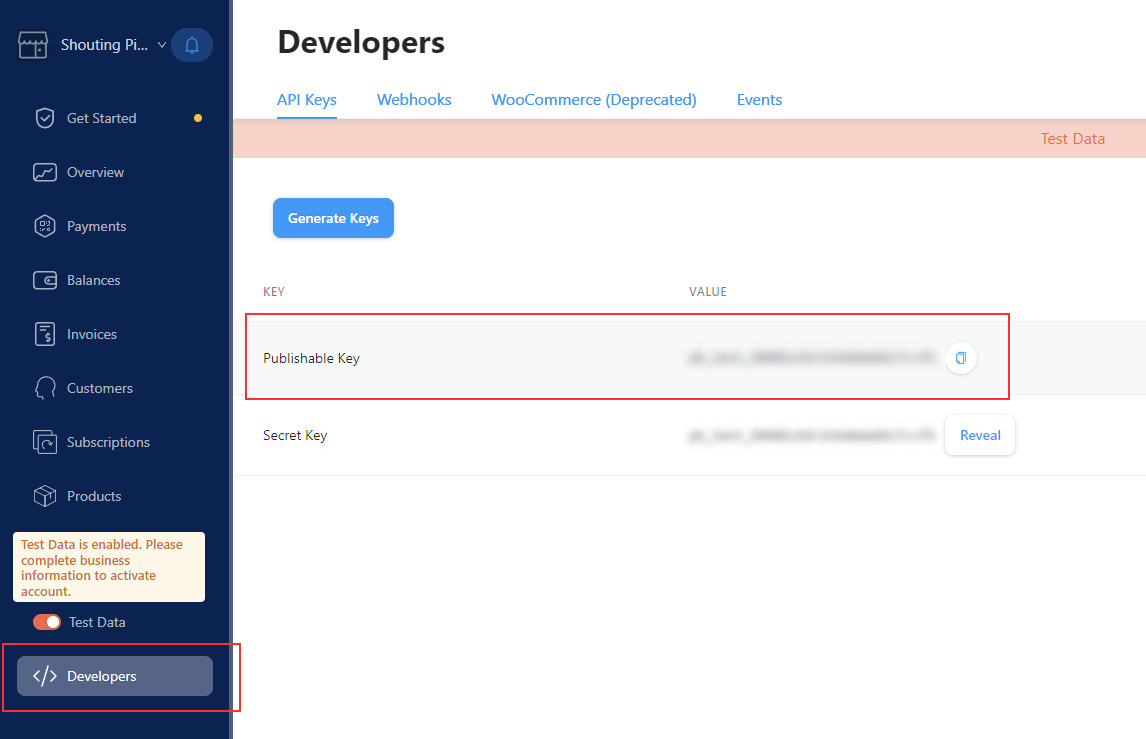
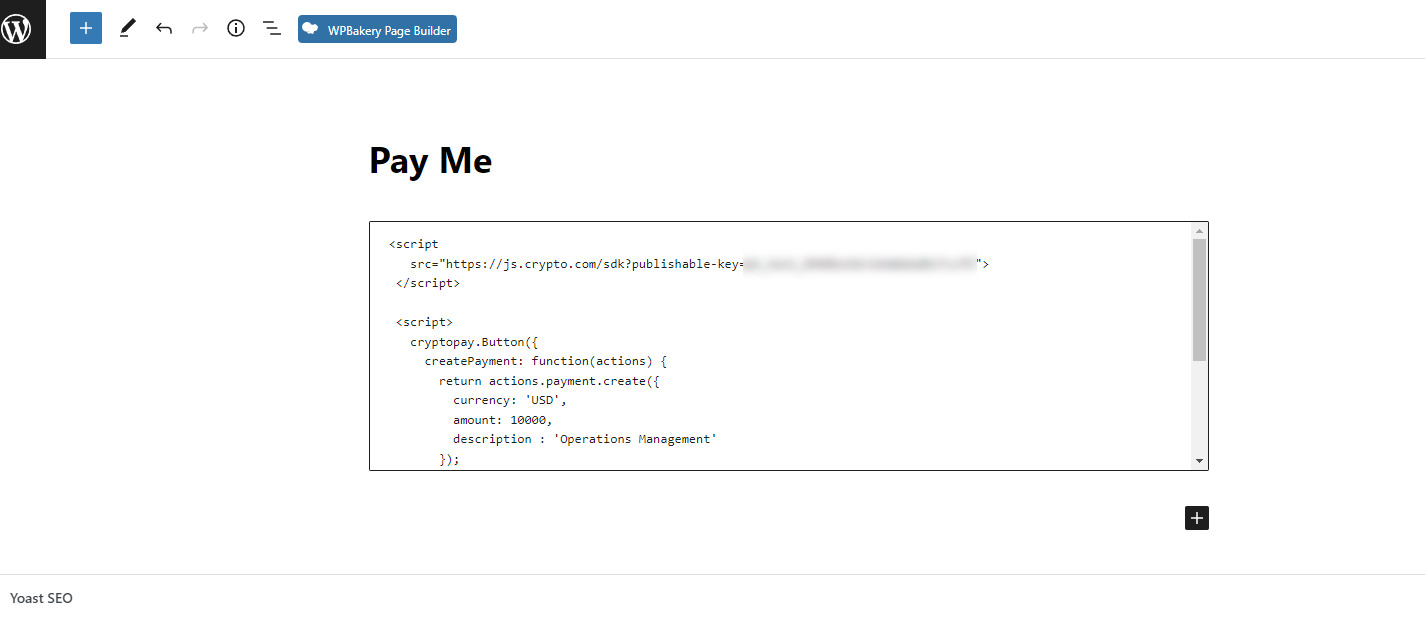
7. Add the Checkout Button to Your Site
In the developer section of the dashboard, generate your publishable key and use it with the Crypto.com Pay JavaScript SDK. The basic pattern looks like this:
<script src="https://js.crypto.com/sdk?publishable-key=YOUR_PUBLISHABLE_KEY"></script>
<script>
  cryptopay.Button({
    createPayment: function(actions) {
      return actions.payment.create({
        currency: 'USD',
        amount: 100,
        description: 'Product Name',
        order_id: 'sample-order-id',
        metadata: {
          size: 'XL',
          color: 'black'
        }
      });
    },
    onApprove: function(data, actions) {
      // optional redirect or post-payment handling
    },
    defaultLang: 'en-US'
  }).render('#pay-button')
</script>
Replace the placeholder values with your own publishable key, currency, amount, product description, and order data. If you are working inside WordPress, you can drop this into a Custom HTML block.
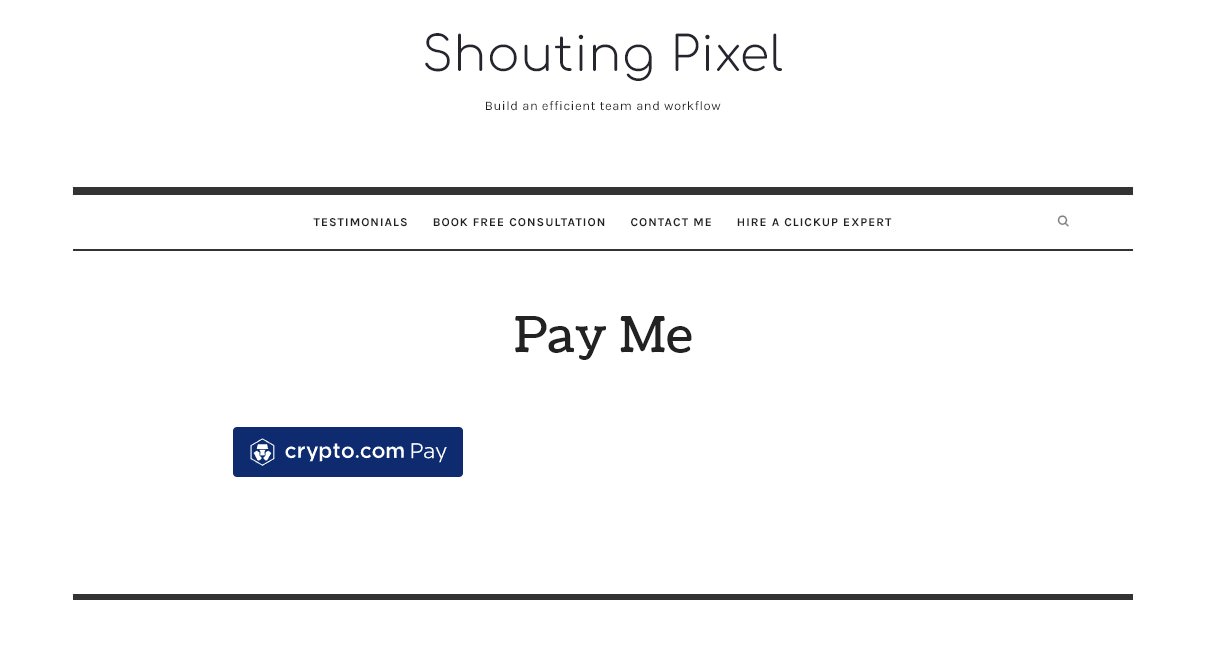
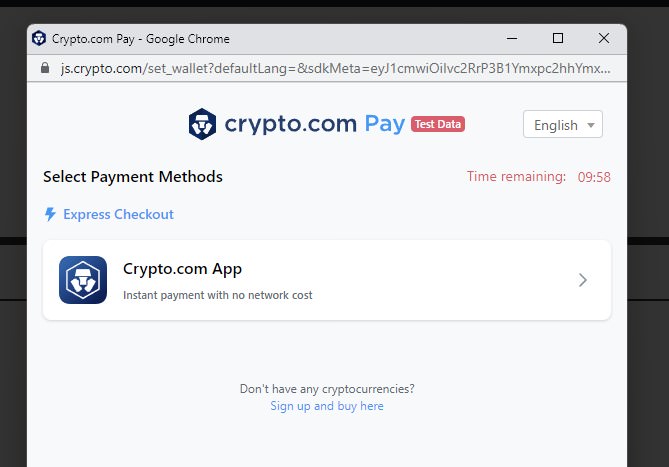
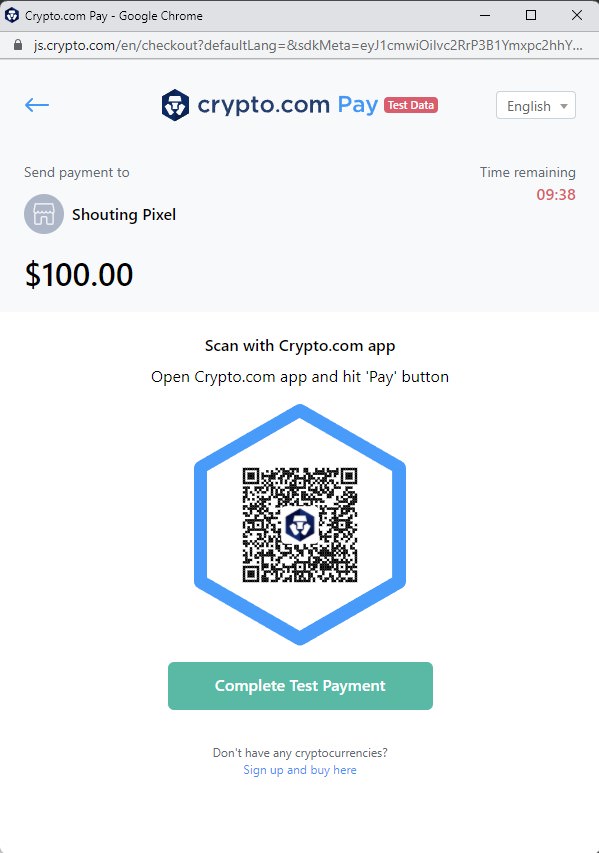
8. What the Customer Sees
Once the button is live, customers can complete payment through the Crypto.com app or supported wallets, depending on the checkout flow available to them. In many cases, that means scanning a QR code and approving the payment from their device.
Should You Accept Crypto Payments?
If your audience already uses crypto, offering it as an extra payment option can remove friction and open the door to customers who would otherwise drop off. If your buyers do not care, it becomes one more payment method to maintain.
So the better question is not whether crypto is the future. It is whether your customers are already trying to pay that way. If they are, adding Crypto.com Pay is a practical test. If they are not, keep it optional and do not pretend a shiny button will rescue a weak checkout.