Creating AI Videos with Vidnoz AI (Review)
The way we create digital content is evolving rapidly, primarily driven by the rise of AI tools. Perhaps you’re already familiar with or using ChatGPT. Additionally, there’s the Adobe Photoshop’s generative AI feature, which allows for quick photo enhancements with just a few clicks. Similarly, platforms like Midjourney and DALL·E enable the creation of stunningly realistic images simply by inputting prompts.
In the world of online video creation, AI tools are also making a significant impact. These tools come equipped with realistic avatars and numerous templates, facilitating the creation of videos by simply dragging and dropping your assets into the workspace, where they are transformed into a complete video.

In this post, I’ll introduce you to an AI video generator called Vidnoz AI. I’ll also guide you through the process of creating a tutorial video using this tool.
What is Vidnoz AI?
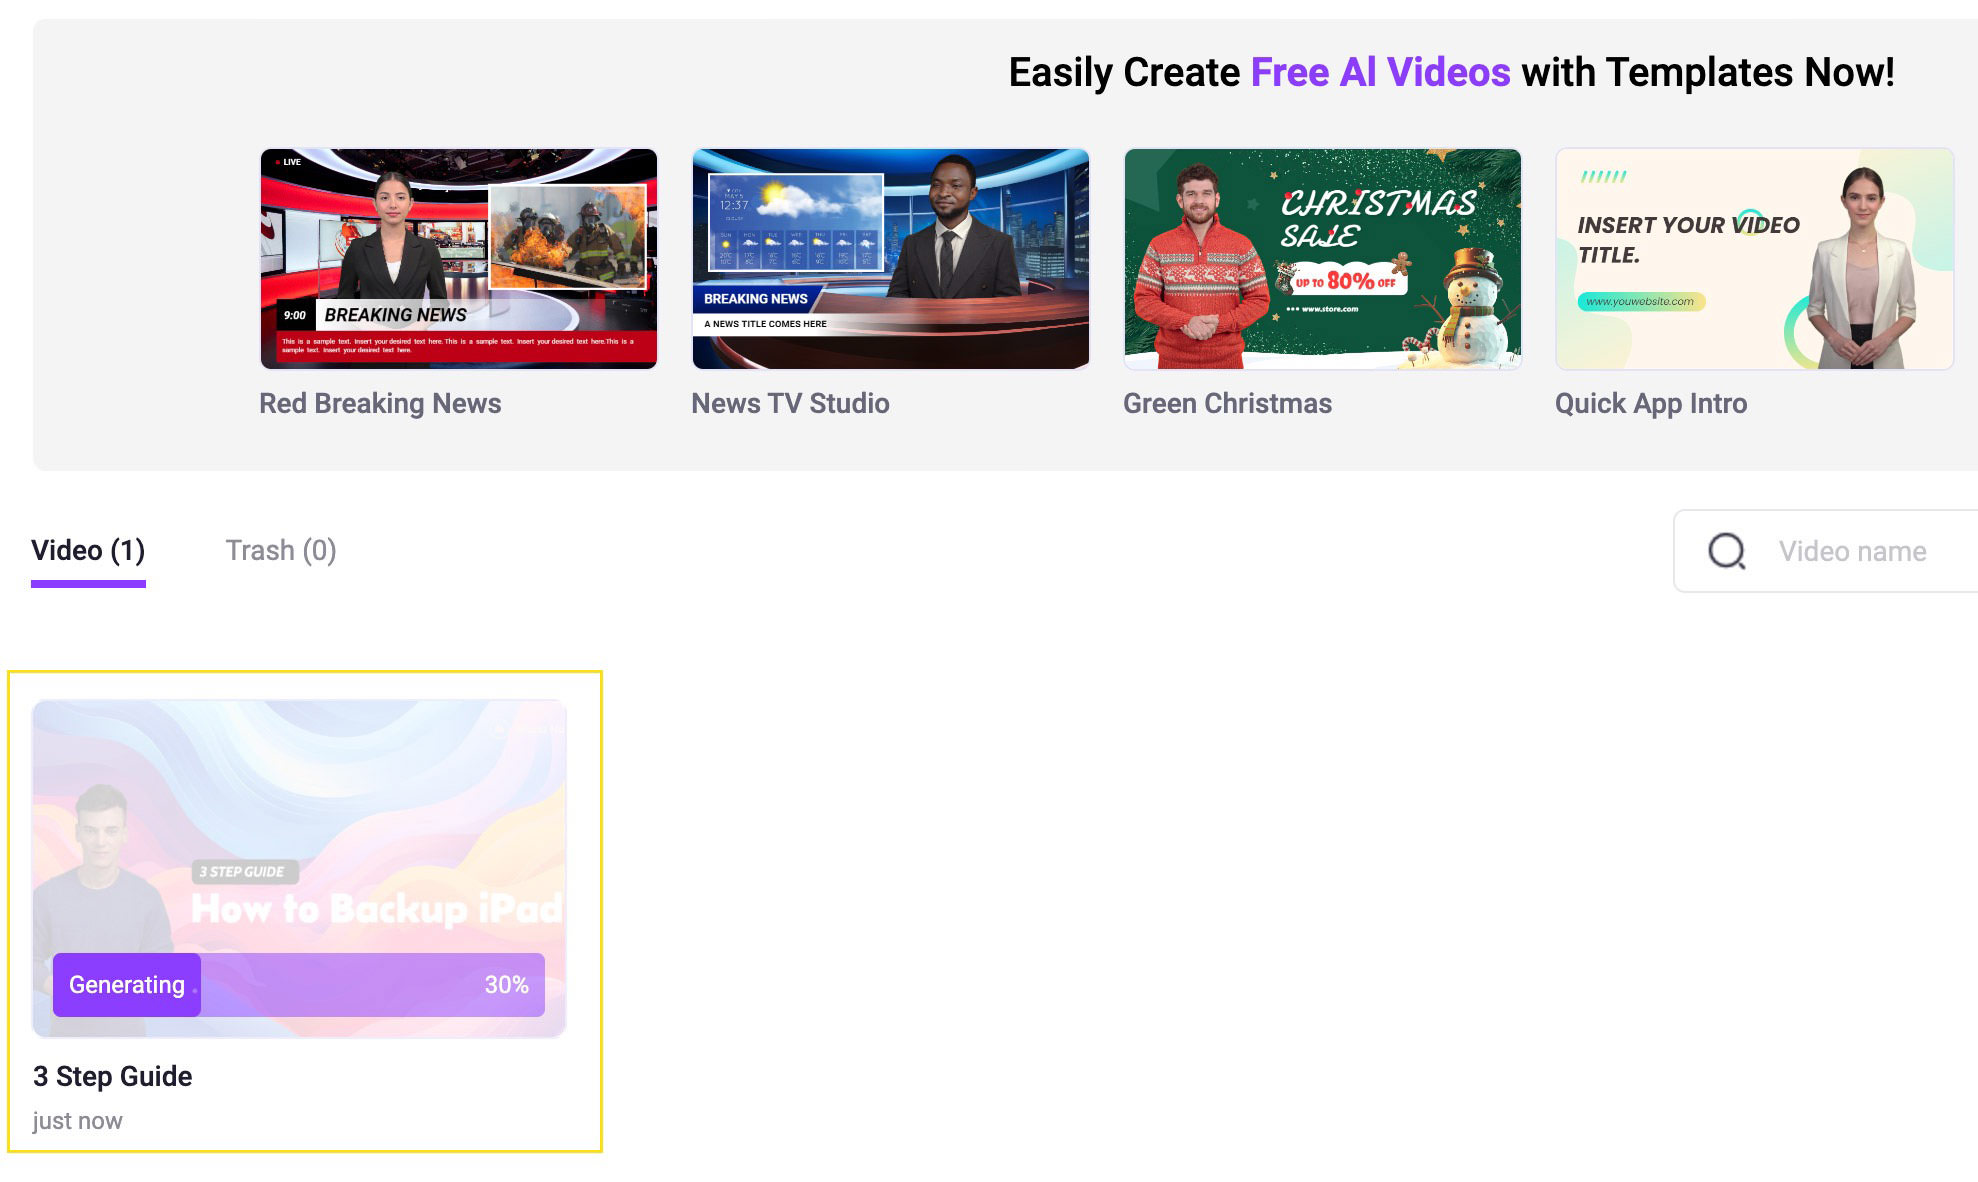
Vidnoz AI is a user-friendly, free AI video generator. It features over 100 AI avatars and numerous ready-made templates, making it straightforward to start creating videos.
The claim is that you can produce a video in just one minute. However, when I tried it, it took about 10 minutes. This time included learning how to select and adjust the right text and images, among other details.
The video I managed to create, which you can watch below, might not be the most elaborate. Nonetheless, it demonstrates what you can accomplish with Vidnoz AI in just about 10 minutes.
Example video:
How to Create Videos with Vidnoz AI
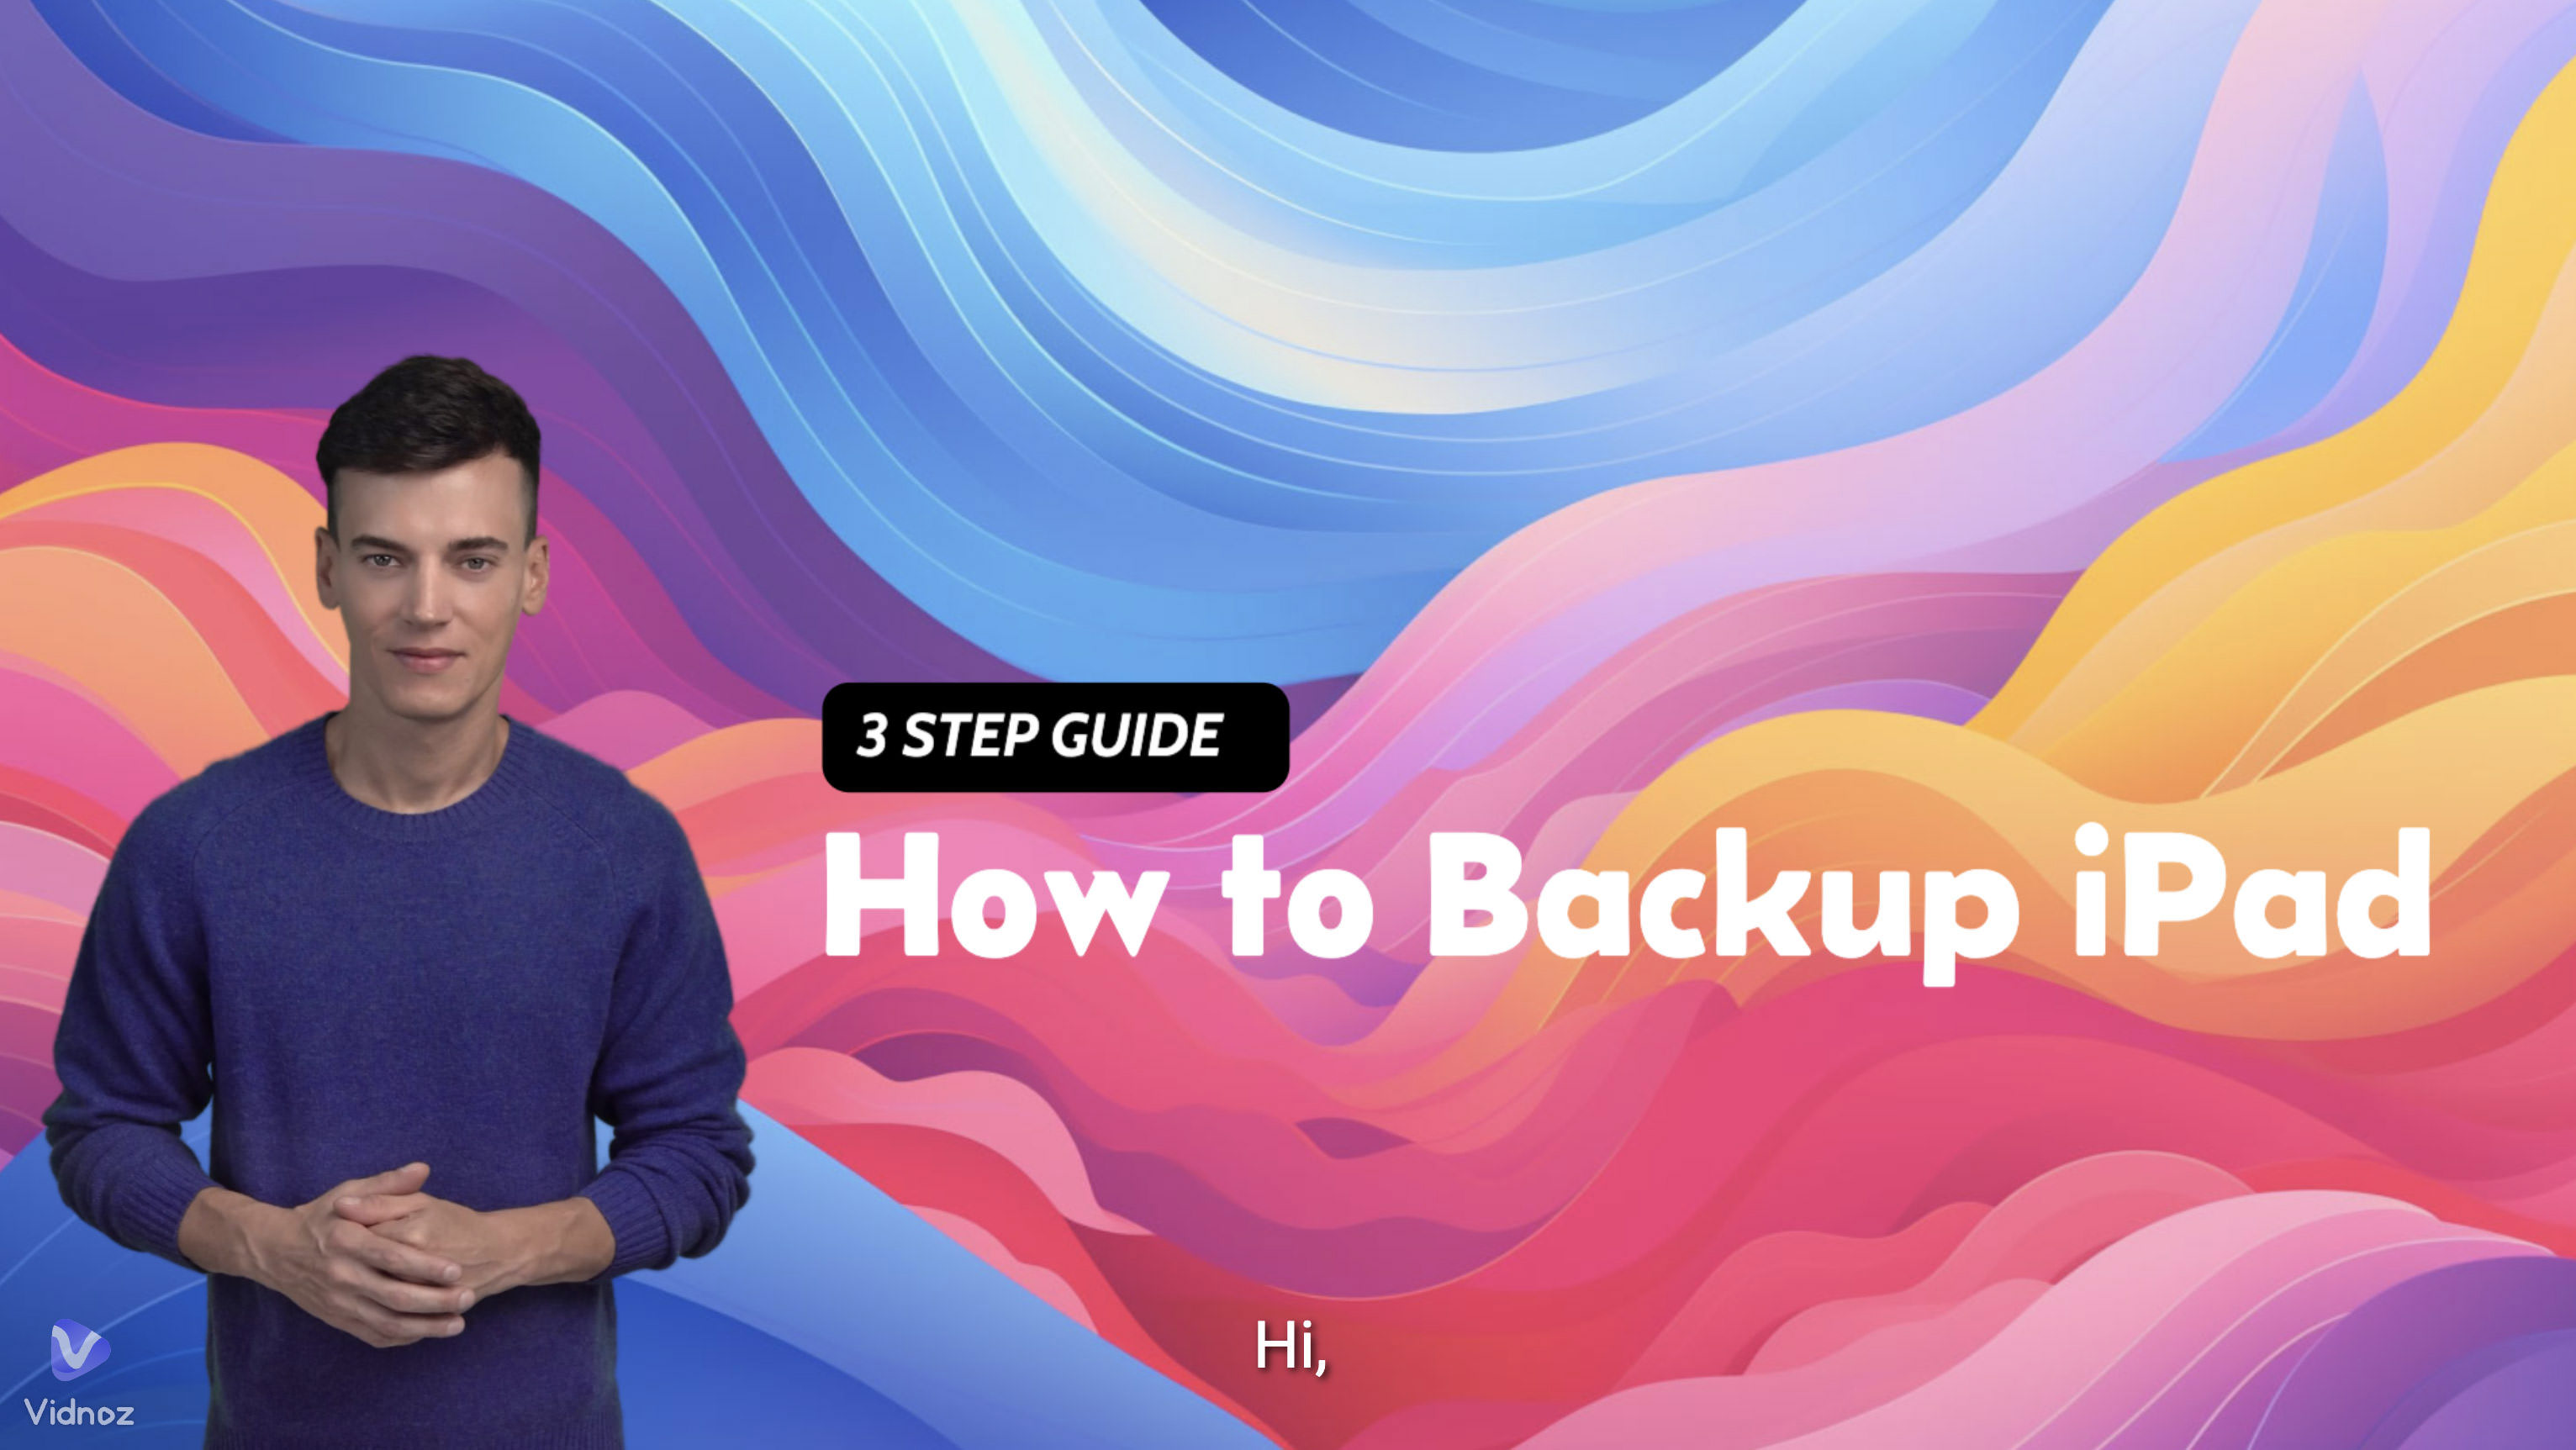
The process starts with selecting the type of video you want to create and whether to use landscape or portrait orientation. I decided to make a simple how-to video guide titled “How to Backup iPad on iCloud”. I began by navigating to the template section, hovered over the “3 Step Guide” template, and clicked “Use.”
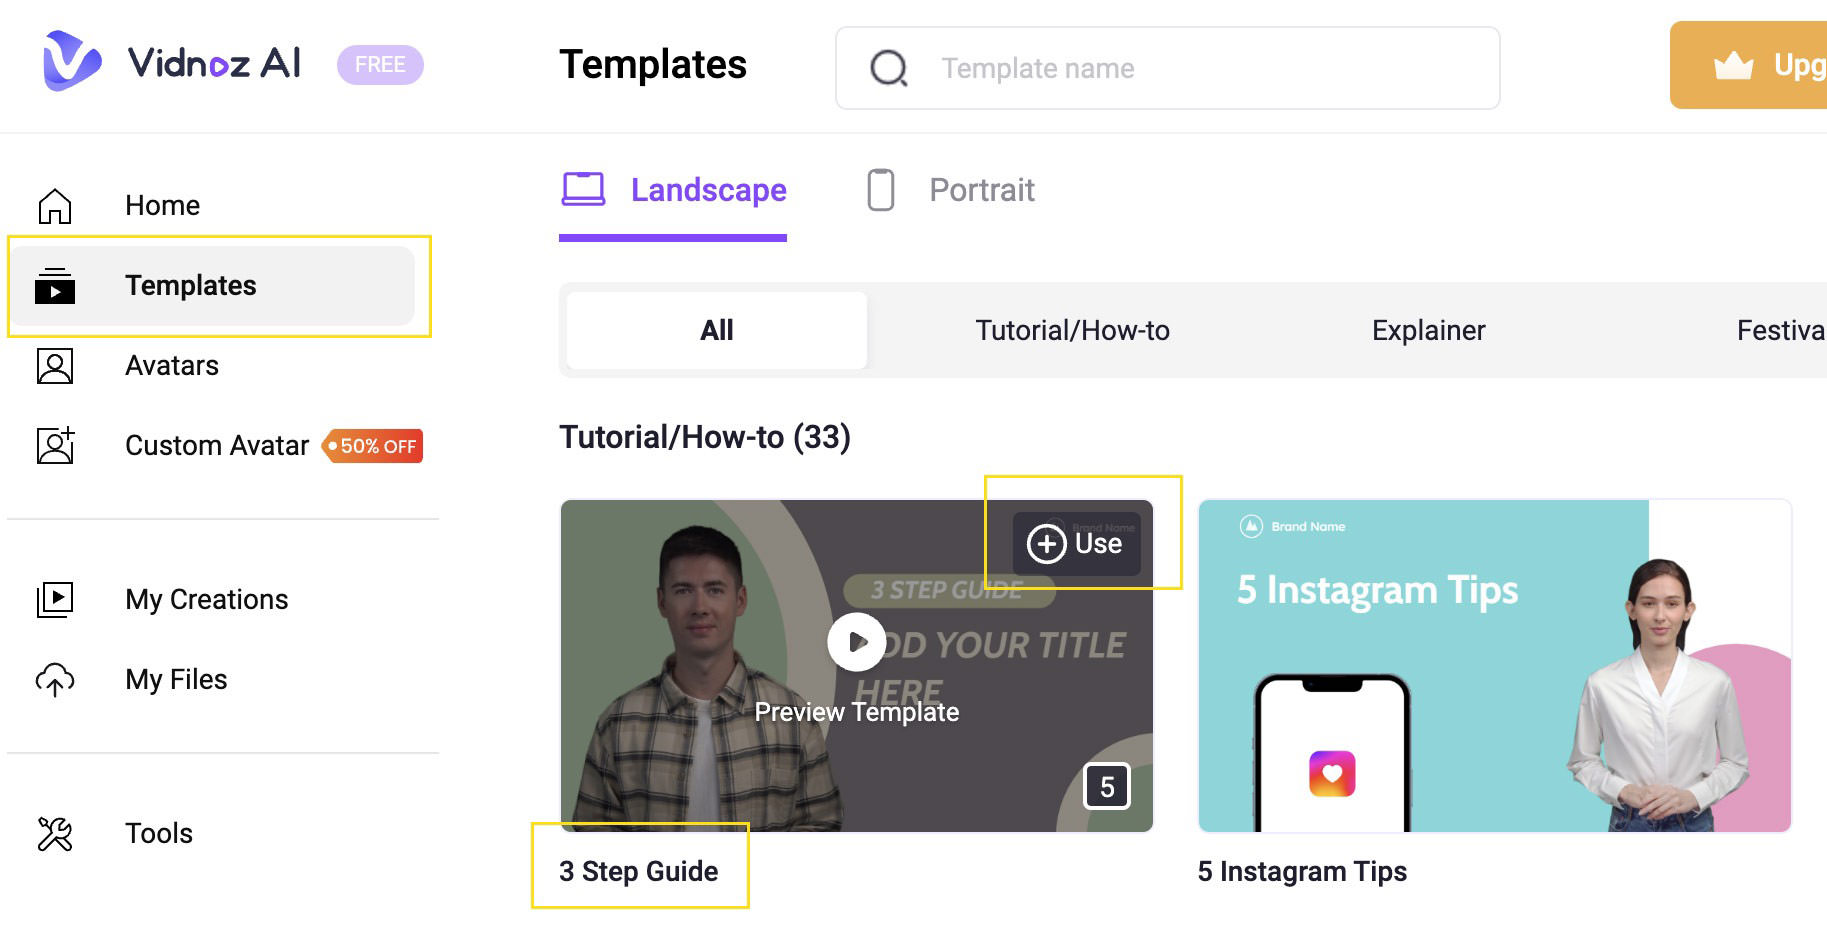
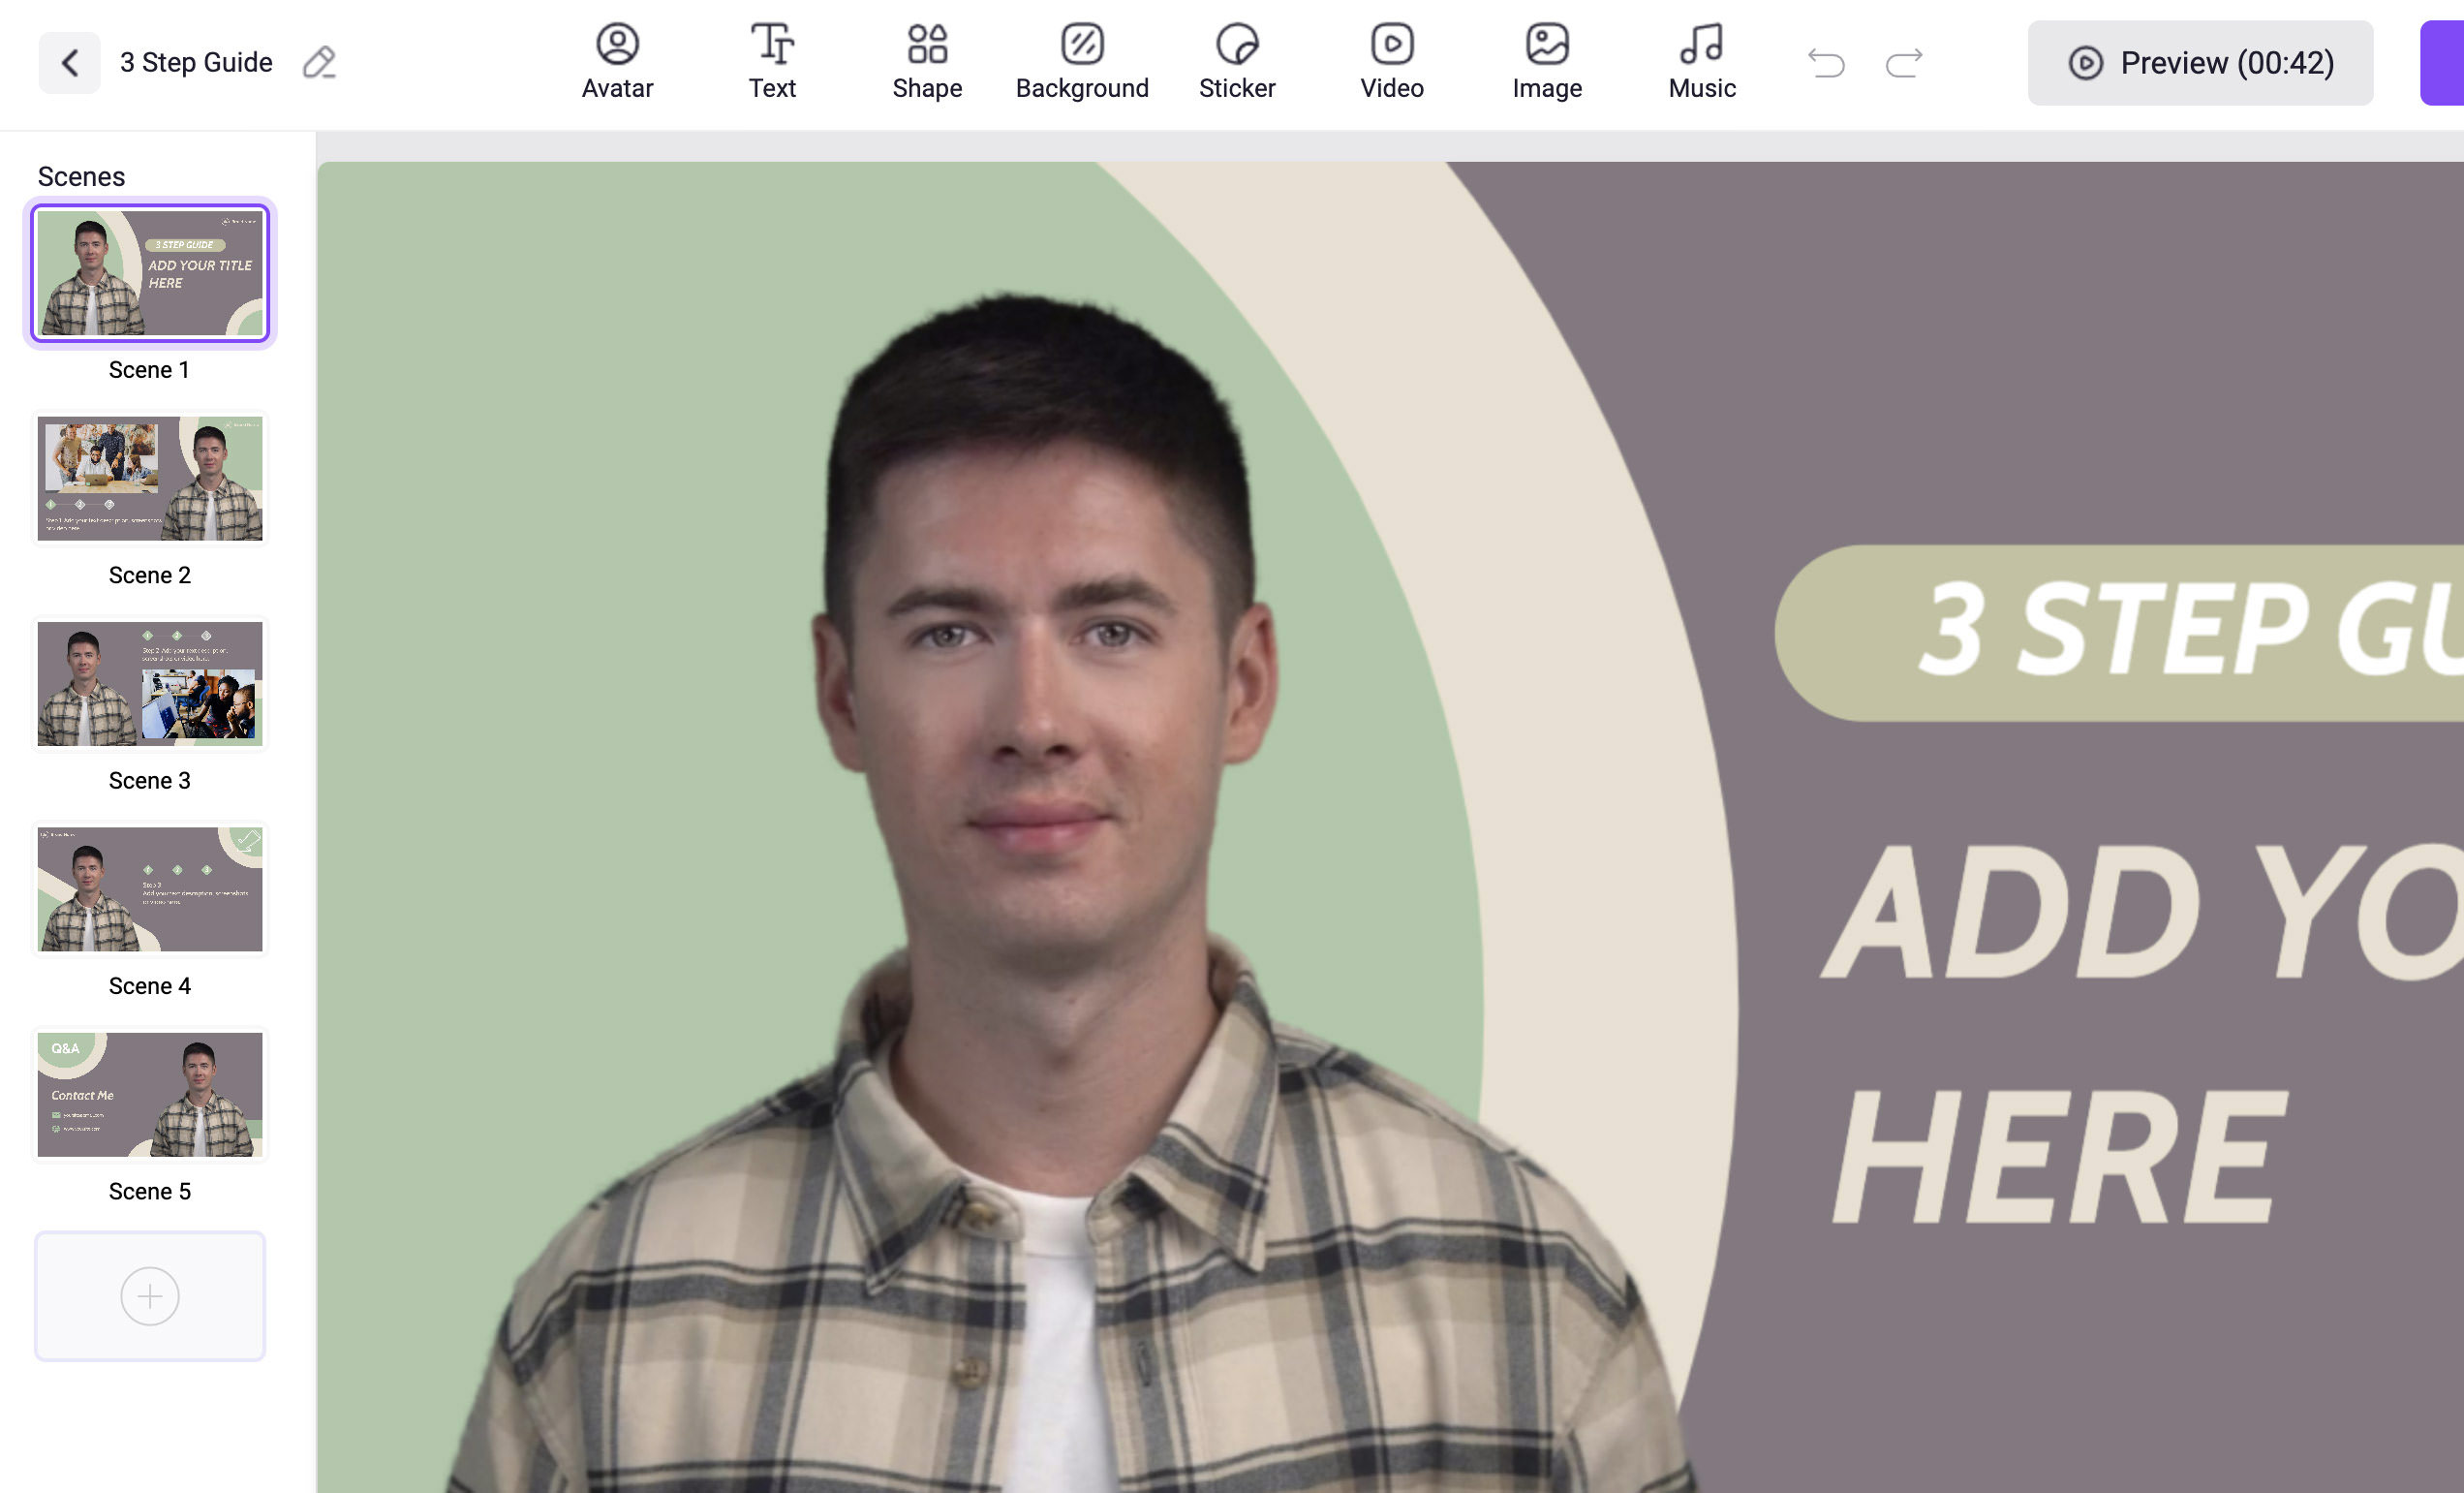
This 3-step guide template is structured into five scenes: the intro, each of the three steps, and the outro. It also allows for the addition of more scenes if needed.
Changing the Avatar
First, I selected the avatar I wanted to use and clicked “Apply new avatar to all scenes.”
Setting the Styles
I then customized the background by uploading a colorful image of my own. After that, I removed all unnecessary elements from the template and repositioned the avatar.
Since there is no “apply to all scenes” option, I had to manually adjust each scene. I also updated the style of the title and text to ensure consistency throughout the video.
Inserting Content and Images
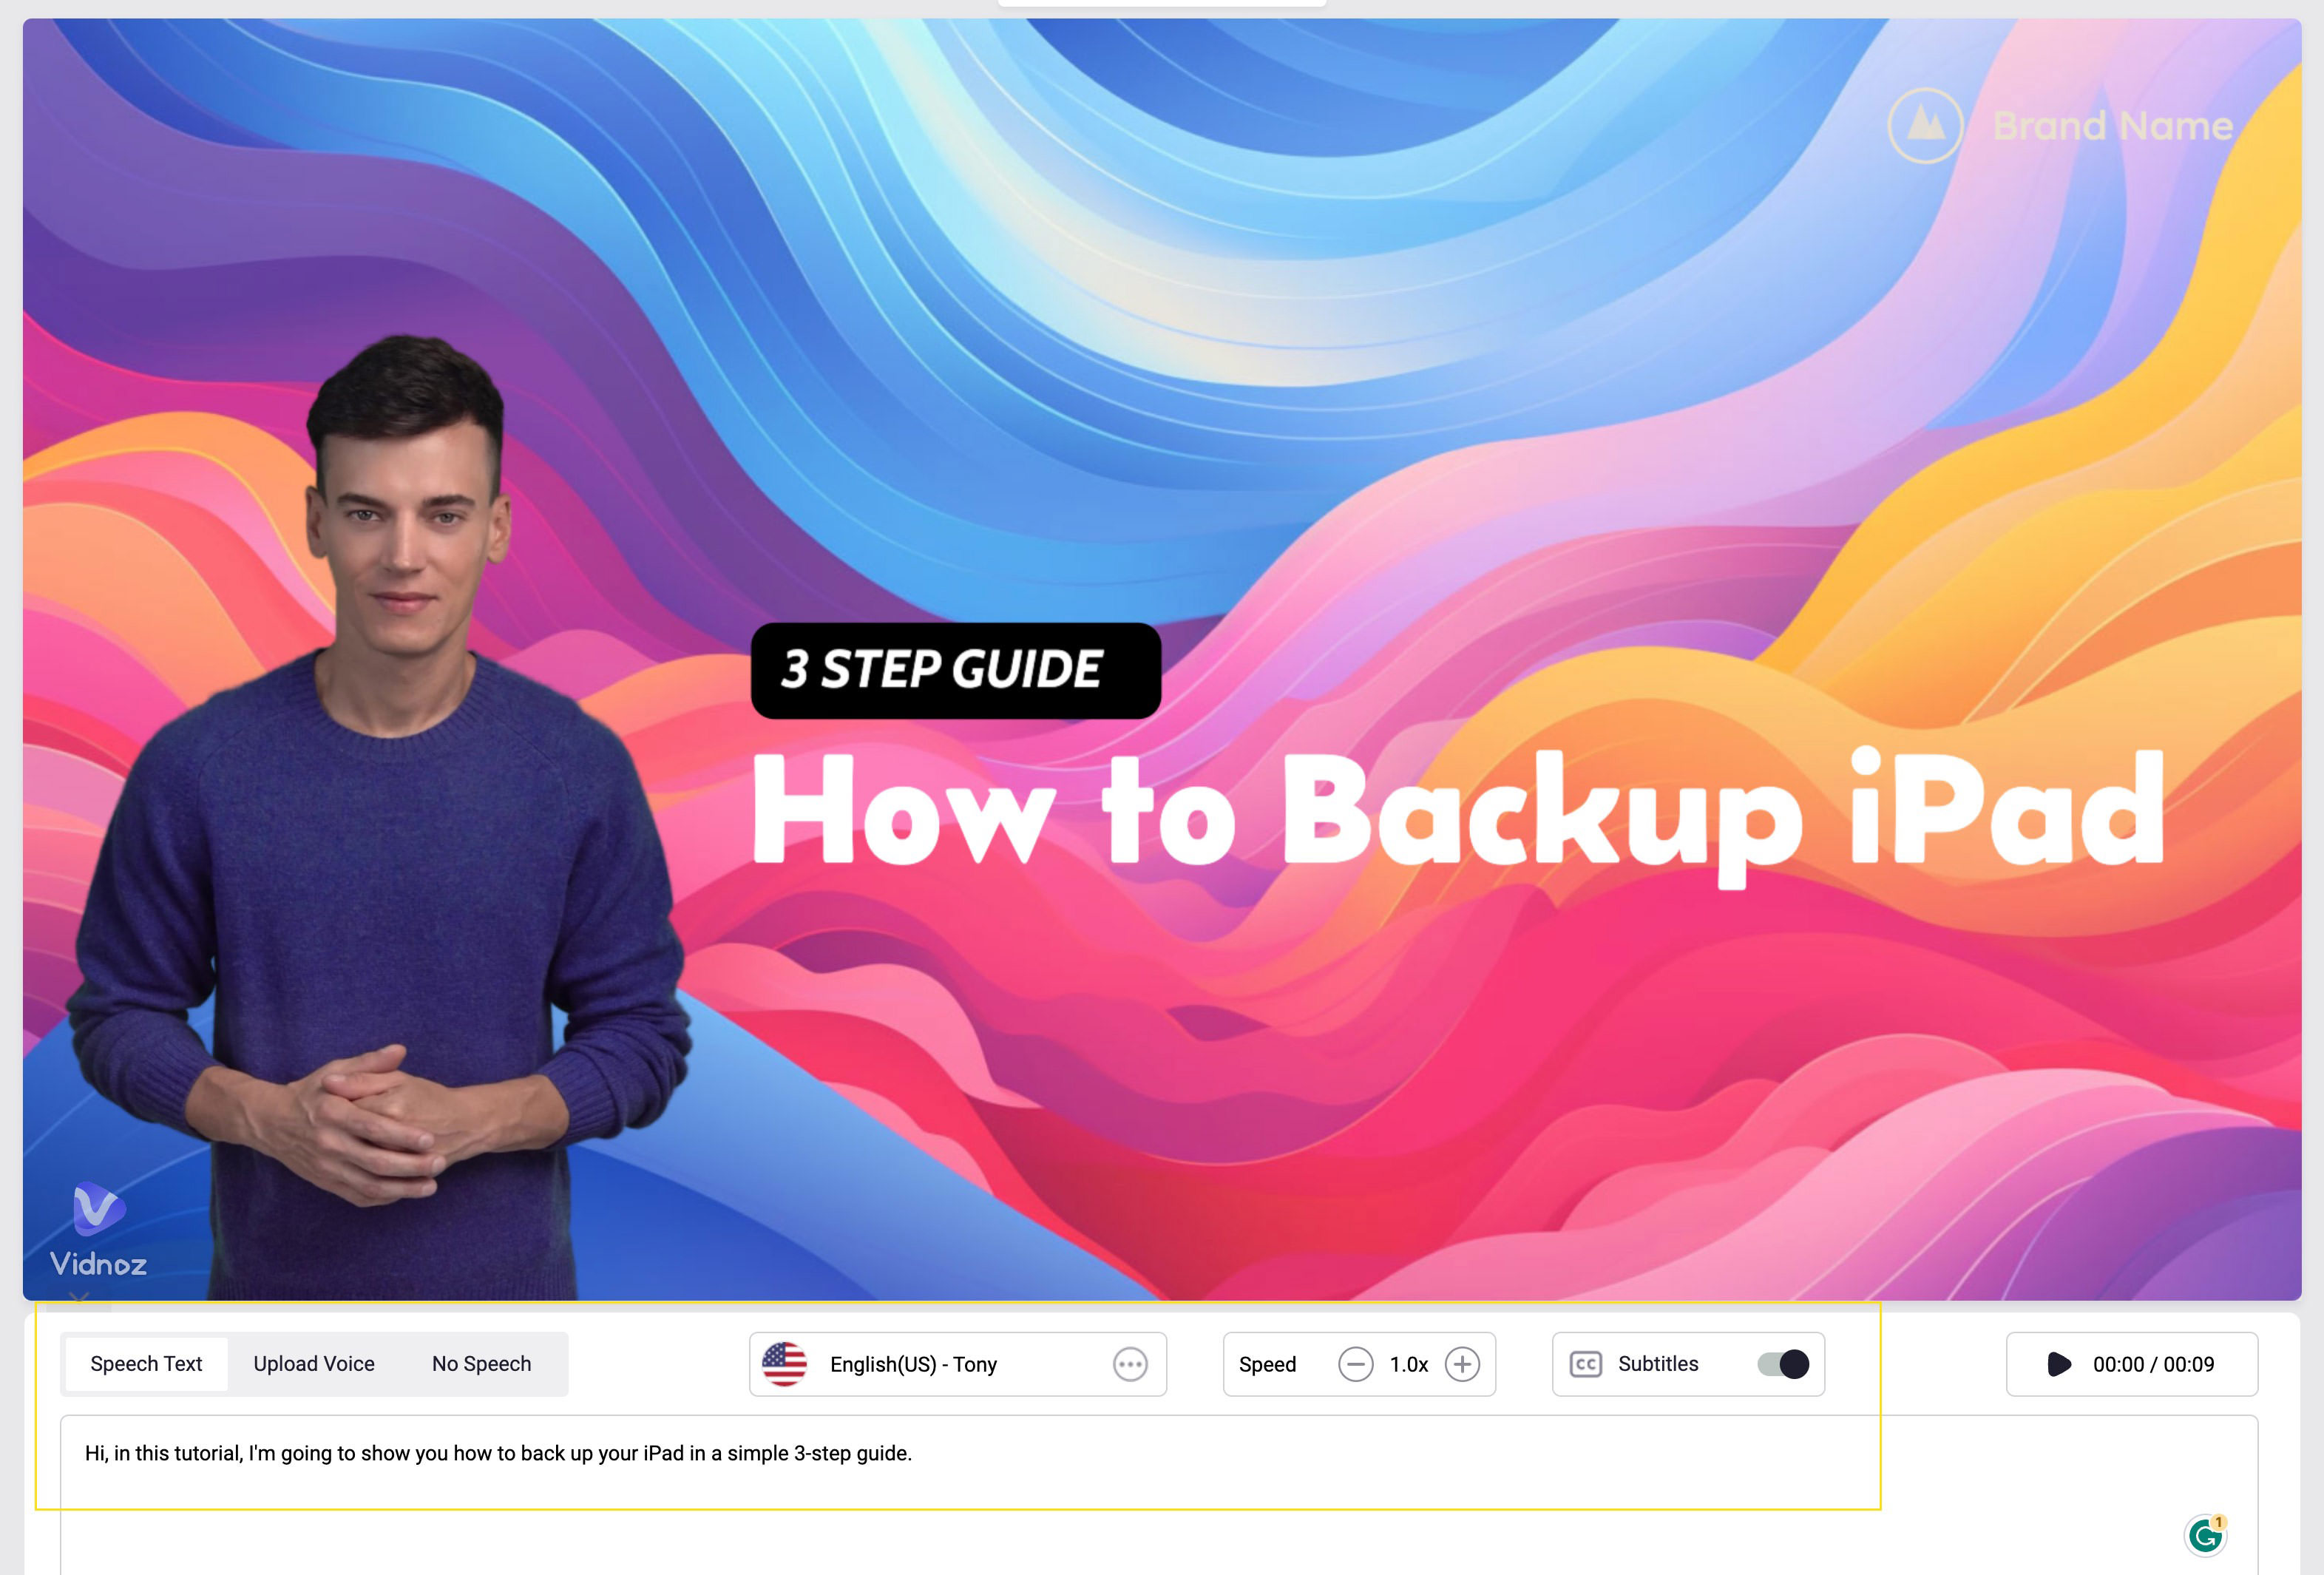
In the “Speech Text” section, I entered all the content I wanted my avatar to speak. This step needed to be repeated for each scene.
Previewing Each Scene
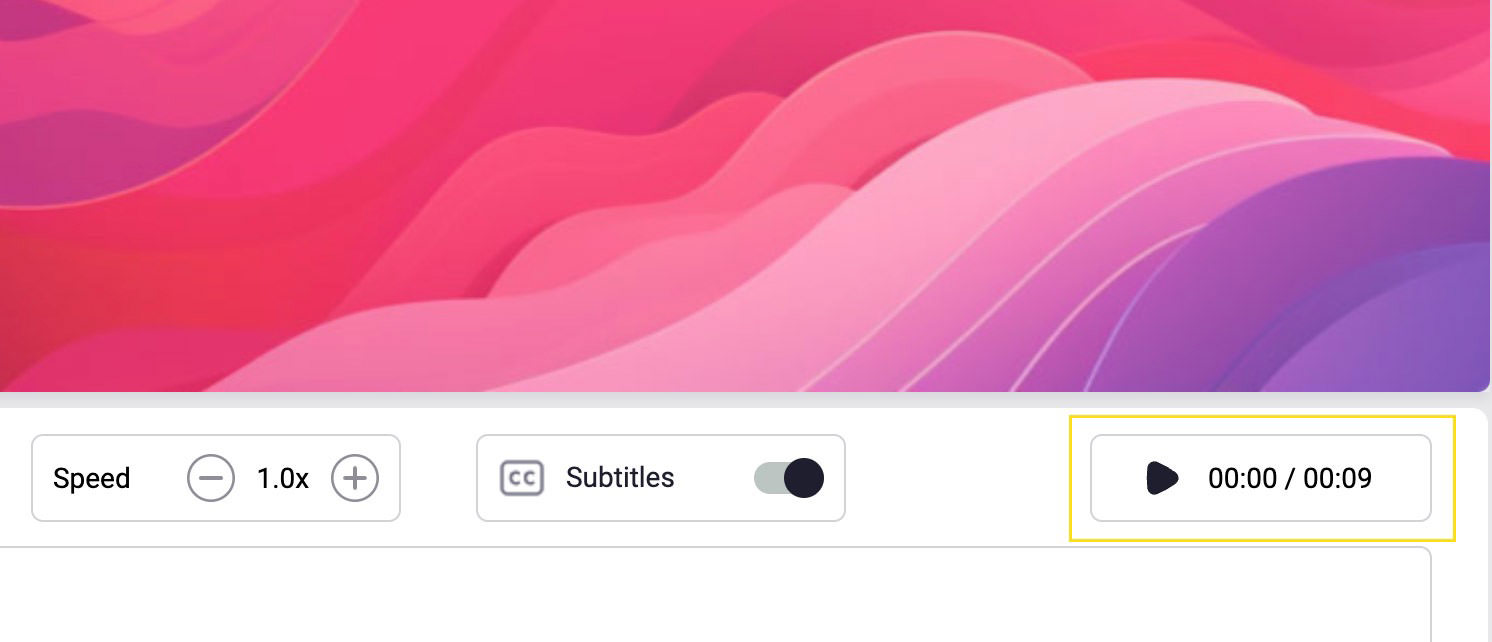
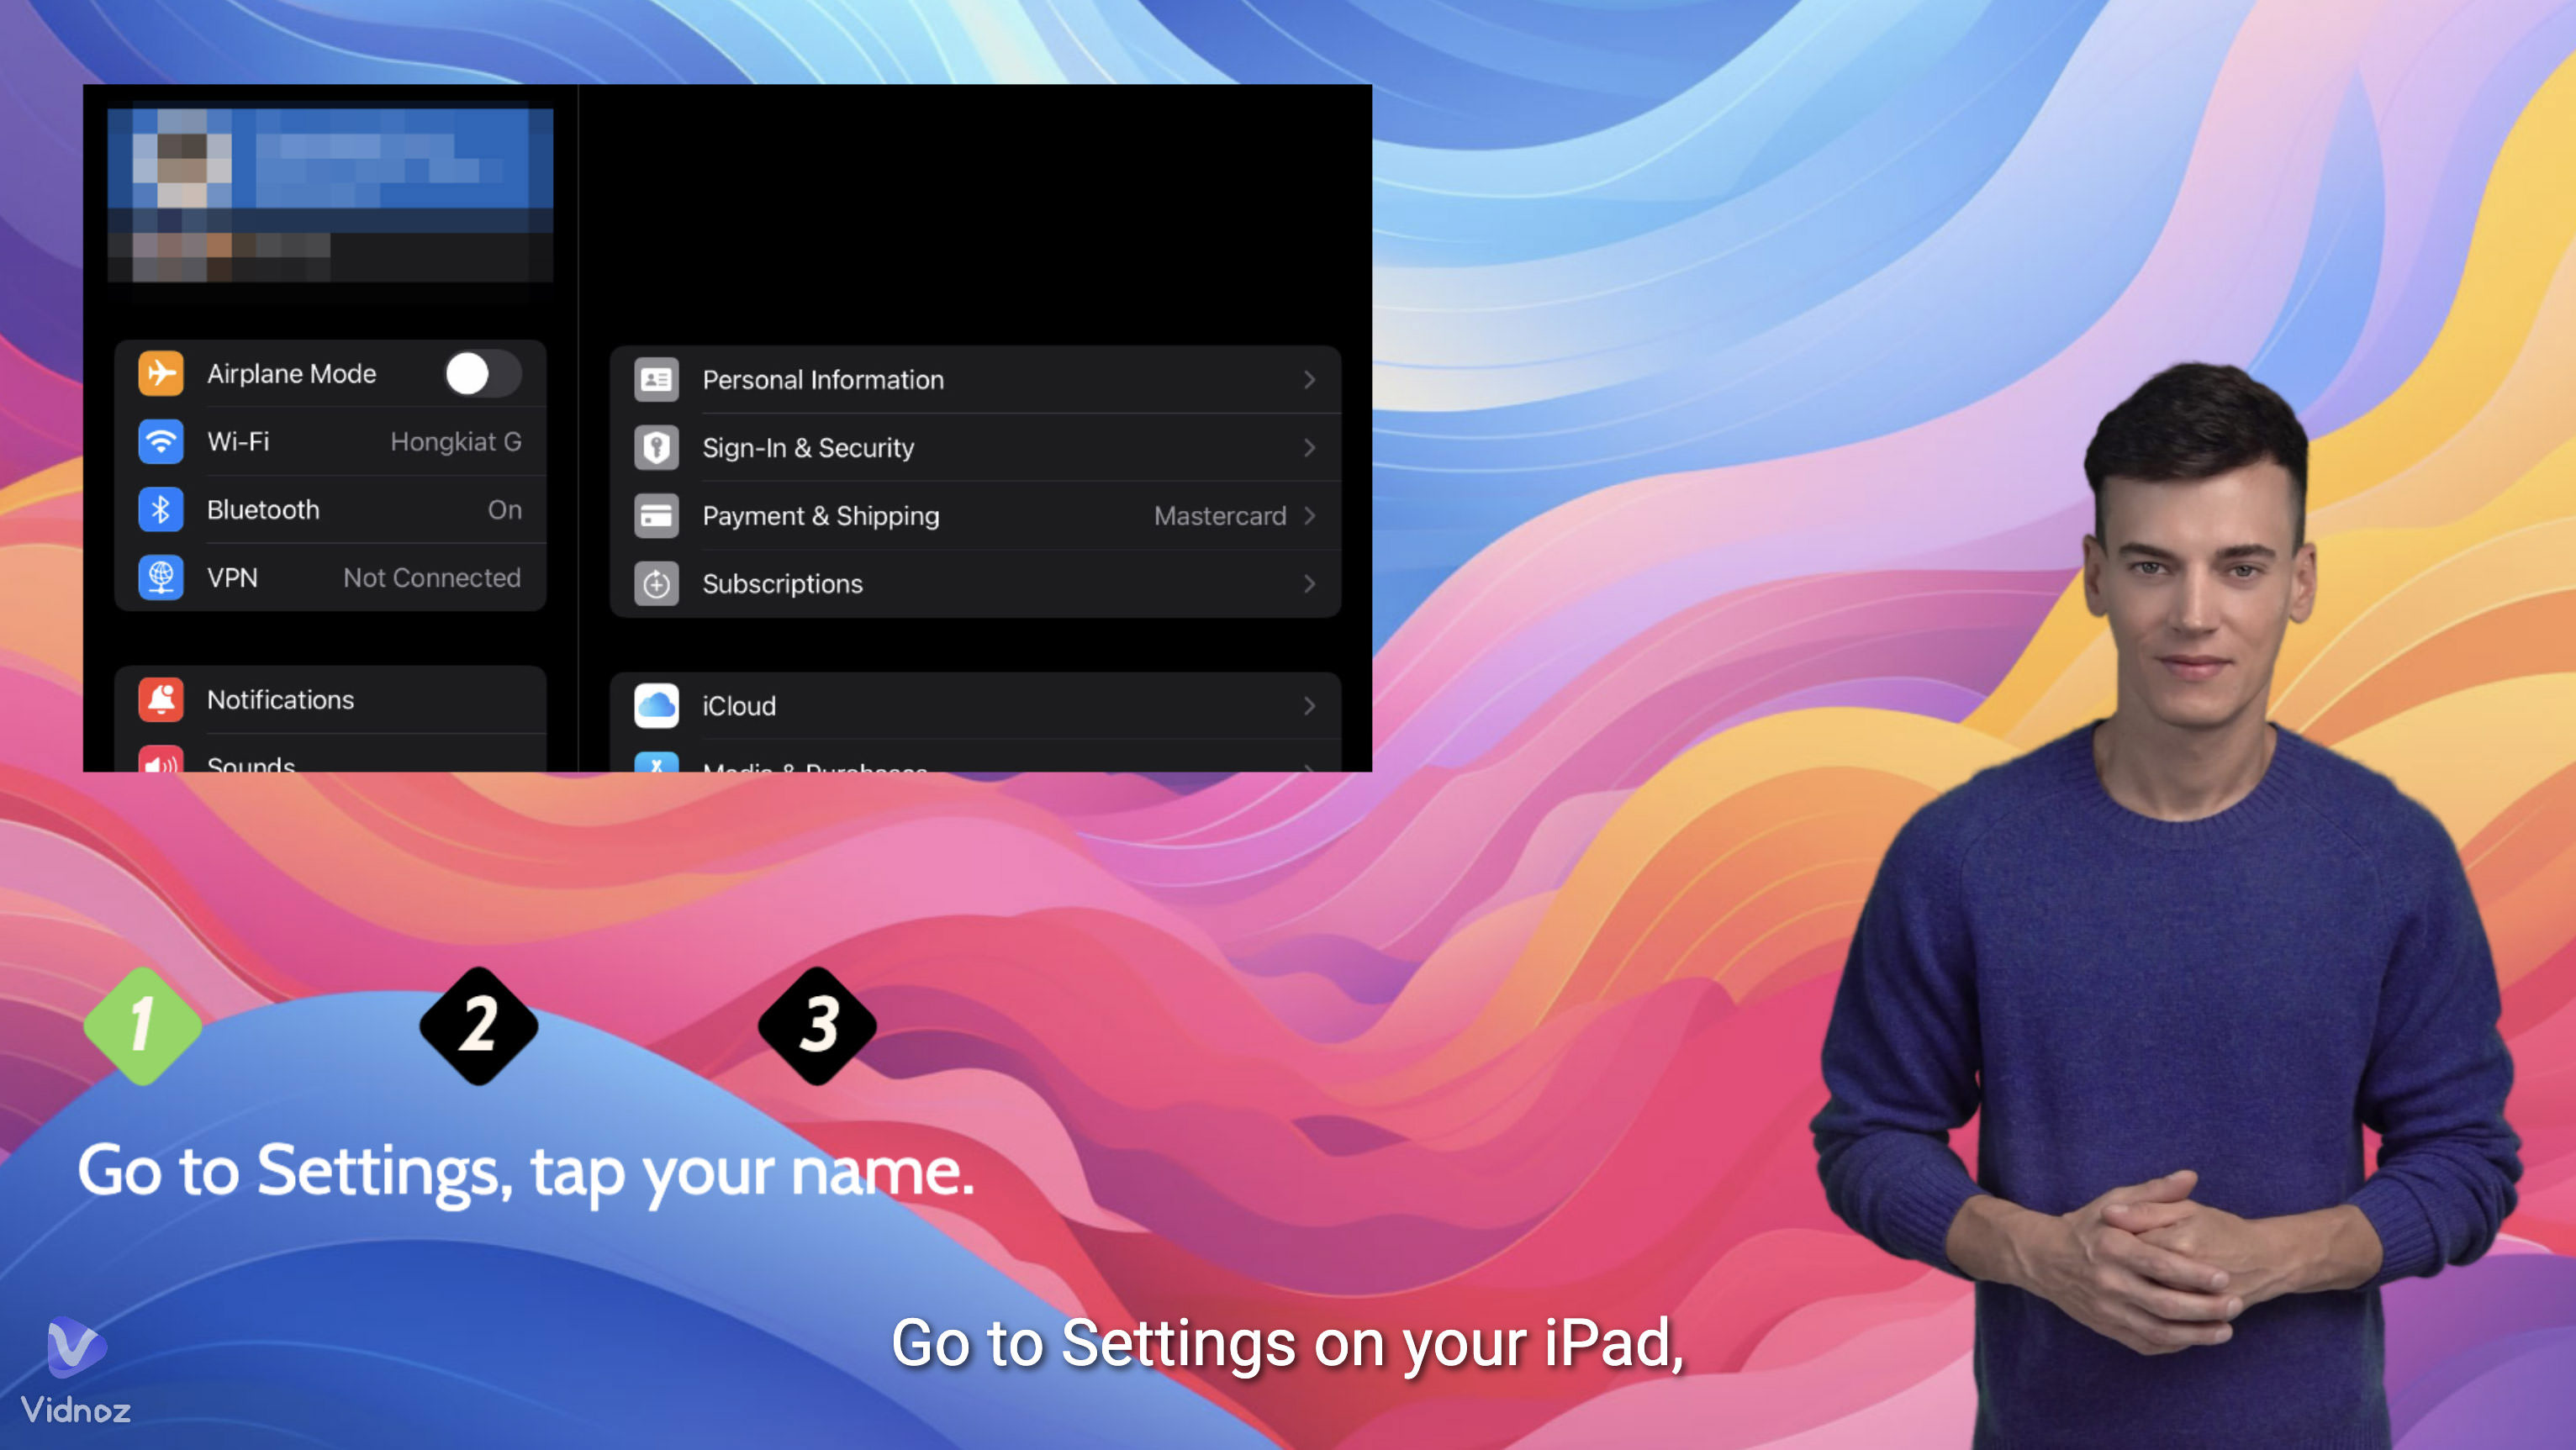
After placing all the content, I reviewed each scene to ensure accuracy. Each scene included a play icon for preview purposes.
Here’s a look at how each of my scenes turned out after final adjustments.

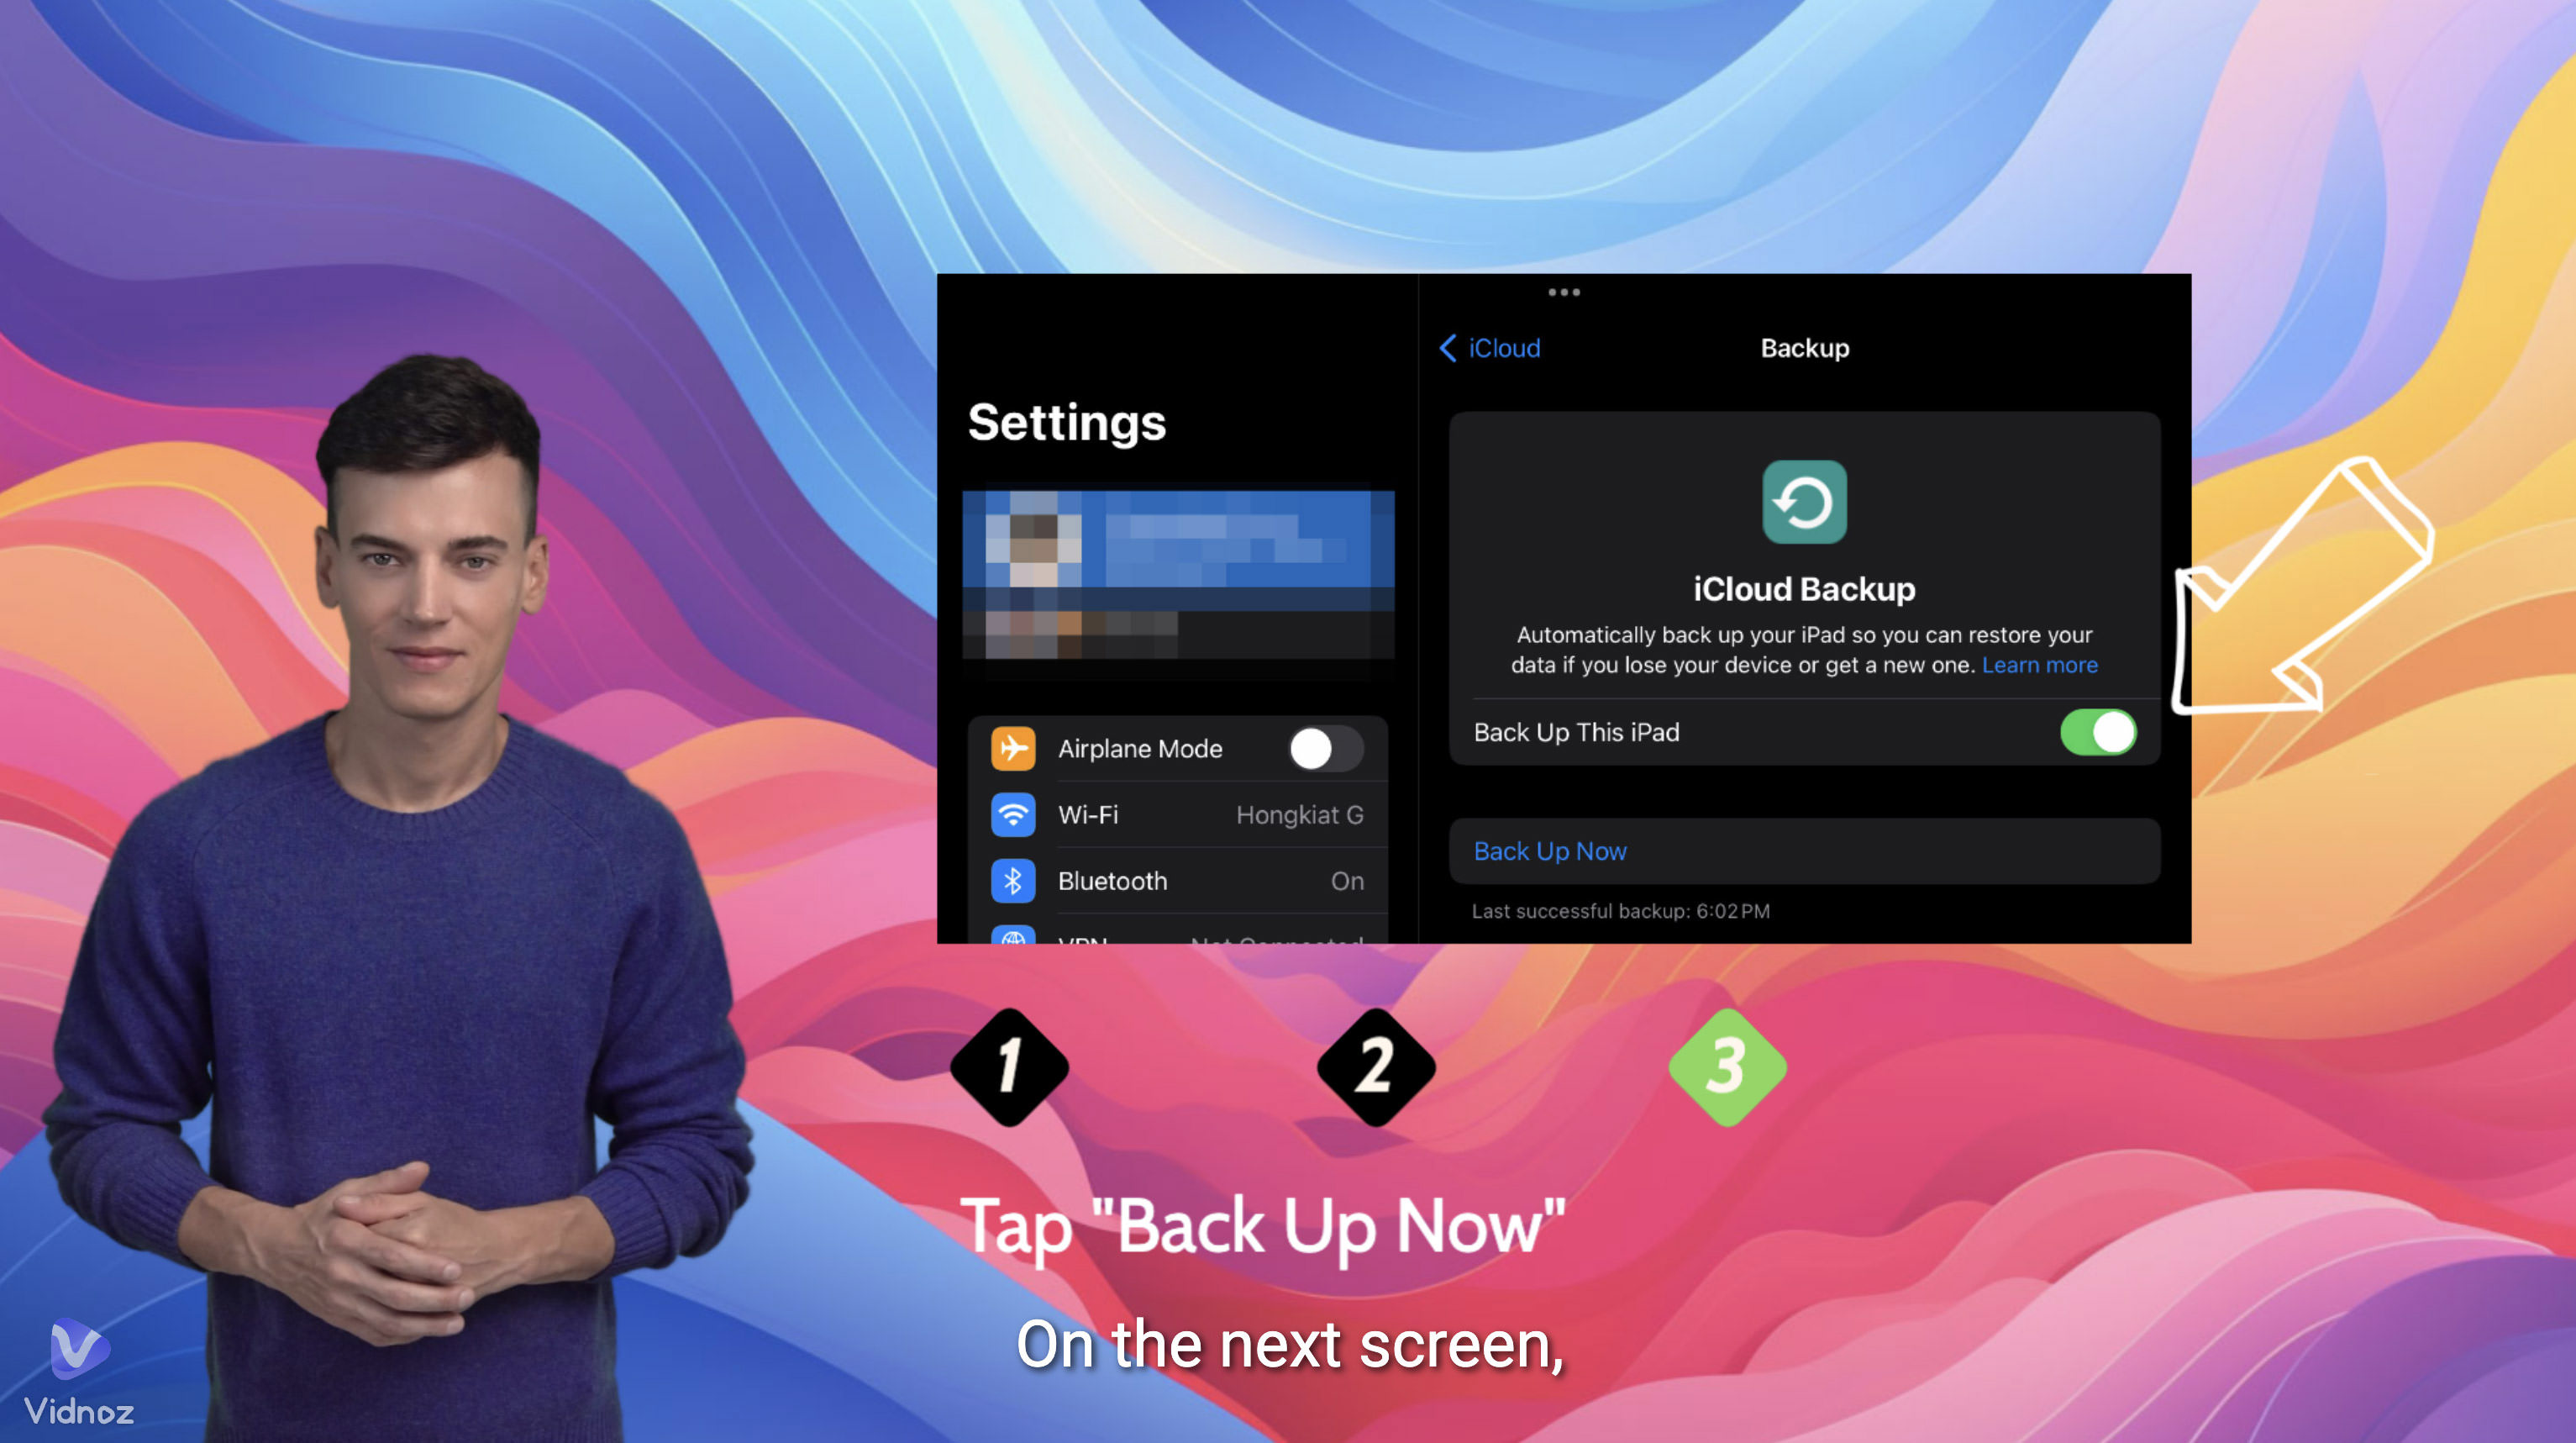
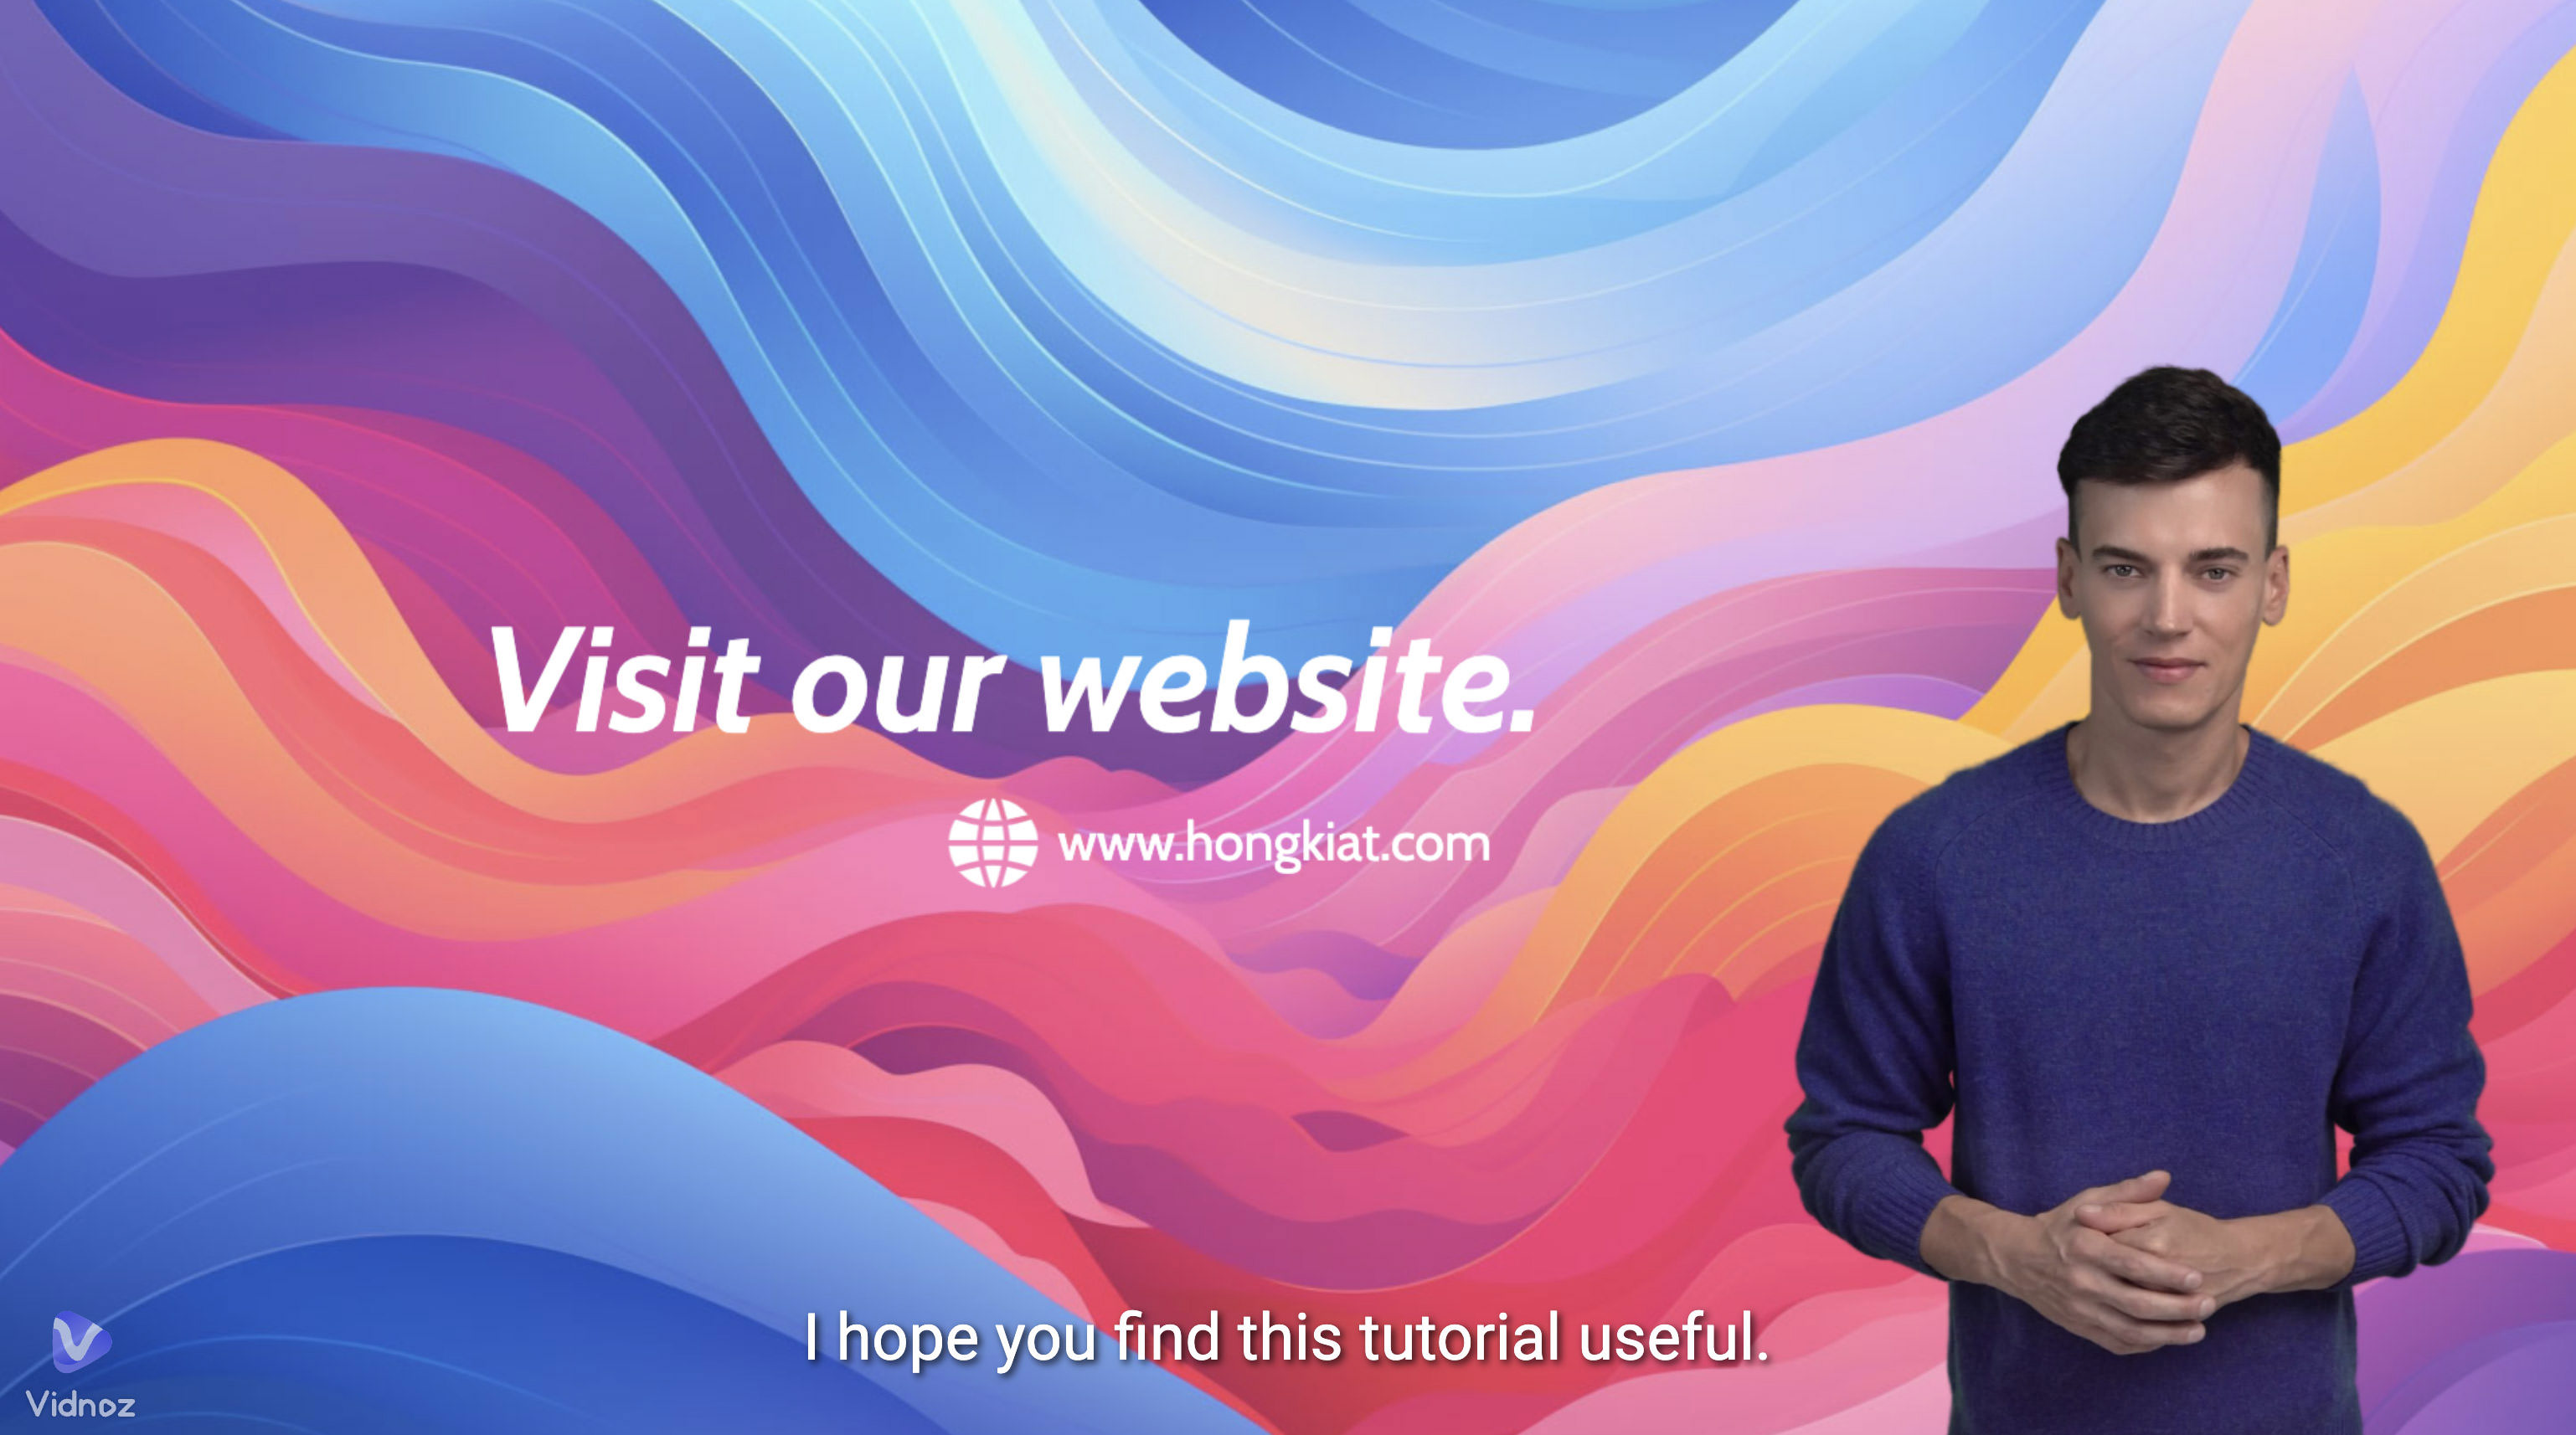
To finish the video, I added a logo in the top right corner of all scenes.
Generating the Final Video
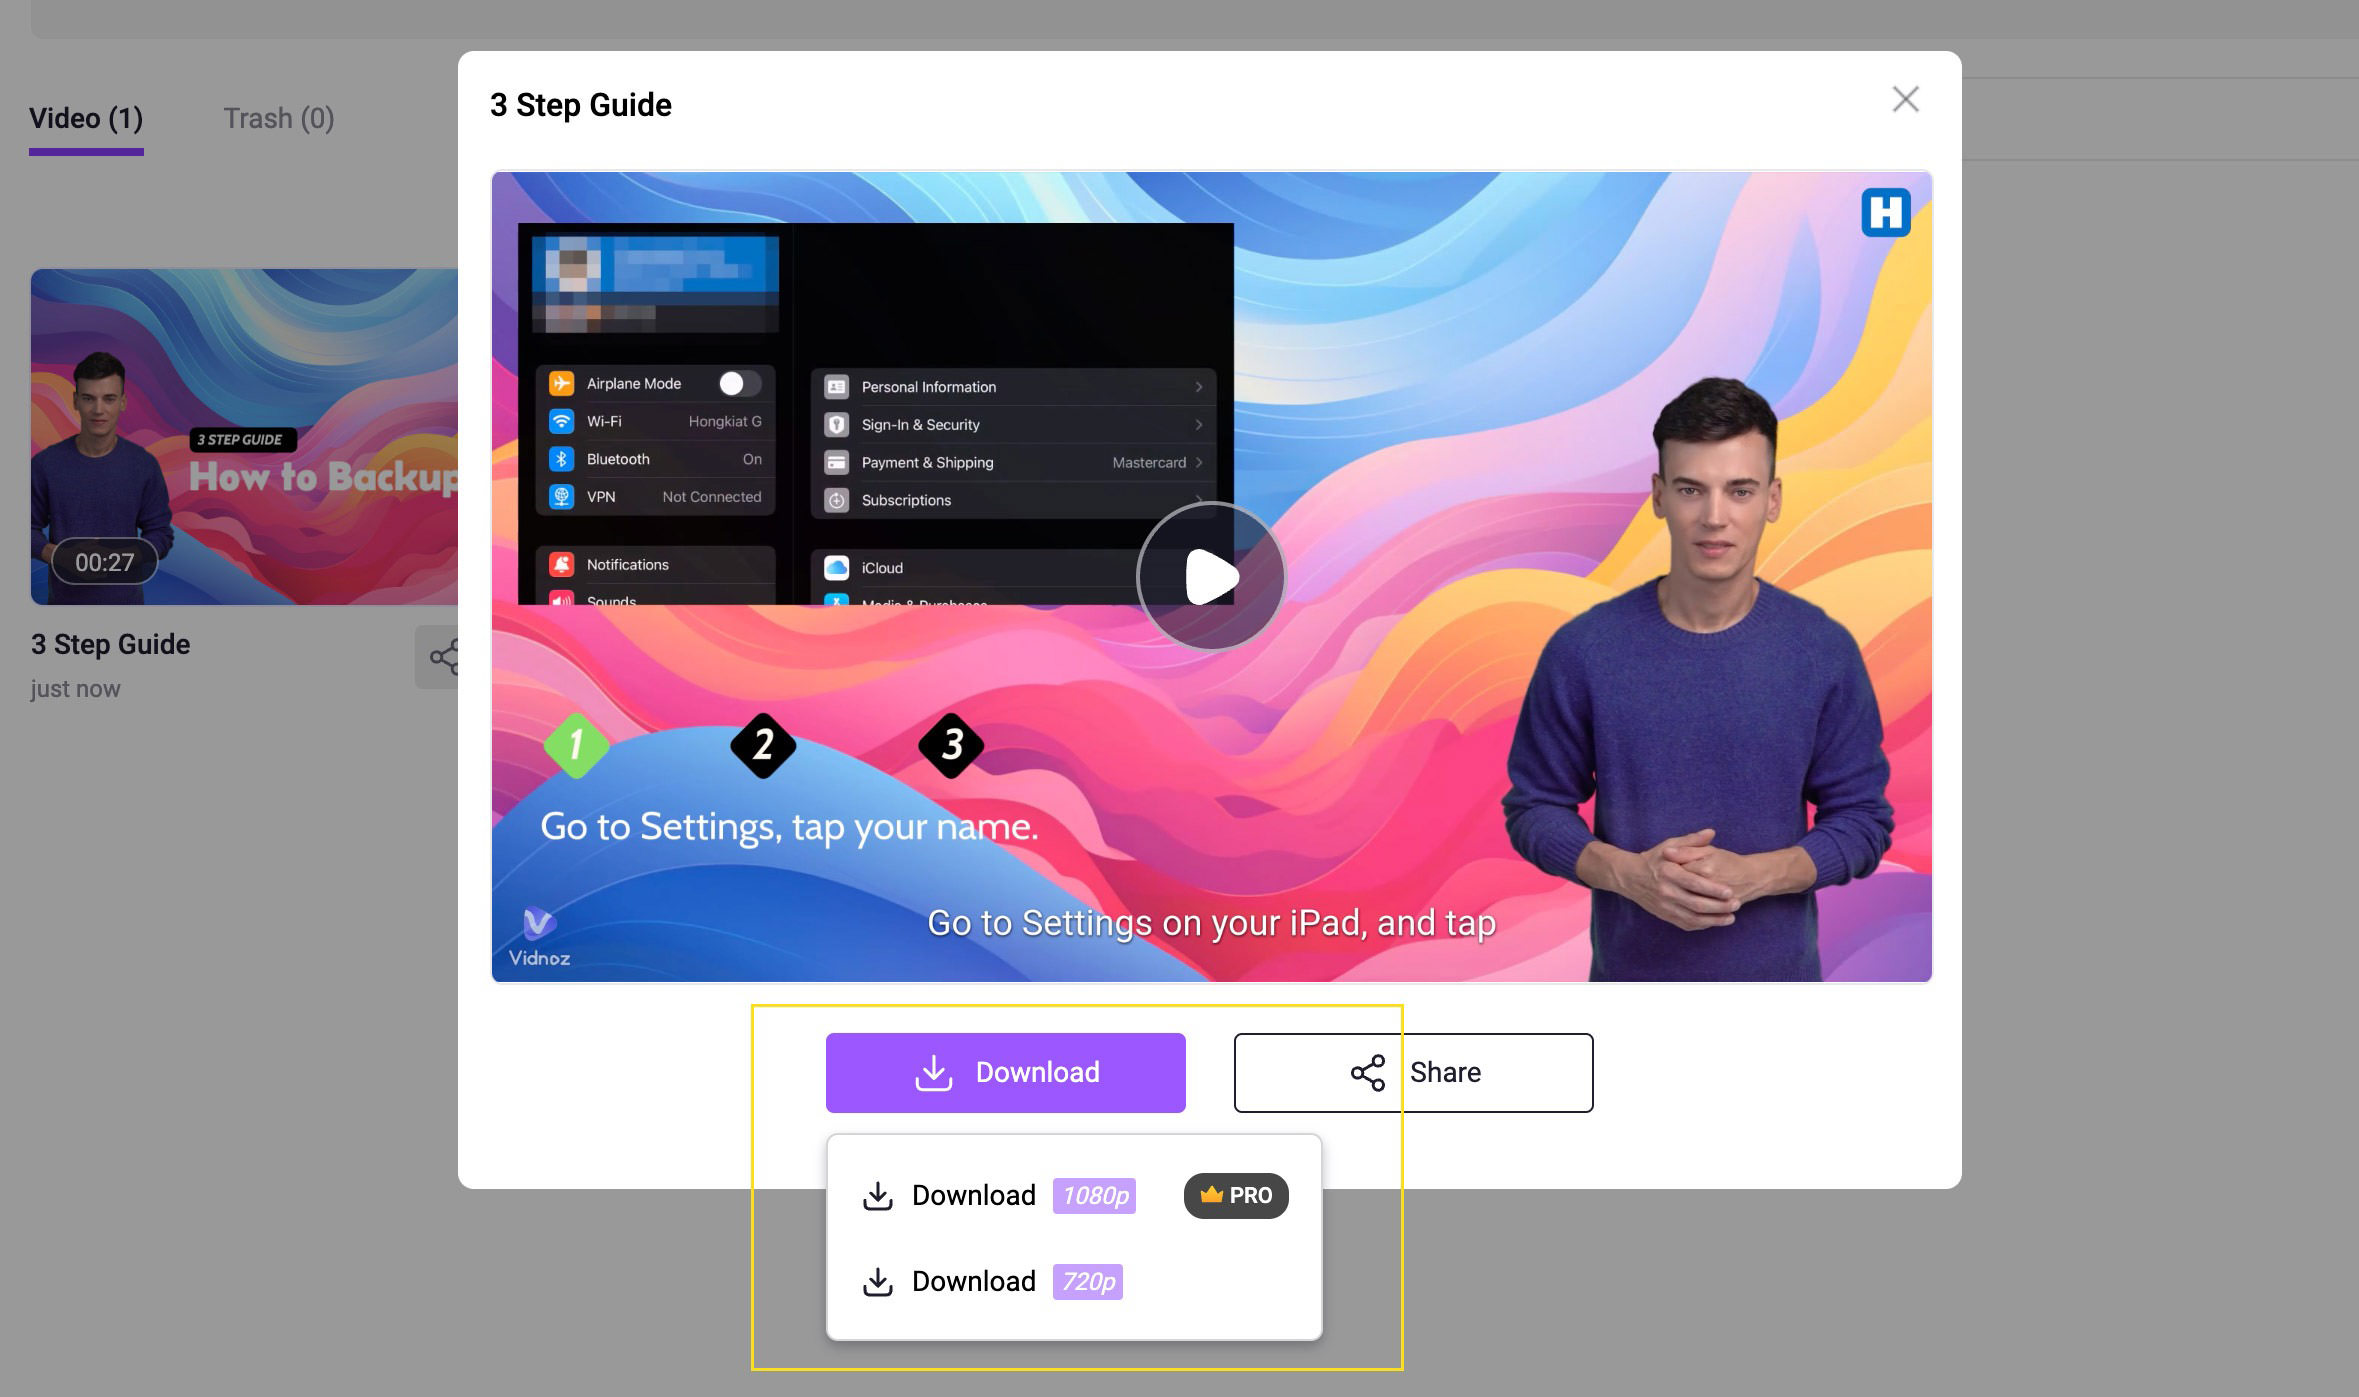
Before finalizing the video, I previewed it once more to ensure everything was as expected. Then, I clicked “Generate” to create the final version of the video. The generation time depends on the video’s complexity, such as the number of scenes involved. The creation of this 3-step tutorial with 5 scenes took about 6 minutes.
To see the video I produced, refer to the top of this post or click here.
Note: The avatar won’t animate during the preview, only in the final video.
Pricing of Vidnoz AI
Creating and downloading a video using Vidnoz AI is free. However, with a free account, the final video will have a small Vidnoz watermark at the bottom left of the screen, and the downloaded video is limited to a 720p resolution.
To remove the watermark or access higher resolution downloads, a subscription plan is required. Here are the details of each plan:
| Plan | Details |
|---|---|
| Free Plan |
|
| Starter Plan ($22.49/month) |
|
| Business Plan ($56.99/month) |
|
Click here to learn more about the pricing of Vidnoz AI.
Final Thoughts
Vidnoz AI definitely simplifies the video creation process. However, it has some limitations, such as the need for manual precision in positioning elements. In the video I created, trying to align the logo consistently across different scenes was challenging.
It would be more efficient if changes could be applied to all scenes with a single click or if there was an option to input exact X and Y coordinates for element positioning.
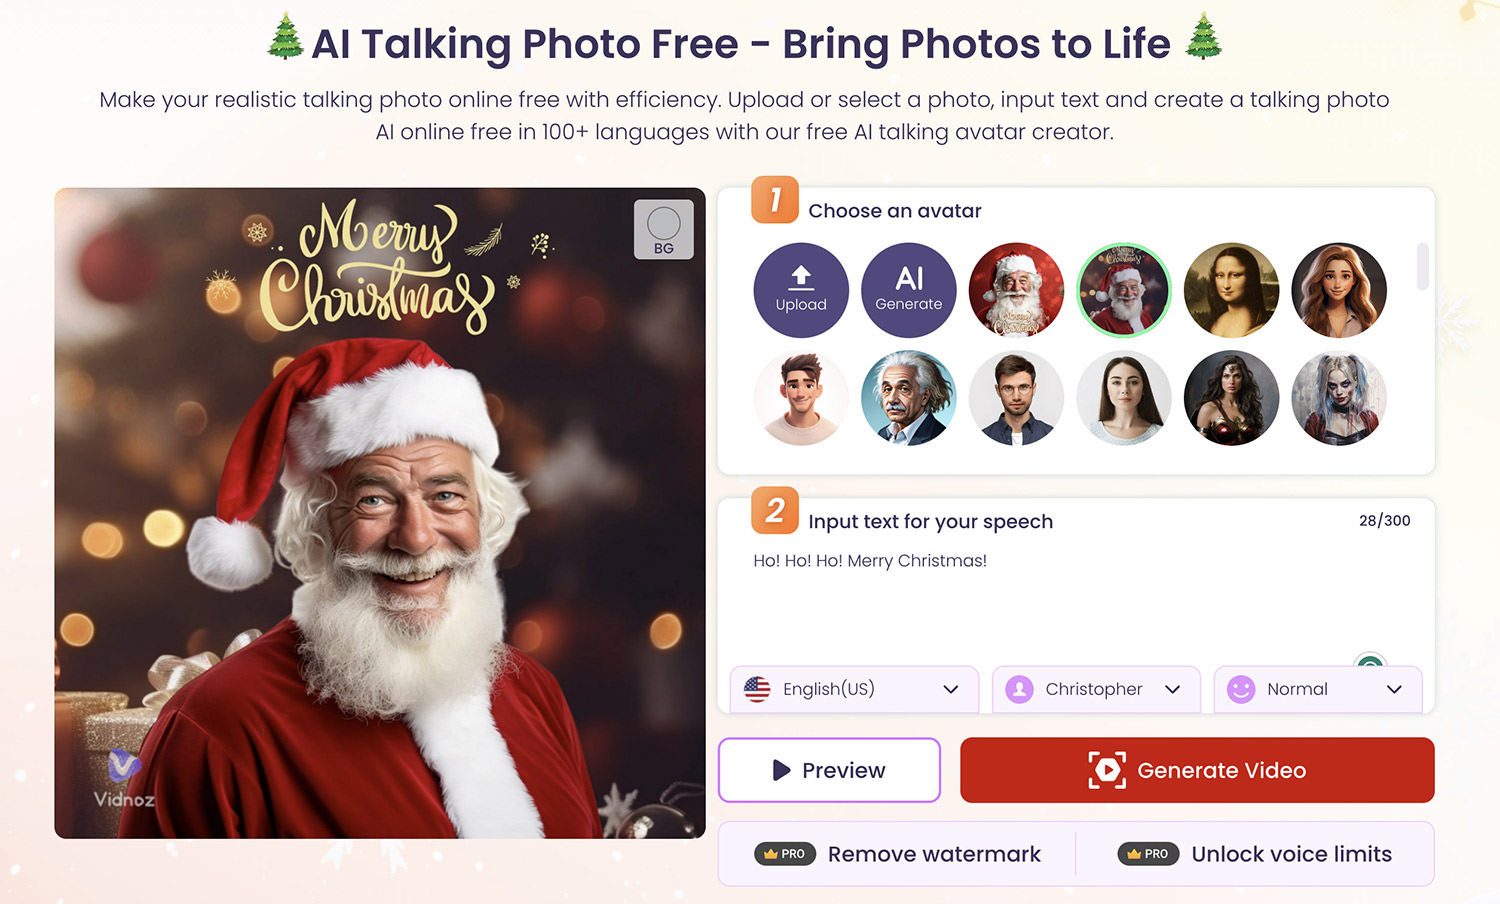
Talking Photo
Vidnoz AI also offers a simpler version named “Talking Photo” that turns any photo (with a face) into a talking video.
Lastly, here are some pros and cons I’ve noticed:
Pros:
- Free to use.
- User-friendly interface.
- Wide range of templates for quick video creation.
Cons:
- Absence of an “apply to all scenes” option for certain settings.