How to Mine ArQmA Coin (ARQ) With Your PC
ArQmA is a decentralized open-source public blockchain project. It is a cryptocurrency based on the Monero source code and is constantly being improved with new features developed by their team.
ArQmA uses the same Proof-of-Work (PoW) consensus algorithm as Bitcoin, with the exception that its approach lets even novice miners with an ordinary CPU to start mining. In this post, you will learn how to mine ArQmA on Windows and Linux using your own CPU.
How to Mine Monero (XMR)
Monero (XMR) is an open-source cryptocurrency based on Unlinkability and Untraceability. This means that it will be nearly... Read more
What to consider before mining ArQmA
Most beginners do not know about the factors that they need to consider when mining any cryptocurrency, including ArQmA. So, here’s a look at the most essential things to keep in mind before you start mining ArQmA.
Profitability
Before you start learning how to mine ArQmA using your CPU, you should think about how profitable it is to mine it.
The two most important aspects of cryptocurrency profitability are mining hardware hashrate and electricity costs.
To make it easier to determine if ArQmA mining is profitable for you, you can use the ArQmA mining calculator. It will help you figure out how much profit you’ll make when you start mining ArQmA.
Hash rate
Hash rate is an estimate of the total amount of computational activity that miners do to add new blocks to the network.
Simply put, hash rate means how many hashes or calculations a device can perform per second. For this activity, individuals who mine are rewarded in the form of cryptocurrency.
This is why having a CPU with high processing speed will make you more profitable.
How to mine ArQmA
Using your device’s CPU is the most typical way to start mining ArQmA. You can also get a CPU exclusively for mining.
Recommended minimum specs for mining ArQmA:.
- 2 GB RAM minimum supported by AES-ni processor.
- 4-core or higher Intel or Ryzen processor. Thus, the more cores you have, the better.
- Quality CPU Air Cooler or All-in-One Liquid CPU Cooler
Let’s take a look at how to mine ArQmA.
Step 1: Install a ArQmA wallet
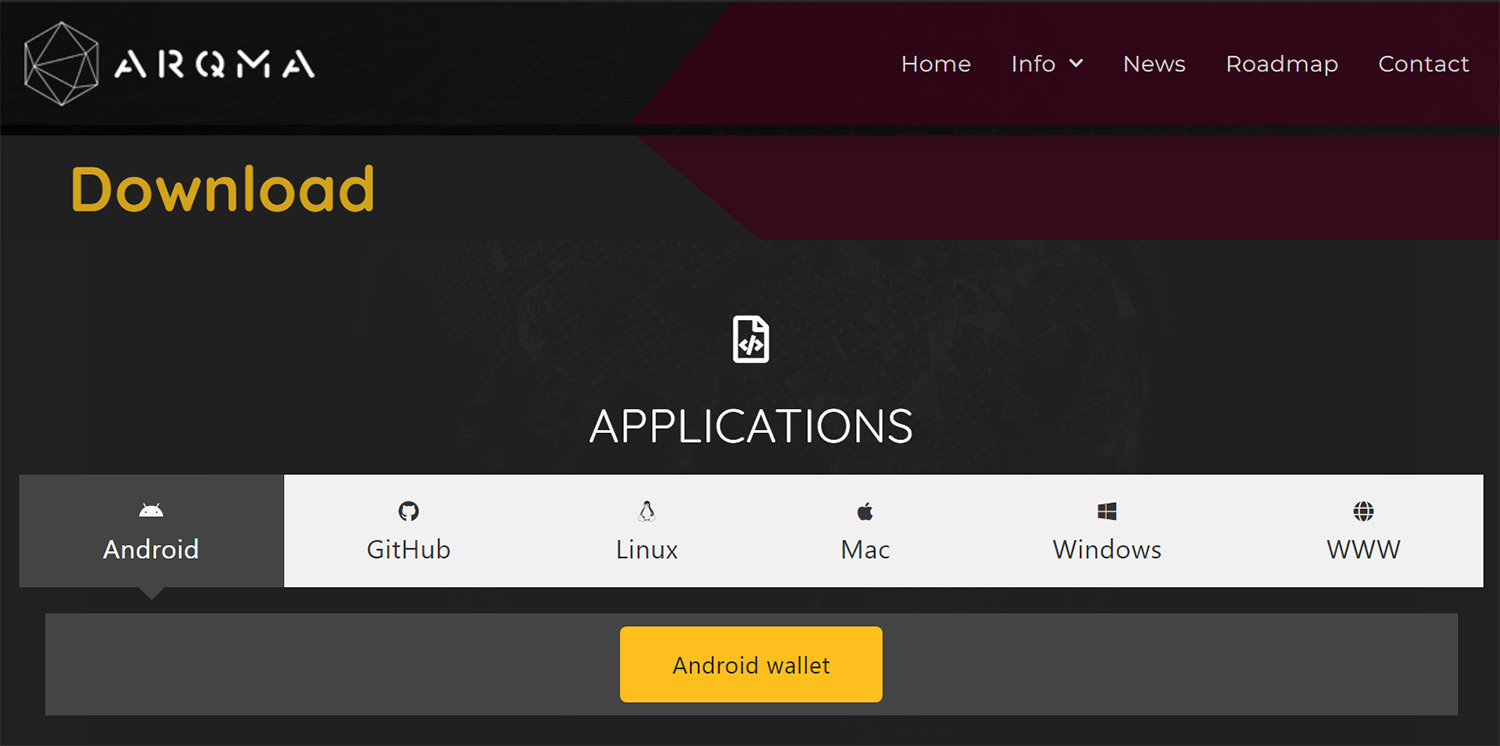
First, you need to download, install, and set up a crypto wallet. In this guide, we will use the ArQmA Electron wallet.
On the download page, you will see different operating systems for installing the wallet. Click the OS that you’re using and head to the next step.
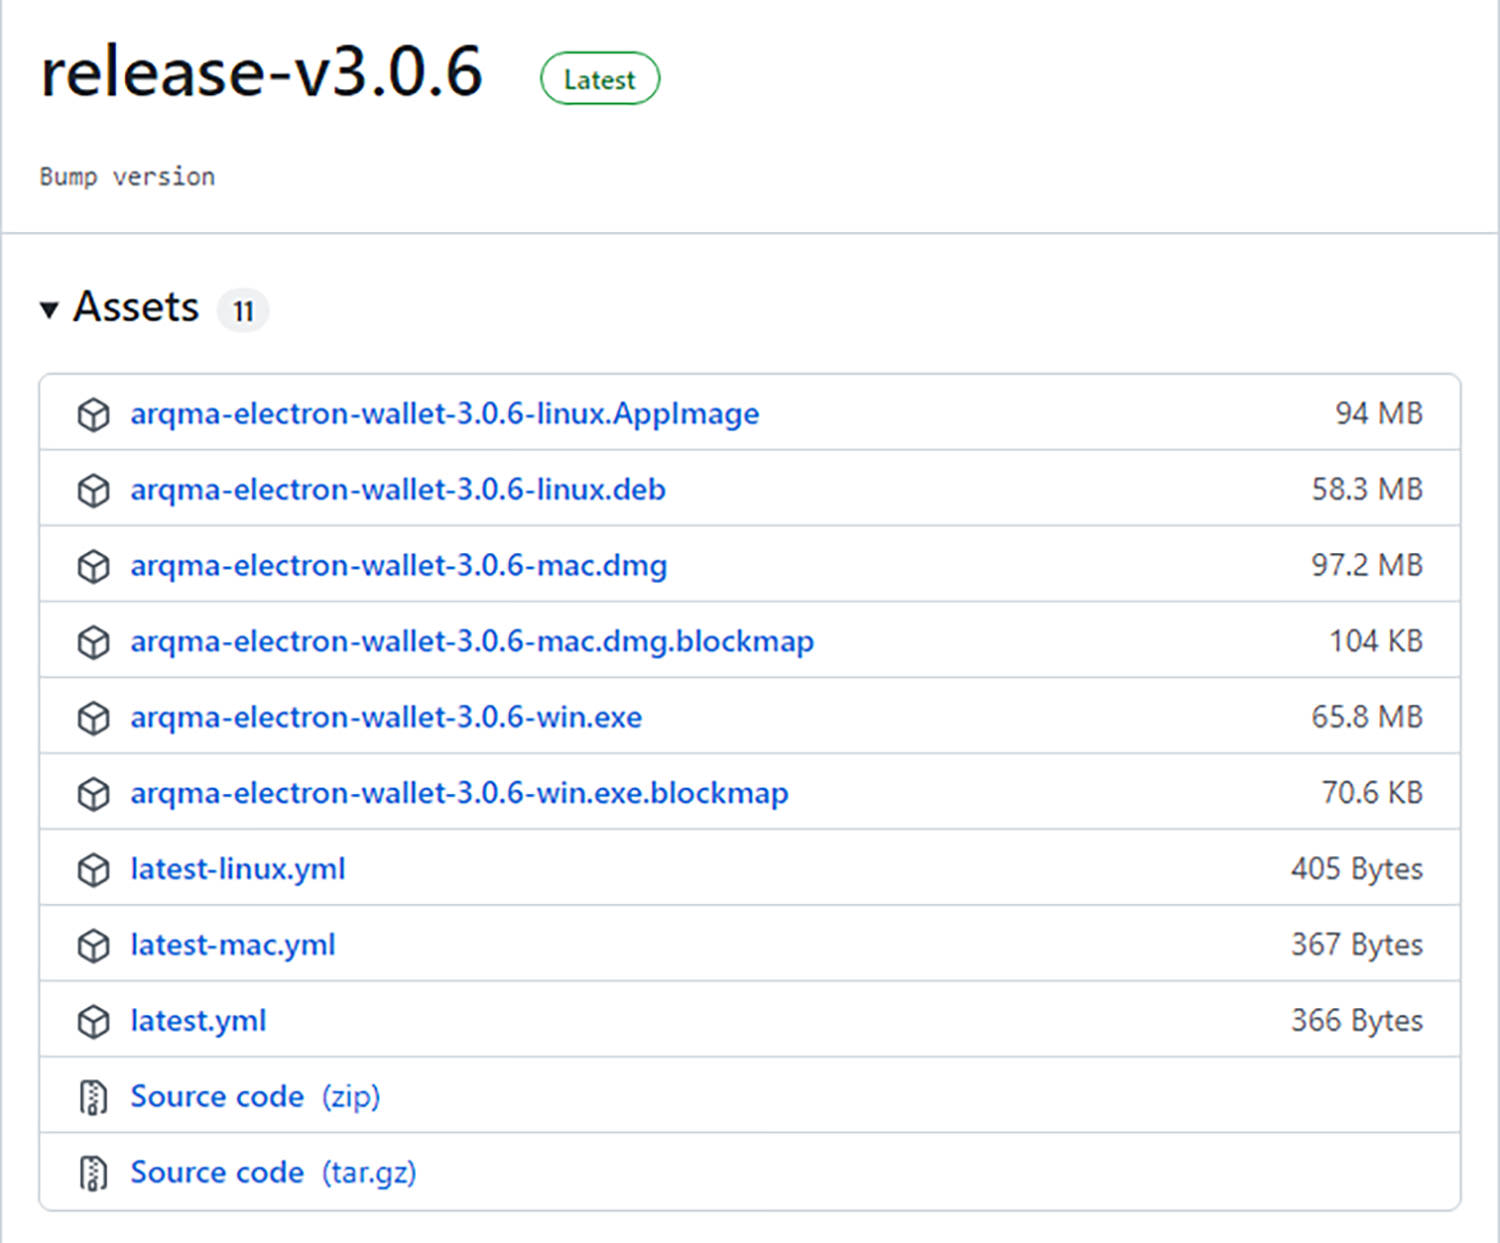
Step 1.2: Install the file on Github
Once you click on the OS of your choice, you will be redirected to Github where you’ll find the installation files. Click on the required file to download it.
Step 1.3: Select Installation Options
Choose one of the options to make this software available to all users or only to yourself. Then click the Next button.

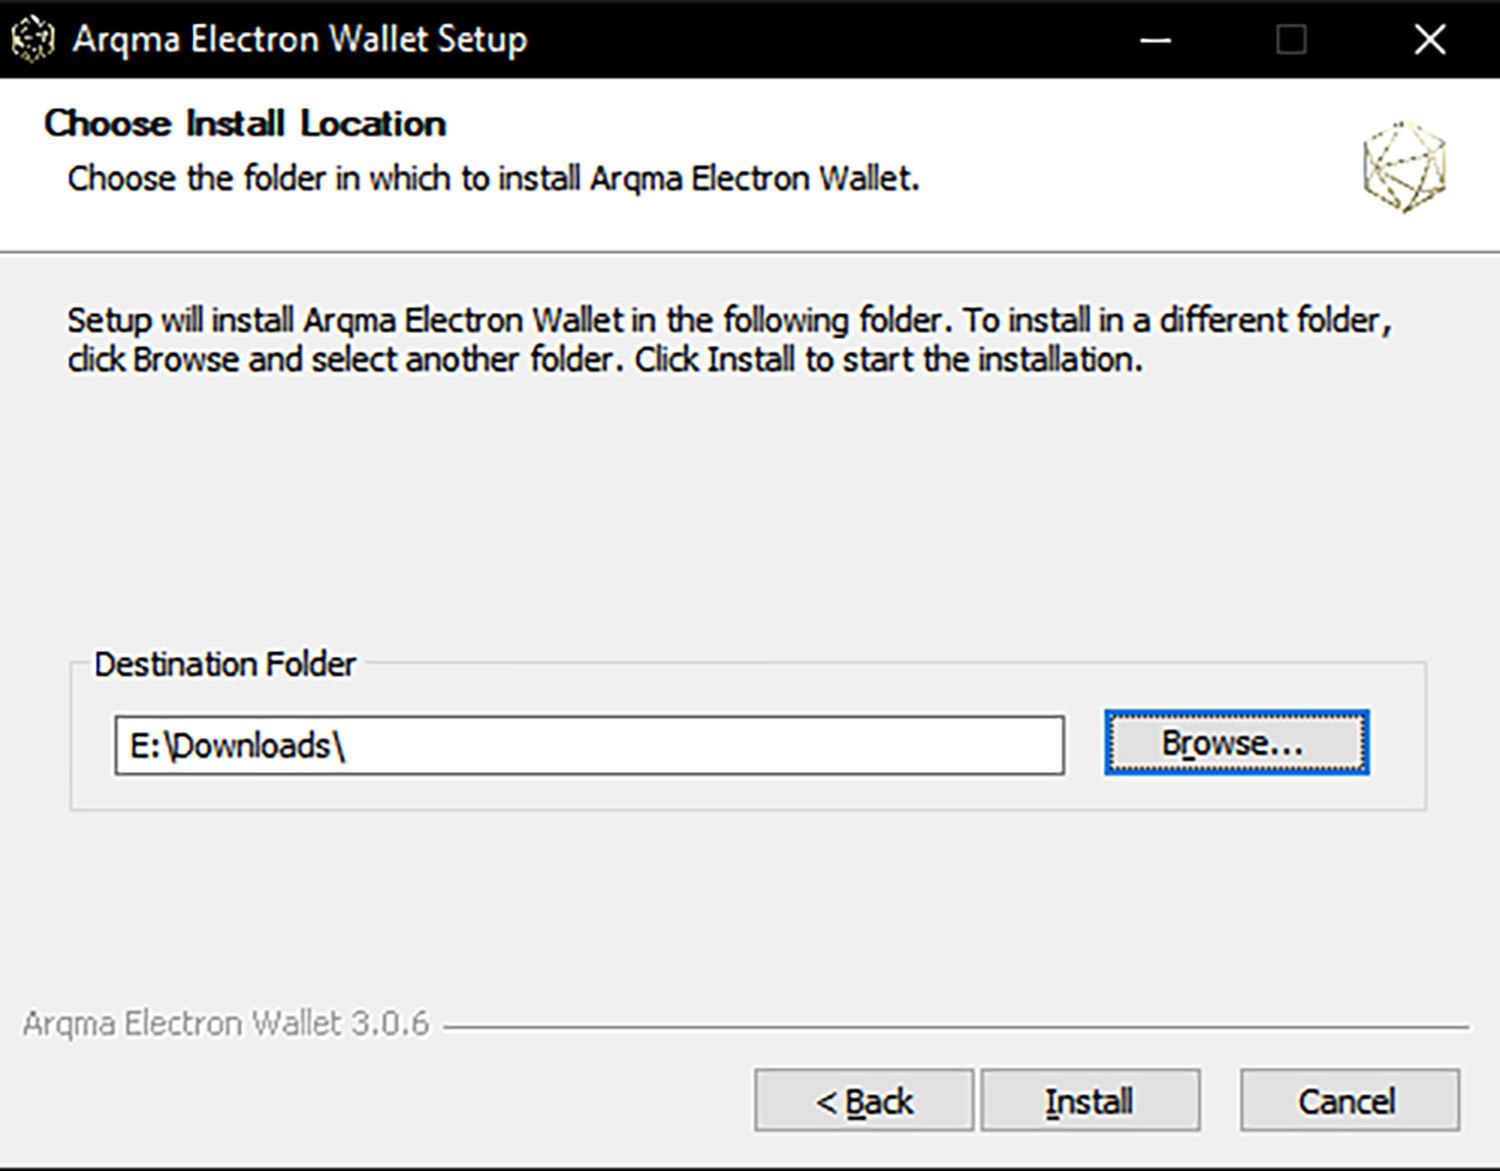
Step 1.4: Choose an Installation Location
Click the Browse button and select the destination folder for installation. Next, simply click the Install button.
Step 2: Open the ArQmA Wallet
Once installed, open the ArQmA electron wallet and select the language of your choice.

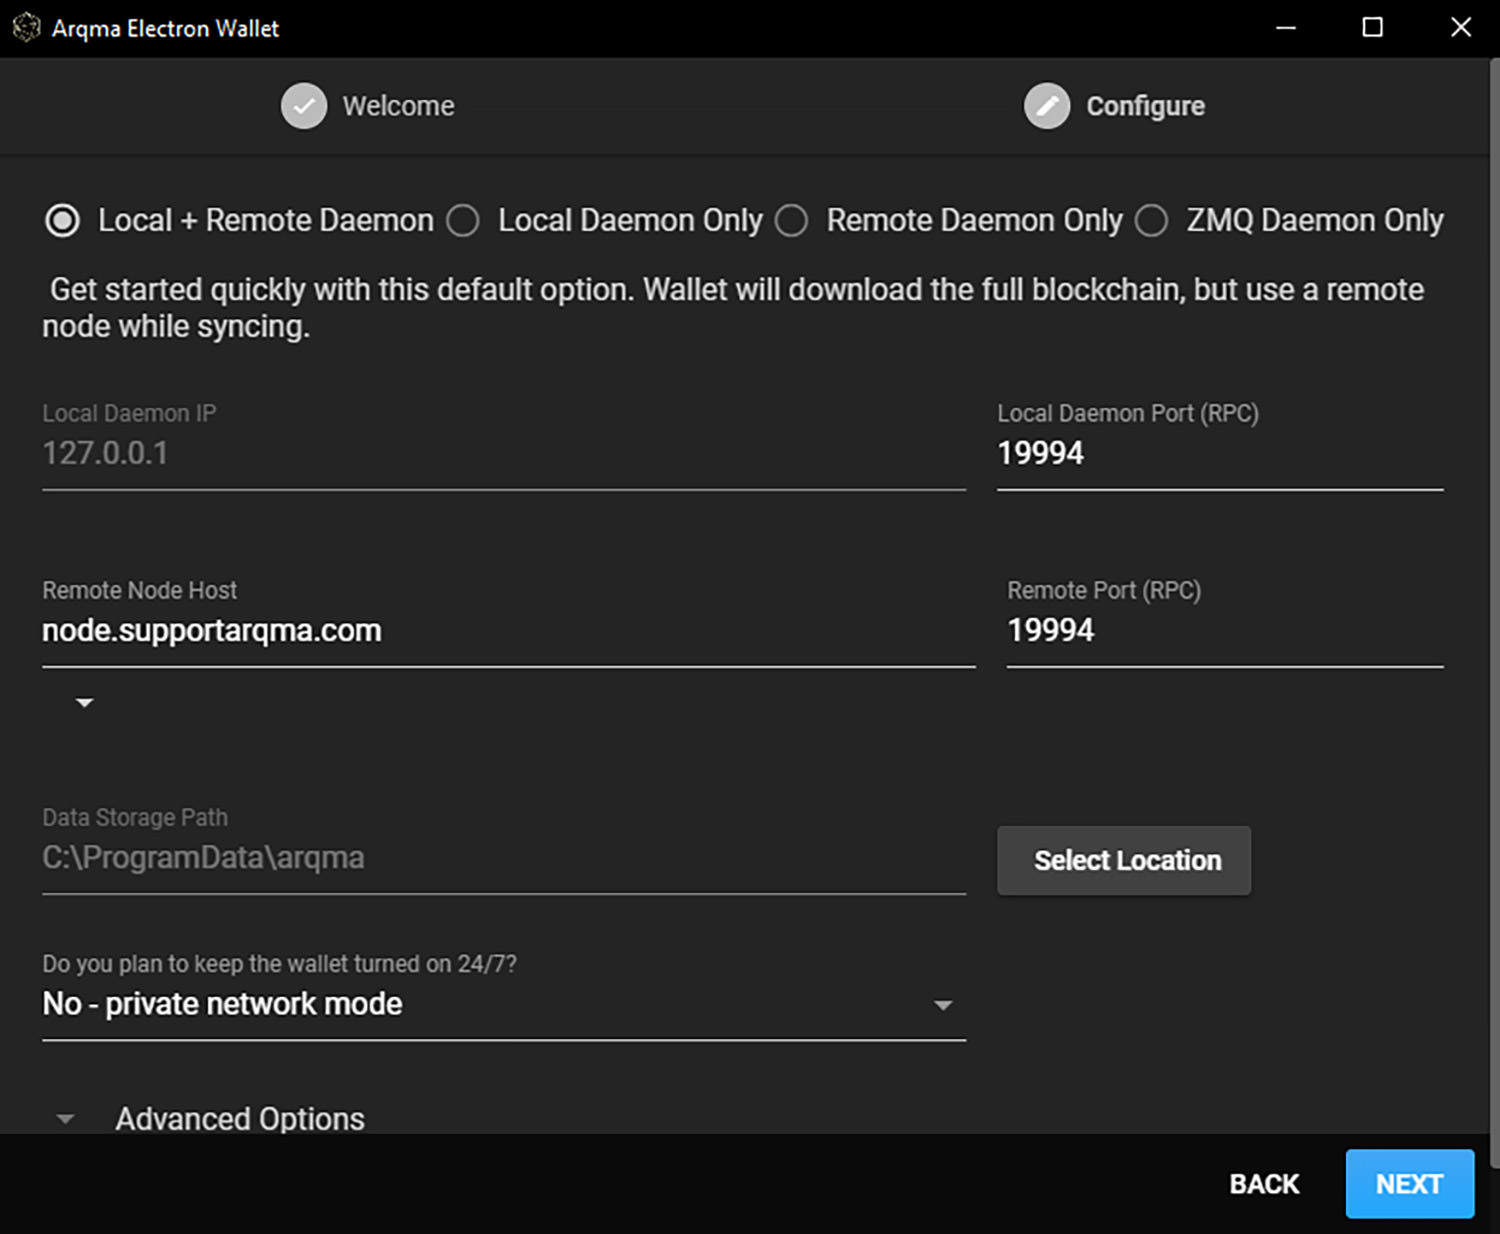
Step 2.1: Setting various options
Here, if you want, you can customize the different options presented. These aren’t significant options so you can just use the default settings and move on by clicking Next.
Step 2.2: Create new wallet
On this page click “Create new wallet.”.

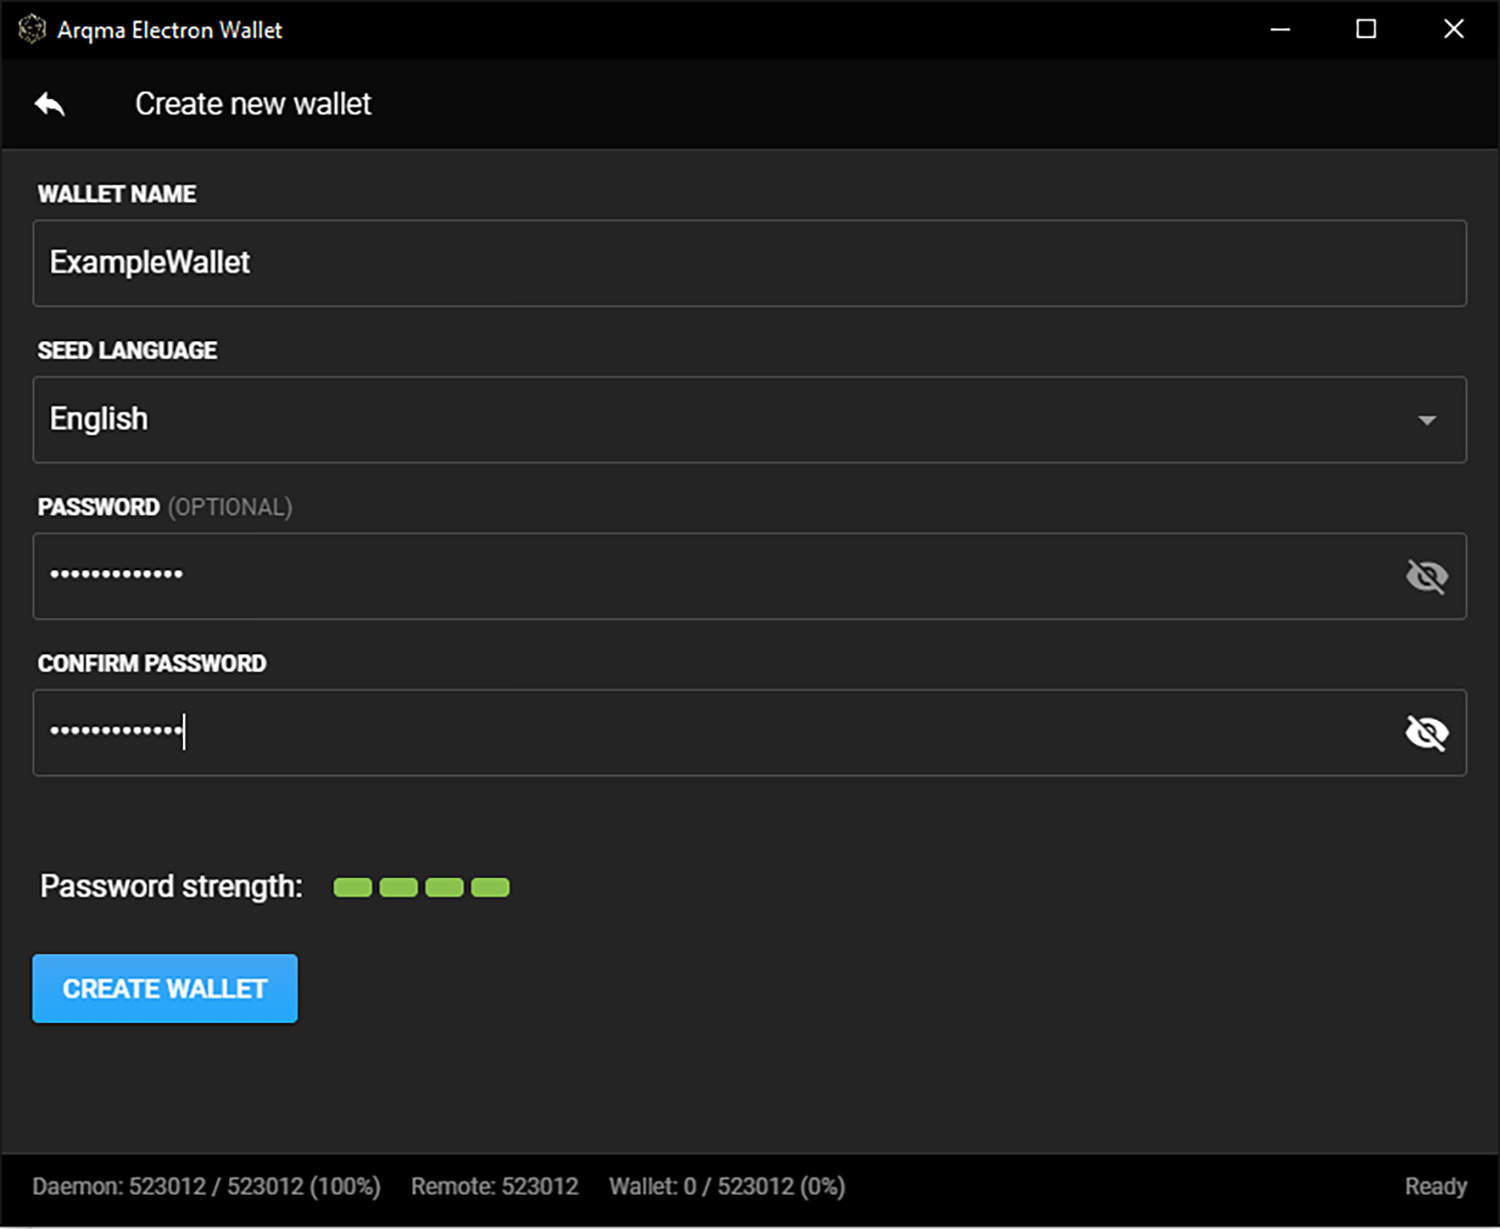
Step 2.3: Wallet Creation
Here you need to enter any name for your wallet, select the Seed Language and create a password. Then click “Create Wallet.”.
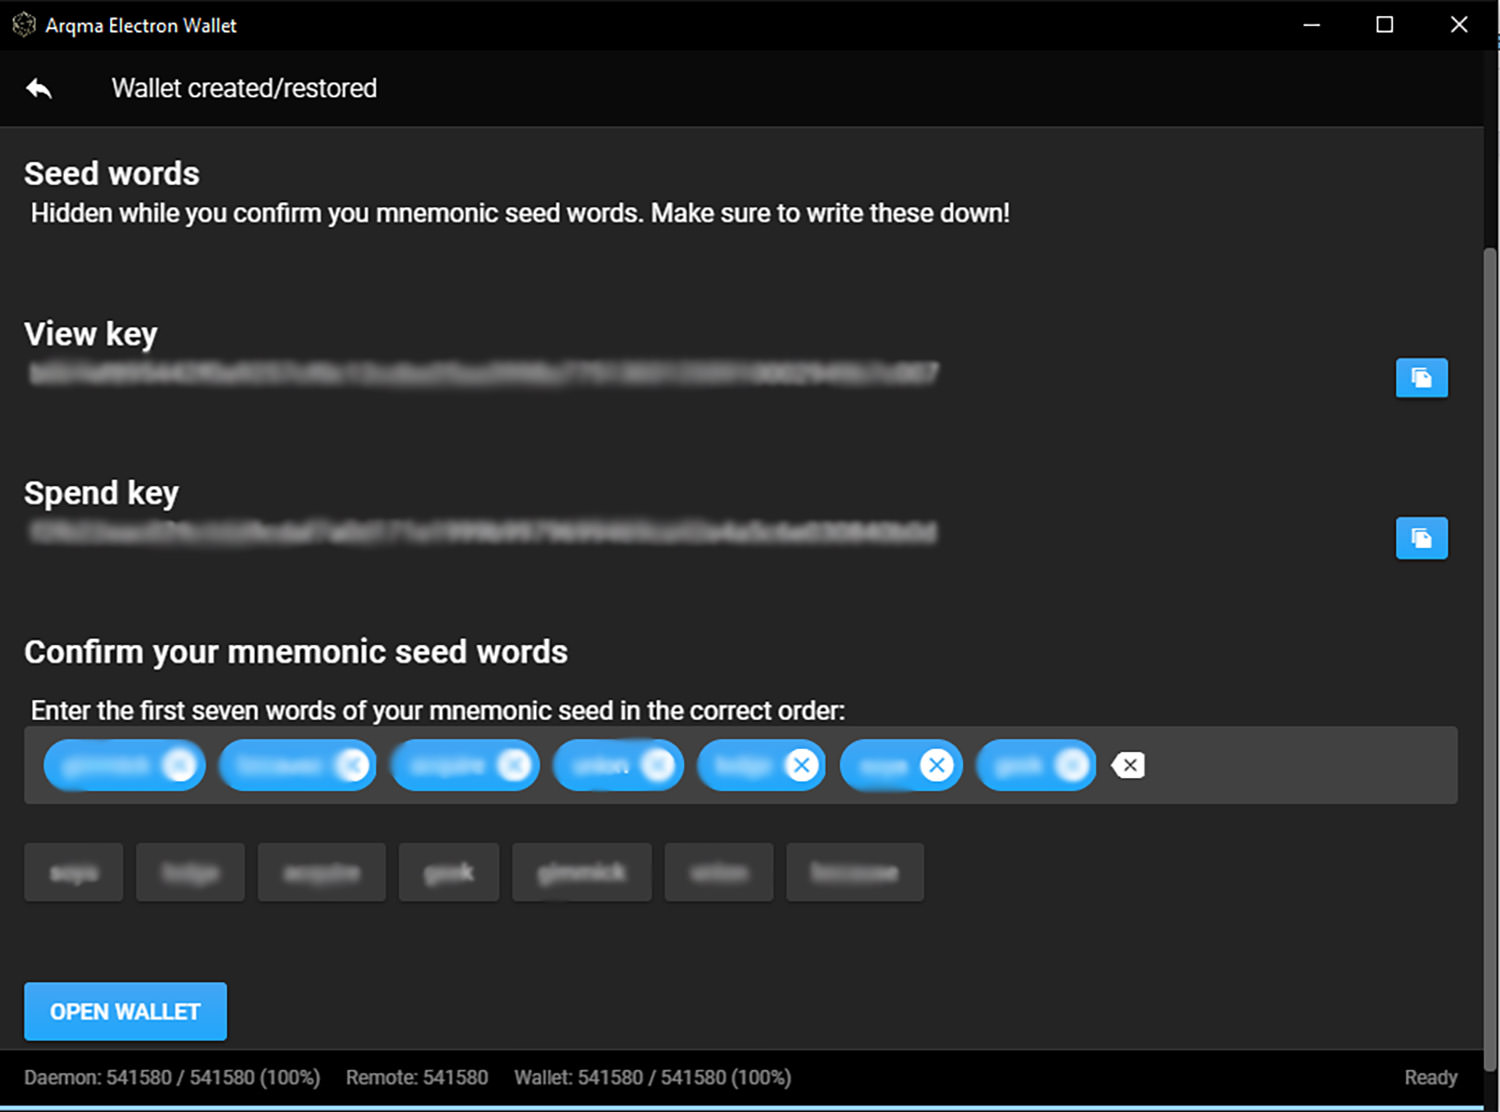
Step 2.4: Confirm your mnemonic seed words
Write down the seed words, and then enter them in the box. After that, simply click the “Open Wallet” button.
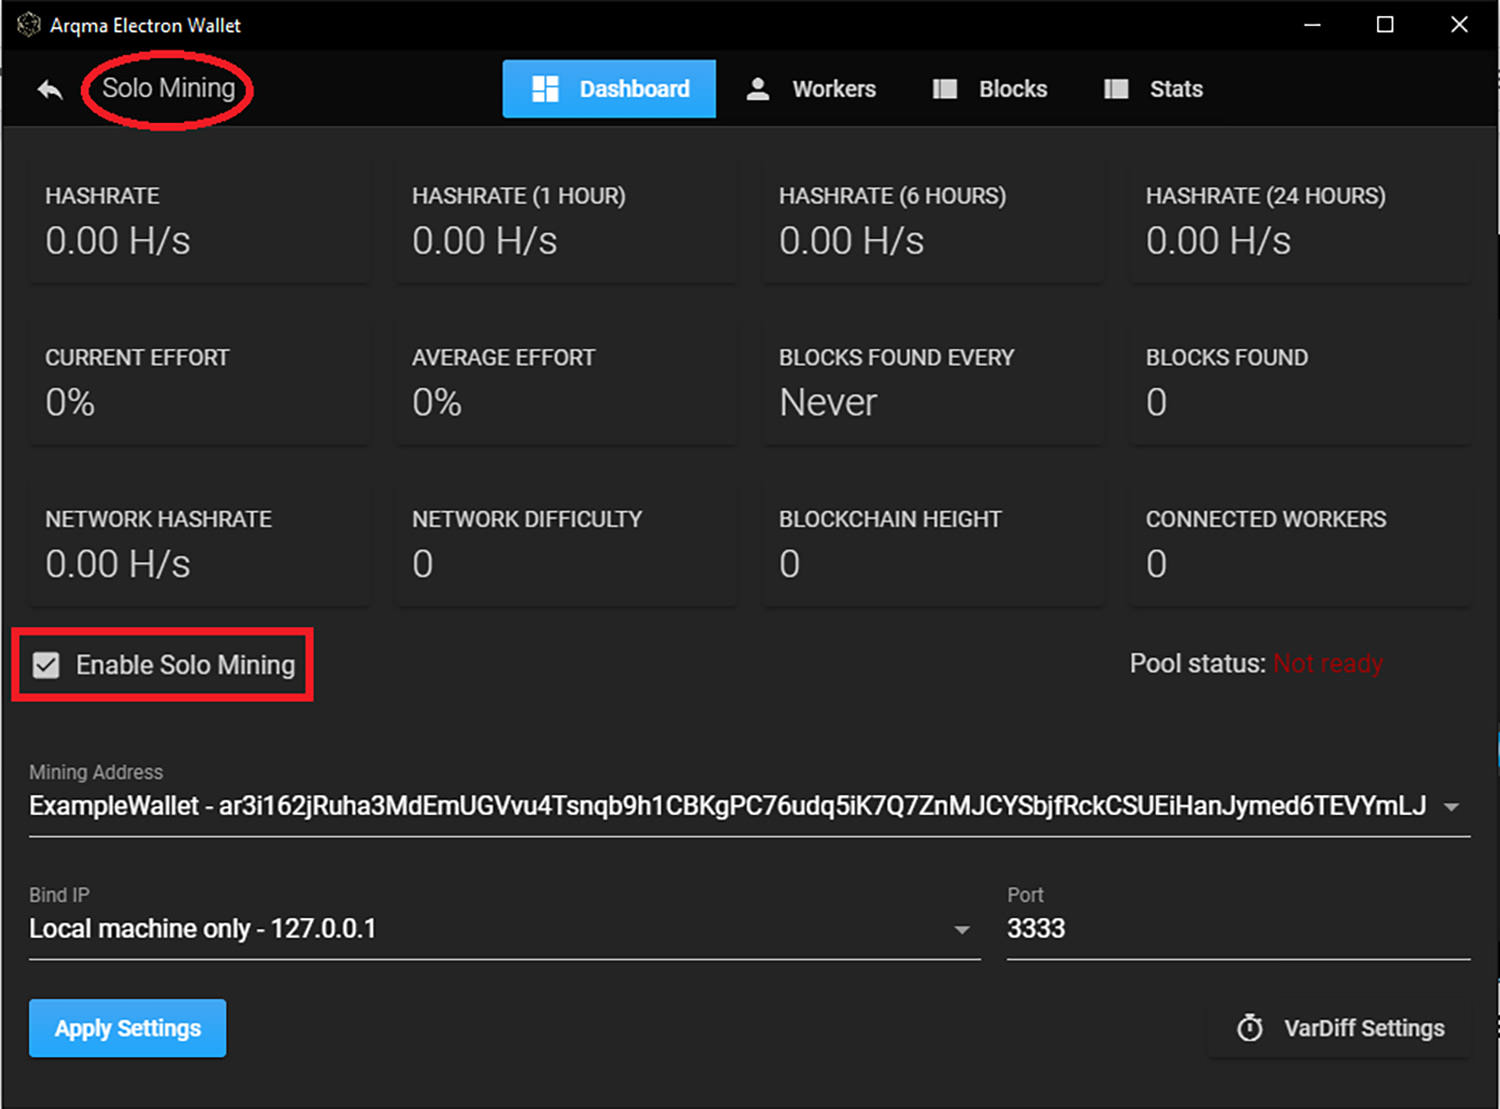
Step 2.5. Enable Solo Mining
Go to the Solo Mining tab and check the Enable Solo Mining option.
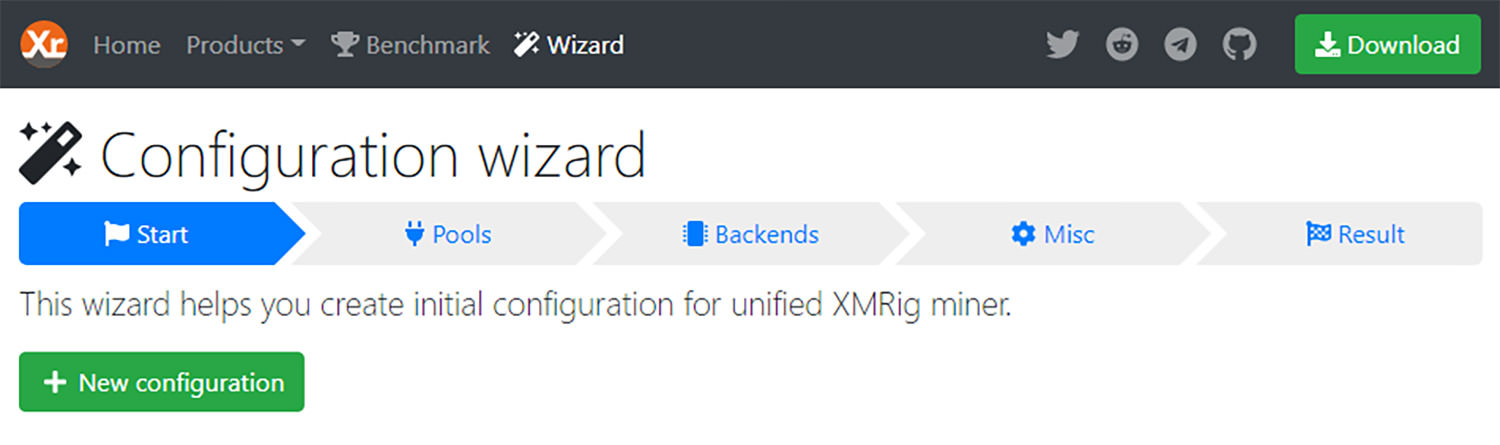
Step 3: Getting a config for mining
For configuring your wallet, first go to the XMRig website and in the Wizard tab, click “New configuration”.
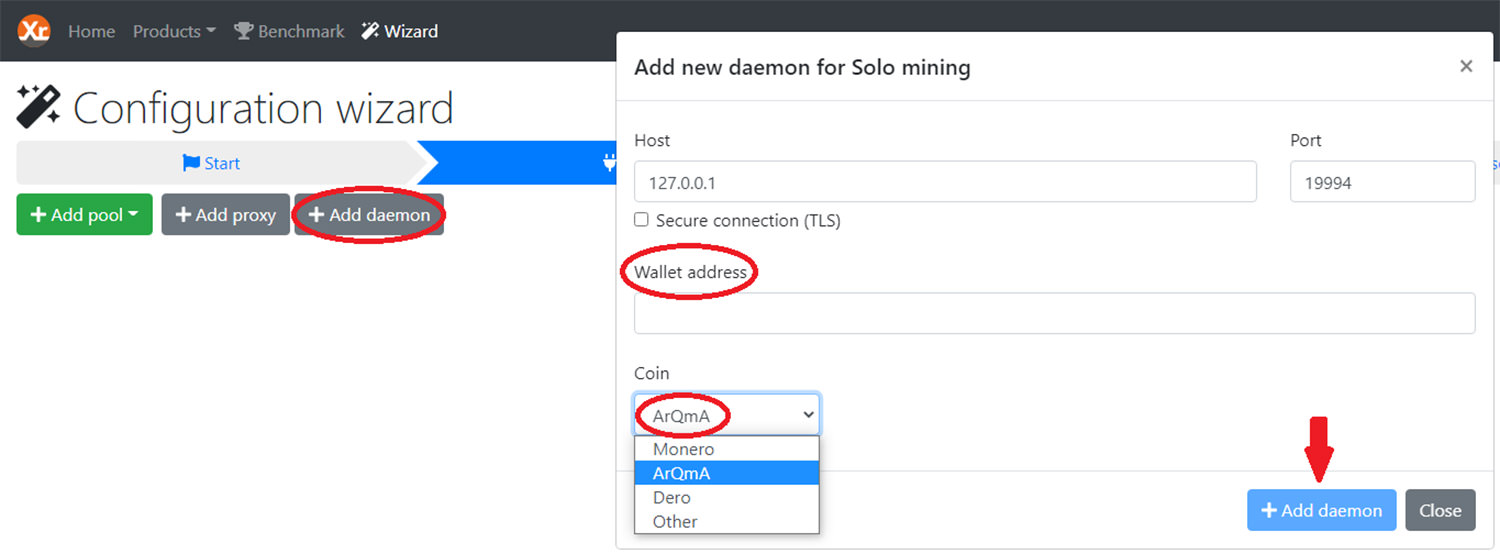
Step 3.1: Add new daemon
Click the +Add Daemon button and in the resulting window enter your IP address under the Host opinion, your wallet address (which you can find in the Arqma Electron Wallet app) and for Coin, select ArQmA. Next, click the blue +Add Demon button to complete the addition of the daemon.
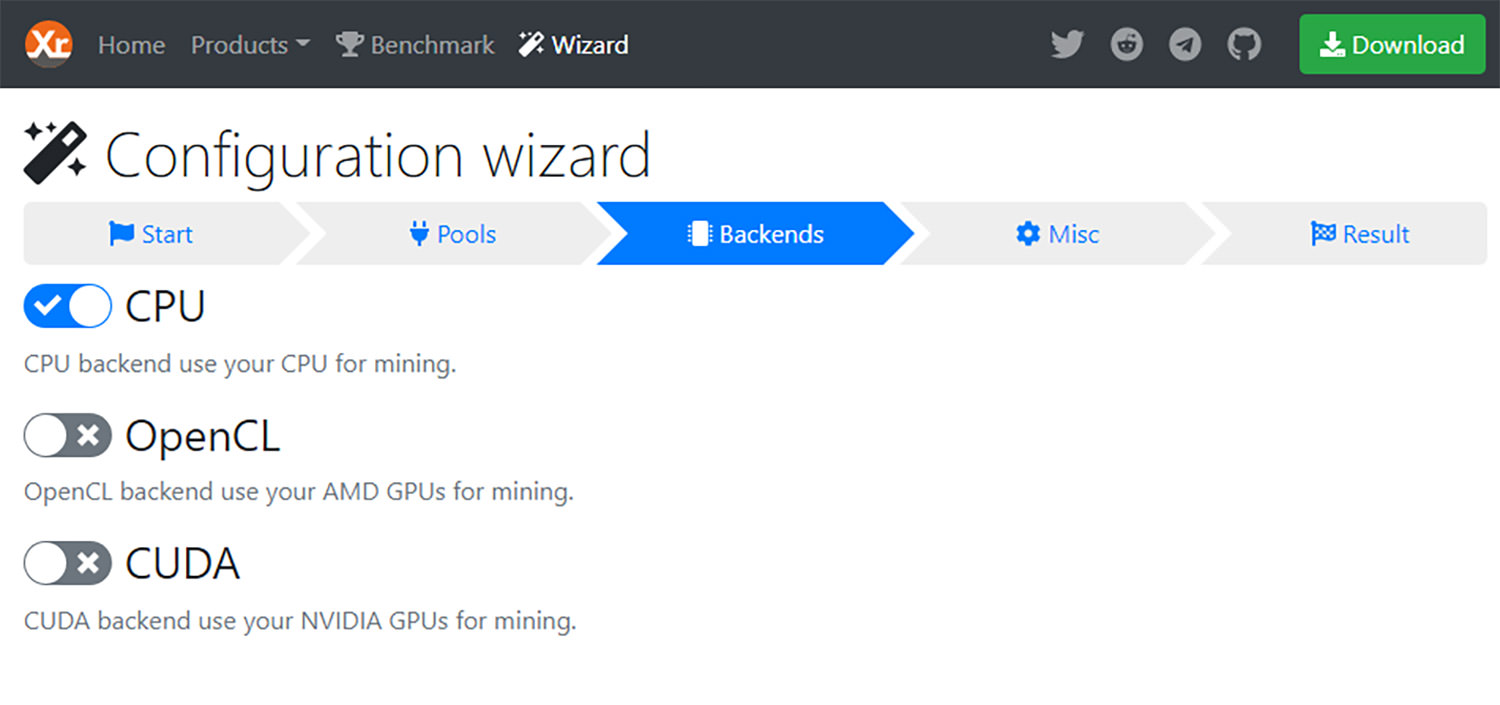
Step 3.2: Use your CPU for mining
Go to the “Backends” tab and select the CPU to use your CPU for mining.
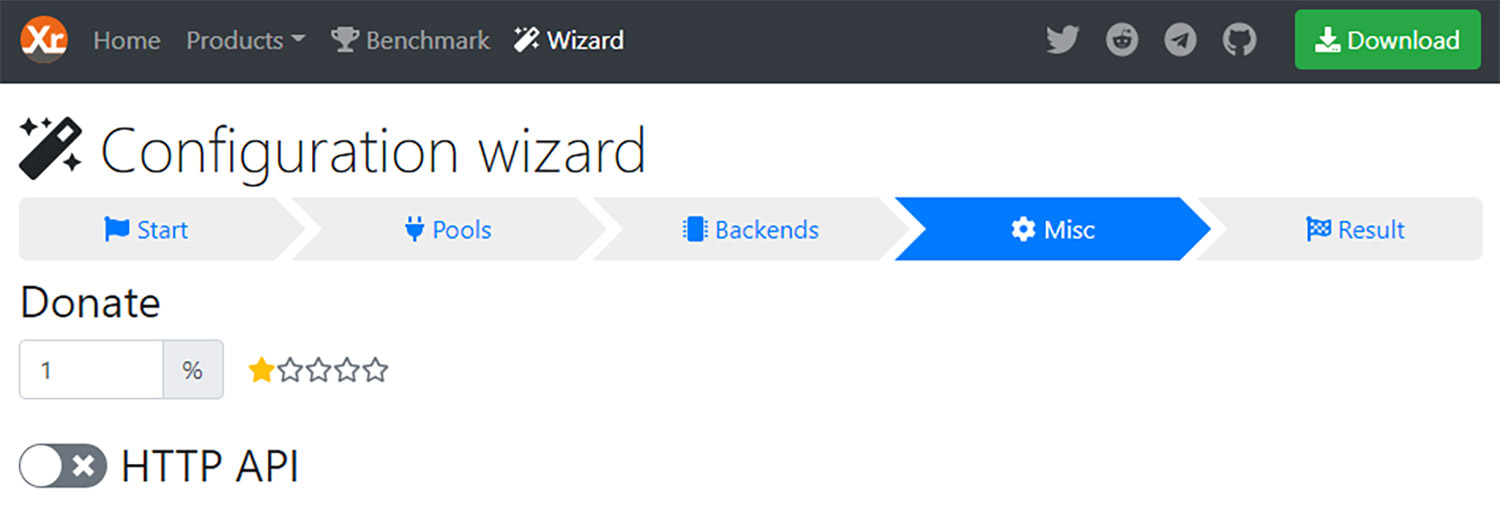
Step 3.3: Donate for the mining software
Go to the “Misc” tab and select the donation percentage for the mining software.
Step 3.4: Download the configuration file
Now go to the “Result” tab and download your own configuration file by simply clicking on the green button.

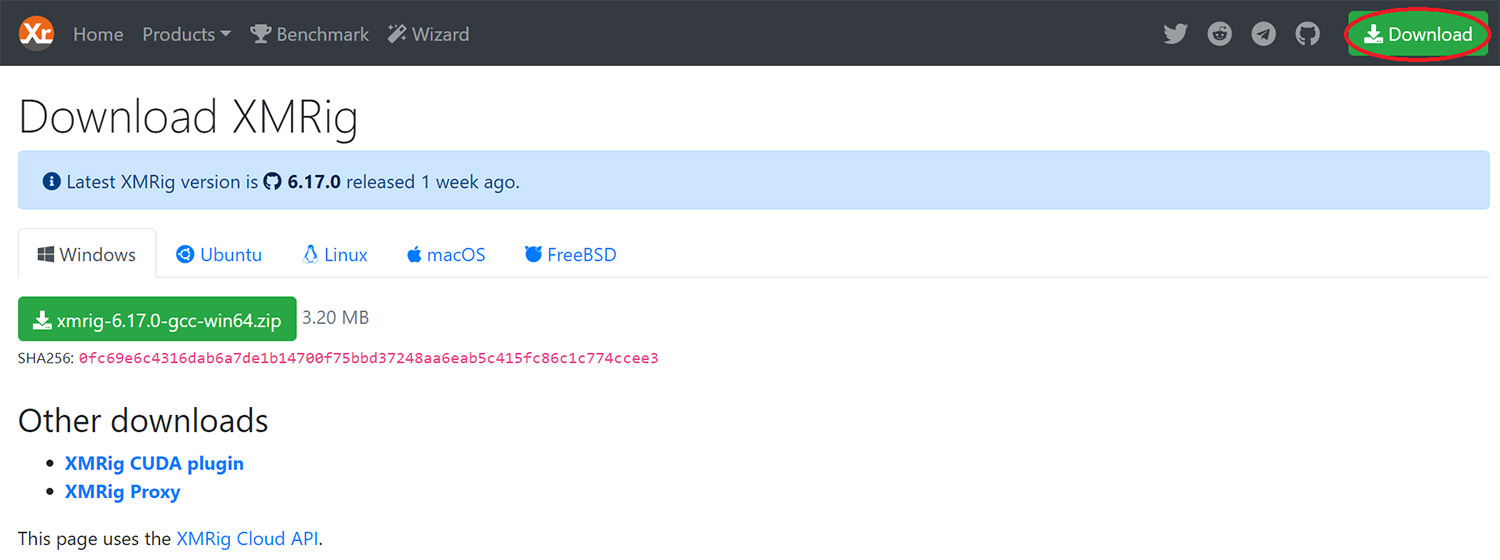
Step 4: Download XMRig software for mining
Click on the green “Download” button on the top right. Choose the OS that suits you and download the appropriate file.
Step 4.1: Extract the file
Now extract the file to your preferred folder in your computer.
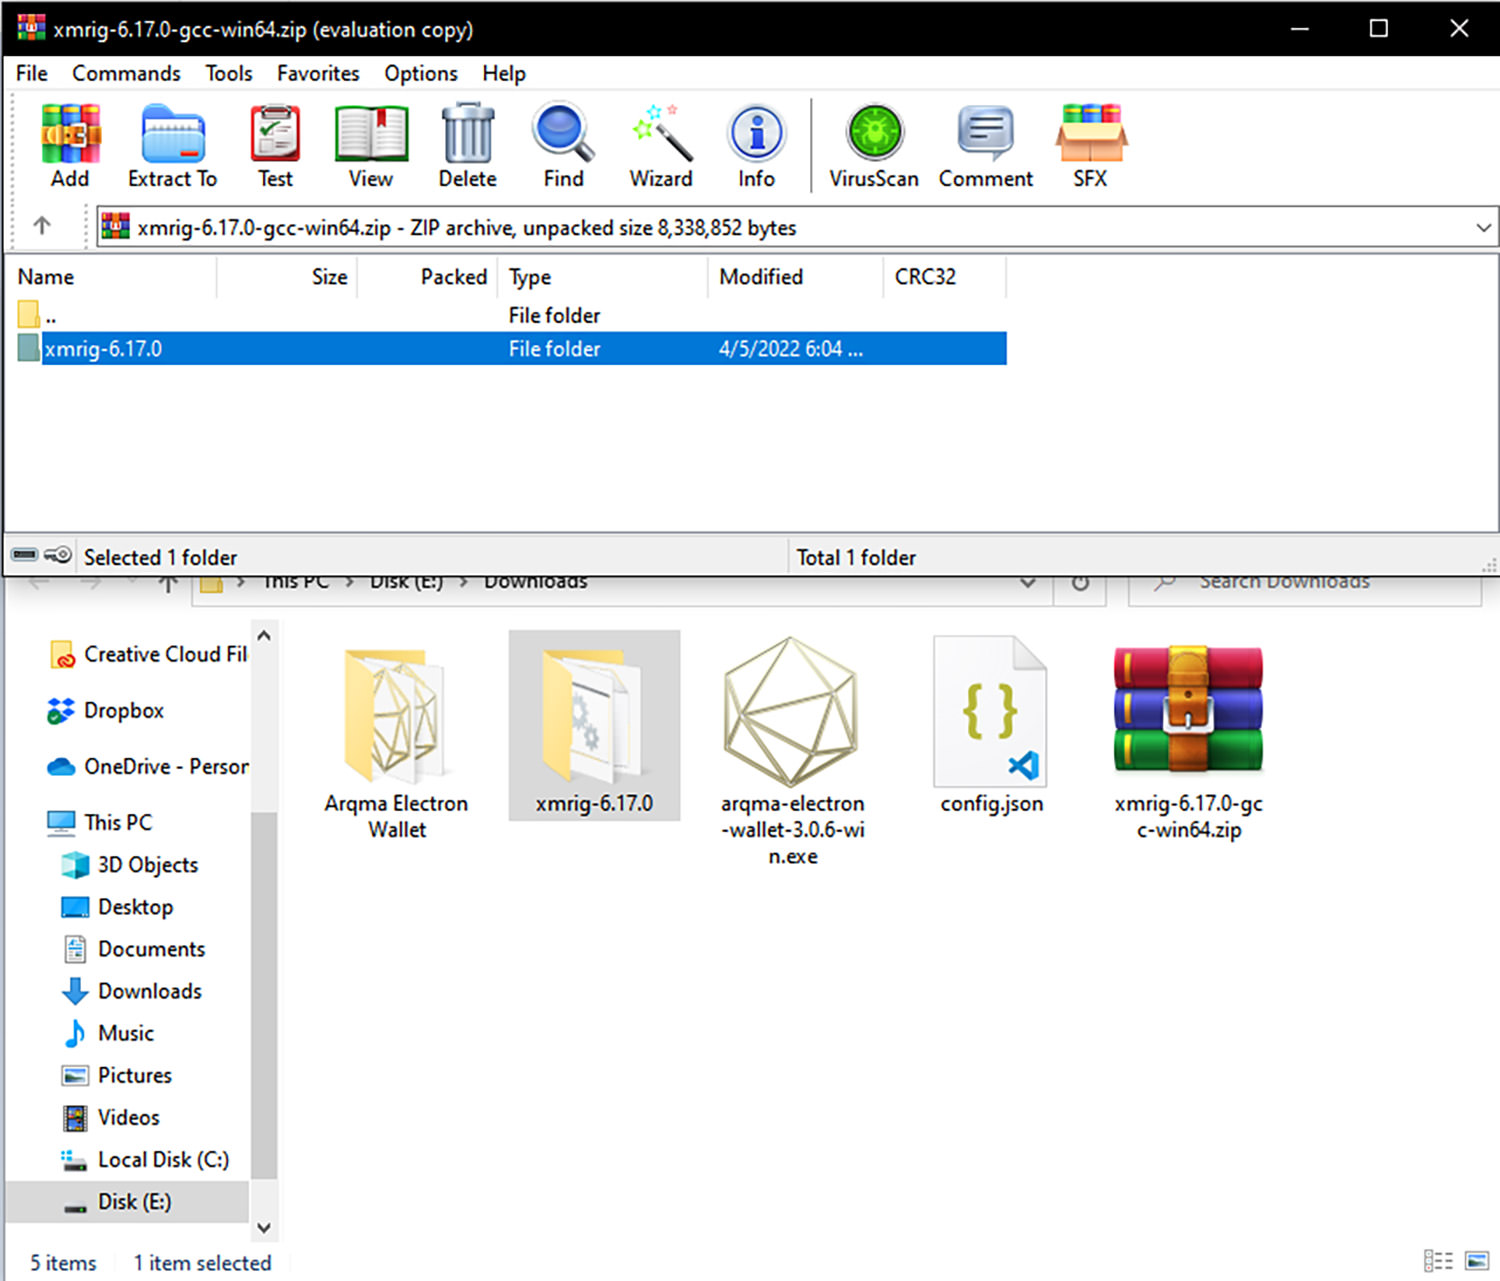
Step 4.2: Move the config file to the xmrig folder
Select the config file that you downloaded earlier and move it to the XMrig folder.

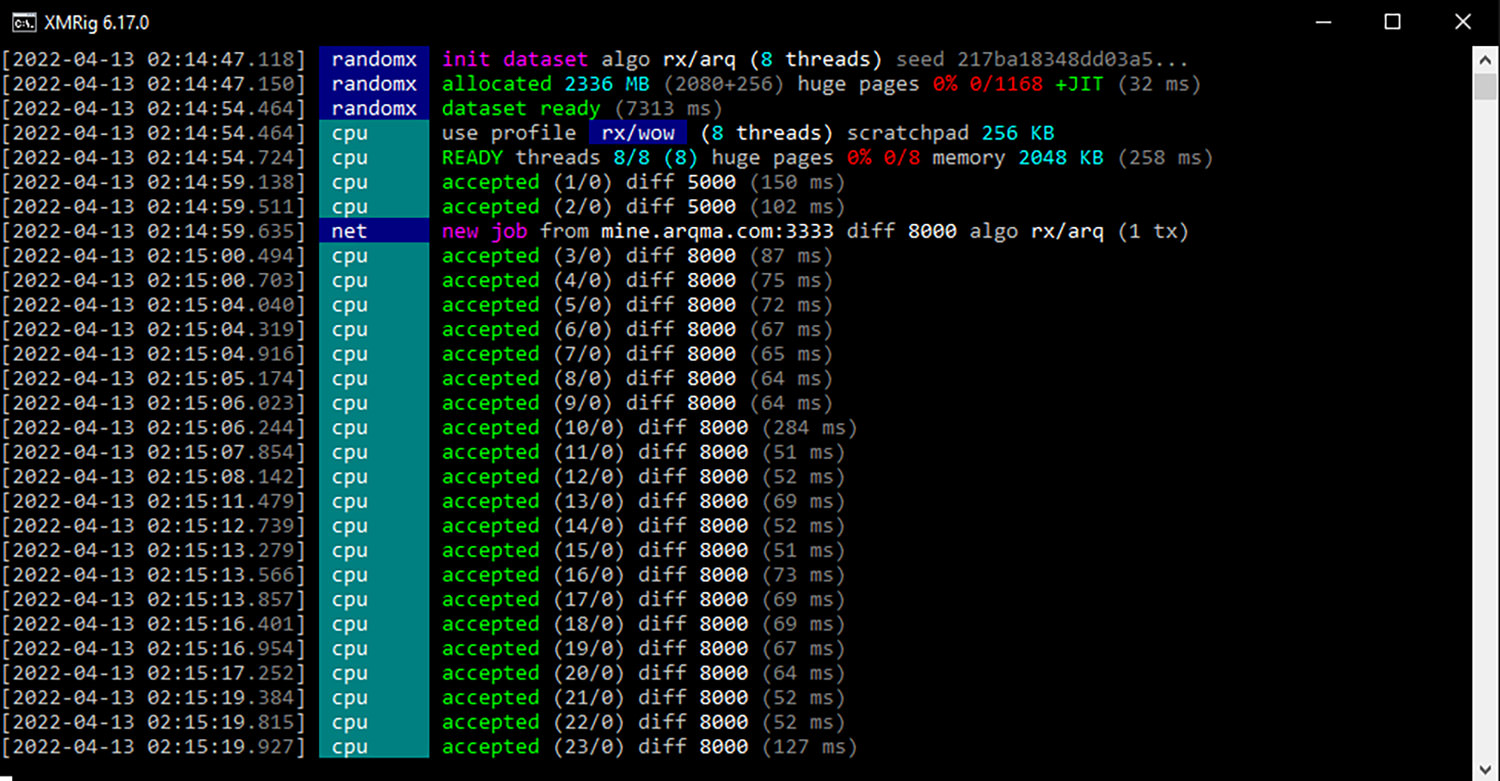
Step 5: Start Mining.
Finally, click on the XMrig file to start mining, and when mining starts your screen should look something like the following screenshot.