Top Social Media Toolbars to Enhance Your Website
This article was originally published on August 11, 2011.
Adding a social media toolbar to your website can greatly improve the user experience and boost your online visibility. It allows your visitors to easily share content and connect with each other. Social media toolbars have become essential tools for maximizing your online presence.
These toolbars are simple to set up and customize, making it easier to attract more visitors and increase engagement on your site. If you’re already active on social media platforms like Facebook and Twitter, your visitors will be more inclined to share your content.
In this article, I’ll explore three of the best social media toolbars available. Each offers standard sharing options and customization features, so you can choose the one that fits your needs.
Take some time to try them out and find your favorite!
Social Networking Features Explained
Before diving into specific toolbars, let’s discuss how these features can benefit you. Quality content is the cornerstone of any website, and these toolbars can help you build a dedicated audience.
Modern toolbars offer unique ways to connect, such as in-browser group chats and instant messaging. They also come with features for easy link sharing across major social networks, enabling effective viral marketing.
Your users will appreciate the convenience these toolbars offer, as they eliminate the need for account sign-ups or filling out forms. You can easily integrate these features without any coding skills.
If you’re already using sharing badges on your blog, that’s fine. Adding a toolbar will only increase the overall shares of your content. The easier you make it for users to share, the more likely they are to do so.
Easy Installation Guide
I’ll provide a step-by-step guide for installing each toolbar. These toolbars are compatible with popular Content Management Systems (CMS) like WordPress and Blogger.
Even if your website doesn’t use a CMS, you can still easily install these toolbars. All you need is a basic understanding of HTML and scripting.
These toolbars offer excellent integration features. Besides standard options like Twitter and Facebook, many also support RSS feeds and YouTube videos.
This means your visitors can stay updated with your latest posts and even watch YouTube videos directly on your website!
1. The Meebo Toolbar
Note: Meebo is no longer available.
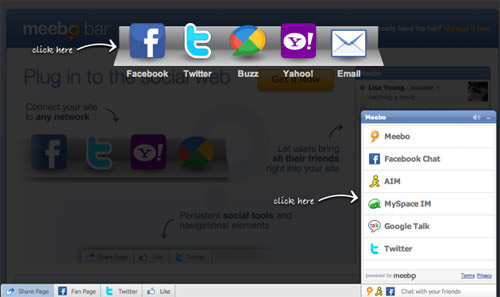
Meebo was a popular web 2.0 service that allowed you to connect with various instant messaging platforms like AIM, Yahoo!, MSN, ICQ, Jabber, and Facebook Chat. Its toolbar was feature-rich, supporting these chat services and more.
Over the years, Meebo evolved to offer a wide range of social features. Its chat capabilities were so advanced that they set a high standard in the industry. You could even share links and videos directly within the chat.
How to Install and Customize the Meebo Toolbar
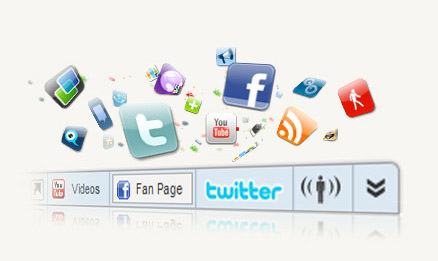
To get your own Meebo toolbar, go to Meebo’s website and click on For Sites at the top of the homepage. This will take you to a page that explains the toolbar’s features and shows a brief demo.
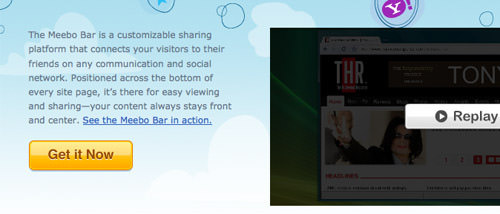
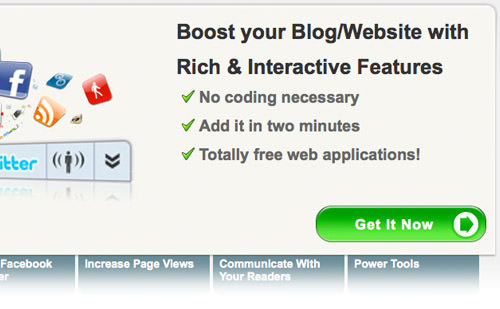
Clicking on the Get it Now button will take you to a signup or login page. If you already have a Meebo account, just log in. If you’re new, signing up is quick and easy.
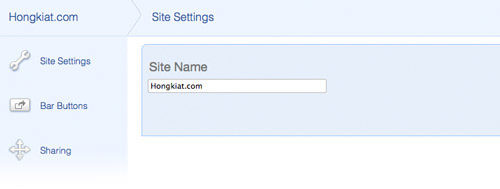
During the second step, you’ll need to enter your website name and URL. This information is saved in your custom dashboard to help you manage your toolbars.
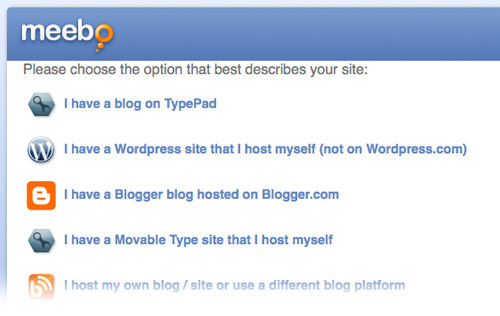
After that, you’ll choose a Content Management System (CMS) to install the toolbar. WordPress users can easily install it using a custom plugin. If you’re using other platforms like TypePad, Blogger, or Movable Type, you’ll need to manually insert HTML code into your template.
Don’t worry if you’re not tech-savvy; Meebo provides step-by-step instructions to help you set up the toolbar on various CMS platforms or even on a custom HTML webpage.
Once installed, you can start customizing your toolbar. You’ll start with a blank slate, but as you add social media options, your settings will automatically update.
Here are some of the unique features you can add:
- Display recent photos from a Flickr feed
- Show updates from an RSS feed
- Feature YouTube videos from any channel
- Allow article submission or voting on Digg
- Enable liking and sharing on StumbleUpon
Enable Collective Sharing
You can allow your visitors to share your content on their own social media accounts. The Meebo toolbar supports sharing via platforms like Twitter, Facebook, Google Buzz, and various IM chats.
The toolbar also enables drag-and-drop functionality. This means users can easily drag images, videos, or other media from your site into their preferred sharing application. This will automatically generate a short link to your article and update their social media accounts.

As your audience grows, you’ll likely see an increase in content sharing. The Meebo toolbar can significantly boost your website’s visibility, especially on platforms like Facebook and Twitter. For a live demo, visit Meebo’s business demo page.
2. Wibiya Toolbar: An Overview
(Note: This service is no longer available.)
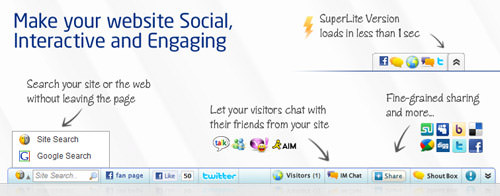
Wibiya Toolbar offers features similar to Meebo, allowing you to personalize your toolbar with various apps and integrate it with social media platforms like Twitter and Facebook.
This toolbar appears at the bottom of your website and is compatible with all browsers. It enables your visitors to share content and access your social media channels or RSS feeds. However, it doesn’t support as large a user base for group chats as Meebo does.
You can install a free basic version of the Wibiya Toolbar. For additional features and branding, premium plans are available ranging from $10 to $23 per month.
How to Install the Wibiya Toolbar
Installing the Wibiya Toolbar is straightforward. Just click on the Get it Now button either in the top menu or directly on Wibiya’s homepage. This will lead you to a signup page.
Once you’ve signed up, you’ll proceed to select a theme for your custom toolbar. Wibiya will automatically use your website’s favicon as the logo. You can also upload a different image if you prefer.
Next, you’ll be directed to the app store where you can choose from a variety of applications for your toolbar. Initially, you’ll see 12 popular apps, but you can add more later.
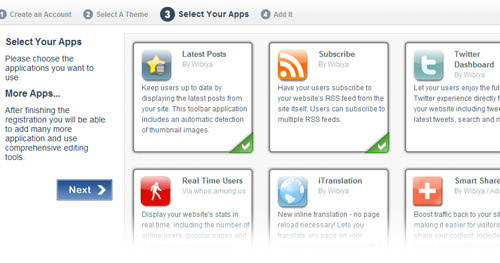
Some apps may require additional information like your Twitter username or YouTube channel ID. You can add these details later if you wish.
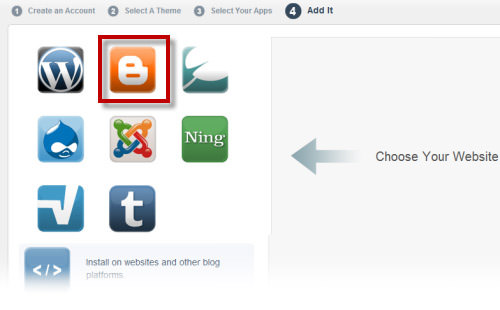
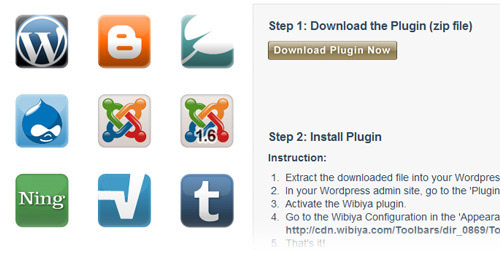
After completing these steps, you’ll be guided to the embed page. WordPress users can easily install a Wibiya plugin, and there are also plugins available for Drupal and Joomla. For other platforms, you’ll need to manually insert the code.
Customizing Your Wibiya Toolbar
The Wibiya dashboard may seem overwhelming at first, but don’t worry. Take your time to explore the settings and features.
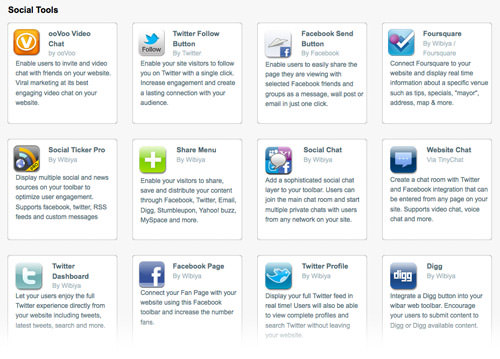
Start by visiting the web applications directory and clicking on Add Applications. This will show you a variety of web apps that you can add to your toolbar.
Experiment with different apps to find the best combination for your website. You can also gather feedback from your visitors to see which apps they find most useful.
On the dashboard, you’ll find an Analytics tab that provides daily updates on your website traffic and app usage. This helps you understand how your toolbar is performing.
To further customize your toolbar, click on Edit Toolbar in the top navigation. This is where you can make most of your adjustments, from appearance to functionality.
If you’re new to Wibiya, consider installing it on a test website first to get familiar with its features. The support team is available 24/7 to assist you.
3. The BumpIn Toolbar
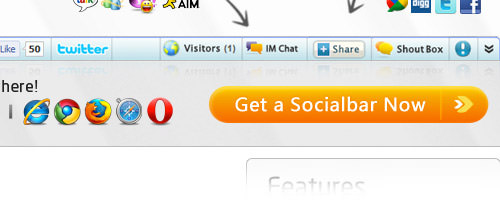
BumpIn offers a feature-rich toolbar for your website. It includes all the standard social media features like Twitter and Facebook integration, live chat, and Google search. Plus, it offers much more.
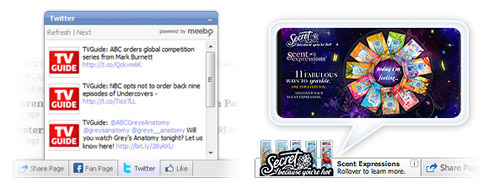
What sets BumpIn apart is its focus on social interactions. Users can easily share chat invites with each other. The toolbar is lightweight and fast, ensuring a smooth user experience. One standout feature is the instant notifications for your website visitors.
These notifications allow you to instantly share new posts or updates with your audience. A non-intrusive popup will appear on your visitors’ screens, providing them with the latest information and a link to learn more.
How to Install the BumpIn Social Media Toolbar
Getting started is easy. Click the big orange button that says Get a social bar now or simply click here to begin the checkout process. Although the toolbar is free, you’ll go through a “checkout” process to create a new account.
First, you’ll choose the apps you want to include on your toolbar. You can sort the available apps by categories like popular, social, and chat. After selecting an app, you may need to provide additional account information. This is the most time-consuming part, but it’s worth it for a customized experience.
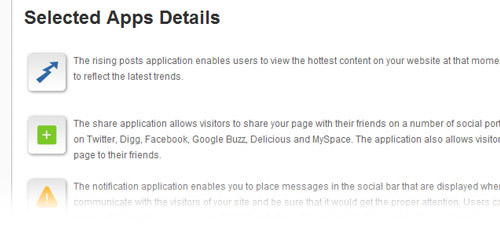
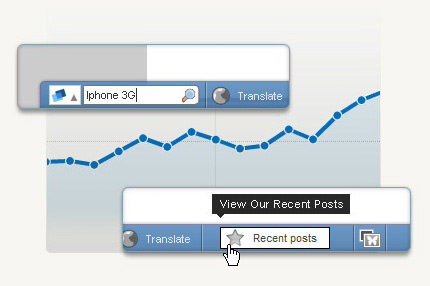
Popular options like Twitter and Facebook are available, along with unique features that can integrate with your own RSS feed. Here are some of my favorite features:
- Rising Posts – Showcases the most popular content on your website.
- Notifications – Sends updates and news to your visitors through the toolbar.
- Translate – Translates your website’s text into various languages.
- Top of the Page – Adds a button that smoothly scrolls the user back to the top of the page.
After selecting your apps, click Next. A popup will appear where you can customize the toolbar’s appearance. You’ll even see a live demo at the bottom of the page to preview your settings.
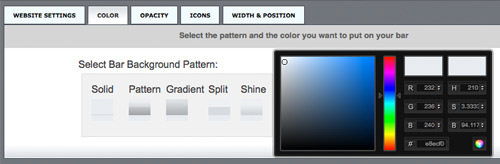
Enter your website’s URL to see how the toolbar will look. If you’re satisfied, click Next to proceed to additional settings. The default settings usually work well, but you can adjust them if needed. Finally, click Save and Continue to move on to account registration.
Creating an Account and Embedding the Toolbar
Registering an account with BumpIn is straightforward and quick. Once you’ve completed the registration, you’ll be directed to a page with the HTML embed code for the toolbar. Simply copy and paste this code right before the closing </body> tag in your website template.
If you’re using WordPress, Drupal, or Joomla, consider downloading the appropriate plugin for easier installation. Blogger users can also auto-import a new widget directly from the BumpIn signup page.
In summary, BumpIn is an excellent choice for enhancing your website’s social features. Take some time to explore its capabilities and see how it can best serve your needs.
Top WordPress Plugins for Social Media Sharing
If you’re interested in adding social media features to your WordPress blog, you’re in luck. Below are three excellent plugins that can enhance your website’s social media capabilities. Whether you’re a seasoned webmaster or a beginner, these plugins are worth exploring.
Introducing The WordPress Bar
The WordPress Bar offers a way to keep visitors engaged even when they click on external links. Originally inspired by Digg.com, this plugin adds a small toolbar at the top of each external page your visitors go to.
You can also add up to 16 social media sharing buttons to this toolbar. This makes it convenient for your visitors to share your content while they browse other sites. Plus, you can track user engagement through your WordPress admin panel.
For a quick overview, watch the video below. You can also view plugin screenshots for more details.
Discover BuzzGrowl
The BuzzGrowl toolbar is another excellent option for social media sharing. It displays a small, scrolling block on your website, making it easy for visitors to share your content.
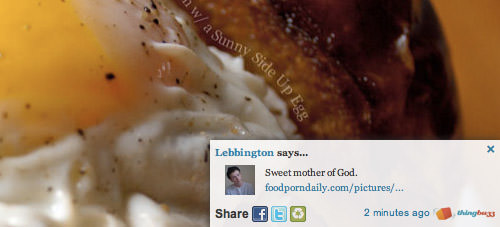
Customization is simple, and the plugin supports one-click sharing to Facebook and Twitter. Although it’s not as well-known, BuzzGrowl is a solid choice for enhancing your website’s social media features.
For more insights, check out their plugin screenshots.
Sharebar
Sharebar is a popular WordPress plugin that adds a customizable sharing toolbar to your blog posts. You can choose between vertical and horizontal layouts and even customize the icons.
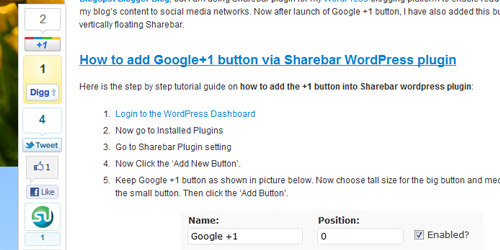
If you have a popular blog or online magazine, Sharebar is a must-have. It’s easy to maintain and highly customizable, making it a top choice for any WordPress site.
For more details, visit their plugin screenshots.
Final Thoughts
The world of social media is ever-expanding, and these plugins can help you tap into that network. Whether you run a blog, digital magazine, or any other type of website, these toolbars can enhance user engagement and sharing.
Feel free to try out these plugins and share your experiences. We’d love to hear your thoughts on these toolbars, or any other social media sharing tools you’ve found useful.