How to Add HTTP Password on an Astro Site
So you just built a site with Astro, and now you need to lock it down. Maybe it is a work-in-progress for a client, or an internal tool you do not want indexed by search engines.
You could set up a VPN, configure nginx auth, or install an npm package. But those add complexity, extra config files, and more things that can break.
Astro has a built-in middleware system that runs whenever a page or endpoint is rendered, and HTTP Basic Authentication is a standard HTTP feature supported by every browser. You do not need extra packages for this setup, but you do need an Astro adapter or runtime that supports on-demand rendering, plus a middleware function and two environment variables.
In this post, I’ll show you how to add HTTP Basic Authentication to your Astro site using only the tools already in your project.
Let’s get started.
Prerequisites
Before we start, make sure you have these ready.
- An Astro project running Astro 2.6 or later. Middleware landed in Astro 2.6.0, though this guide assumes you are deploying with an adapter or runtime that supports on-demand rendering.
- A way to set environment variables on your deployment platform. Most platforms like Netlify, Vercel, Cloudflare Pages, or Railway support this in their dashboard.
Creating the Middleware File
Astro middleware lives in src/middleware.ts (or .js if you are not using TypeScript). Create that file and start with the onRequest handler.
import { defineMiddleware } from 'astro:middleware';

export const onRequest = defineMiddleware(async (context, next) => {
  // auth logic goes here
  return next();
});
The defineMiddleware function wraps your handler and gives you access to the request context and a next function to continue the request pipeline.
Writing the Authentication Check
HTTP Basic Authentication works with two pieces: an Authorization header from the client, and a 401 response from the server when that header is missing or wrong. The browser handles the login popup automatically once it sees the WWW-Authenticate header.
Here is the function that checks the credentials.
function isAuthenticated(request: Request): boolean {
  const user = import.meta.env.BASIC_AUTH_USER;
  const pass = import.meta.env.BASIC_AUTH_PASS;

  if (!user || !pass) {
    return true;
  }

  const authHeader = request.headers.get('Authorization');

  if (!authHeader?.startsWith('Basic ')) {
    return false;
  }

  const encoded = authHeader.slice(6);
  const decoded = atob(encoded);
  const [providedUser, providedPass] = decoded.split(':');

  return providedUser === user && providedPass === pass;
}
The flow is simple. If the environment variables are not set, allow all traffic. If no Authorization header exists, block the request. If there is a header, decode the Base64 value, split it on the colon, and compare the credentials.
If you are on an older Node release, you can fall back to Buffer.from(encoded, 'base64').toString(). That approach is also fine if you prefer not to rely on the global atob.
Handling the 401 Response
When the authentication check fails, the server needs to send a 401 status code with a WWW-Authenticate header. This header tells the browser to show its native login prompt.
export const onRequest = defineMiddleware(async (context, next) => {
  if (!isAuthenticated(context.request)) {
    return new Response('Unauthorized', {
      status: 401,
      headers: {
        'WWW-Authenticate': 'Basic realm="Staging", charset="UTF-8"',
      },
    });
  }

  return next();
});
The realm parameter is a label that appears in the browser’s login dialog. I used “Staging” here, but you can set it to anything that describes your protected area.
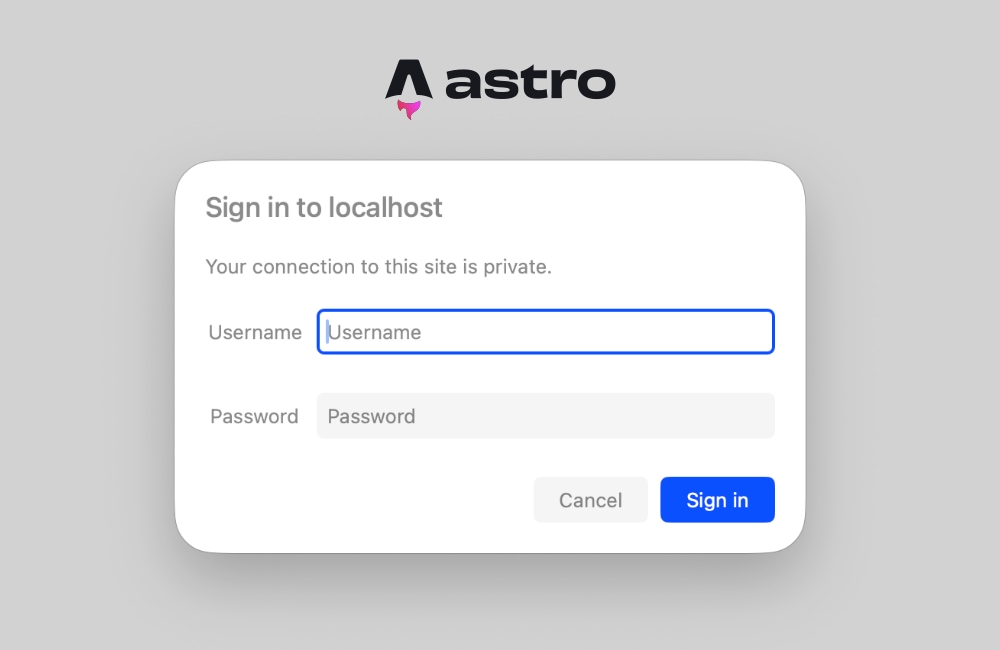
When the browser receives this response, it shows a native login prompt with the realm name. The user enters their username and password, and the browser sends the credentials in the Authorization header on the next request. This is all handled by the browser, no JavaScript or custom form needed.
Configuring Environment Variables
The credentials come from two environment variables: BASIC_AUTH_USER and BASIC_AUTH_PASS. These are read at runtime using import.meta.env, which is Astro’s way of accessing environment variables in server-side code.
For local development, add them to a .env file in your project root. If you need a quick refresher on how environment variables behave, this guide to the env command is worth bookmarking.
BASIC_AUTH_USER=staging-user
BASIC_AUTH_PASS=staging-password
On your deployment platform, set the same variables in the environment settings. The exact location varies by platform, but you will usually find it under Site Settings, Environment Variables, or a similar section.
Testing It
Run your Astro dev server, typically with:
npm run dev
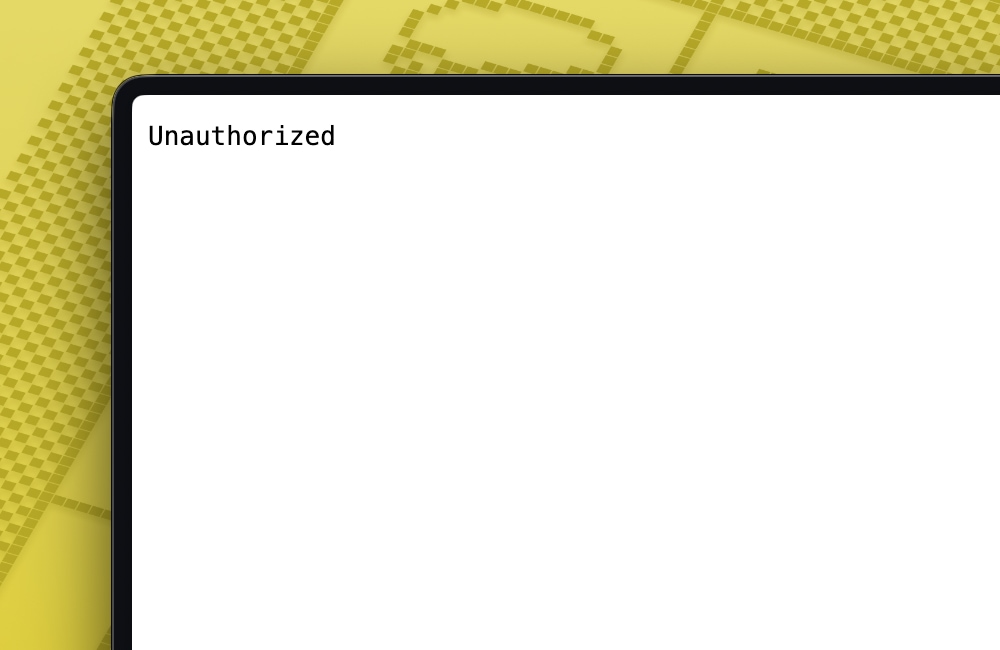
…and open the site in a browser. You should see a login prompt immediately. Enter the credentials you set, and the site loads normally. Cancel the prompt, and you get a blank “Unauthorized” page.
I tested this with an Astro 5 project deployed on Cloudflare Pages and it worked without any issues. The key is using an adapter or runtime that supports on-demand rendering, so the auth check runs before the protected page is rendered.
Troubleshooting
You might run into this error when you try to access Astro.request.headers inside a page component. You see an error along this line below:
Astro.request.headers was used when rendering the route `src/pages/index.astro'. Astro.request.headers is not available on prerendered pages.
This happens because Astro prerenders static pages at build time. When a page is prerendered, there is no live HTTP request, so there are no headers to read. The error shows up even if the middleware is correctly handling authentication, because the page itself is still trying to access request data during static generation.
There are two ways to fix this.
The first option is to mark the page for server-side rendering by adding this line to your page frontmatter.
---
export const prerender = false;
---
This tells Astro to render this page on each request instead of prebuilding it as static HTML. The page will have access to request headers, cookies, and other runtime data.
The second option is to switch your entire project to server-side rendering. Set the output mode in your Astro config file.
// astro.config.mjs
export default defineConfig({
  output: 'server',
});
This makes every page server-rendered by default. You can still opt individual pages back to static with export const prerender = true. This approach makes sense if most of your pages need request data, or if you are already running middleware for authentication.
In my case, I used output: 'server' since the whole site needed to be behind authentication. Every page is rendered on demand, so headers are always available.
Wrapping Up
HTTP Basic Authentication in Astro middleware gives you a password-protected site with no dependencies and no additional infrastructure. The entire implementation fits in about 25 lines of code. For staging sites, preview deployments, or internal tools, this is often enough.
If you need more control, you can extend the same pattern. Use a database lookup instead of hardcoded credentials, token-based auth, or session cookies. The middleware is just JavaScript running on every request, so you can add any logic you need.
Try it on your next Astro project. It takes five minutes and removes one more reason to add a package.