How to Use Nearby Sharing to Share Files in Windows 10
Nearby sharing — the Microsoft’s answer to the Apple’s AirDrop — got introduced in Windows 10 in its April 2018 Update. The feature lets you share documents and photos, web links, and more from your computer to a nearby computer if both have Windows 10 — wirelessly using Bluetooth or Wi-Fi.
Now you can share photos and videos directly from one computer to another, all thanks to Nearby sharing. And what’s even better? It is super easy to use this feature in Windows 10. Has it caught your interest? Then read on to know more.
Master Windows 10 Updates: Essential Tips and Tricks
Detailed guide on how to manage Windows 10 updates and optimize them according to your needs. Read more
Enable Nearby sharing
Nearby sharing must be enabled on both computers — the receiver as well as the sender — before you can transfer files. Also, both these computers must be running Windows 10 version 1803 or above for Nearby sharing to work. You can enable it in Windows 10 by following the below steps:
- Open Settings and click on the System tile.
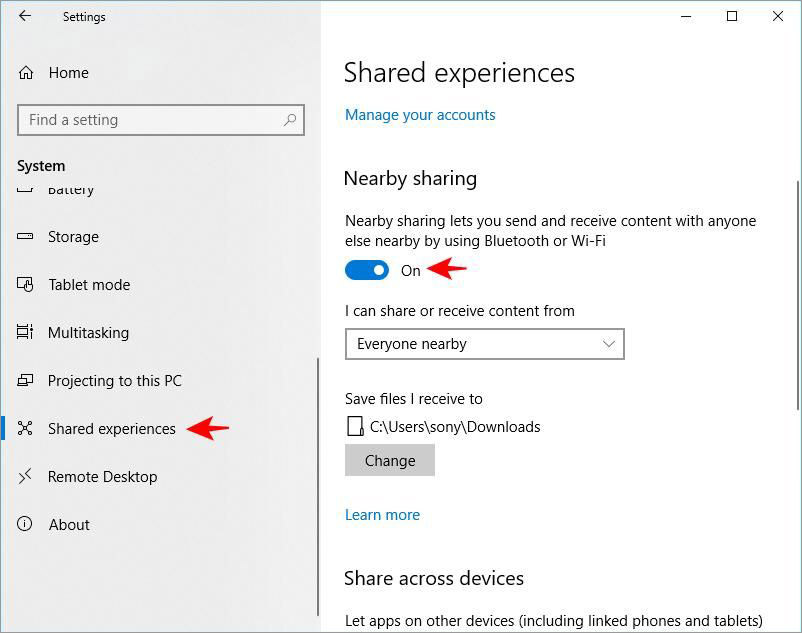
- Click on “Shared experiences” on the left and turn on “Nearby sharing“. You can disable Nearby sharing anytime by turning this option off.
Configure Nearby sharing
You can choose to share and receive the content to/from all nearby devices or only among your devices. Moreover, you can opt to save the incoming files in a custom location. That said, you can configure these settings through:
- Open Settings, then click on the System tile > “Shared experiences“.
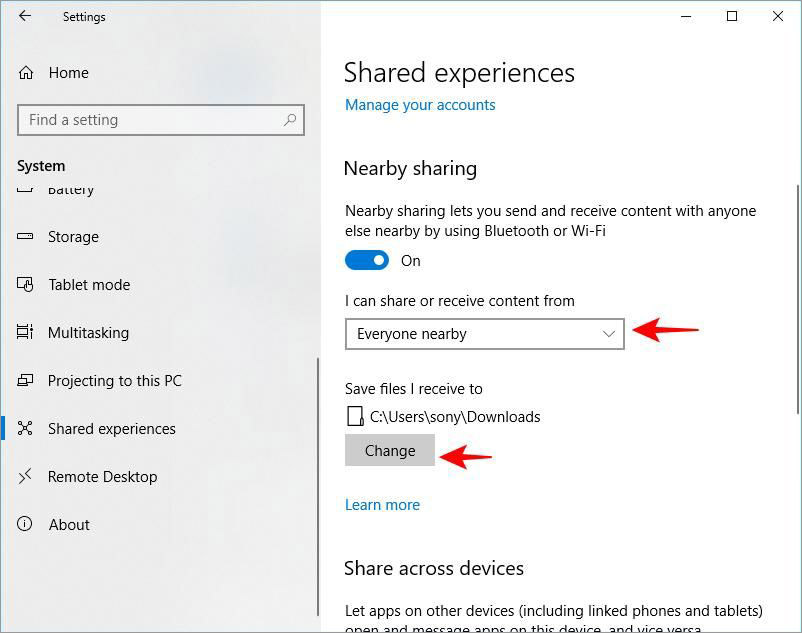
- Under the “Nearby sharing” section, for the option “I can share or receive content from“, select one of the two options: “Everyone nearby” or “My devices only” based on your preference for the shareable devices.
- Next, you can click on the Change button under the option “Save files I receive to” to choose a new location to save the incoming files.
- Finally, now browse to the new location and click “Select Folder“, and from then on, the incoming files will store in the new saved location.
Transfer data and media files
After enabling Nearby sharing on both the computers, it is possible to transfer files from a configured device to any other using Windows 10 Share. Once you are ready to transfer a file, follow these steps:
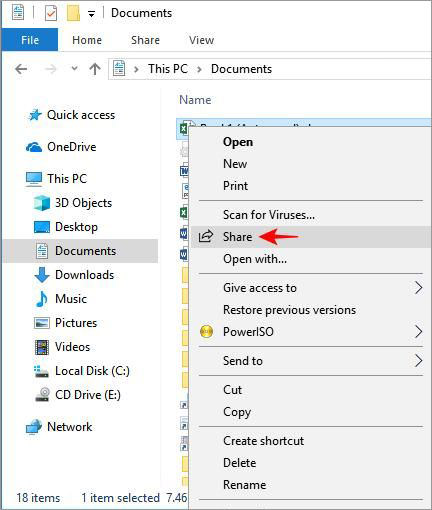
- Open “File Explorer“, right-click on the file to share and then choose Share.
- You will see the share dialog with the list of shareable devices. Here select the one you want to share the file with, and your file will be sent.
- Next, you must choose one of “Accept or decline” the transfer on the destination/receiver device. Please note that it will time-out in case of no response and the source device will not be able to send the file.
- Select “Save & open” or Save when the notification appears on the device you are sharing to and the file will get saved in the set location.
Troubleshoot Nearby sharing
If you are unable to work with Nearby sharing, you can find below a few troubleshooting steps to help you make Nearby sharing work for you. First of all, please ensure that you are running Windows 10 version 1803 or above on all of the computers. Then, please check the below troubleshooting tricks.
"I cannot transfer files using Nearby sharing"
Answer: Nearby sharing requires Bluetooth and Wi-Fi to detect computers or devices in range to transfer files. You must ensure Bluetooth and Wi-Fi are on and working. If you still cannot transfer, you may need to install or update the drivers for Bluetooth and W-Fi using any preferred option on your device.
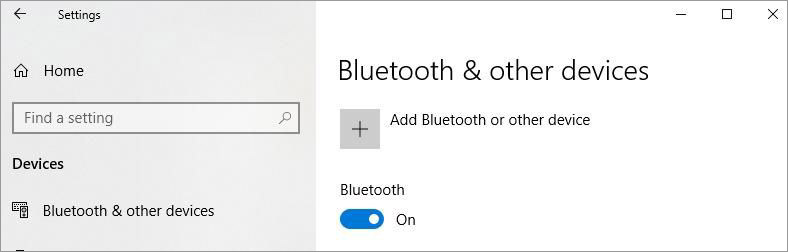
Nearby sharing works with Bluetooth version 4.0 (or later) with support for Low Energy (LE). You can check by opening Settings > Devices > “Bluetooth & other devices“. Then, click on “More Bluetooth options” > switch to Hardware > click Properties > switch to Advanced — it shall have “LMP 6.x” or more.
"Transfers are very slow using Nearby sharing"
Answer: If you notice that the file transfers are slow, it may happen that the device is transferring the file over Bluetooth. You must ensure the devices are connected to the same wireless network and the network is using a private networking profile. Follow these steps to check and configure the network profile:
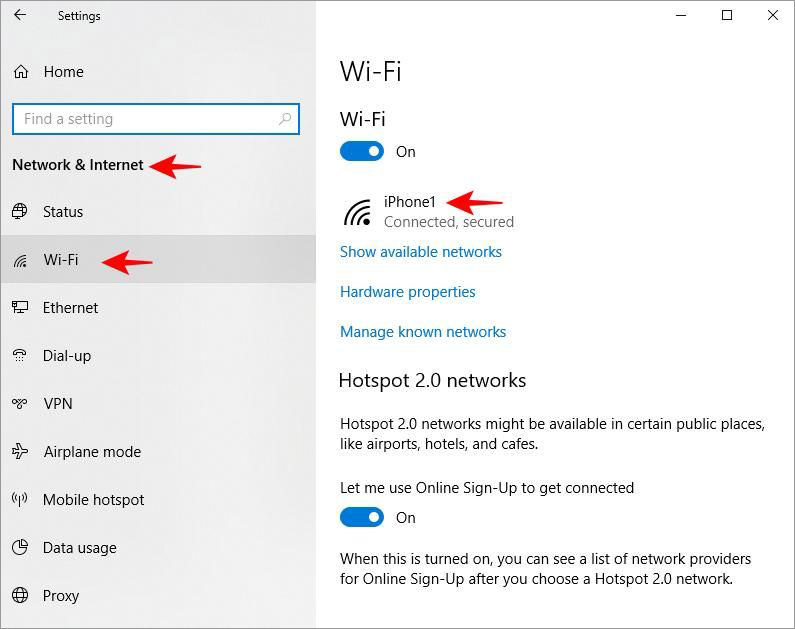
- Open Settings > open “Network & Internet“ > click on Wi-Fi.
- Click the wireless connection > select Private under “Network profile“.

I hope this post along with these troubleshooting tips and tricks will help you work with Nearby sharing on Windows 10, and you will be able to share files speedily without using any third-party tool.