Master Windows 10 Updates: Essential Tips and Tricks
Windows 10, unlike its predecessors, operates as a service, which means it receives regular feature updates. However, these updates sometimes cause issues once installed.
So, how can you fix these issues or better manage the updates?
In this guide, we’ll explore various strategies to effectively manage Windows 10 updates. Although Windows 10 has redefined updates, limiting your ability to choose which updates to install, there are still viable options available to take control. Let’s discuss these methods in detail.
10 Best eBooks to Master Windows 10
As Windows 10 was a free upgrade, I, like most Windows users, impetuously upgraded to it. To my... Read more
Manage Windows Update Settings
You can manage updates in Windows 10 using the available settings. Although you don’t have as much control as in previous versions, you can still adjust these settings to your advantage.
To begin, open the Start menu, go to Settings, and select “Update & Security“. Below, you’ll find useful tips and tricks to effectively manage your updates.
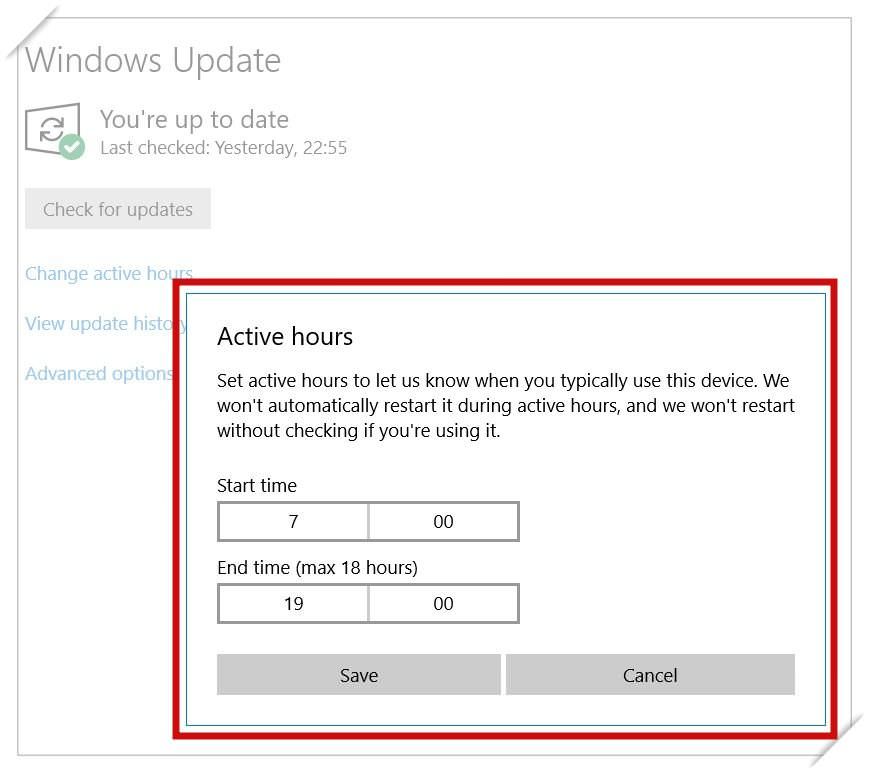
Set Active Hours
Windows 10 automatically handles updates, ensuring that it doesn’t restart your system while you’re actively using it. To prevent disruptions during your work hours, you can specify your active hours in the system settings. Here’s how you can set your active hours:
- Click “Change active hours” under Windows Update.
- Adjust the start and end times in the dialog and click Save.
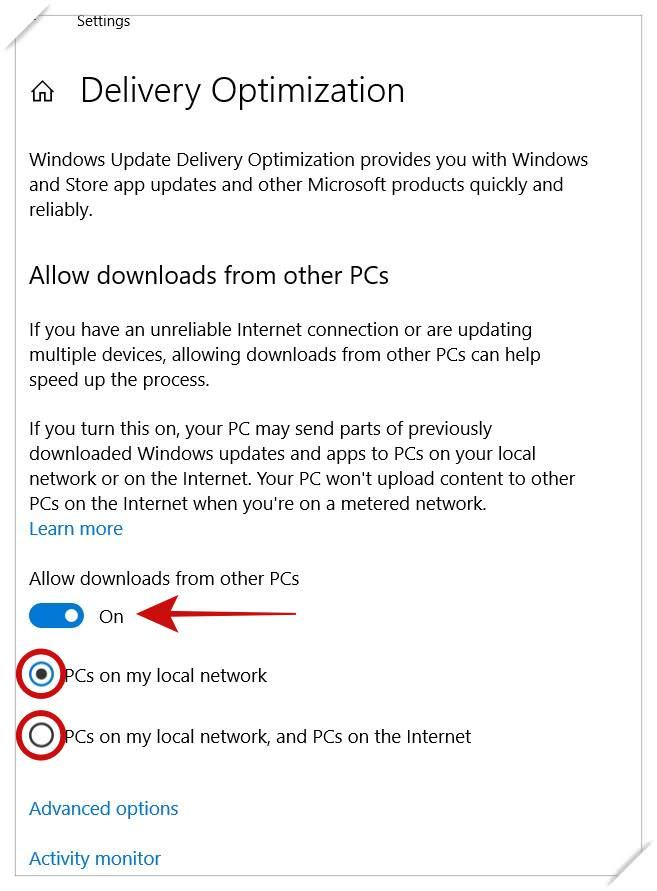
Optimize Update Delivery
The Windows Update Delivery Optimization feature allows you to receive updates faster by downloading them from other Windows 10 systems nearby. This is particularly beneficial for networks with multiple computers. Follow these steps to enable and configure this feature:
- Click “Advanced options” under Windows Update, then select “Delivery Optimization“.
- Toggle on “Allow downloads from other PCs” and select an option below it.
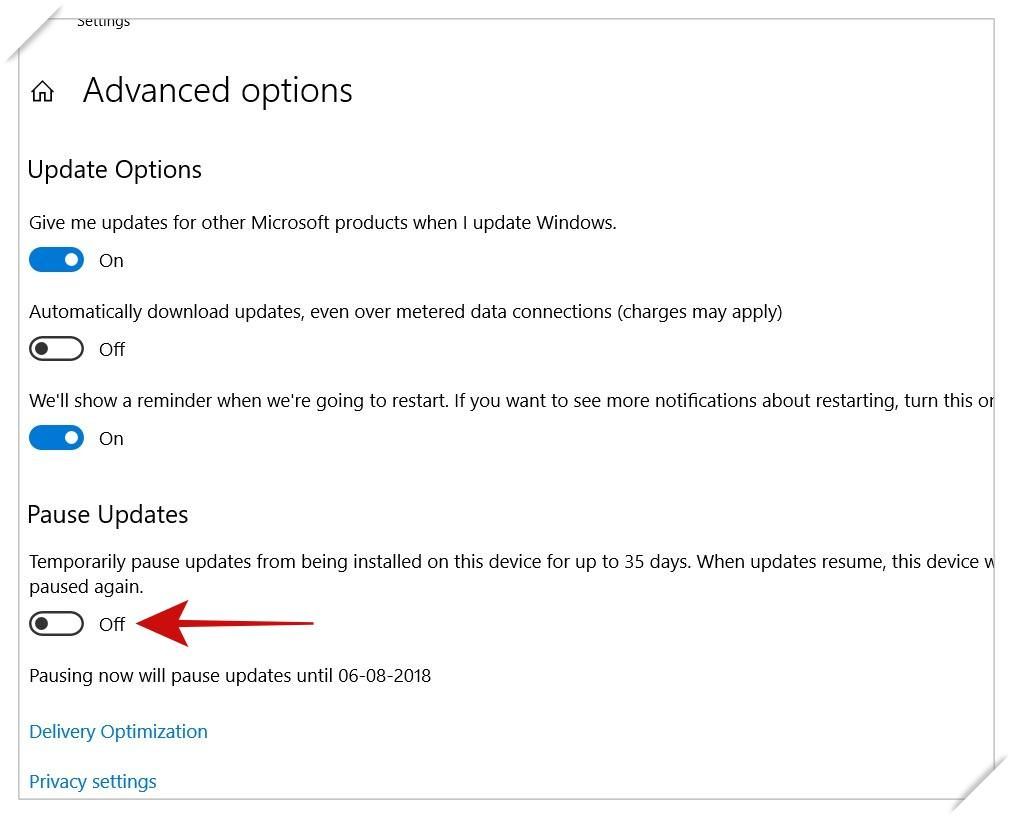
Pause Updates Temporarily
While Windows 10 doesn’t allow you to completely turn off updates, you can pause them for up to 35 days if you use Windows 10 Pro or Enterprise. After this period, updates will resume automatically, and you’ll need to install all pending updates before you can pause again. Here are the steps to pause updates:
- Navigate to “Advanced options” under Windows Update.
- Activate the “Pause Updates” option on this screen.
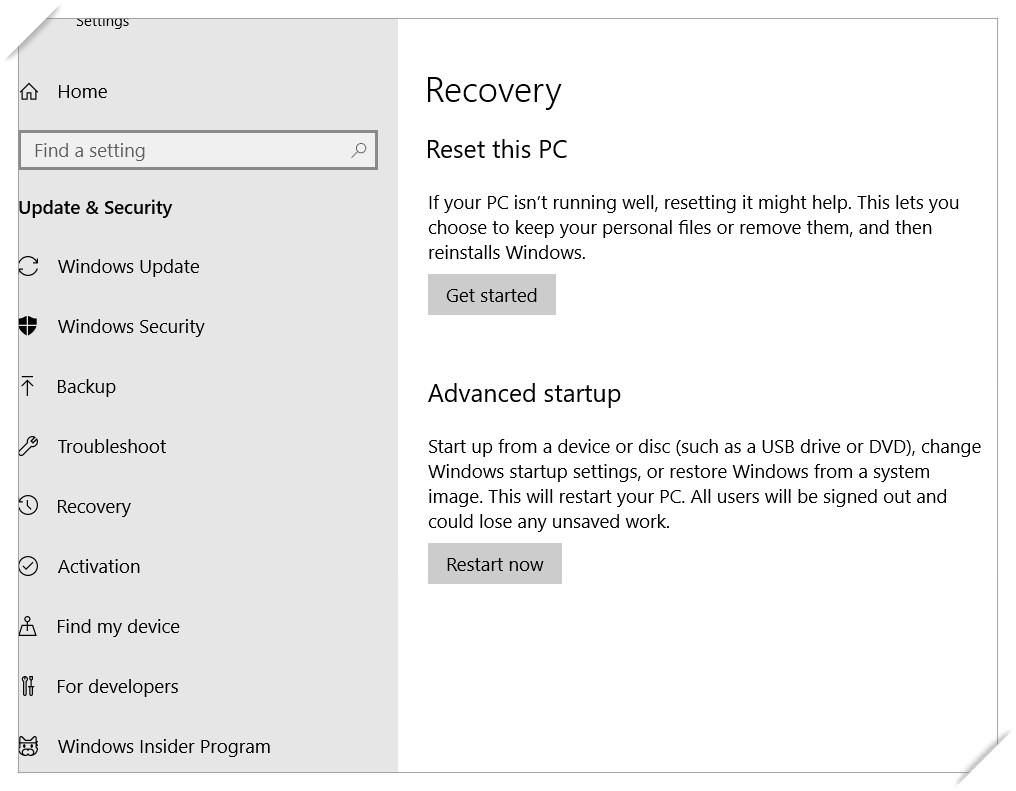
Uninstall Problematic Updates
Sometimes, updates may cause issues, and you might consider uninstalling problematic updates. Although direct uninstallation of individual updates is no longer possible, recovery options are available to address problems. To access these options, click “View update history” > “Recovery options“.
Resolve Windows Update Issues
If common solutions like rebooting your computer or restarting the update process don’t resolve update issues, Windows Update still has a solution. While generally reliable, Windows Update can sometimes fail due to various problems. Microsoft offers a troubleshooter designed to help you diagnose and resolve these issues efficiently.
Advanced Configuration via Group Policy Editor
For those needing more control over Windows Update than the standard settings allow, the Group Policy Editor provides extensive customization options. However, availability varies: some settings are only accessible in Windows 10 Pro, Education, or Enterprise, while others are also available in Windows 10 Home.
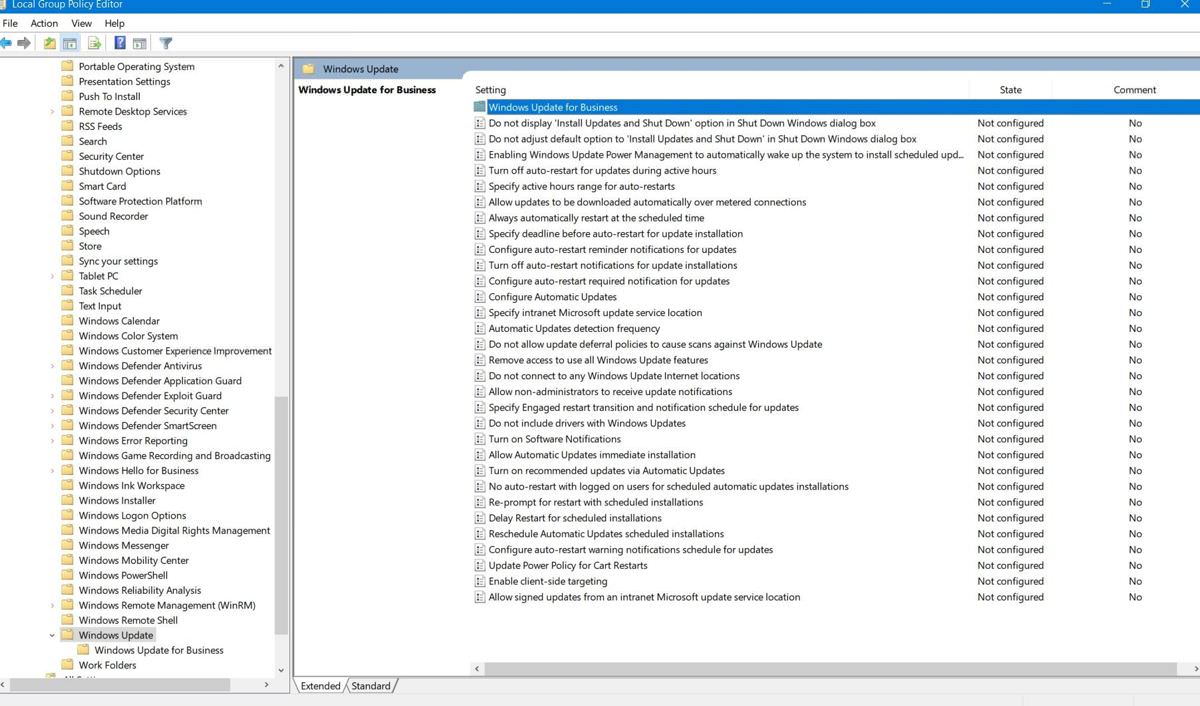
Press Win + R, type “gpedit.msc“, and hit Enter to launch the Local Group Policy Editor. In the left pane, navigate to Computer Configuration > Administrative Templates > Windows Components > Windows Update to explore the available settings.
Defer Updates
In the editor, go to the “Windows Update for Business” sub-folder and open “Select when Preview Builds and Feature Updates are received” and “Select when Quality Updates are received“. These settings allow you to defer feature updates for up to 365 days and quality updates for up to 30 days, with options to choose the readiness level.

Explore Additional Group Policy Settings
In the “Windows Update” folder, you’ll find a variety of options that let you further tailor the behavior of Windows Update. For instance, “Always automatically restart at the scheduled time” ensures the system restarts after updates, allowing time to save your work, while “Do not include drivers with Windows Updates” prevents driver updates from being automatically installed.
This concludes our guide on configuring and managing updates in Windows 10. We hope these tips and tricks enhance the efficiency of your computing experience.