Managing Team Projects Easily with Solo
Managing a project team is often a challenging task. If your team members are working remotely from different locations, it can be difficult to make arrangements for meetings to track everyone’s progress. However, there are some great tools that will your life much easier, such as those found in an awesome app called Solo.
Solo is a free client-server app which provides you with a lot of tools to expedite your project management. Tools like task management, file management, project calender, task timer and even an activity stream have been integrated within the app.
10 Best Project Management Software for Remote Teams
Remote working is on the rise globally, making managing projects remotely more important than before. Here are the... Read more
Getting started
Installing Solo is easy; the installation wizard will guide you through the process. To get started, first download the Solo source code and upload it onto your web server.
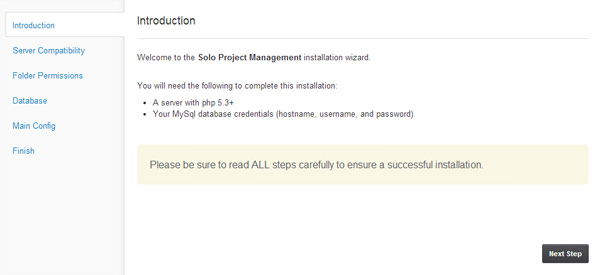
In your browser, navigate to the Solo installation folder to begin the process. For example: http://www.mysite.com/solo/install. You should see the installation wizard appear like in the following screenshot.
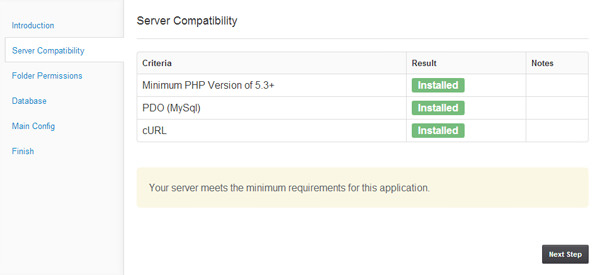
Just click Next and you’ll be prompted with the Server Compatibility check. Note that Solo needs at least PHP v5.3, cURL php extension enabled and MySQL in your server.
If all the requirements are met, then click Next to perform the Folder Permissions check, which is needed for the installer to write permissions on a few folders. If the permissions are correct, you can continue the installation process.
Then, click Next to bring you to the database setting page. You need to provide your database settings: hostname, username and password.
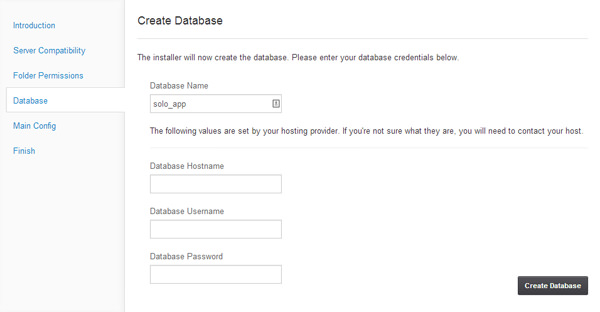
After the database has been created successfully, click Next to proceed to the Company Info configuration page.
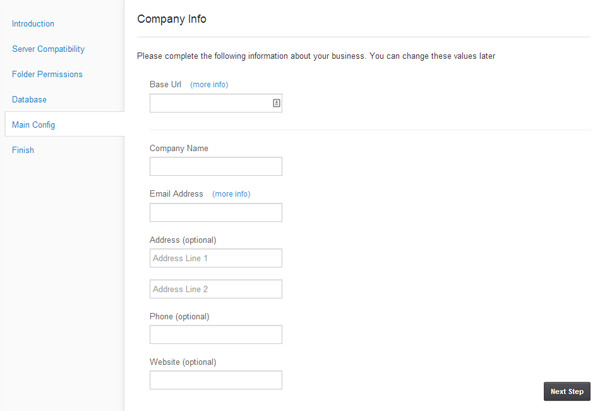
You must fill in the Base Url (used), Company Name and Email Address. If you aren’t sure about something, just click on “more info” to bring up the hint. Click Next to finish the process.
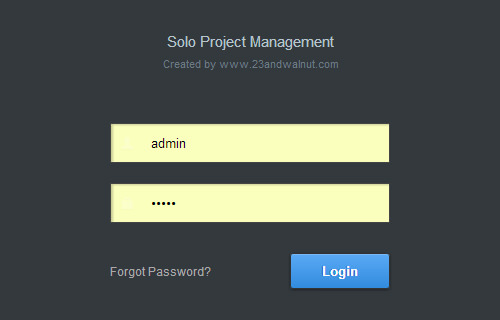
To log in, just use admin for both the username and password.
And now you’re ready to start working with your team using Solo. Once you’ve made sure that everything is working properly, delete the install folder for security reasons.
Solo’s features
Solo has a pretty simple and user-friendly interface. All of Solo’s main features are located on the left sidebar. Solo also provides you with a sample project. Let’s see what’s inside.
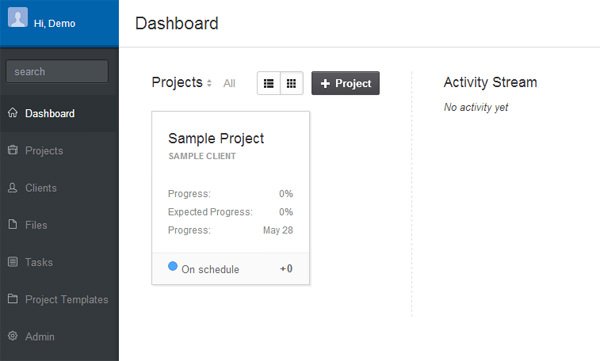
The Dashboard is the summary of all projects. The Projects section informs you about a project’s status and progress, which you can see either in grid or list view. Right beside it, the Activity Stream can tell you what’s happening with other projects.

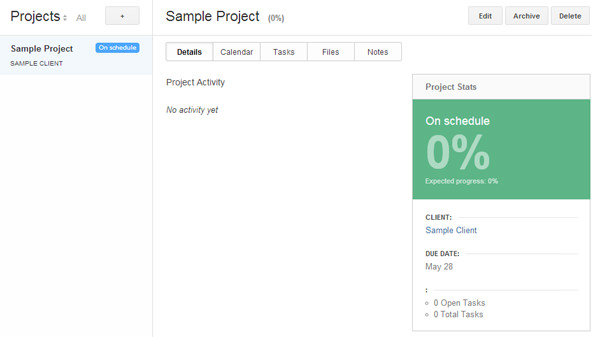
The Project page gives you more detailed project information as you can see from the screenshot below. You will also see a few tabs, which are self-explanatory: Details, Calendar, Tasks, Files and Notes.
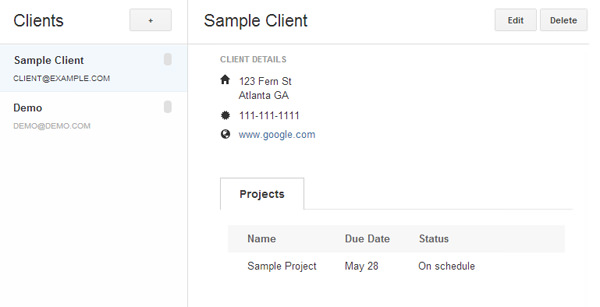
With Solo, you can also add lists of your clients into the project on the Clients page.
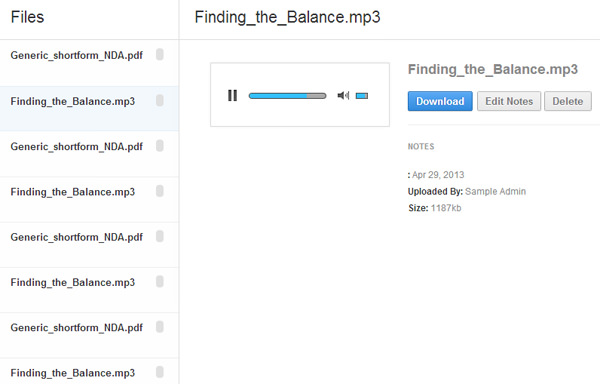
In the Files page you can find the full list of uploaded files from all projects and filetypes like video, mp3, and document is available for preview. Note that you can’t upload files from this page; you can only do that on the Projects page.
Configuration
If the Solo’s default settings don’t meet your requirements, you can customize them.
Translating to another language
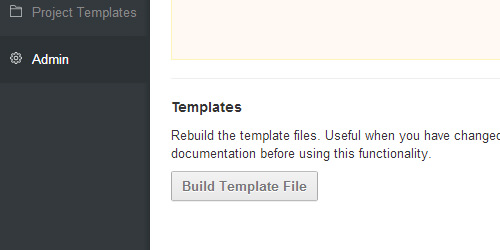
To translate Solo’s default language, first open the Solo’s language file, which you can find in: ../solo/server/language/en/build/all.php. Then translate the language within the file. Don’t forget to check the permissions on the build folder (solo/server/language/en/build) which should be 777.
Once you’ve finished building your new Solo language, login to Solo and navigate to the Admin tab then click on Build Template File to apply the change.
Config file
The config file is where you can edit the default settings of Solo. If want to change the values, open the config.php file in ../solo/server/config/. To see all available options with descriptions, head over to the config documentation page.
Conclusion
Solo is a creative and unique project management application. It’s also very convenient as your team won’t need to install any other app; all you have to do is log in to Solo online to start working on a project.
Since Solo is available for free, it doesn’t offer advanced features like invoicing, payment, messaging, budget report or a project calendar. However, you can get those features in DuetAPP, a premium version of Solo, for $49.