How to Set Up Google Apps Email for Beginners
Google Apps offers a comprehensive suite of Google services similar to those available through a standard Google Account. This includes not just email, but also contacts, calendars, and more. However, did you know you can enhance your email experience by using your own domain? Instead of yourname@gmail.com, imagine sending emails from yourname@yourdomain.com, which can significantly elevate how you interact and collaborate with clients.
Why opt for Google Apps? You might wonder. The sheer scale of Google’s infrastructure spanning email, web, and mobile might be persuasive on its own. Moreover, Google Apps provides a generous email quota of 10 GB, plus an additional 15 GB when you upgrade to Google Apps for Business-ideal for small to medium-sized businesses lacking dedicated IT management.
One of the best features is that Google Apps is free for up to 10 users, sufficiently accommodating the needs of a small organization just starting out. Should your needs exceed this, upgrading to Google Apps for Business is a straightforward option.
How to Set Up Google Apps
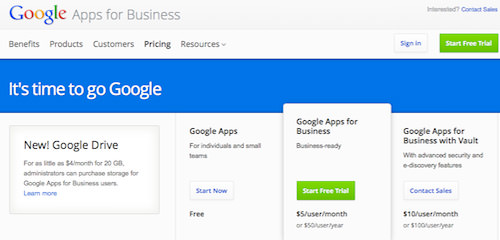
Google Apps offers three different plans: the free version, Google Apps for Business, and Google Apps for Business with Vault. You can explore and compare these on the pricing page. This article will guide you through setting up the free edition of Google Apps.
To begin, you’ll need a domain name, your unique address on the Internet. To acquire a domain, register with domain registrars such as GoDaddy, namecheap, 1&1, Name, and Gandi among others.
Most DNS registrars offer DNS servers to their clients, like namecheap. If your registrar doesn’t provide one, you can use free services like Hurricane Electric or afraid.org. If you register your domain through your hosting provider, they typically include DNS server provision. Alternatively, you can register a domain directly through Google, partnering with GoDaddy and eNom. Essential DNS entries to modify are your MX records and CNAME Records.
MX Records dictate which mail server your domain uses, while CNAME Records are aliases used to access webmail and other Google Apps services.
How to Register for Google Apps
In this guide, I’ll use labs.kurungsiku.com as an example domain. I’ve already prepared a subdomain on my cPanel for this purpose.
- To begin the registration process for Google Apps with your domain, navigate to http://google.com/a/ or https://workspace.google.com/. Select Pricing and click the Start Now button under Google Apps.
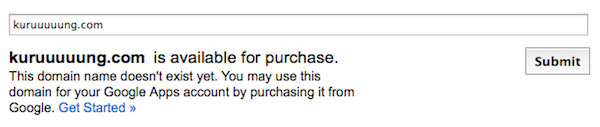
- If you do not yet own a domain, you can register one through Google. When you input your desired domain in the “Enter the domain name you would like to use with Google Apps” section, Google will verify its availability. If available, you will be offered the chance to register it.
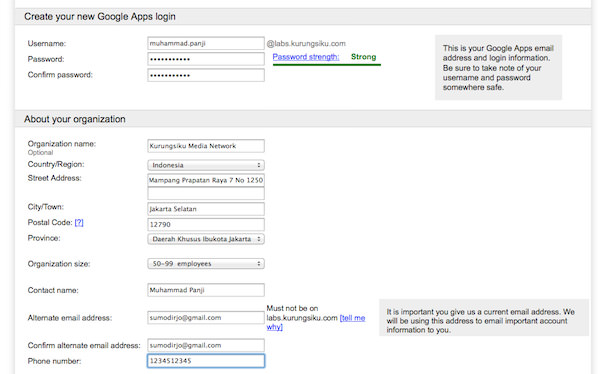
- If the domain is already owned, you’ll be presented with the form shown below. It’s important to enter a valid and accessible email in the “Alternate email address” field. The username you provide will serve as the administrator’s username – it need not be ‘administrator’ or ‘admin’; any preferred username will suffice. Once completed, click “I accept! Create my account”.
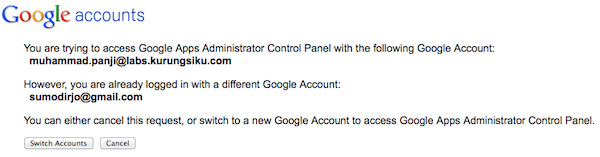
- Upon successful form submission, you will be directed to the setup wizard page. If you were logged into your Gmail account, you might need to switch to your new admin account.
Completing the Setup of Google Apps
After you’ve registered, the setup wizard will guide you through completing the setup process.
- The wizard begins with a welcome page. Simply click Next to proceed.
- The next step involves verifying your site. This is crucial as you cannot utilize Google Apps without confirming your domain ownership. Click Next to continue.

How to Verify Your Domain Ownership
You have four options to verify domain ownership, and you need to choose one. The first and most recommended method is by uploading an HTML file provided by Google to your server. Download this file and upload it using either a file manager or an FTP client.

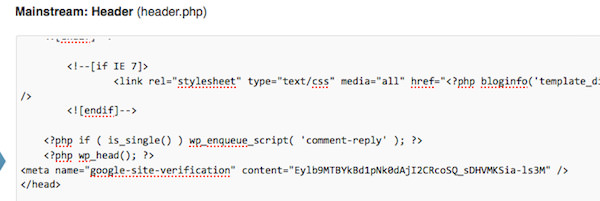
The second option involves adding a meta tag to your website. If you’re using WordPress, navigate to the theme editor, open the Header (header.php) file, locate the </head> tag, and insert the meta tag just before this closing tag.
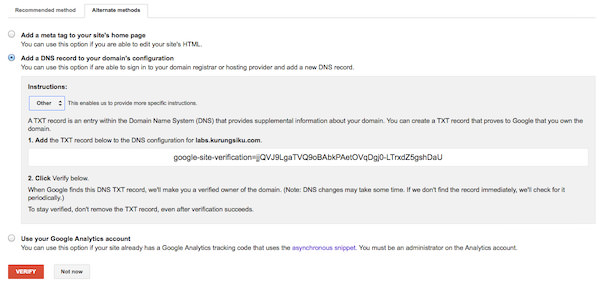
The third method is to create a TXT record in your DNS settings. With cPanel, select Advanced DNS Zone Editor from the Domains pane, choose your domain, select TXT for Type, and paste the value provided by Google into the TXT Data field.

Verify the newly created DNS record at the bottom of the page.

The fourth and final method is to use your Google Analytics code, specifically one that supports asynchronous snippets.
In this guide, I opted for the DNS method to verify the domain. After setting up the record (or your chosen method), click Verify.
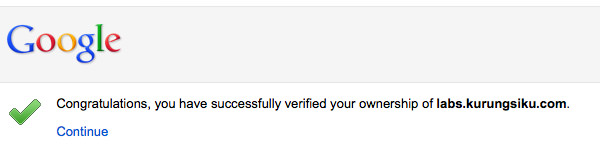
Successful verification will display a Congratulations message.
Setting Up Gmail
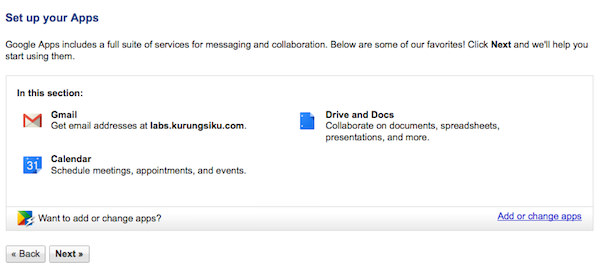
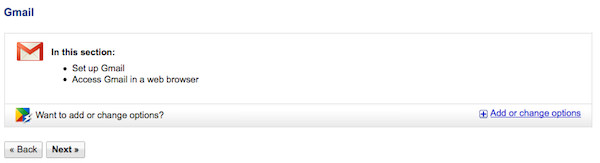
- After configuring “Users and Groups” and the ‘Apps’, proceed by clicking Next or Do this later until you arrive at the screen below. Click Next to continue.
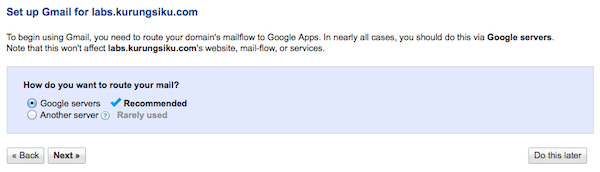
- To set up Gmail for your domain, select Google Servers and then choose Next.
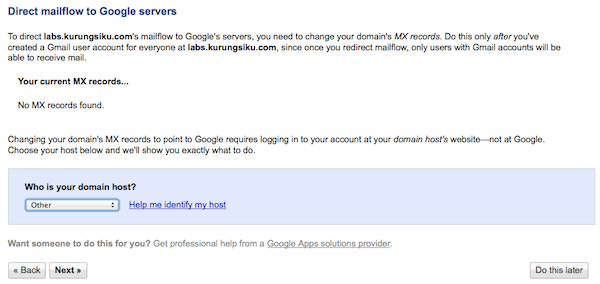
- Under Direct mail flow to Google servers, select your domain host. If it’s not listed, choose Other, then click Next.
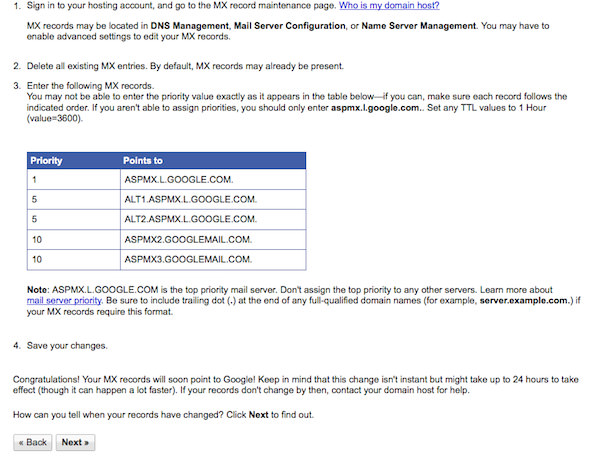
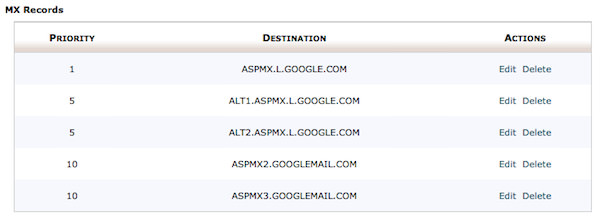
- This step involves configuring the MX records required for your domain to use Google’s mail servers. The priority sequence can vary (e.g., if you cannot set priorities as 1, 5, 5, 10, 10, you might set them as 10, 15, 15, 20, 20). Detailed information on MX records is available on support.google.com.
- Click Next. An error may occur since the MX records are not yet set up. That’s expected; we’ll address this in the next steps.
- Continue clicking Next through the remainder of the wizard. Upon completion, you’ll be redirected to the Google Apps Dashboard, where you, as the administrator, can configure your email settings.

Setting Up MX Records
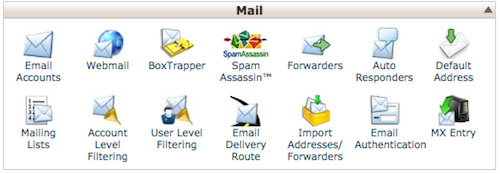
- To set up MX records using cPanel, navigate to MX Entry under Mail.
- Select your domain and add each MX entry sequentially.
- Here is how the final MX records should look for your domain.
- Return to the Google Apps Dashboard. If you are already there, select Setup > Set up Gmail and click Next.
- Google will check the MX entry for your domain. If the MX entries are correctly configured, the next page will confirm this.
- The email service is activated once your domain shows up with the address http://mail.google.com/a/yourdomain.com.


Setting Up CNAME for Webmail
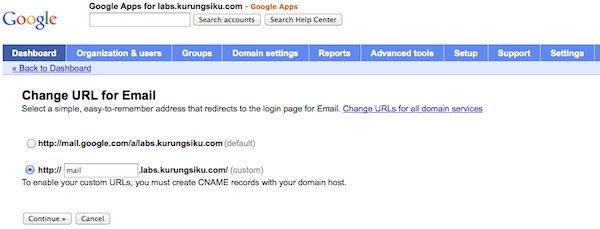
- Navigate to “Settings” and select “Email” from the left panel.
- Select the second radio box to enter a subdomain such as mail, webmail, or even m, as long as it is not already in use. Click Next after entering your preferred subdomain.
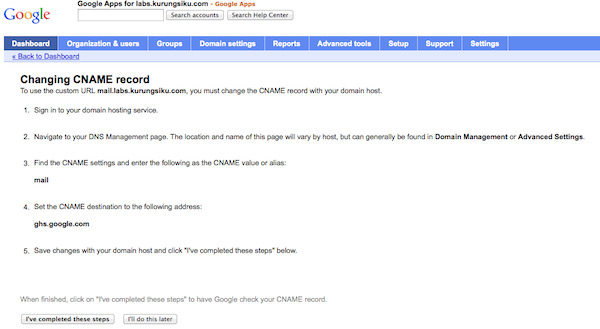
- Follow the instructions on the next page for the specific CNAME record to add to your DNS. Once completed, click I’ve completed these steps.
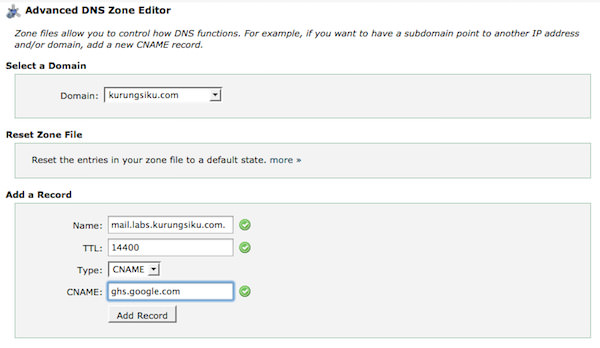
- Go to your cPanel and open the Advanced DNS Zone Editor. Set the name as specified earlier, TTL to 14400, Type to CNAME, and set the CNAME to ghs.google.com.
- Verify at the bottom of the page that the entry has been correctly created.


Conclusion
Congratulations on setting up your organization’s email address with your own domain! We hope this tutorial was clear and helpful. Now, why not send a test email to another address and see your new setup in action?