How to Avoid Paper Jams in Your Printer
I’ve recently had to send my printer for repairs due to a persistent “phantom paper jam” issue. Once fixed, the service center offered some valuable maintenance tips to prevent future problems. I thought sharing these directly from the experts might help others keep their printers in top shape.
For context, my experience is with the Epson EcoTank L6460 inkjet printer.
What Are Phantom Paper Jams?
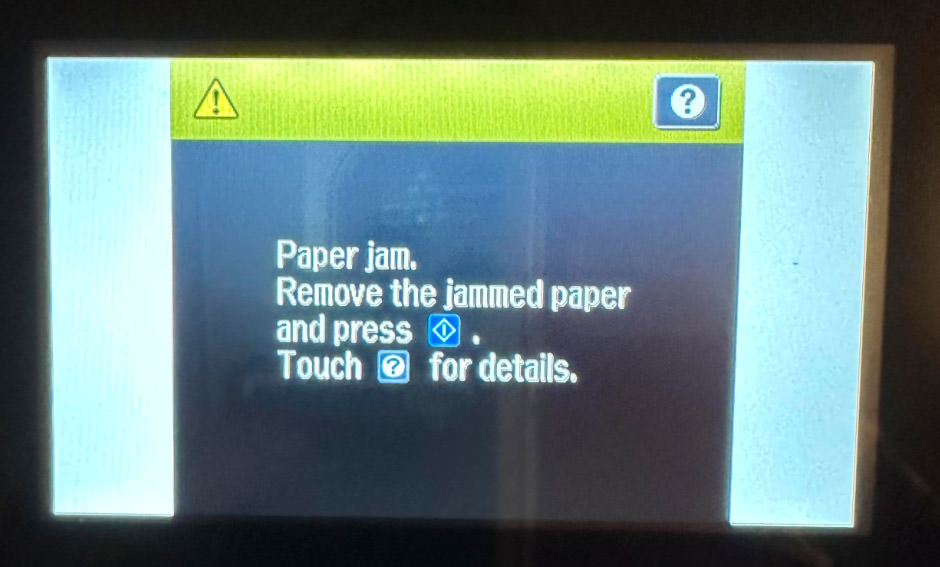
Have you ever had your printer stop working, claiming there’s a paper jam when you can’t see any paper stuck at all? This is known as a phantom paper jam.
It’s really annoying because it stops all your printing but looks like there’s nothing wrong. Sometimes, the culprit can be tiny bits of paper or other small stuff hiding inside your printer. A good look inside, maybe with the help of a flashlight, can sometimes fix the problem.
How to Clear Paper Jams from the Rear Cover
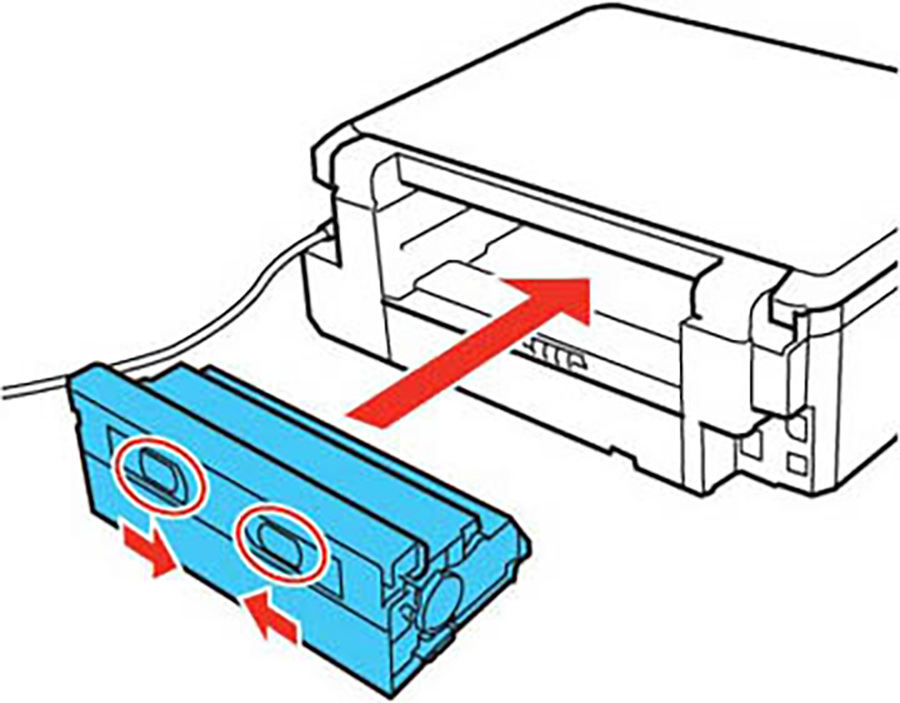
Follow these steps to remove any jammed paper from the rear of your printer:
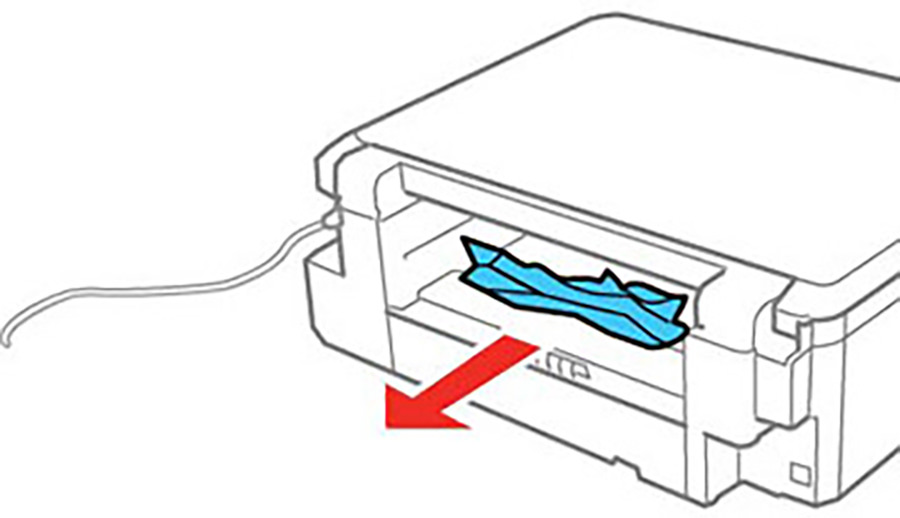
- Press the buttons to release the rear cover and then take it off your printer.
- Gently remove any jammed paper you find inside.
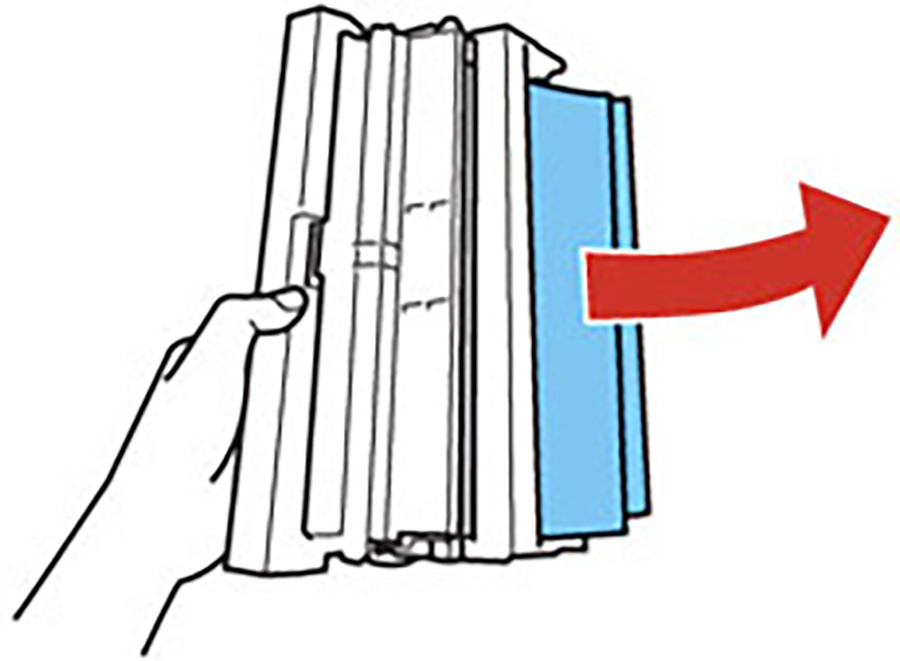
- Don’t forget to check the duplexer for jams as well.
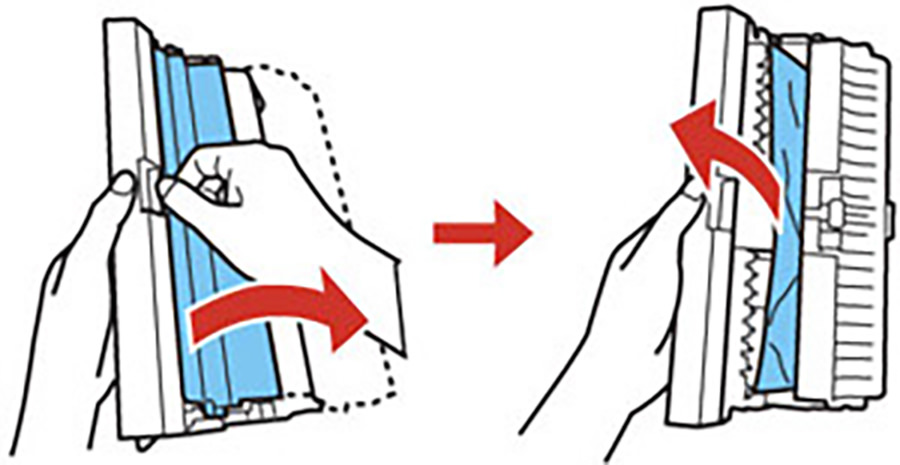
- Open the duplexer cover, carefully remove any stuck paper, and then close it back up.
- Finally, reattach the rear cover to your printer.

If you’ve checked everywhere and still can’t find anything, like what happened to me, the issue might be with the printer’s paper sensor. When this happens, it’s probably time to take your printer to a service center so the experts can have a look.
Maintaining Your Printer
To make sure your printer stays in tip-top shape, here are some easy-to-follow tips:
- Use plain paper of at least 80 GSM. Avoid paper with punched holes, crumpled sheets, or sticky media to prevent jams.
- Keep the rear paper support tray away from the wall to avoid interference.
- Extend the front tray properly so documents lay flat, reducing jam risks.
- At the end of the day, remove paper from the tray and store it flat to prevent curling.
- Perform a nozzle check weekly to ensure ink flow and prevent clogs across all colors: black, cyan, magenta, and yellow.
To print a nozzle check (procedure varies by brand and model):
- For Epson users, install the printer driver on your PC. Then, navigate through Control Panel > Devices and Printers > right-click on your printer > select Printing Preferences > Maintenance > Nozzle Check.
- If the nozzle check prints with missing colors, lines, or breaks, it indicates compromised print quality. Proceed to perform a head cleaning by selecting Maintenance > Head Cleaning and follow the on-screen instructions.
- If the nozzle check is clear, no further cleaning is needed.
Epson Printers with LCD Panels
For printers with an LCD panel, choose Maintenance > Nozzle Check directly.
Epson Mobile Apps
Using mobile apps (Epson iPrint (iOS / Android) or Epson Smart Panel (iOS, Android), connect your printer, tap on your printer model, then go to Maintenance > Nozzle Check.
If you encounter problems you can’t resolve, contacting support is always the best course of action. Hopefully, these tips will help you maintain your printer’s performance and avoid those pesky paper jams!