How to Covert PDF to Image Formats on Mac
Converting a PDF to an image file on Mac has been around for quite some time now, you don’t need to install a special tool to do this or run a command through the Terminal. All you need to do is open your image file via Preview and export it as either JPEG, JPEG 2000, or PNG, depending on your preference.
Fastest Way to Convert Images to Other Formats on Mac
Did you know that you can convert images from one format to another natively on your Mac, that... Read more
Why convert PDF to JPEG?
It seems weird, but it’s actually useful, and perhaps you’ve needed it yourself too in the past. For example, preparing your itinerary or plane ticket before boarding – instead of opening your PDF ticket, don’t people just usually take a screenshot of it? Which isn’t ideal especially if the resolution is small.
In which case, you can just convert it to JPEG or PNG. It’s better this way since if you’re on your phone, you can have it in your gallery, and not hassle yourself navigating all the way to your file explorer.
Also, compared to PDF, JPEG files are lighter in terms of file size. So if you are trying to save space, then converting your documents to JPEG or PNG might be ideal.
Convert HEIC to JPG in macOS
High-Efficiency Image Format (HEIC) is the new image format that Apple is now using as a replacement for... Read more
How to convert PDF to JPEG / PNG on Mac
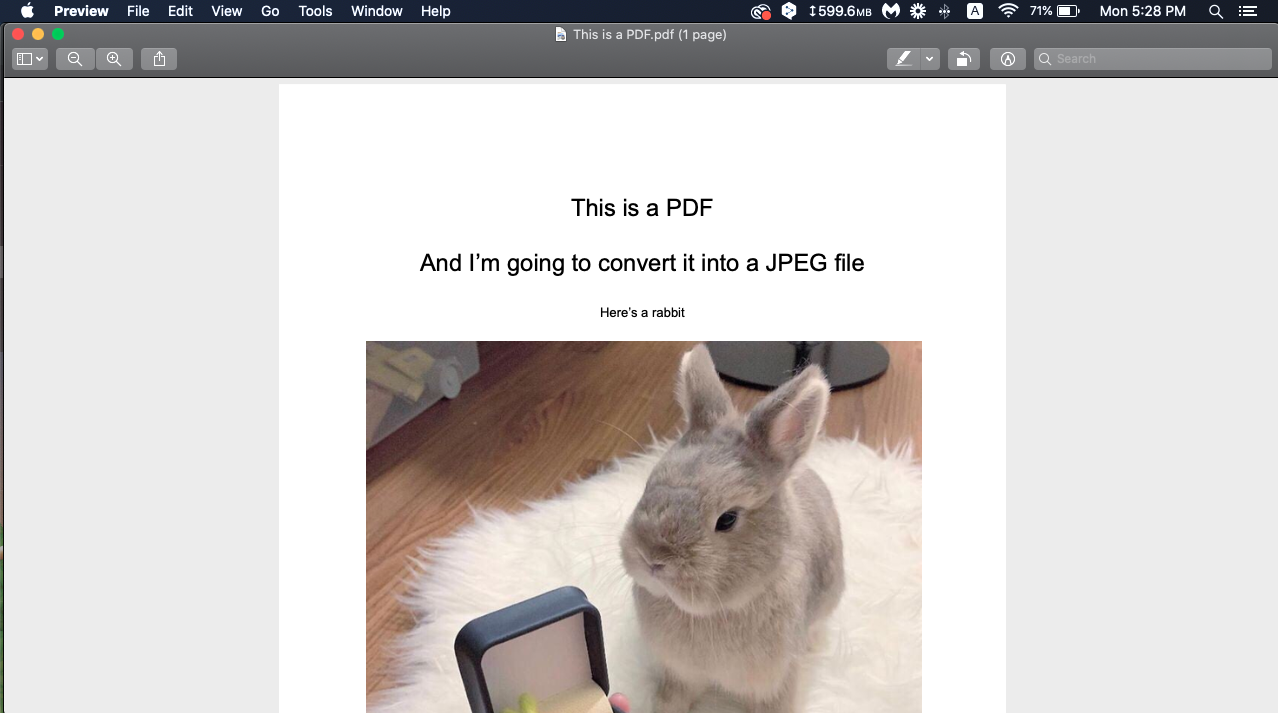
- Open the PDF file using Preview. If it opens on your browser (Chrome and Firefox do this), just right-click and Open it with Preview.
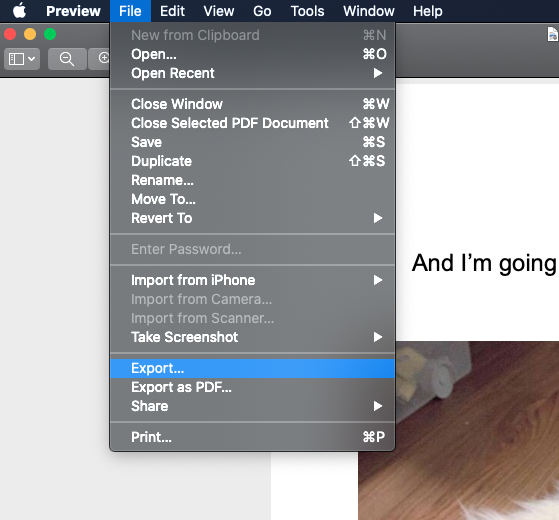
- Once the file is open, head over to File and click on Export.
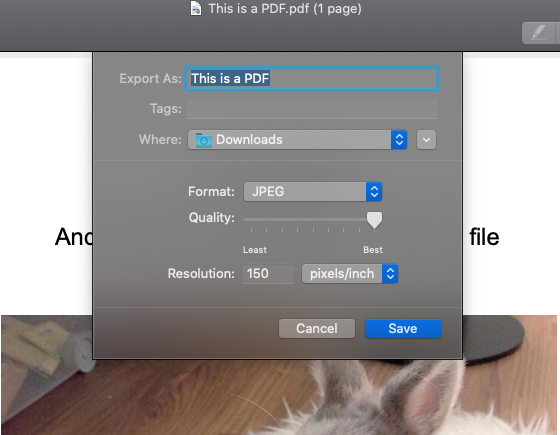
- A window will pop up asking you to choose a file format. Choose one from the dropdown. In my case, I opted for JPEG.
- It will then ask for an export quality. If you need to save space, you can dial it down all the way to 10% but it will be pixelated, so I recommend a minimum of 60%.
- Once done, hit Save.
That’s it!
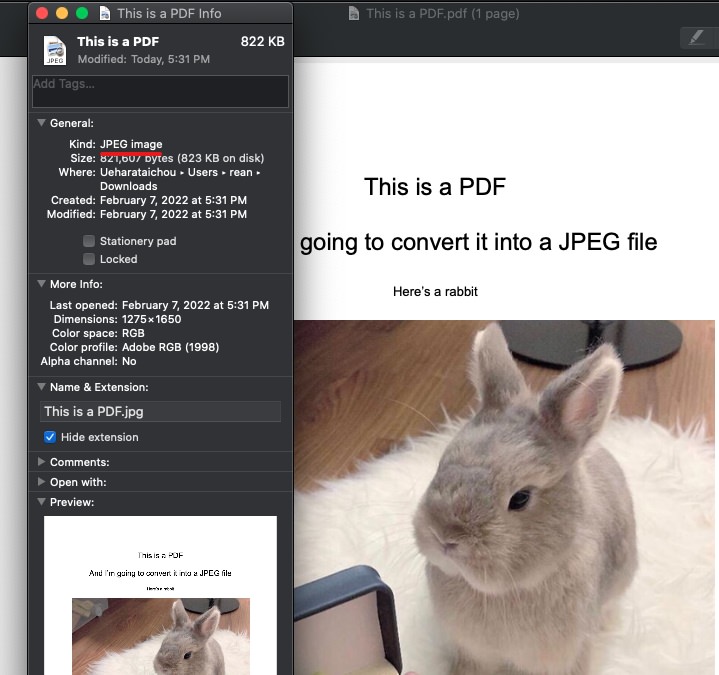
Look at the file’s info here. It shows that it has been exported as a JPEG file.
Caution: This method only works for one-page files. If you have multiple files, you can either do it one by one, or make use of the Automator.
Convert entire PDF to image file on Mac
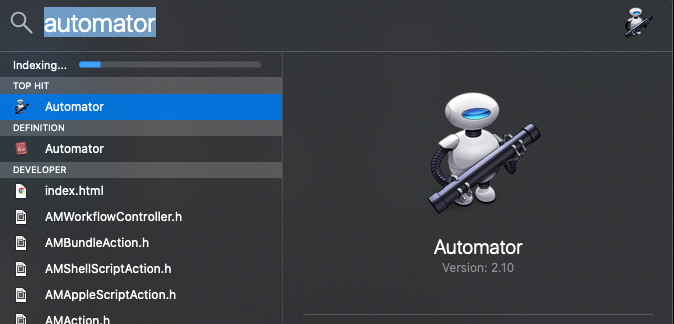
- Press Command + Spacebar to open the Spotlight.
- Then search for the Automator app and click it.
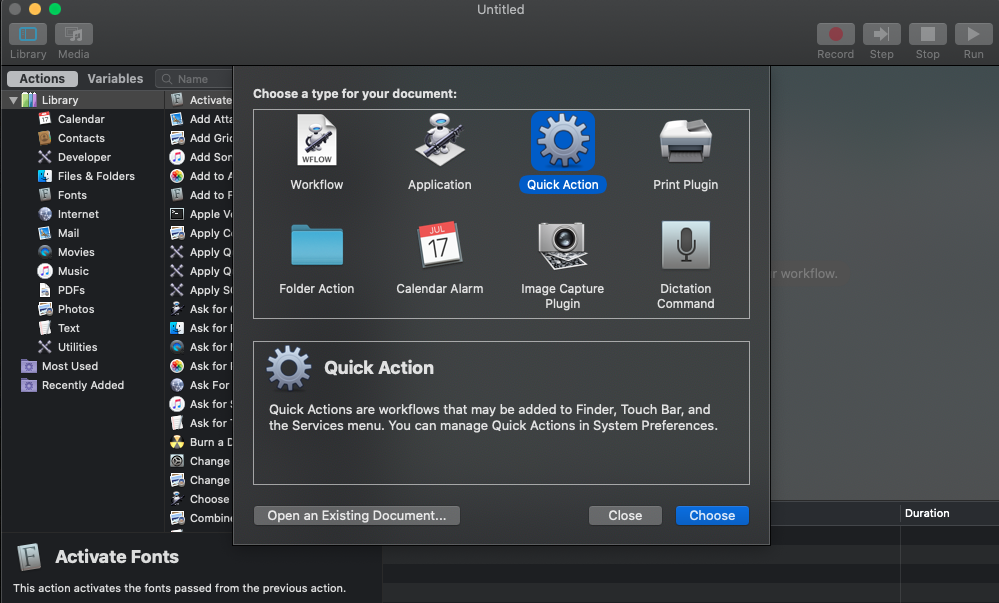
- Once it loads, you will see this screen. Choose Quick Action.
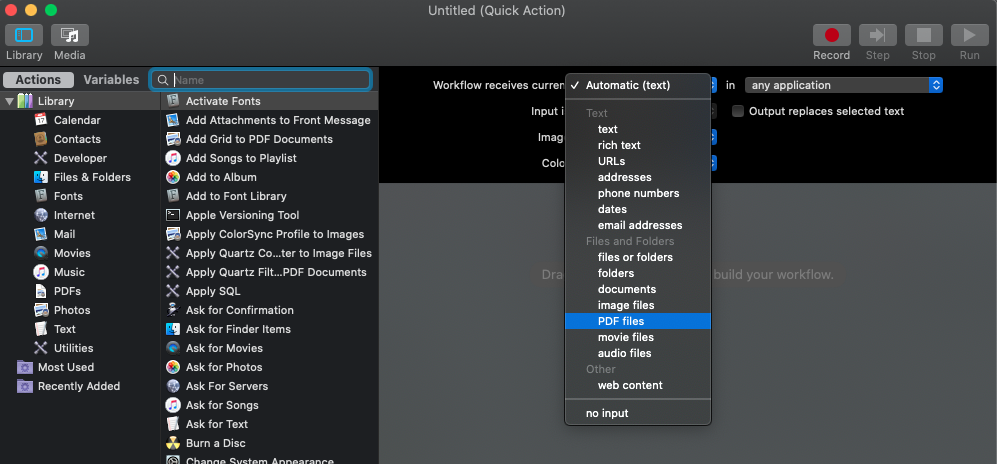
- On the new window, you will see an option for Workflow receives current, there is a dropdown option right next to it. Choose PDF files.
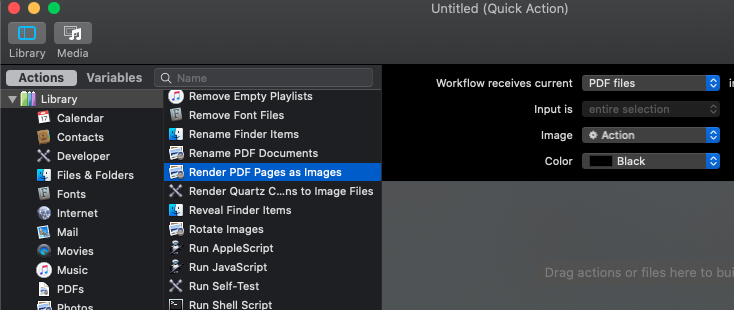
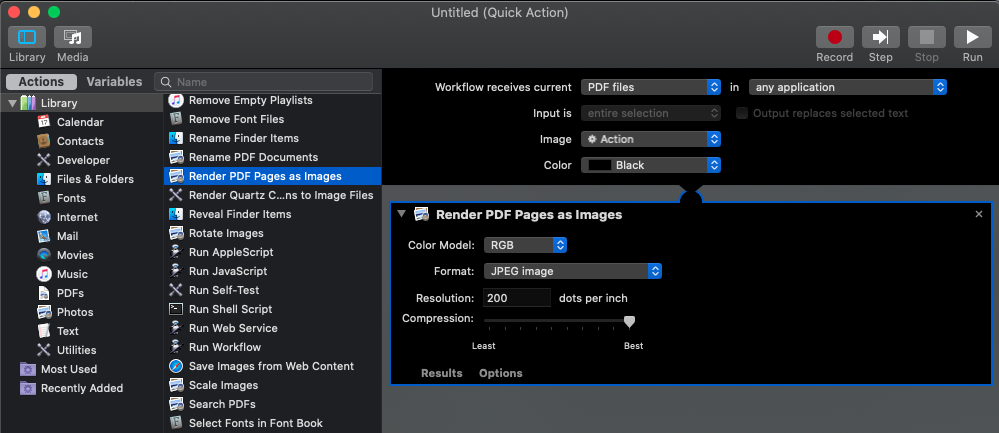
- Then on the left, you will see a search bar. You can either use this to search for Render PDF Pages as Images or just scroll down until you find it. Once you find it, double-click on it or drag it to the right panel.
- It will then show you options for the Format, Color model, Resolution, and Compression. You can leave it with the default options, or increase the compression for best quality.
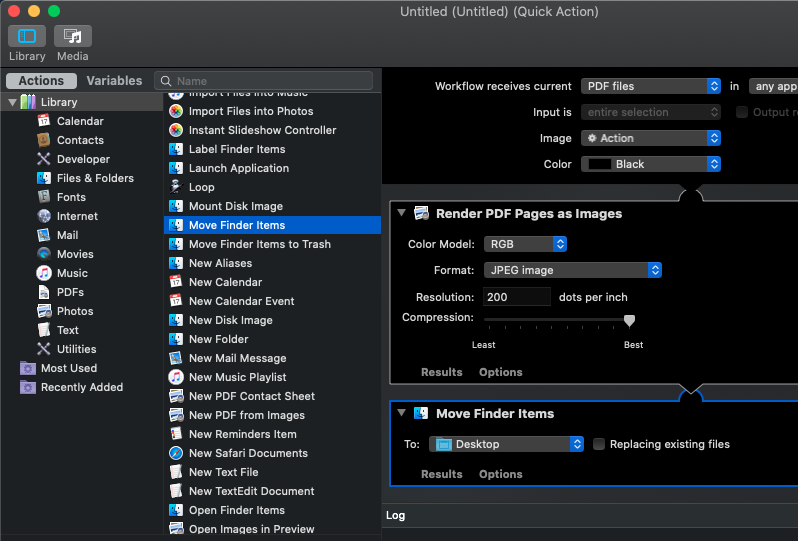
- Then do the same thing again, but this time search for Move Finder Items and drag it to the main panel. Then pick a location where the converted files should be saved. In my case, I am saving them on my Desktop.
- Once that’s done, click on File and Save your work. Name it something recognizable like “Convert PDF to JPG” or something shorter
How to Automate Tasks in Mac with Folder Actions
Folder Actions are a powerful tool that you can utilize on your Mac. They are essentially a set... Read more
Now, let’s test if it works!
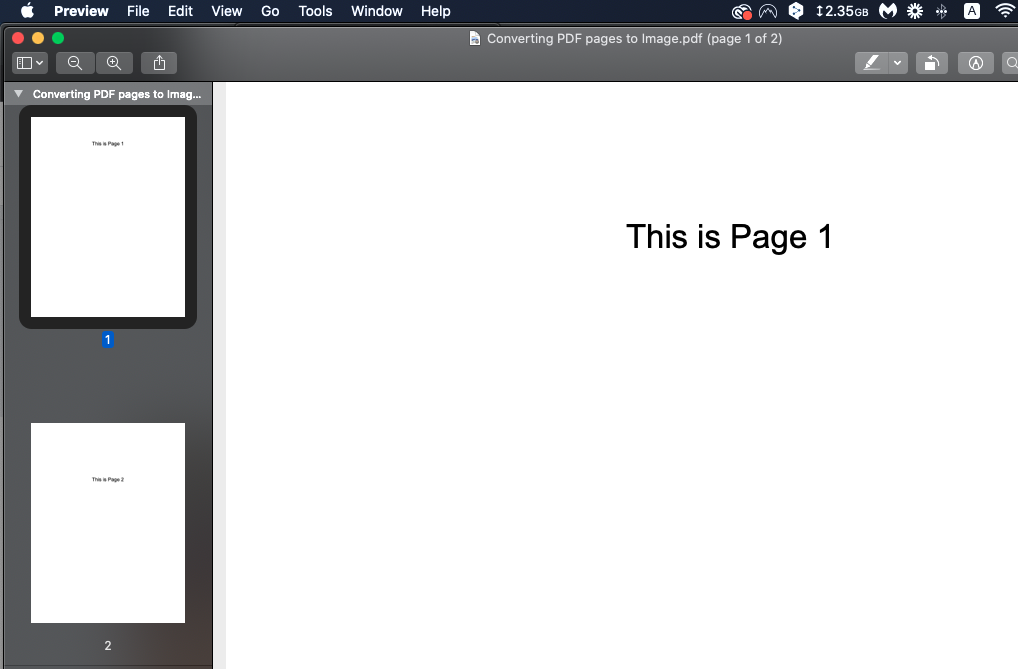
First thing is to look for your PDF. You really don’t need to open it to convert it, but I’m showing my sample here just in case. In my sample PDF, there are two pages, and once we run the automation, it should create two separate JPEG files.
So, once you have your PDF, right-click it and you will see two options here:
- If you are on the latest Monterey version or even Big Sur, you will see an option at the very bottom saying “Quick Actions”. Hover over this and click your Automation. It will then immediately convert your PDF into separate JPEG files.
- If you are on an older macOS version, you probably won’t see “Quick Actions”, but instead you will see the name of your quick action immediately as shown in the image below.
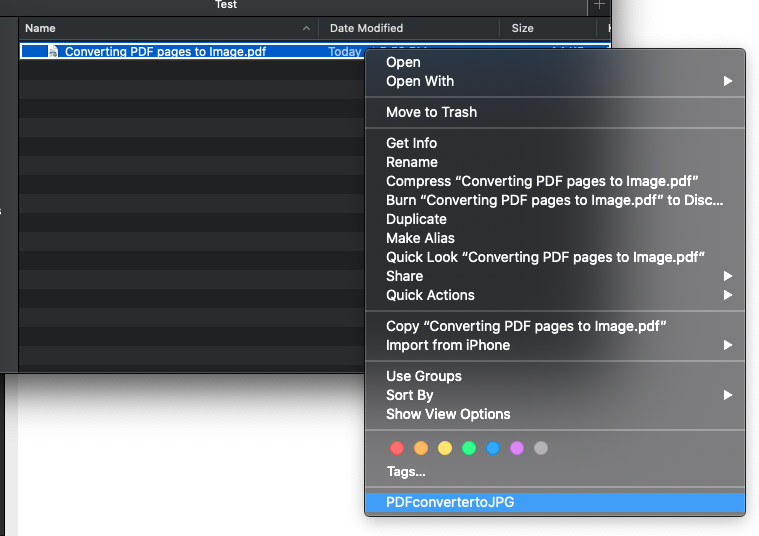
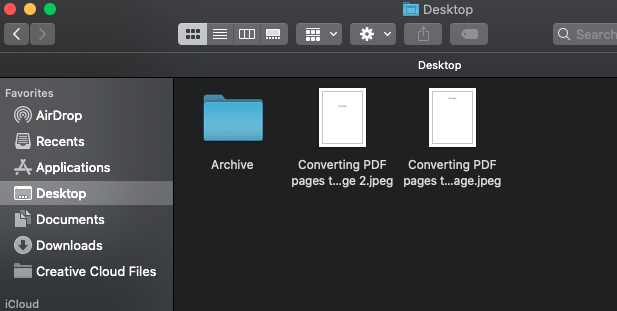
Once you click on it (in my case I named it “PDFconvertertoJPG”), it will immediately create the two files. No questions asked. To show you this, here’s my desktop with the two pages as separate PDF files.
That’s it! You converted your PDF into an image file on Mac, and also made use of the Automator app! And of course, you are free to pick which file format you want, whatever works for you. I hope that helps!