How to Save Screenshots to a Custom Location on a Mac
Want to change where your Mac saves screenshots? Normally, every screenshot you take is automatically (by default) saved to your desktop. If you take a lot of screenshots and forget to delete them, your desktop can quickly become messy with all these files.
A good solution is to save them in a specific folder anywhere on your computer. This guide will show you how to do that.
Step 1
Open the Terminal application.
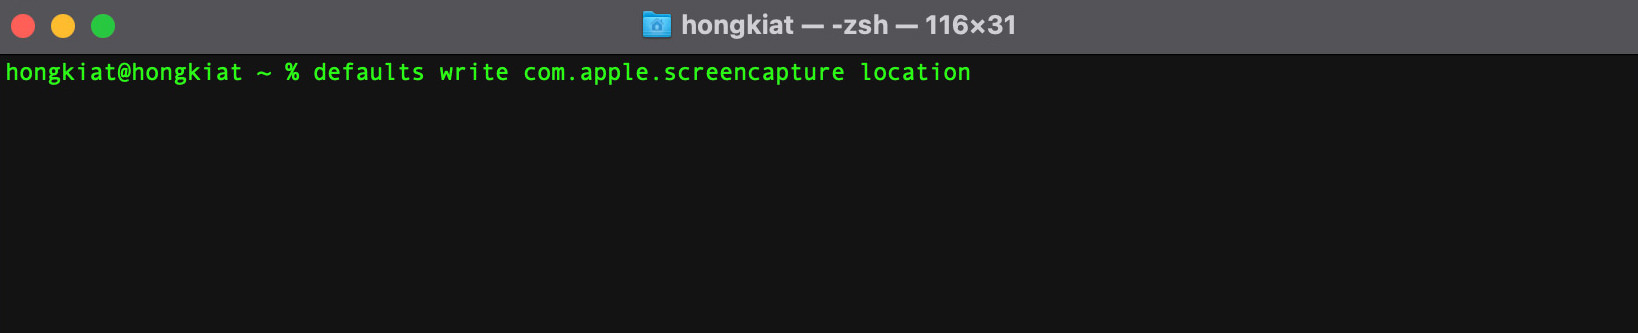
Step 2
Type the command below without the quotes but don’t press the ‘Enter’ key yet. Remember, there should be a space after the word “location” in the command.
"defaults write com.apple.screencapture location "
Step 3
Find the folder where you want your screenshots to be stored. If it doesn’t exist, create it. Then, drag and drop this folder into the Terminal window, right after the word “location “ in the command.
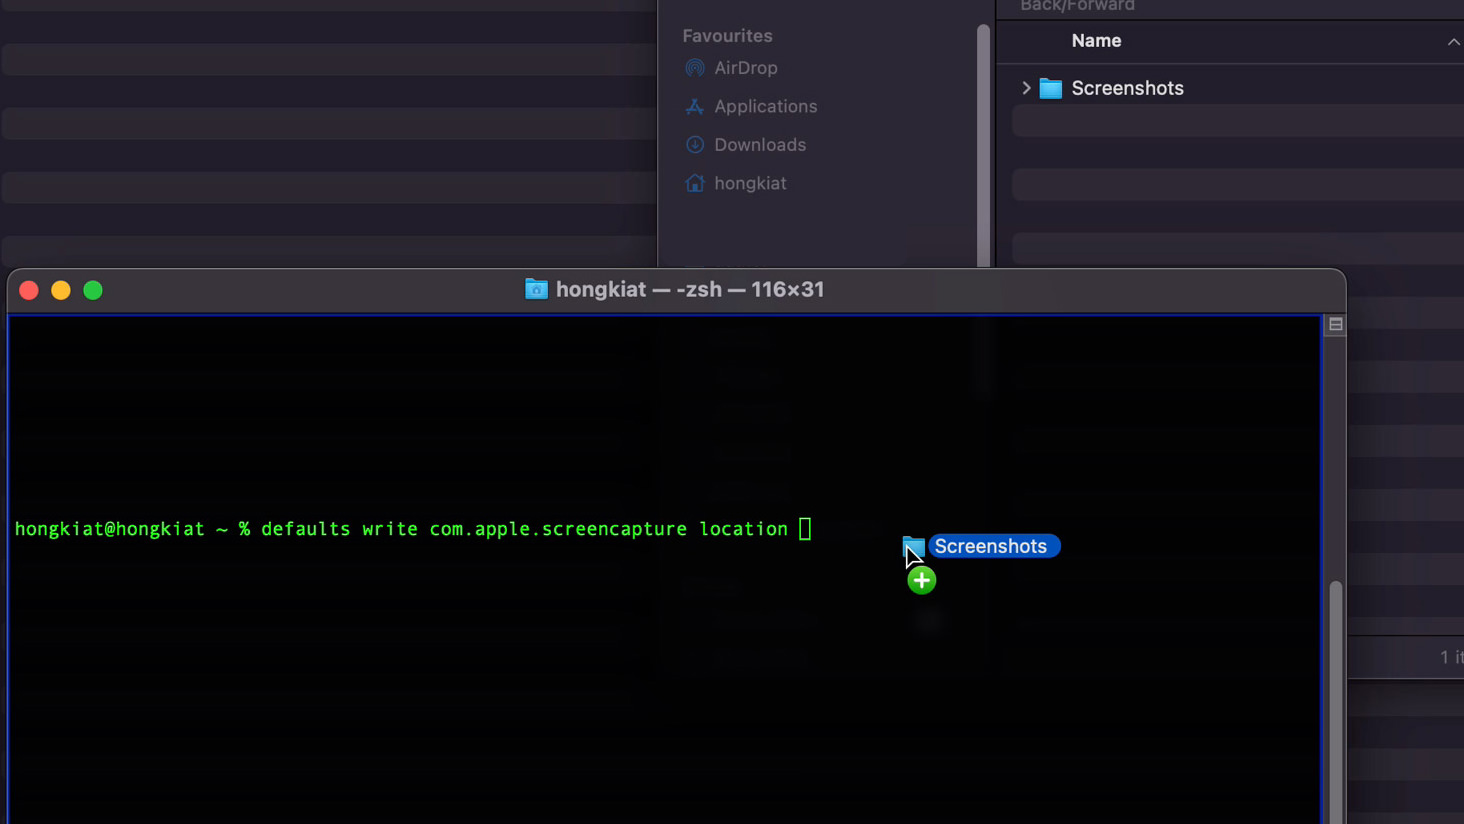
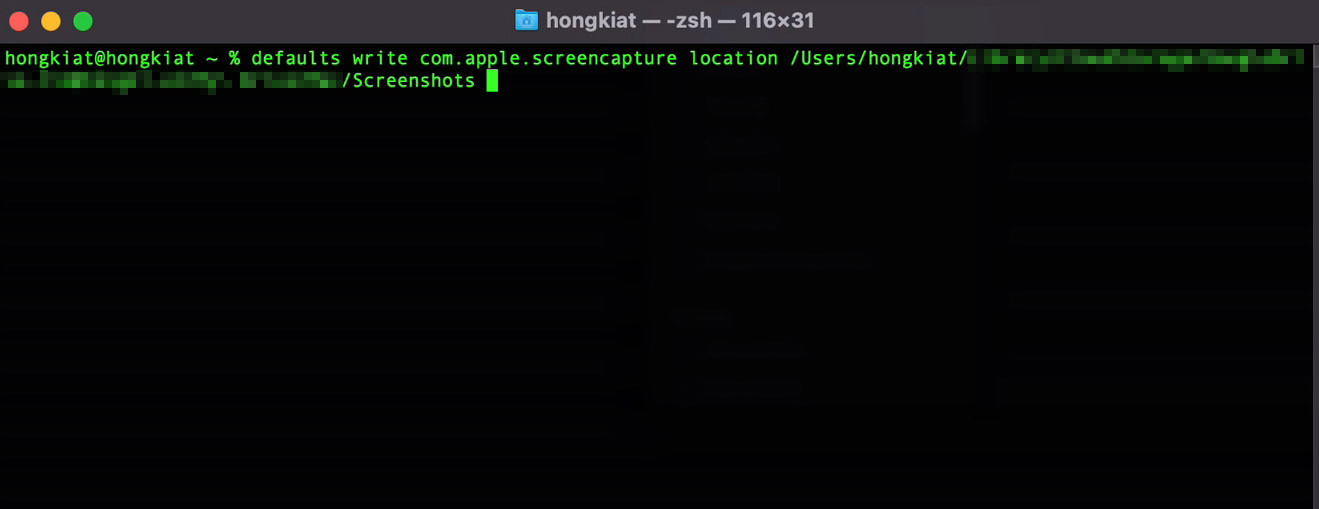
By doing this, the Terminal will display the full path of the folder. Now, you can press ‘Enter’.
Step 4
Lastly, type the next command provided and press ‘Enter’. This will activate the changes you’ve made.
killall SystemUIServer

Give it a try
Now, take a screenshot on your Mac. If all goes well, as expected, the screenshot will automatically be saved in the folder you specified.
Here are some articles we’ve previously written about taking screenshots on a Mac that you might find useful.