Improve Android Lock Screen Notifications With Dashclock & Dashnotifier
The lock screen widgets introduced in Android 4.2 is great as you can check your notifications right from the lock screen. But as you can only have 1 widget per screen, there is a lot of swiping involved to get through your email, text messages and Facebook updates (which kind of defeats the purpose).
We’re here to introduce better alternatives: DashClock and DashNotifier.
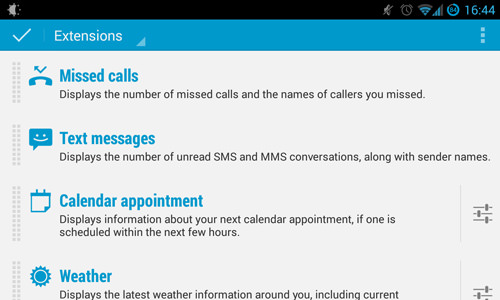
DashClock Widget is a lock screen clock widget with support for multiple extensions that display notifications all on one lock screen. We’re talking about extensions for Gmail, weather, messages and missed calls (and a lot more on the Play Store).
One of these extensions, DashNotifier is one you should really check out, as it shows notifications for any applications – up to 7 on the lock screen.
Recommended Reading: 5 Multi-Feature Widget Packs For Your Android Device
Getting Started
First, you need to get DashClock from the Google Play Store. Then, download DashNotifier.
Once everything is installed, the first step is getting DashClock onto the lock screen. The method will differ according to your device.
For example, on the Samsung Galaxy S4, you first have to enable multiple lock screen widgets. To do this, go to Settings > My device > Lock screen. Tick the Multiple widgets setting. Devices such as the Google Nexus 4 have the multiple widget settings enabled by default.
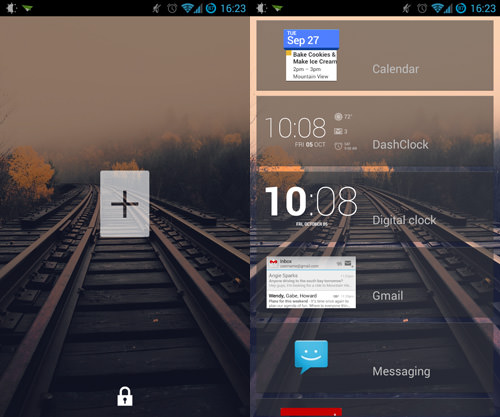
Swipe all the way to the left of your lock screen and you should see a big + button. Tap it and select DashClock. You’ll be taken to DashClock’s Extensions menu.
Setting Up DashNotifier
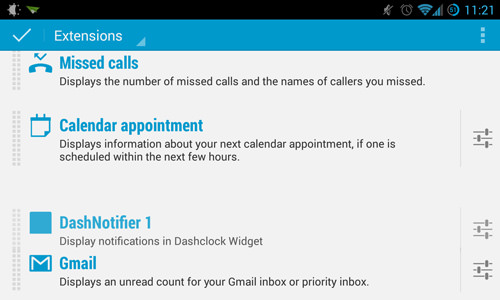
Let’s set up your first DashNotifier notification. Scroll down to the bottom of the menu and tap on Add Another Extension. You should see seven DashNotifier items in the pop up menu. Select one of them to add it to DashClock.
Now, click on the settings button to the right of the extension. You will be taken to the settings screen for that particular extension. Here, you can set:
- The application you want notifications for.
- The application’s DashClock icon and title text format.
- Whether notifications are cleared when you unlock the device.
- Whether the item shows notification content.
- Whether notifications will turn on your device’s screen.
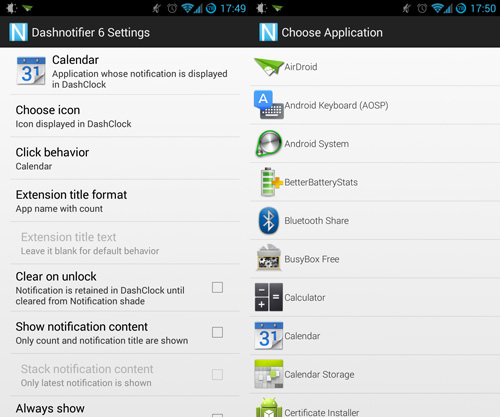
It might seem like a lot of options, but all you really need to do is select your application and choose an icon. The other options are there if you want them, but DashNotifier extensions work fine with the default settings.
Customizing DashClock
Once you’re satisfied with your DashNotifier extensions, you can go back to DashClock’s main Extensions screen. You can change the order of extensions or even remove some of the built-in extensions.
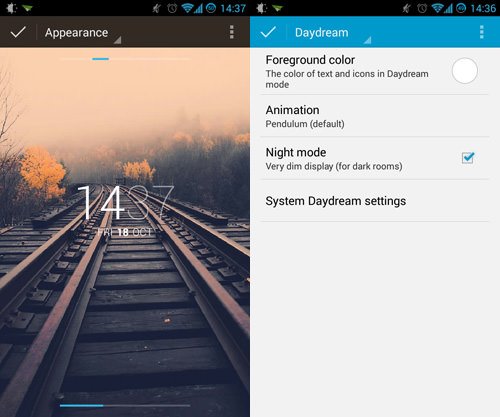
You also have some basic customization options for DashClock aside from extensions. You can choose between a few different clock and date styles as well as customise DashClock’s daydream settings.
Once you’re satisfied with DashClock’s extensions and appearance, tap the check mark on the upper-left of the screen to save your settings.
Make DashClock Your Default
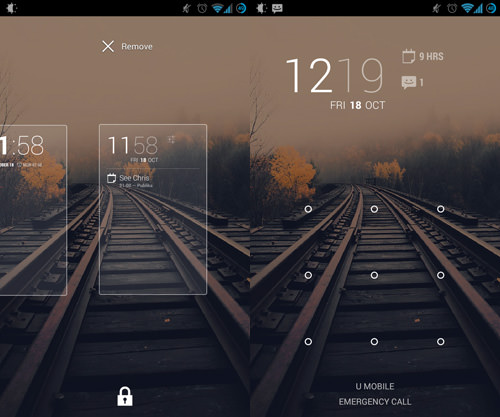
Finally, if you’re using a device that supports multiple lock screen widgets, it’s time to make DashClock your default lock screen widget. To do this, go to your lock screen and then just press and drag DashClock all the way to the right.
App Limitations And Conclusion
Note that DashClock requires Android 4.2 and above, while DashNotifier requires Android 4.3. There’s also no way to make DashClock default to its expanded mode, so you’ll have to do a quick downward swipe every time you want full information about your notifications.
Overall, if you have a compatible device, DashClock and DashNotifier are a great combination to use to better keep track of notifications on your lock screen.