How to Fix Common Video File Errors with Repairit
It is such a frustrating feeling when you open a video file and it turns out to be corrupted or shows some error. There can be any number of reasons why your video file encounters an error but only a few reliable ways to fix them. Well, you can either tinker with the technical aspects of the video through a video editor, or go for a simple and reliable video repairing tool.
Video repairing tools enable anyone to fix corrupted video files without needing any video editing software or requiring any prior knowledge on the subject.
In this post, I am going to share with you some of the most common video file errors and why they happen in the first place and then I’ll show you how to fix such errors using Wondershare Repairit.
Without further ado, let’s get started.
Five common video file errors
A video file can encounter any kind of error, however, for this post, I am going to highlight some of the most common ones that people often face.
1. WMV Error
WMV is a commonly-used video compression format that allows you to export large videos in smaller sizes without compromising their quality. But there are times when you play a WMV file and it turns out to be corrupted.
For instance, you encounter “file could not be played” notification, frozen frame, distorted sound or no sound at all, or the video simply crashes as soon as you play it.
There can be many reasons for a WMV file to show these errors. The most frequent ones include; a corrupted storage device, malware in the system, abrupt system shutdown during the video’s download or transfer process, the media player is not compatible, or if the video file is not converted properly.
2. Code 0xc00d36c4 Error
Sometimes when you’re trying to play a video file from an external device, like a USB drive or DVD, you get a “Can’t play. Code 0xc00d36c4 error” message. This problem usually arises when there is a system conflict between connected external media and your own computer.
A lot of Windows users (especially the ones using Windows 10) face the Code 0xc00d36c4 error but don’t really know why such a problem has occurred. Well, among many reasons for the Code 0xc00d36c4 error, the most common ones can be; a wrong codec, an inaccurate file extension, or the video file format is simply unsupported by the media player that you’re using to play the video.
Moreover, there may be an issue with the USB drive or DVD – perhaps a virus or malware – to be causing a problem in the proper functioning of your video file.
3. Black Screen Error
This may have happened to you once in a while that you try to play a video but it shows a completely black screen, even though you could hear the audio perfectly. This is called the black screen error of video files and causes much frustration when it occurs.
As for the reasons why you may come across the black screen error, there can be a malware or bad sector in the storage device, the video file was edited using an unauthorized editing tool, header corruption, converting the video to a wrong or unsupported file format, or the video was recorded when the memory card was already full.
4. MKV Video File Error
MKV is a multimedia container format that incorporates audio, video, and subtitles into a single file, even if these elements are using different types of encoding. Though MKV files are pretty dependable, still they can encounter an error sometimes and would not play properly.
As for the question of why an MKV file can run into an error, there can be many reasons such as; a malware in the storage device or server that affects the file, conversion to an incompatible format, the file wasn’t properly transferred or downloaded, or if the system suddenly turns off while converting or transferring the MKV file.
5. MP4 Not Playing
Being lightweight and supported by many video players, MP4 is one of the most widely used video file formats. However, MP4 files are very much prone to getting corrupted or damaged. So when you run an MP4 file and it shows some kind of error (glitched video or no sound in the video etc.) it would be good to know what may have possibly caused this error.
MP4 file errors arise usually during the process of recording, file transfer, or encoding. For instance, the camera abruptly loses power or shuts down during video recording, the video is not properly exported after editing, the system powers off during the export process, or there are bad sectors in the storage device (internal or external – USB or DVD) where the file is stored.
Fixing these errors (With Wondershare Repairit)
It is needless to say how annoying it feels when you face a video file error, especially when you’re in the middle of a time-sensitive project. So, to fix each of the video errors mentioned above, you can either do it the hard way by getting into the complex technicalities or to save time, you can go for a video repair tool like Wondershare Repairit.
Wondershare Repairit allows you to fix your corrupted videos facing different errors. It is a reliable solution repairs your videos in a few steps, so both professional and amateur videographers can use it.
The Repairit tool is available both as a desktop app and an online one, however, the two platforms offer somewhat different features.
In the following, I am going to list all the salient features of each, so you can decide which one would suit you best.
Repairit Online
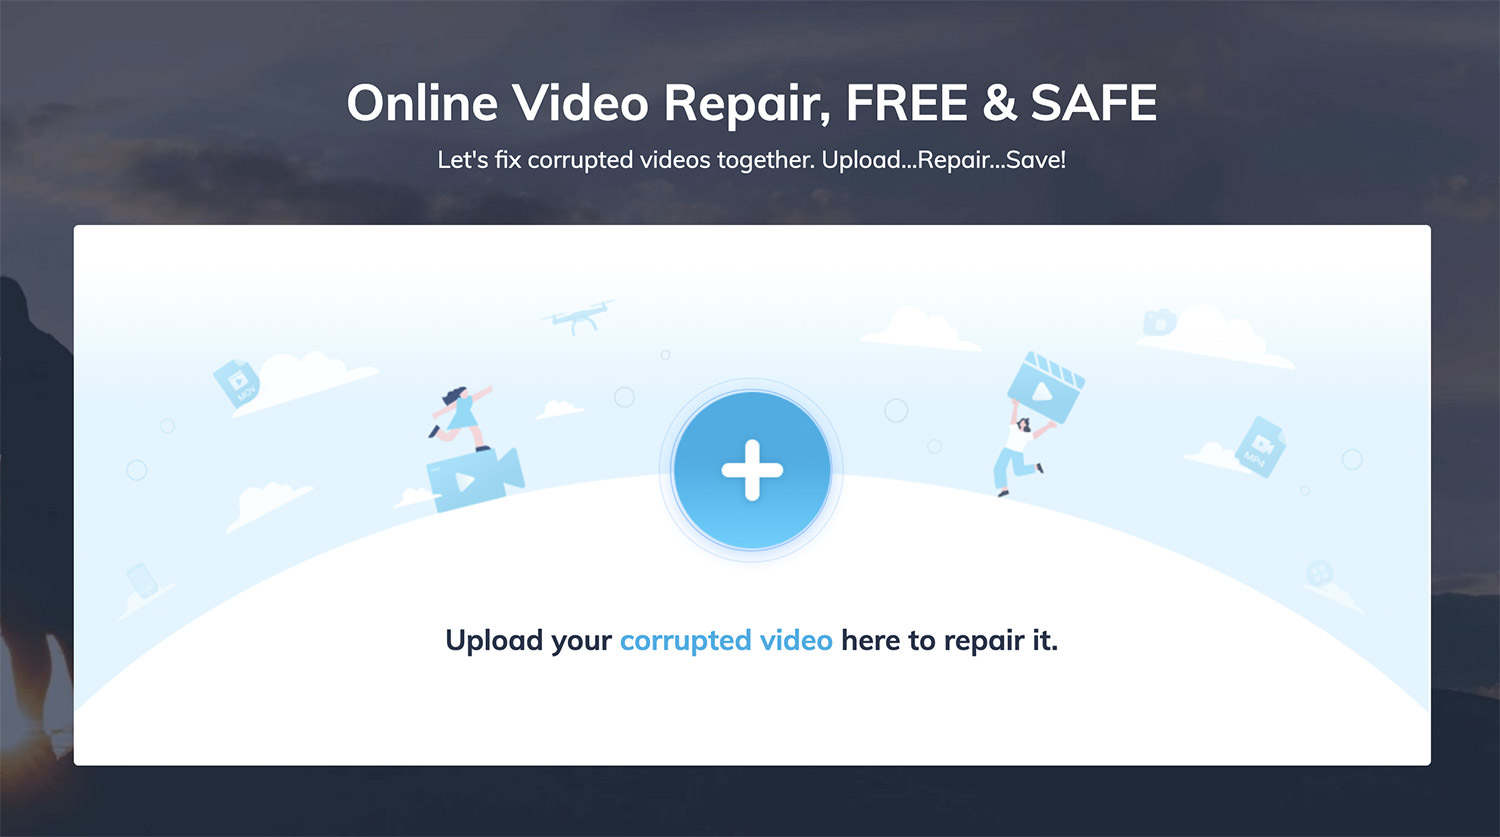
Repairit Online enables you to fix your corrupted videos right through the the website. Here are some features of the tool that you can look forward to:
- Absolutely free.
- Offers a 4-step repair process without affecting the quality of your video.
- Fixes a wide variety of video errors.
- Fix 10 video files per day with upto 200 MB file size.
- Supports three different formats – MP4, MOV, and 3GP.
- Preview a 30-second video segment of the repaired video before saving.
- No sign-up required.
- The repaired video will be saved without any logo or watermark.
- Ensures user privacy and data protection.
Repairit For Desktop
For those who want a quick video repairing solution right in their computer so they can access it anytime and anywhere without needing to be online, the Repairit desktop app would be a good solution.
Following is a list of feature for this app:
- Available for Windows and MacOS.
- Offers a neat and simple interface with a 4-step repair process.
- Fix Full HD and 4K videos without any compromise on the quality.
- Supports a number of file formats including MOV, MP4, M4V, MKV, MTS, 3GP, AVI and FLV etc.
- Advanced video repair feature allow you to add a sample file to repair severely damaged video files.
- Get a full preview of the repaired video before saving.
- There’s no file size limit.
- Allows you to batch fix multiple videos all at once.
- Get a free trial for 7 days to see if it fits your needs. Afterwards you can choose from either monthly, annually, or lifetime packages costing $39.95, $49.95, $69.95 respectively.
How to fix video files errors
Now that you know about the different features each tool offers, I am going to guide you through the step-by-step process of repairing your corrupted videos using Wondershare Repairit.
Please note that either you’re fixing one of the aforementioned video errors or any other problem in your video, the process will remain the same for all error types.
Via Repairit Online
If you want to use the Repairit Online tool for fixing your damaged videos just take the following steps:
- Upload the corrupted video by clicking the plus (+) sign.
- Once the uploading is finished, the tool will start the repairing process.
- After a few seconds your video will be repaired and you’ll be able to see a 30-second preview of the repaired video along with other information about the video file.
- Click “Save Video” and you’ll be able to save the fixed video file anywhere you want.


Via Repairit For Desktop
Repairit For Desktop offers somewhat different features and interface, however the fixing process is as simple as the online app’s. Here’s how to do it:
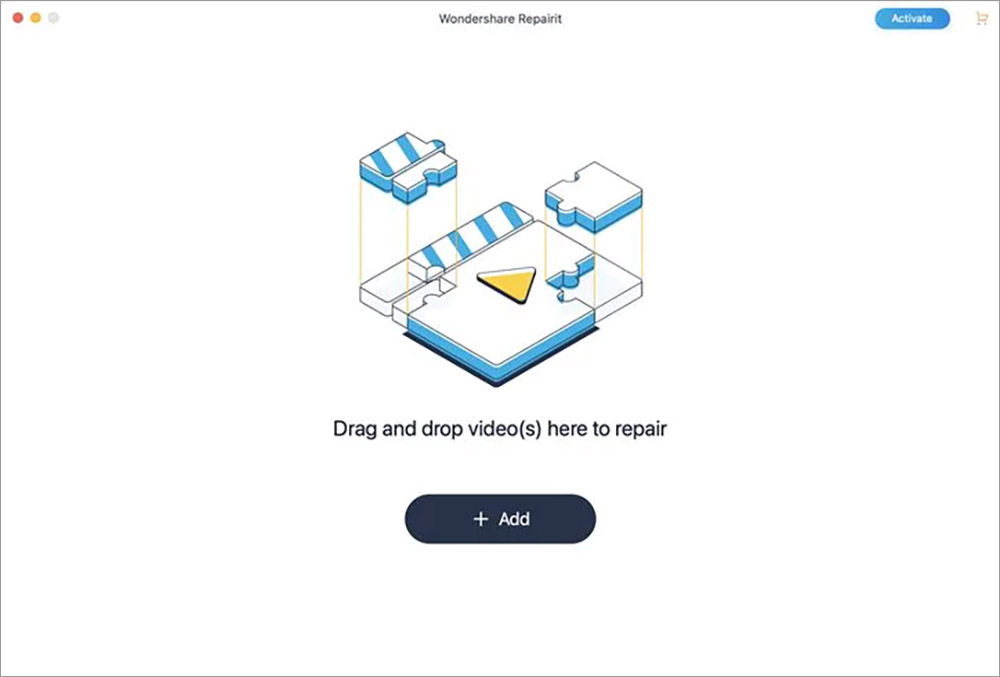
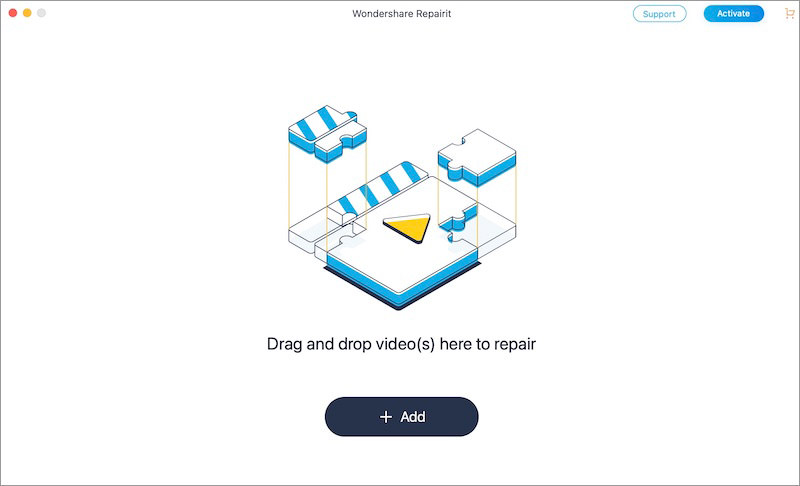
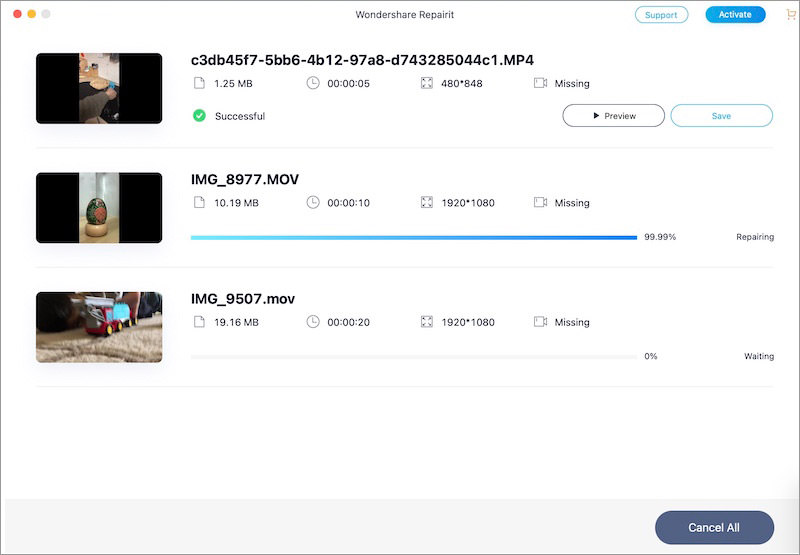
- Open the Repairit Desktop app and upload any number of damaged video files by clicking the “Add” button. You can also drag and drop your files in this window.
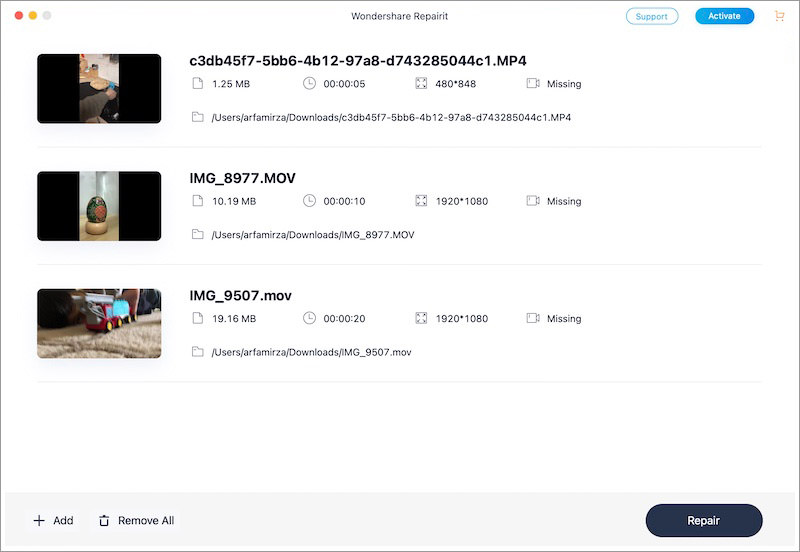
- Once the videos are uploaded, click the “Repair” button on the bottom right.
- Through a progress bar you’ll see how your videos are fixed one after the other within a few seconds.
- Once it is done, you’ll see the repaired video(s) with the “Preview” or “Save” button beside each of them from where you can take the required action.

Final Thoughts
No matter which video file format you’re using, they are always at the risk of getting corrupted. To fix the video errors, some people might take the old school way of getting down into the technical aspects or going through the process of editing or transfer all over again. Well, there’s nothing wrong with that except that it’ll be a very time-consuming process.
However, if you want to save much of your time and effort, then opt for a video repiring tool like Wondershare Repairit that gets the job done in minimum time and wothout affecting the quality of videos.
Do let us know about your experience with fixing corrupted videos and whether this post was helpful to you in this regard.