Facebook Housekeeping: 5 Steps to Clean Up Now
We’ve previously written about the privacy settings you should know and adopt on Facebook, how to better manage your Facebook Wall Feeds, and how to keep hackers off your Facebook account. This post, however, is more about Facebook Housekeeping.
After being active on Facebook for months or even years, you may have accumulated clutter in hidden areas on your Facebook account. These include friends lists, tagged locations, photo albums, inactive groups or pages, and apps with access to your info. This post will guide you through organizing these areas.
If you have additional tips, feel free to share them in the comments.
15 Facebook App Tips And Tricks For Android Phones
Let's face it, many of us still use Facebook daily, be it at home, work or when you're... Read more
1. Leave Inactive Groups and Pages
When checking your list of groups and pages, you may find several inactive ones. If they no longer serve you, here’s how you can leave them:
Groups
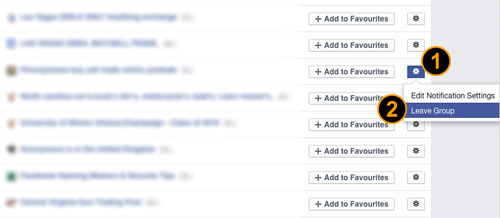
On this page, you can see and leave any or all of your groups. Click the settings button to the right of each group and choose Leave Group. After this, you won’t get updates from the group.
Pages
For pages, there are two methods:
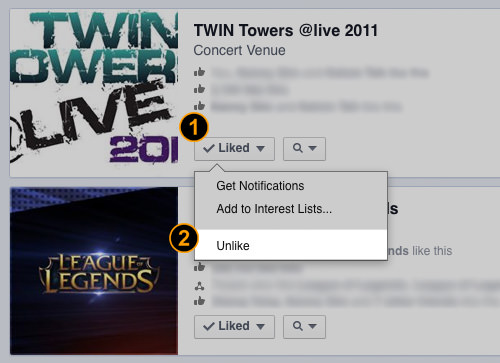
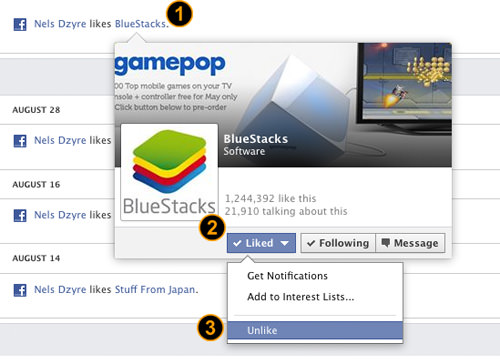
1. Go to this link if possible. Then, view your liked pages, click Liked, and choose Unlike from the drop-down menu.
2. Go to your Facebook Profile and access your Activity Log to view all liked pages.
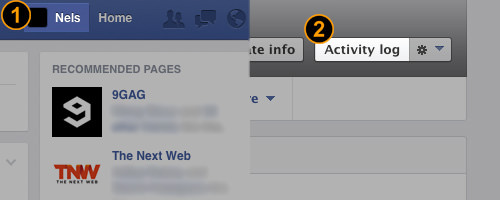
Then, on the left sidebar, navigate to Likes > Pages and Interests.
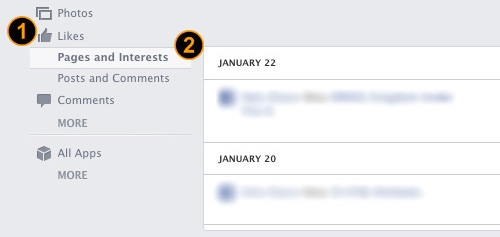
Hover over any liked page to see a preview, then click Liked and choose Unlike from the drop-down menu.
2. Manage Your Friends List & Friend Requests
If you have a large friends list and want to filter out the “noise,” here’s how to manage your friends and requests effectively:
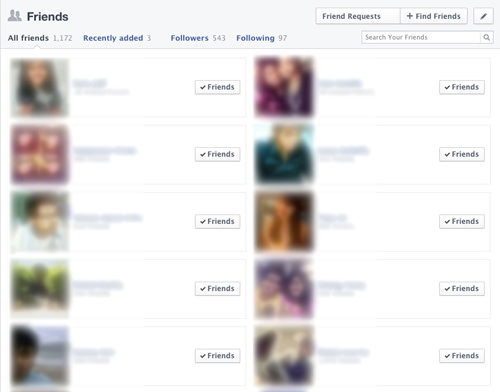
Manage Friend List
Go to Profile > Friends. Here, you can see all of the Facebook friends you’ve added or approved previously. To unfriend someone, click the Friends button next to their name and choose Unfriend.
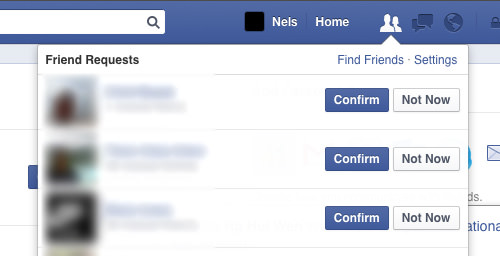
Pending Friend Requests
Friend requests do not remove themselves if ignored. When you click the Friend Request icon (next to Messages), you’ll see a list of pending requests, which remain until you act on them. You can choose Confirm or Not now to remove them from the list. You can also choose Mark As Spam to avoid repeated requests from the same person. For suggestions from friends, choose to Add Friend or Ignore.
Who you add to your friend’s list is entirely up to you.
Filter Your News Feed Content
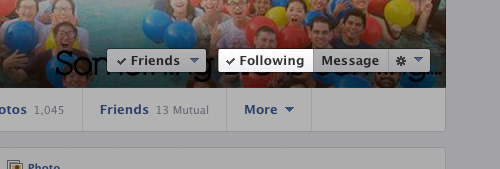
If you feel obligated to add some friends but don’t want to see their frequent updates, you can keep them as friends while avoiding their posts by unfollowing them:
1. Go to their profile by hovering over their name and unticking Following, or
2. Click the down arrow on their status update and choose Unfollow [friend’s name].
3. Organize Your Photos into Proper Albums
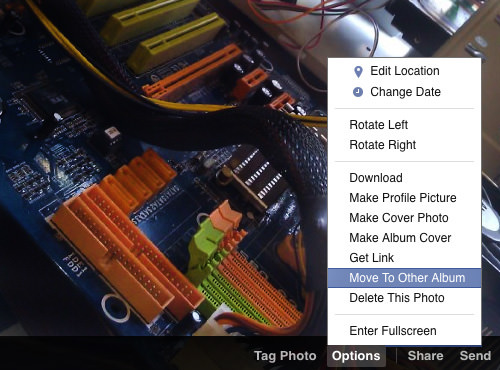
If you frequently upload photos to Facebook via mobile, they will always end up in the Timeline Photos album. Over time, this album can become cluttered.
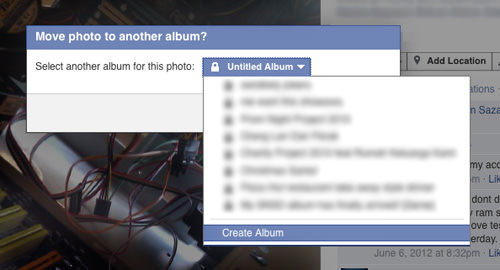
Instead, consider creating separate albums categorized by niche, location, time, or any other way that suits you. Click on the Options button on any of your photos, then select Move To Other Album.
You can then move the photo to an existing album or create a new album for it.
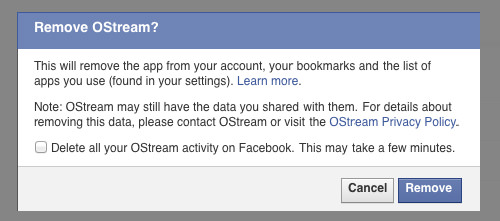
4. Remove Unused Authorized Apps
Every app you’ve authorized retains access to your Facebook account, even if you’ve uninstalled it. You need to manually revoke this access, one app at a time.
To do this, go to this page to see apps you’ve authorized in the past. Clear apps you no longer use by clicking the x on the right side of the app.
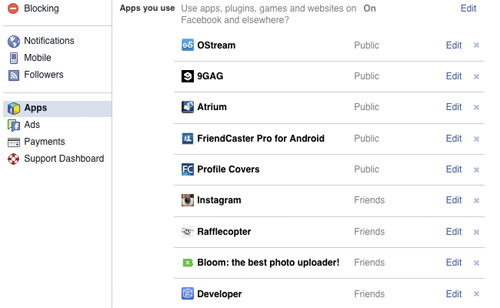
You can also choose to delete all app activities on your Facebook. Click Remove to confirm for each app.
5. Remove Tagged Location
If your friends tag you in their Facebook status along with a location, that tagged location will appear in your Places page. If you prefer not to share your whereabouts with your Facebook friends, you can remove this information.
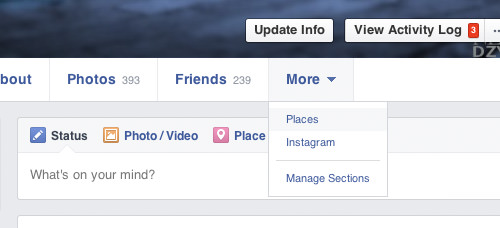
Visit your Profile page and click on More > Places. If Places is not listed, click on Manage Sections, tick Places, and click Save.
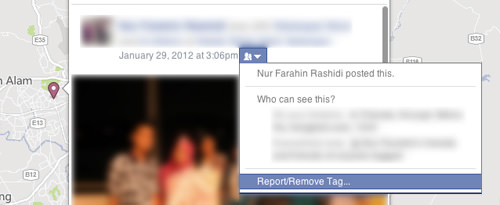
In the Places page, find any tagged locations and click on the Sharing Option next to the post date/time. Choose Report/Remove Tag…, select I want to untag myself, and click Continue.
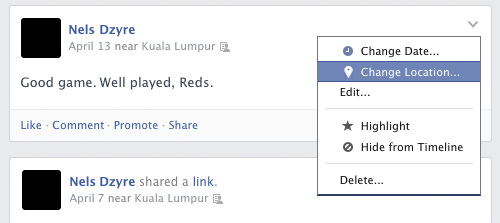
Additionally, whenever you update a post on Facebook, your status may include the location where you made the update. Before publishing the status, if you want to remove the location info, click the down arrow at the end and choose Change Location…. Then, click x to remove the tagged location.