How to Blur Selected Parts of Your YouTube Video
YouTube editor has recently offered a handy feature to blur any part of a video frame for a customized duration of time. Although, previously YouTube editor has provided an easy way to blur (only) faces automatically but the feature to blurring a specific part of your choice in a video is only recently possible.
Let’s quickly check out how you can do this. The video used for this demonstration is the Top 10 Funny Baby Videos 2015.
(Step 1) Once you are done uploading a video or if you have already uploaded a video on YouTube, click the Enhancements option right below your video.

(Step 2) Click on Blurring effects and you will see the two options.
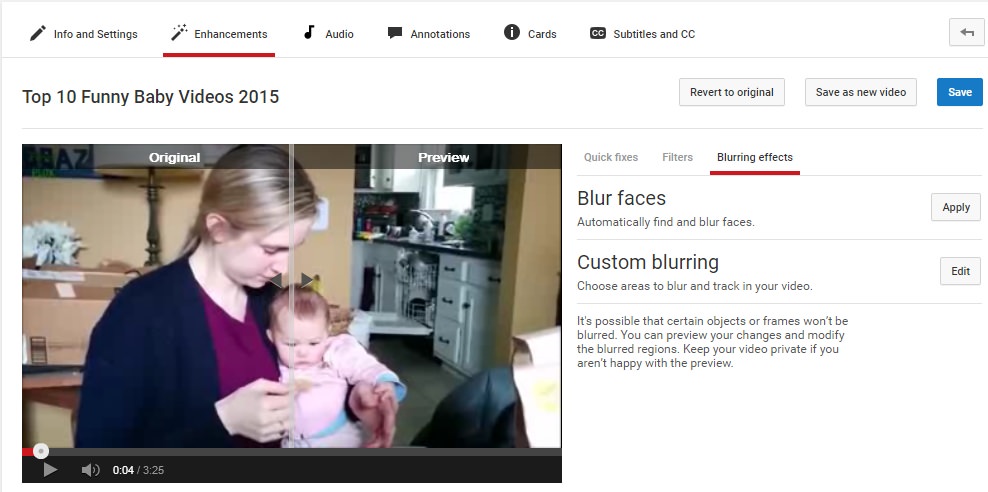
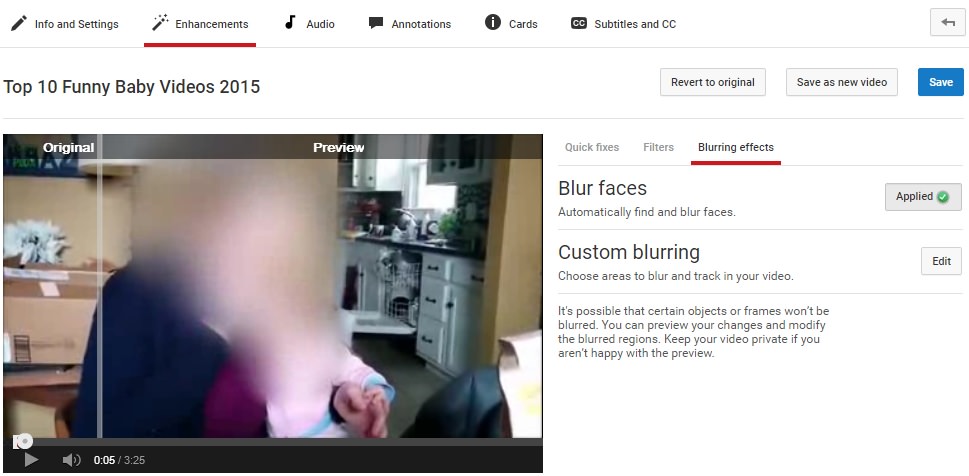
(Step 3) Click on Apply button to blur faces automatically in video.
(Step 4) Click on the Edit button to start selecting portions of the video to blur.
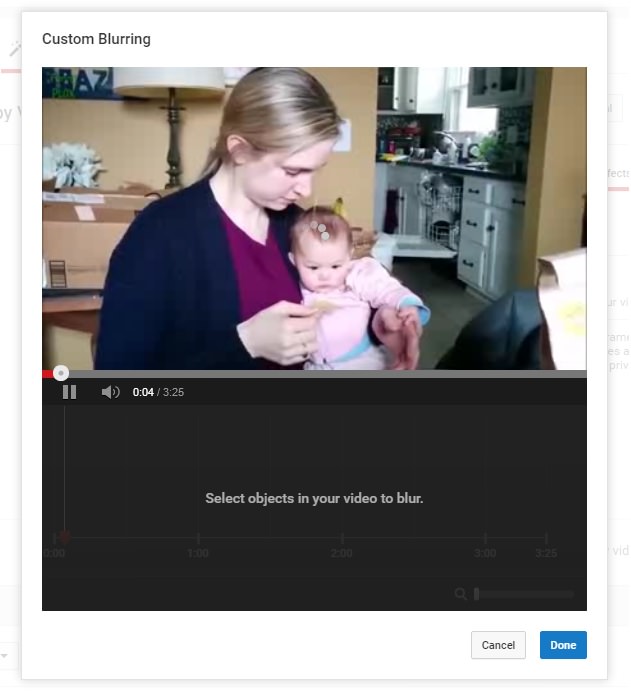
(Step 5) Click on the video and a resizable frosted box will appear. Drag this box inside the video frame and adjust its size as per requirements. Finally, you can define the length of time (ie how long) the blur effects should appear in your video. Do this by adjusting the width of the tab in the timeline below your video.
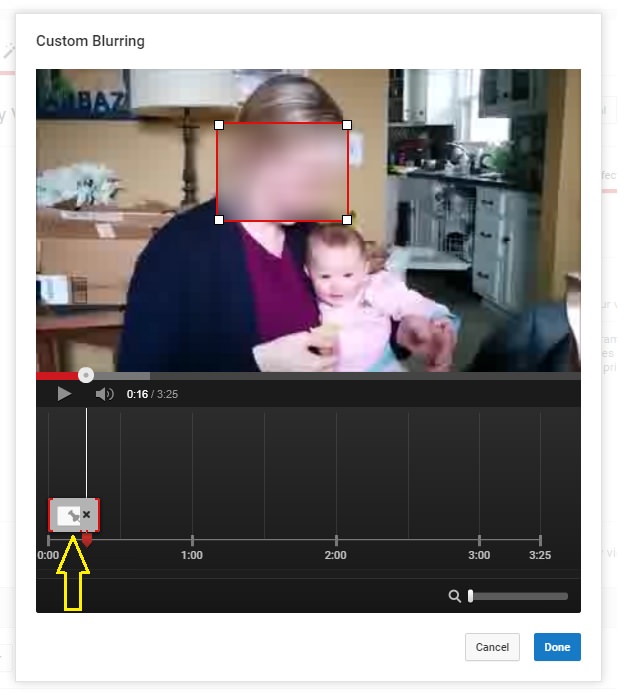
By default, the object you select to blur is tracked automatically by YouTube as the video proceeds. But if you don’t want the automated object tracking and prefer to blur a specific portion inside the video frame then click on the Pin inside the same timeline (see image above).
Once you have added the required blurring effects in your video, click on the Done button to apply the process.
You might also like: Beginner’s guide to producing your first YouTube tutorial