How to Make Vacation Videos with Filmora
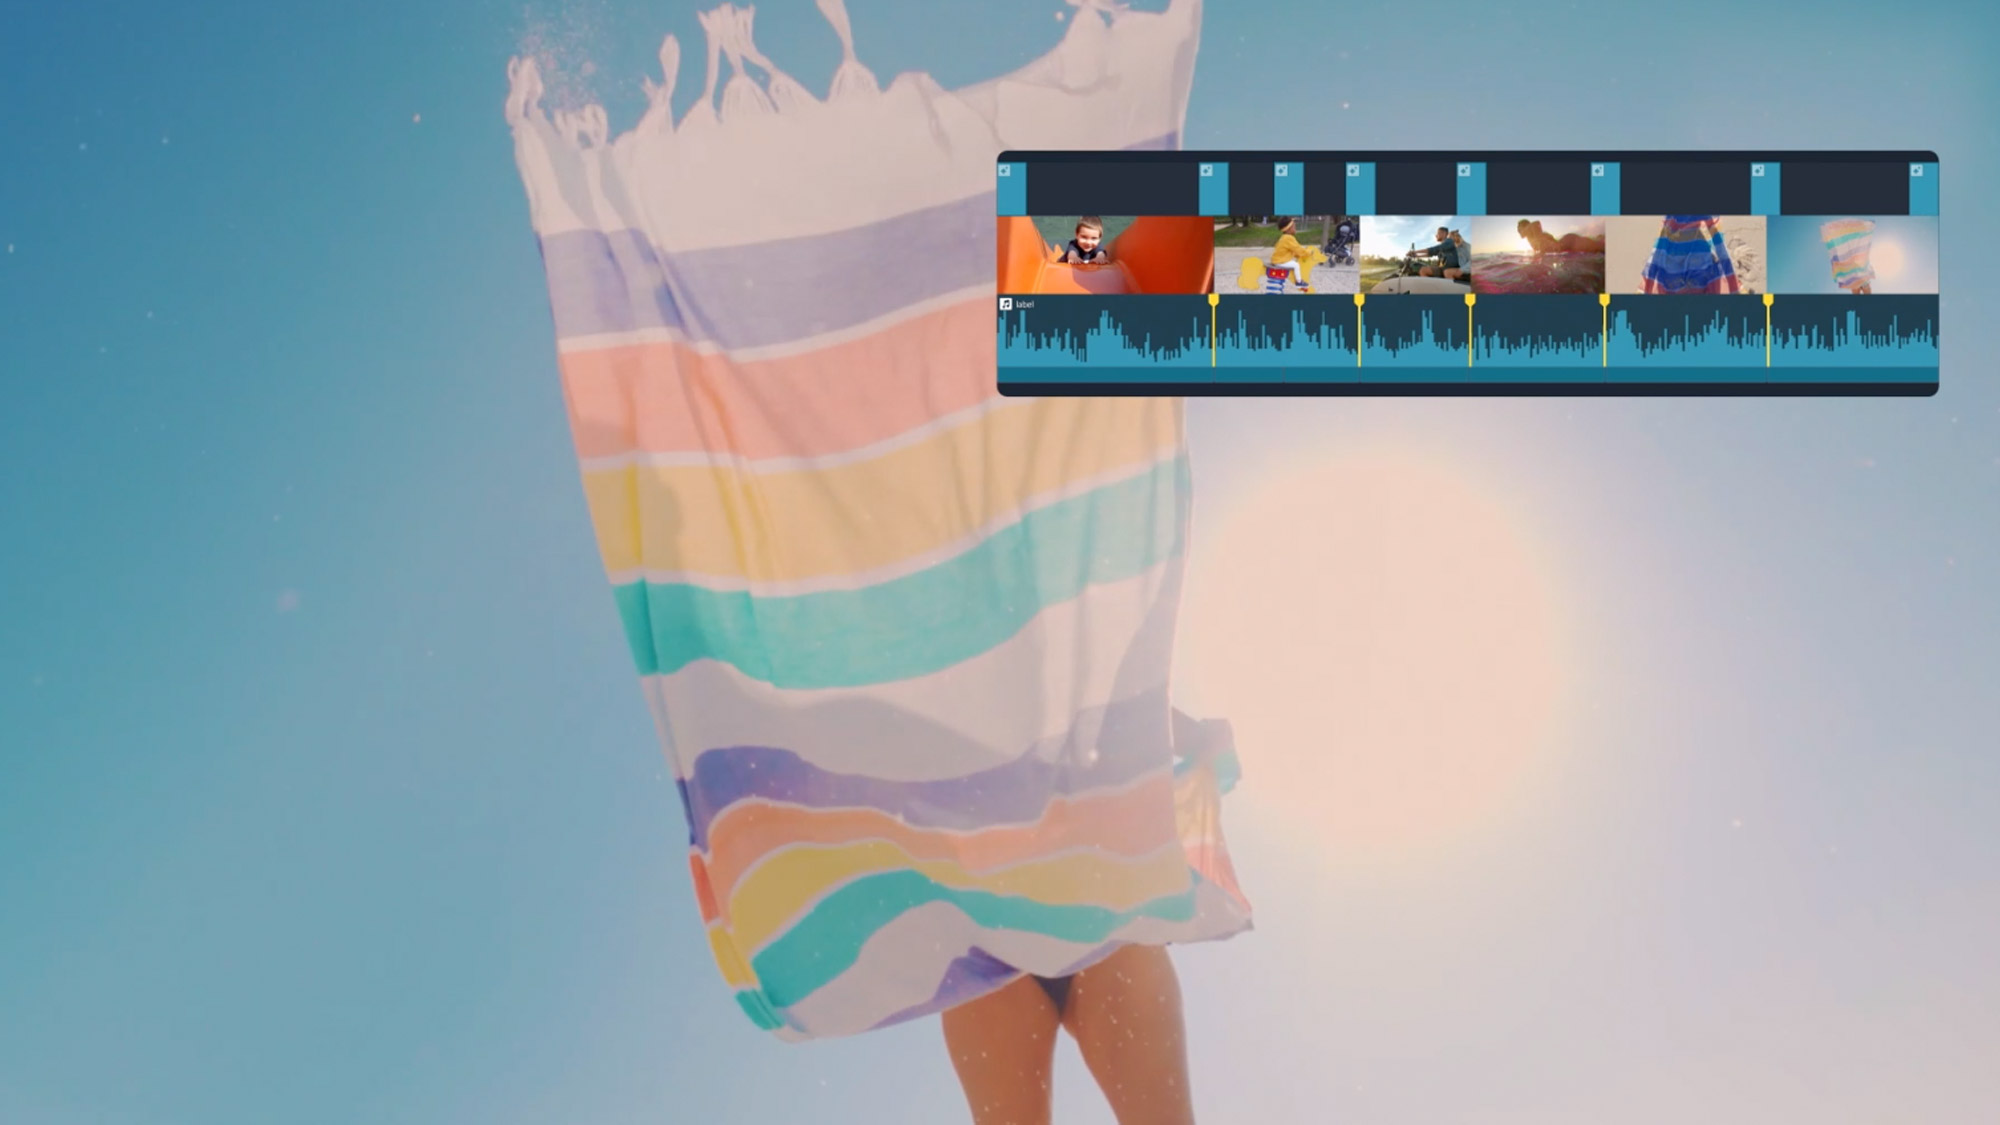
After a long hiatus caused by COVID-19, you finally had a great vacation. And now, you want to share your experience with your friends, family, and followers. But instead of simple clips, your videos should be as awesome as the vacation itself.
Well, not everyone can use advanced video editing tools, after all, they require expertise and a lot of your time. But a quicker and easier way to create amazing videos is through Filmora.
What is Wondershare Filmora and how does it work – well, this is what I am going to talk about in this post. I’m also going to show you how some of its most interesting features can enhance your video’s awesomeness. And not just vacation videos, you can use them to edit and create any type of personal or professional video. So, let’s get right to it.
What is Filmora?
More than just a video editing tool, Filmora is a creative video editing platform by Wondershare. It is specifically designed to make video and audio editing easier for anyone. From beginners to professionals, people from any walk of life can use the tool to create, edit, or enhance their video/ audio productions.
Two of the best things I found in Filmora include its intuitive drag-and-drop interface and a plethora of features that you can apply to your projects in a few clicks and create something interesting. Plus, you don’t have to worry about media technicalities like aspect ratio and frame rate as the tool will manage that on its own.
Is Filmora a good video editor?
The great thing about Filmora video editor is that it keeps evolving and improving with time so the uses can get more out of it. Keeping up with that, the tool has recently launched Filmora11 with a whole bunch of innovative features added to the kit.
Now, I’ve used a lot of video editing tools – both free and paid. The problem with free tools is that they offer very basic features. On the other hand, paid tools like Adobe suite offer advanced features, but they’re too complicated for a beginner. And here’s where Filmora11 stands out, as it gives you a bit of both.
Filmora 11 is an all-round editing tool that comes with amazing features (we’re going to talk about those in detail below), helpful resources (Creators academy and learning center), and multiple saving and sharing options (directly uploading to social media). Plus, you can use all of that at a reasonable price.
Also, unlike many other tools in the market, Filmora11 is available across multiple platforms including macOS and Windows PC.
Creating awesome videos with Filmora
Now that you have a good introduction to Filmora, I’m going to show you how you can use some of its features to turn your holiday videos into awesome clips. Let’s take a look.
Split Screen
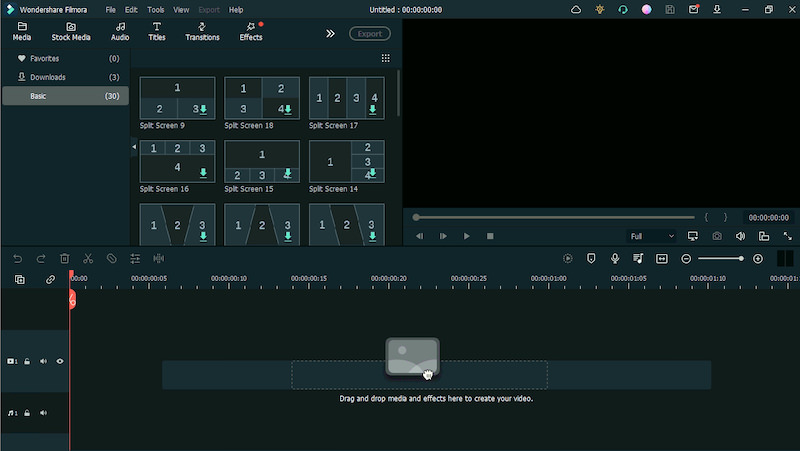
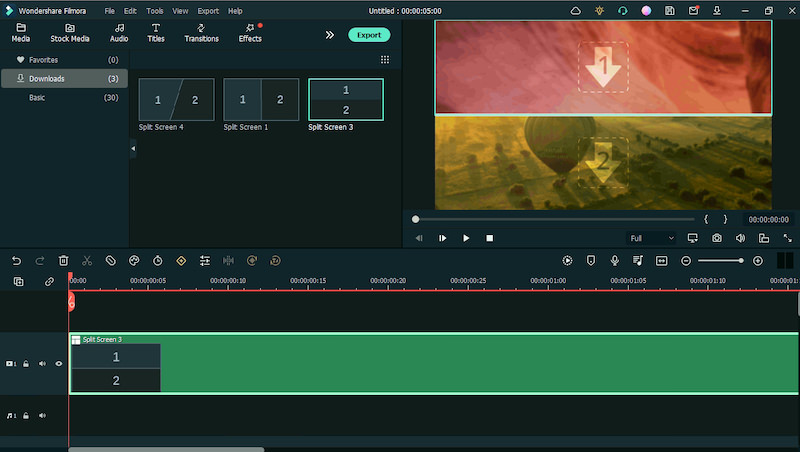
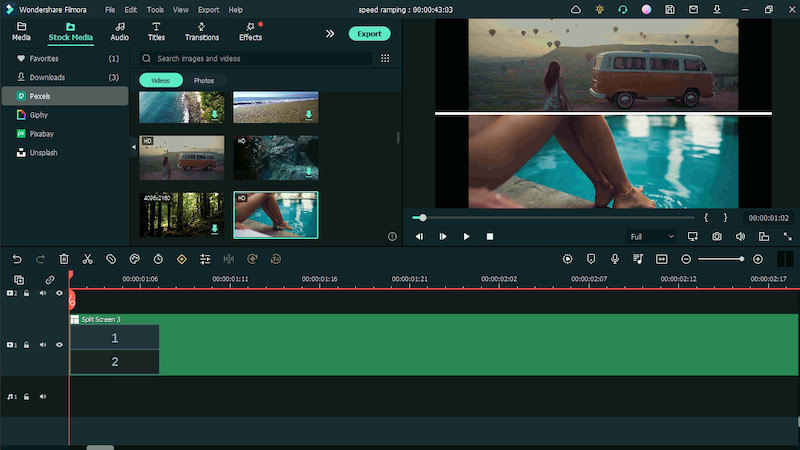
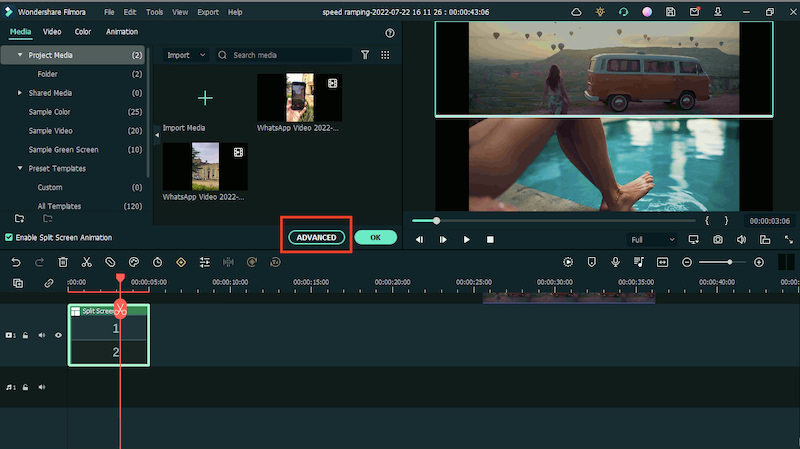
From vacation videos and tutorials to commercial advertisements, a split screen element can be useful for many types of video productions. Filmora has an intuitive Split Screen feature that lets you run two or more video streams side-by-side or up-down.
There are many built-in split-screen presets in Filmora that you can use in your project. Here’s how to use it:
- Launch Filmora and then upload or drag and drop your video clips in the interface.
- Now go to the Split Screen tab in the top menu and you will see different layout options.
- Select the one that you want for your project and drag it to the timeline. You’ll be able to see the split screen preset in the preview window.
- Now grab and place your clips on the preview window in whichever arrangement you want.
- You’ll be able to see the results of the split screen effect in the preview window.
- You can modify your video clips right in the preview window or through the Advanced button.
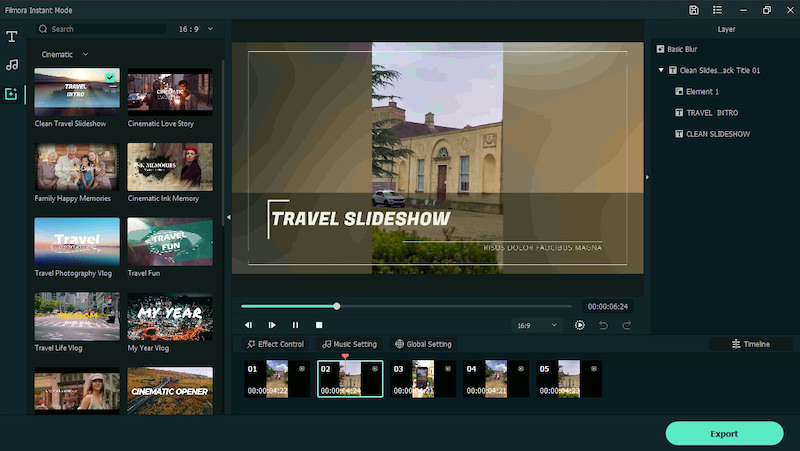
Instant mode
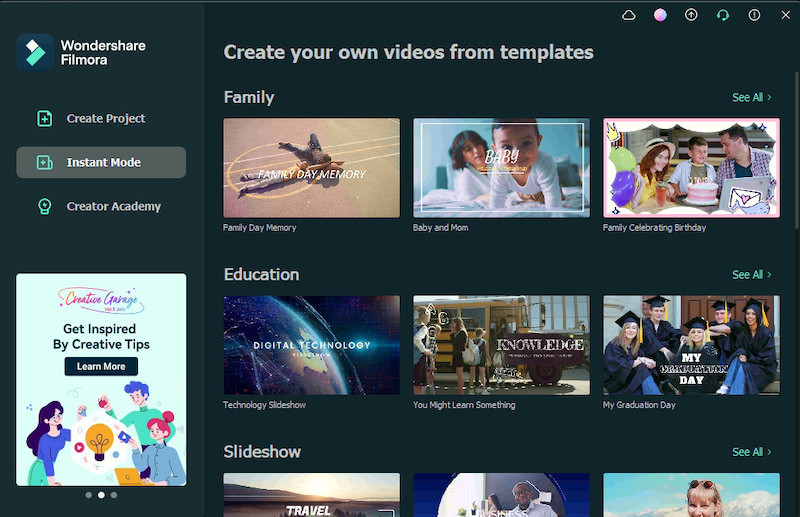
If you don’t have time to edit your video from scratch, you can use Filmora’s Instant Mode to create an amazing film in (literally) a few clicks. There are many professionally-created templates you can choose from among various themes. Just preview the templates and pick one to make your own. Here’s how to use this feature:
- Launch the Filmora software, and you’ll see a start window with different options. Here, select the Instant Mode from the left panel.
- By clicking on the Instant Mode, you will see a number of pre-made templates. You can preview these templates by clicking on Preview.
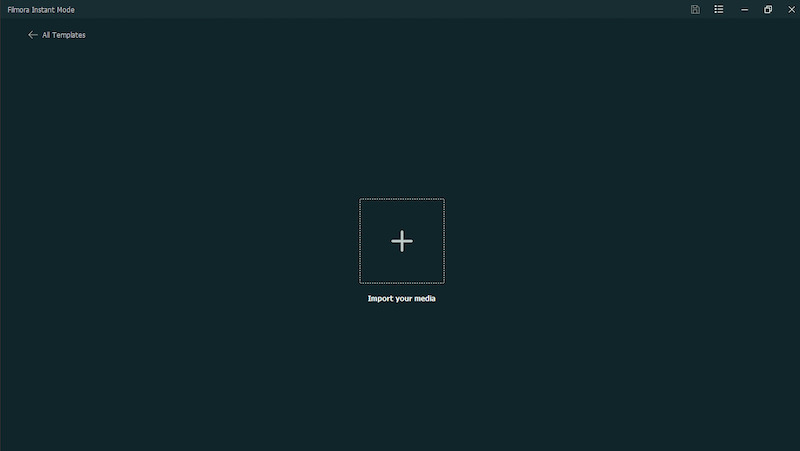
- Now click on Use this Template and it will take you to a page where you can add your video through the Import your media button.
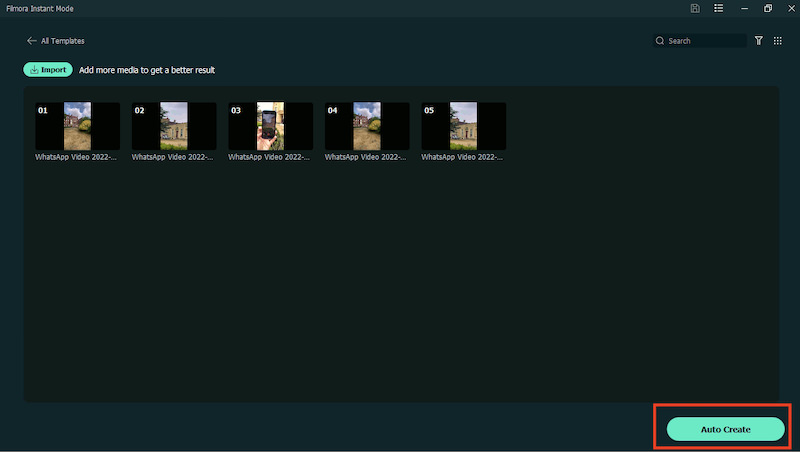
- Once all your clips are imported into the software, click on the Auto Create button on the bottom right.
- And you will get an awesome video montage. You can save it by clicking on the Export button.
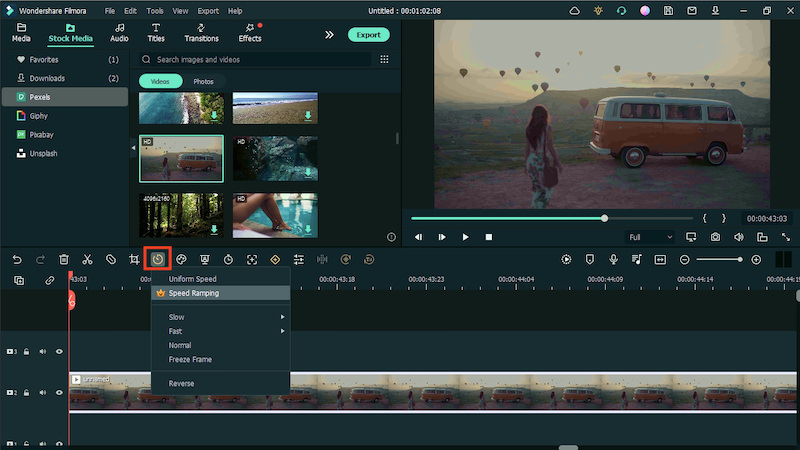
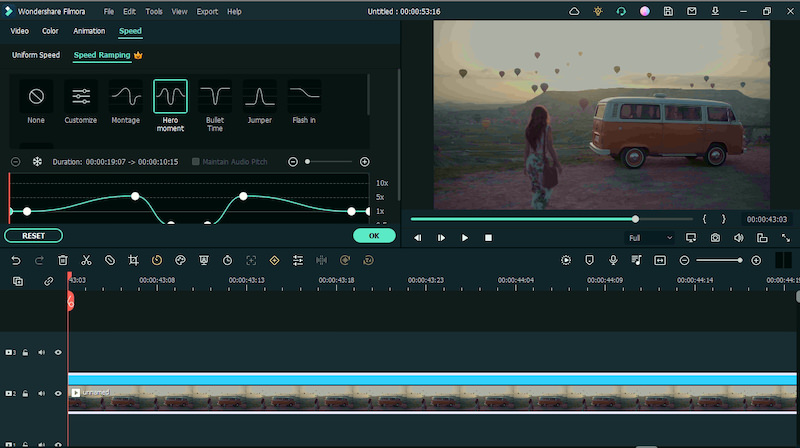
Speed Ramping
One of the coolest features added to the Filmora11 is Speed Ramping. With this feature, you can apply different speed effects to your videos and have better control over your keyframes. Here’s how you can use it:
- Drag your video clip to the timeline and select it.
- Among the icons right above the timeline, click on the speedometer icon that says Speed when you hover over it.
- It will open different speed ramping presets. Select the one that you want the effect will be applied to your video.
- You can further modify the speed according to your requirements.
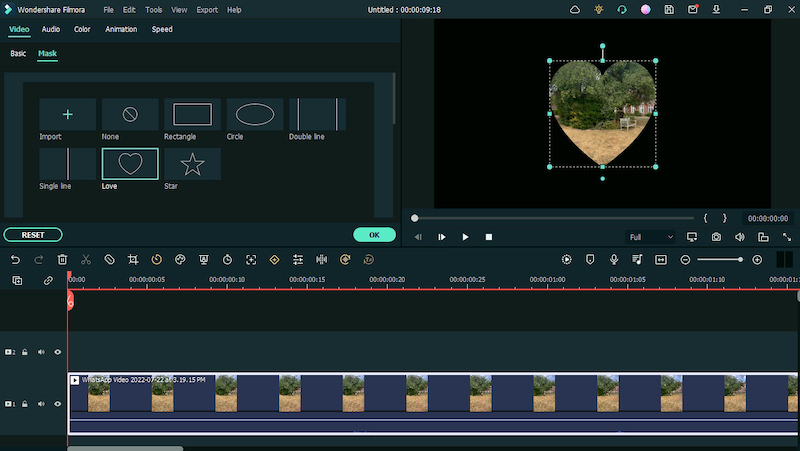
Masks
Masking is a technique that lets you place or creates a transparent shape mask on top of your video, and only the part of the video with the mask is visible. Filmora offers many masks in its toolkit and here’s an idea for how you can use it to make your videos cool.
- Add your video to the timeline and double-click on it.
- You’ll see a Mask menu with different shape options.
- Select the shape, and it will appear in your preview window.
- Now, I’ve used an interesting image from Filmora’s built-in stock media to make it interesting, and you can see the result in the preview.


Other Filmora features worth mentioning
The aforementioned tools are not the only impressive features of Filmora. There’s plenty more to look out for. Here are some other features that might pique your interest.
Audio sync
During a recording, we often have to use an external microphone to get better quality audio. However, when editing, it gets a bit difficult to sync the audio from the external source with the audio of the recorded video.
Filmora’s Audio Sync feature helps you out with that. Just select the video and recorded audio on the timeline and choose the Auto Synchronization option from the right-click menu. The recorded sound will get seamlessly synced with the video.
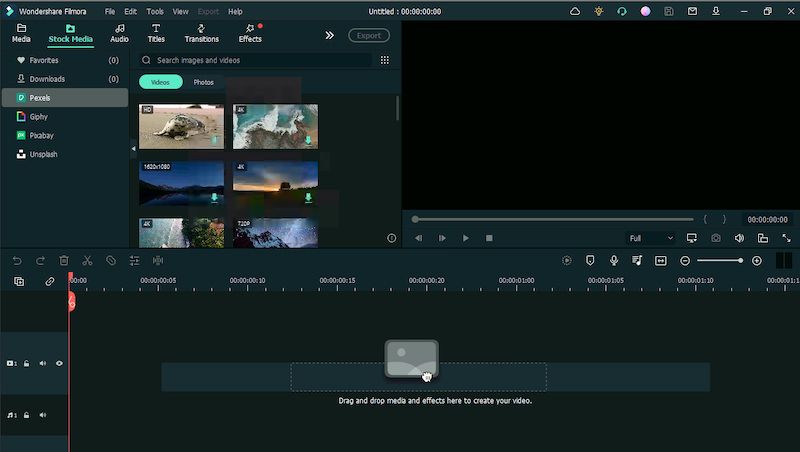
Stock Media
This is one of my favorite features in Filmora. It gives you a whole gamut of stock media – both stock photos and videos – that you can use in your projects with just one click. The stock resources are sourced from quality websites like Pexels, Pixabay, Unsplash, and Giphy for GIFs and stickers.
All the stock media is high-quality and in various resolutions (720 p, HD, and 4K). Plus, you can use these media files in any type of personal or commercial project under a Creative Commons license.
FX Plug-ins (OpenFX): Boris FX & NewBlue
Filmora11 offers award-winning professional effects and plugins that you can apply to your video projects. You can turn your clips into cinematic videos with OpenFX effects, including Boris FX and NewBlue FX.
6 different Continuum Units and many complementary creative presets have been customized for Filmora that allows users to create stylized visual effects. Likewise, many NewBlue effects and professionally designed presets have been added to the NewBlue plugin for Filmora. You can also modify the effects through the effect editing panel.
Chroma Key/ Green screen
The Chroma Key feature of Filmora lets you remove specific colors from your videos. So, for instance, if you record footage with your subject in front of a green screen, then you can easily edit it through the Chroma Key, removing the green screen and replacing it with any clip of your choice.
You can further adjust the green screen overlay to make it blend perfectly with the background footage by adjusting the setting on the Composing tab.
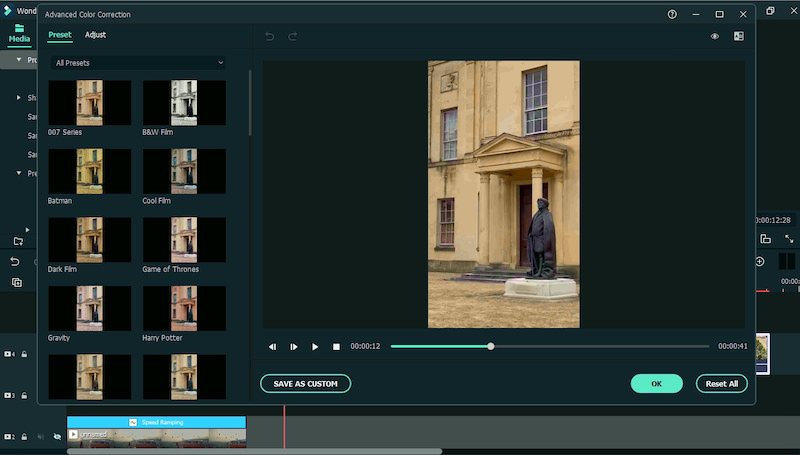
Color correction
Filmora’s color collection tools help you remove lighting and clarity issues with your videos and add different effects. Just double-click on a video clip and you can easily fix elements like White Balance, Tone, Contrast, Saturation, and Tint, etc.
There’s also an option of advanced color tuning to further adjust the colors of your videos or use presets and templates. You can also add some cinematic color effects and chromatic filters to get a professional movie look.
Screen recorder
Screen recorders are sought-after these days as online teaching and virtual working are gaining popularity. Filmora offers a screen recorder feature that lets you create a recording of your screen, webcam, or both.
You can capture the whole screen or a part of it and also record the audio from your system or microphone. There are also a lot of options to edit your screen recording and add annotations.
The price of Filmora
Filmora offers pretty straightforward pricing plans. For Individuals, there is an Annual Plan for $49.99 that gives users access to most of the features in the tool. There’s also a Perpetual Plan for $79.99 that you have to pay once and get access to all the features for life.
For Teams, a plan for $155.88 offers all features and free updates. For the Business plan, you can ask for a quotation customized to your specific needs.
The Education Plan is for both Students (ranging from $19.99 to $49.99) and for Educators for a customized quotation.
If you want to experience Filmora’s features before committing to a pricing plan, there’s also a free plan offering all the basic features. However, the videos you’ll create will come with a watermark.
You can check more details about the price here.
Conclusion
Anyone can have a need for some quick video editing, be it for work, educational purposes, content creation, or just for fun. But no one has the time to learn a complicated new tool from scratch.
The basic reason for introducing you to Filmora and its features is to tell users about this simple-to-use tool that anyone can use without going through a steep learning curve. You can try out Filmora for your next holiday video to experience the tool for yourself.