How to Back Up and Restore Windows 11
Windows 11 gives you more than one built-in way to protect your files. That is good news, but it also means the old “just back it up” advice is not specific enough anymore.
If you only want rolling versions of personal files, File History is still useful. If you want the older Control Panel workflow for scheduled local backups and restore jobs, Backup and Restore (Windows 7) is still around. And if you want Microsoft’s newer cloud-backed option for folders, settings, and app preferences, Windows Backup belongs in the conversation too.
We’ve already covered how to back up and restore Windows registry, and we’ve also shared some free backup tools for your PC. This guide stays focused on Windows 11’s built-in backup and restore options, what each one is for, and how to use them without getting lost in old menus.
File History
File History is one of the simplest built-in ways to protect personal files in Windows. It keeps versioned copies of files and folders from your libraries and user folders, so you can roll back after accidental edits, deletions, or other smaller disasters.
It is most useful for documents, photos, and other files that change often. It is less about full-system recovery and more about getting your files back quickly.
Back Up via File History
Before you begin, connect an external drive or set up a network location with enough space for repeated file versions. If you keep about 10 GB of personal data, a 20 GB drive is a sensible minimum rather than the bare minimum.
- Plug in the portable hard drive or pen drive into your computer.
- In the search bar on the taskbar or in the Start menu, search for
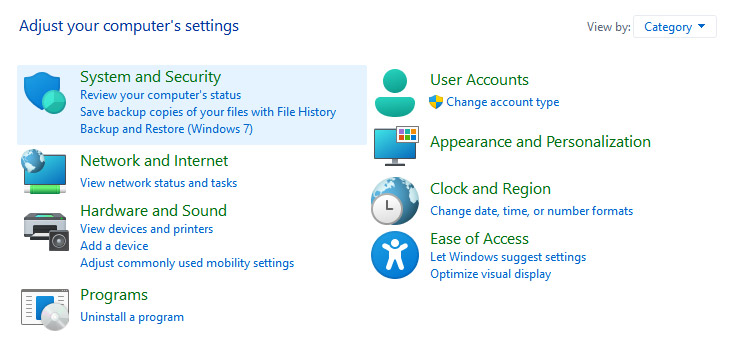
control paneland open Control Panel. - Under System and Security, click Save backup copies of your files with File History.
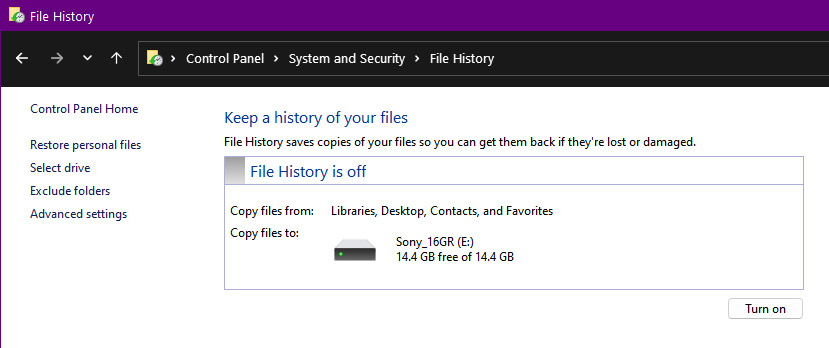
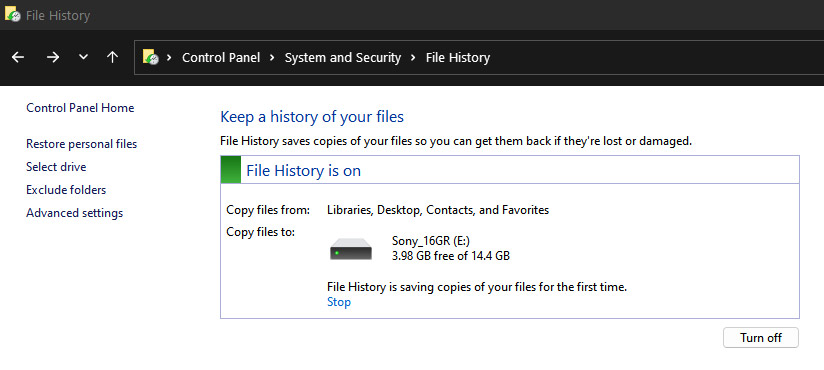
- Click Turn on to enable File History.
Restore via File History
- On the File History screen, click Restore personal files from the options on the left.
- Choose one of the available backups.
- Click the green restore icon to restore it.

Restore a File via File History
- In File Explorer, navigate to the file.
- Right-click it and choose Properties.

- Open the Previous Versions tab.
- Select a version.
- Click Restore.
Exclude Folders from File History
File History also lets you exclude folders you do not want included in backups.
- On the File History screen, click Exclude folders on the left.
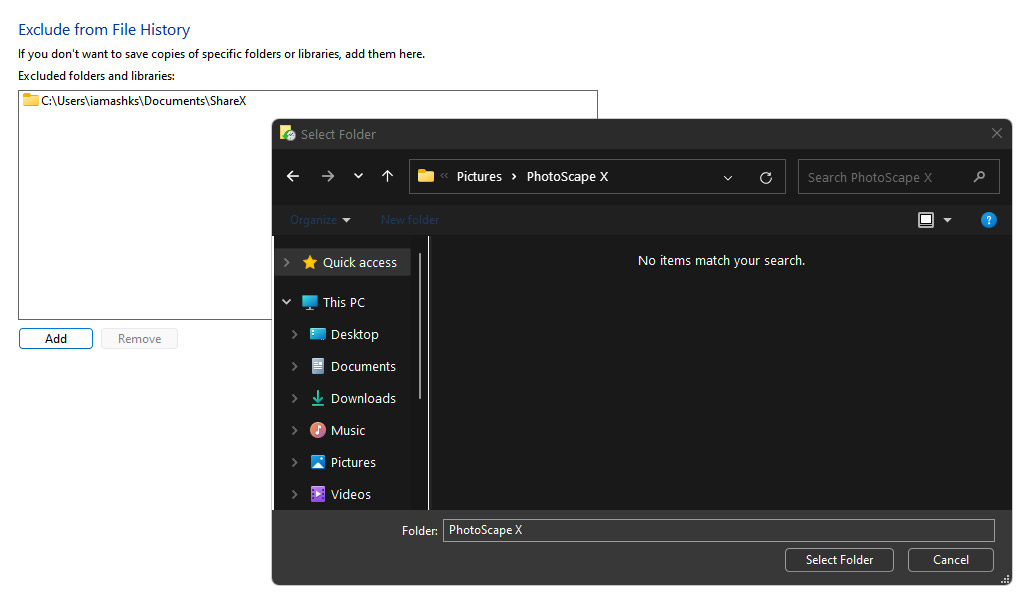
- Under Exclude from File History, click Add.
- Navigate to the folder you want to exclude.
- Click Select Folder.
- Repeat for any other folders you want left out.
Configure File History Advanced Settings
File History also gives you control over backup frequency, retention, and storage use.
- On the File History screen, click Advanced settings on the left.
- For Save copies of files, choose a frequency that fits your workflow.
- For Keep saved versions, choose how long you want old versions retained.
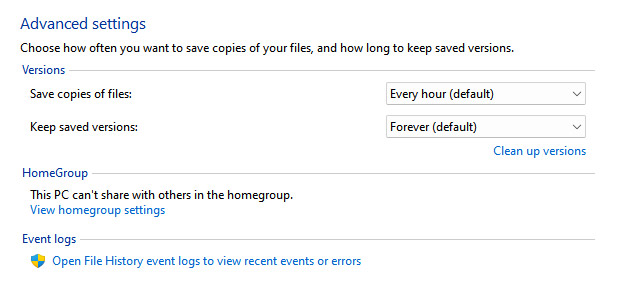
Shorter backup intervals and longer retention give you better protection, but they also use more storage.
Clear Space Used by File History
- On the File History screen, click Advanced settings.
- Click Clear up versions.
- Choose one of the cleanup options under File History Cleanup.
- Click Clean up.

Backup and Restore
Backup and Restore (Windows 7) is the older backup option, but it is still available in Windows 11. It suits people who prefer the classic Control Panel workflow or want scheduled local backups without switching to Microsoft’s newer cloud-backed approach.
It is also closer to the old system-image mindset, which some users still prefer.
Back Up via Backup and Restore
Use an external drive with plenty of free space. If you have around 100 GB of data on your computer, a 120-150 GB portable drive is a more realistic starting point.
- In the search bar on the taskbar or in the Start menu, search for
control paneland open Control Panel. - Under System and Security, click Backup and Restore (Windows 7).
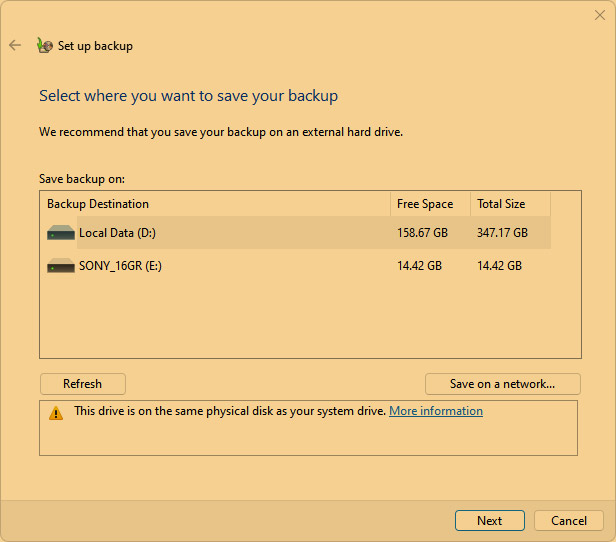
- Under Back up or restore your files, click Set up backup.

- Under Save backup on, choose a backup destination and click Next.
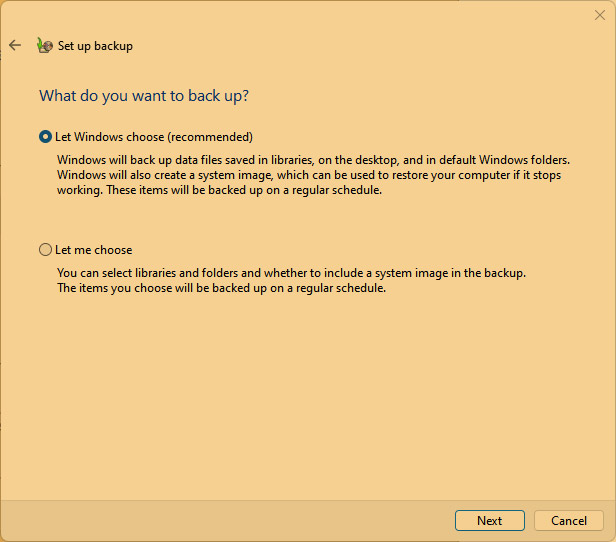
- Choose Let Windows choose (recommended) and click Next.
- Review your backup settings and click Save settings and run backup.
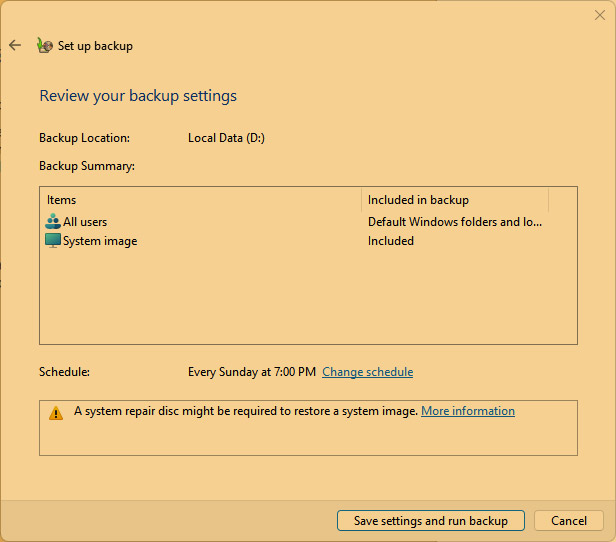
- Windows will create the first backup. Depending on the amount of data, this can take quite a while.

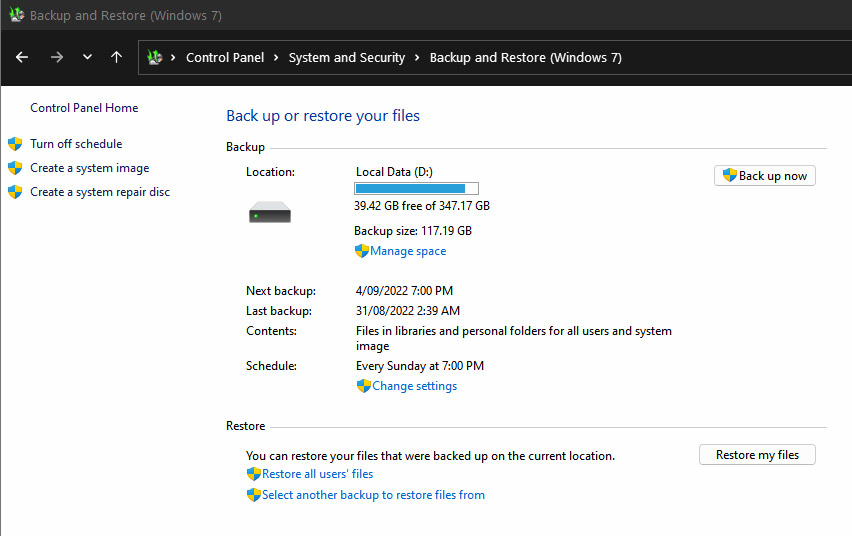
Restore via Backup and Restore
- Under Back up or restore your files, click Restore my files.
- Click Browse for folders and choose a folder, then click Add folder.
- Repeat until all folders you want are listed under Restore files.

- Click Next, then Restore.
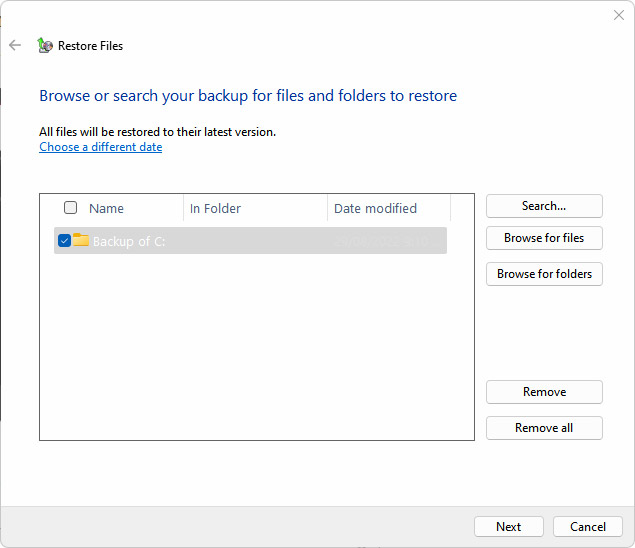
Restore a File via Backup and Restore
- Under Back up or restore your files, click Restore my files.
- Click Search.
- Search for the files or folders you want to restore, select them, then click OK.

- Click Next, then Restore.

Change Backup and Restore Settings
You can also update the backup settings later if the destination, schedule, or selection needs to change.
- Under Back up or restore your files > Backup, click Change settings.
- Follow the same setup flow again with the new options you want.
Clear Space Used by Backup and Restore
- Under Back up or restore your files > Backup, click Manage space.
- Click View backups, select a backup, and click Delete.
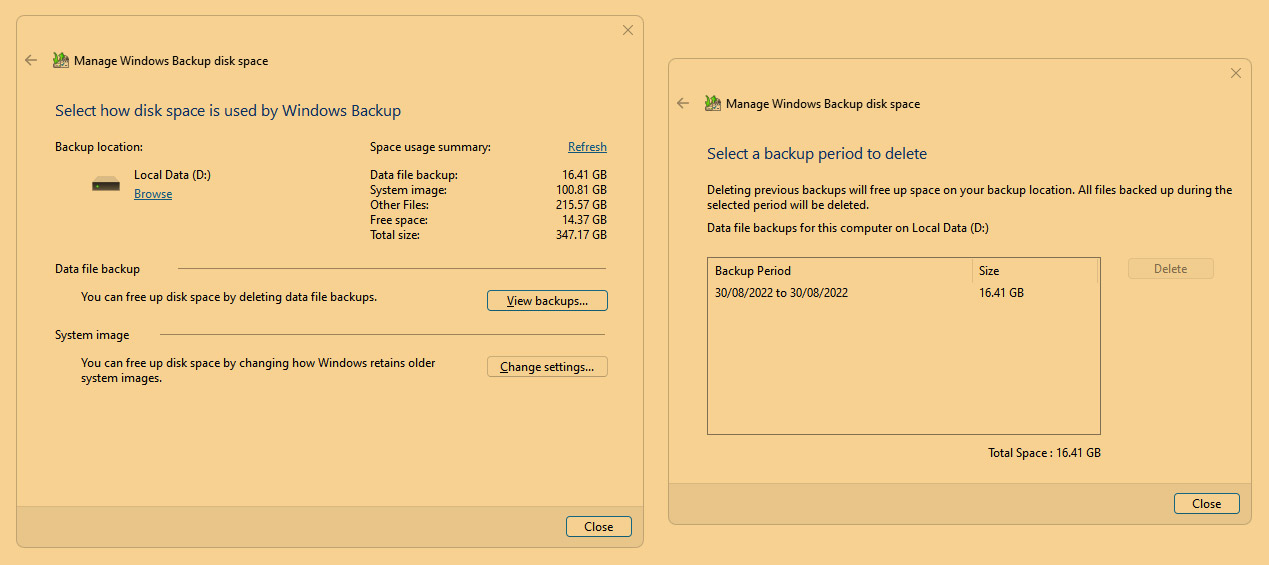
- Repeat for older backups you no longer need.
- Click Change settings.
- Select Keep only the latest system image and minimize space used by backup, then click OK.

Which Tool Should You Use?
For most Windows 11 users, the best answer is not pretending one tool handles every job.
Windows Backup is the easiest place to start if you want Microsoft-account-based backup for folders, settings, and a smoother move to a new PC. File History is better for versioned local copies of personal files. Backup and Restore (Windows 7) still works if you prefer the older Control Panel workflow or want to keep using a familiar local-backup routine.
The safest setup is layered: one cloud-backed option, one local option, and a basic recovery plan for when the machine itself refuses to cooperate.