Creating Custom Meta Boxes in WordPress
In a previous post, we discussed the WordPress custom field, which allows you to add and display new entries in a post using the Custom Field box provided in the post editing screen. If you prefer an alternative to using the custom field box, you can create a meta box instead.
A meta box is a customized interface that we create ourselves, which may include input fields or other interactive elements to add new entries for posts or pages. This method serves the same purpose as the Custom Field box, so let’s explore how to create one.
Related Articles on Hongkiat.com:
- Customize media upload directory in WordPress
- Customize WordPress editor styles
- Customize “Howdy” in the WordPress admin bar
- Register custom taxonomy for WordPress users
- Display icons in the WordPress menu
Creating a Meta Box
WordPress provides an API function called add_meta_box, which allows us to create a meta box easily. Here’s a basic implementation:
function add_post_reference() {
    add_meta_box('post-reference', 'Reference', 'referenceCallBack', 'post');
}
add_action('add_meta_boxes', 'add_post_reference');

function referenceCallBack() {
    echo 'Hello World';
}
The add_meta_box function accepts four parameters: the ID, the meta box title, a callback function, and the post type in which to display the meta box. In this case, we add a new meta box to the post editing page (this also works with pages).
In the post editing section, you will see the new box as follows:
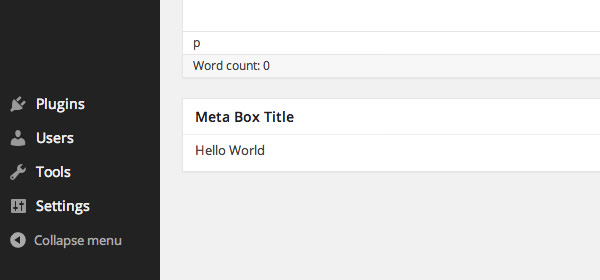
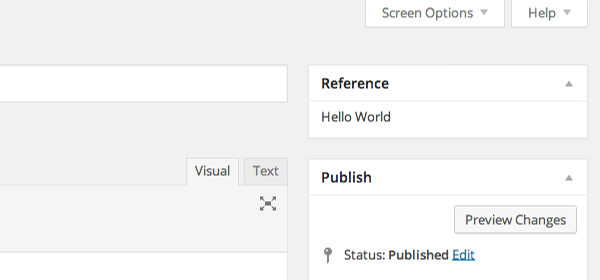
The new meta box, as shown above, appears below the WYSIWYG editor. If you prefer to position it in the sidebar, add ‘side’ after the post parameter and ‘high’ if you want it at the top of the sidebar:
function add_post_reference() {
    add_meta_box('post-reference', 'Reference', 'referenceCallBack', 'post', 'side', 'high');
}
add_action('add_meta_boxes', 'add_post_reference');
This places it above the Publish box.
Next, we will replace the ‘Hello World’ text with input fields for new entries.
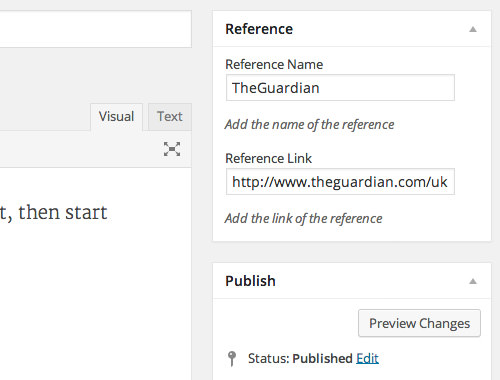
In this example, we will add two input fields: one for the Reference Name and another for the Reference Link:
function referenceCallBack($post) {
wp_nonce_field('reference_meta_box', 'reference_nonce');
$name_value = get_post_meta($post->ID, '_post_reference_name', true);
$link_value = get_post_meta($post->ID, '_post_reference_link', true);
echo '';
echo '';
echo 'Add the name of the reference
';
echo '';
echo '';
echo 'Add the link of the reference
';
}
Refresh the post editing page to see these two new input fields added.

The $name_value and $link_value variables retrieve entries from the database and populate the input fields. To save the entries into the database, we will need to create a new function named save_post_reference:
function save_post_reference($post_id) {
}
add_action('save_post', 'save_post_reference');
For security purposes, we need to verify several things:
(1) Check if the user has permission to edit the post:
if (!current_user_can('edit_post', $post_id)) {
    return;
}
(2) Ensure the Nonce is set:
if (!isset($_POST['reference_nonce'])) {
    return;
}
if (!wp_verify_nonce($_POST['reference_nonce'], 'reference_meta_box')) {
    return;
}
(3) Prevent auto-saving; data can only be saved when the “Save” or “Update” button is clicked:
if (defined('DOING_AUTOSAVE') && DOING_AUTOSAVE) {
    return;
}
(4) Ensure that our inputs, post_reference_name and post_reference_link, are set before submission:
if (!isset($_POST['post_reference_name']) || !isset($_POST['post_reference_link'])) {
    return;
}
(5) Sanitize the inputs to prevent unexpected characters that could compromise security. Use the WordPress built-in function sanitize_text_field:
$reference_name = sanitize_text_field($_POST['post_reference_name']);
$reference_link = sanitize_text_field($_POST['post_reference_link']);
Now we can save the entries into the database:
update_post_meta($post_id, '_post_reference_name', $reference_name);
update_post_meta($post_id, '_post_reference_link', $reference_link);
Try it out by entering some content into the input fields and clicking the “Update” button to save your entries.
Conclusion
We have created a meta box with two input fields. You can further extend this box with other input types, such as radio buttons or select boxes. This example serves as a foundation; once you’re familiar with it, you can utilize this meta box for more complex applications. Share your thoughts on how you plan to use this meta box!