How to Customize Media Upload Directory in WordPress
Despite improvements in the WordPress media manager, one thing has not changed: how WordPress stores media (e.g. files, images, videos, and audios) in the server.
Currently, WordPress organizes files into date-based folders, unless we opt out of it from Settings > Media, in which case, all uploaded media files will not be categorized into subfolders. So far WordPress does not provide many options to customize this particular area.
If you’re not cool with this, and would like to customize the path structure of where these files are stored, e.g. storing it in a folder with a name that matches the post permalink, or changing the "uploads" name to something else, this is the quicktip to follow.
With the help of a few plugins, we can now make our website more personalized and easy to organize with custom file structures.
Recommended Reading: How To Rename Your WordPress WP-Content Directory
Changing the default “uploads” Folder
WordPress, by default, will store the uploaded files in the wp-content/uploads folder. WordPress allows us to customize the upload folder destination. One good reason to change this default is to make your website look less WordPress-y.
Instead of wp-content/uploads, let’s upload the files to a folder named files. First we need to create the folder.

Now let’s tell WordPress to upload our files in that folder. Open the WordPress wp-config.php file, and then add the following code after require_once(ABSPATH.'wp-settings.php'); declaration.
define('UPLOADS', 'files');
New uploaded files should now be stored in a "files" folder, as shown below.

This ability was actually available through the Setting > Media editing screen back in version 3.0. WordPress replaced this with the above function in version 3.5.
If you are too afraid that you will screw things up when editing wp-config.php, you can install this plugin called Upload URL and Path Enabler by Gregory Viguier, which will bring the option back into the Setting > Media page. Note that although this plugin hasn’t been updated for more than 3 years, the plugin is still working well in WordPress latest version as there isn’t much of change in this area in WordPress.
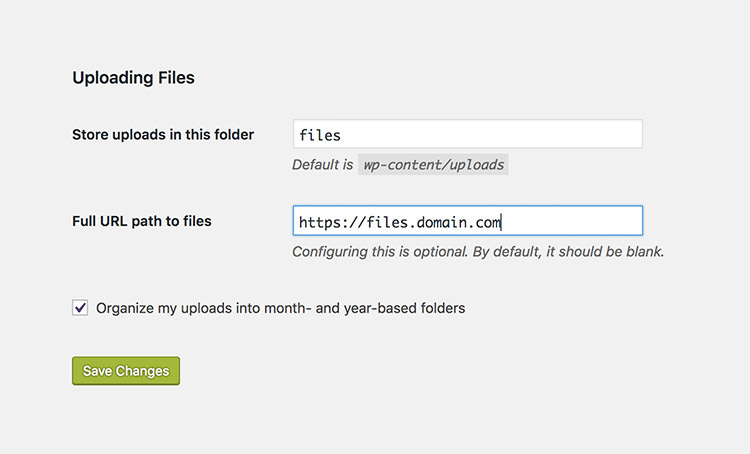
Once it has been installed, you will find 2 input fields, as shown below:

These 2 new options will be useful, say, if you want to deliver your files through a sub-domain. Assuming you have created a sub-domain (from your hosting control panel), there should be now a new folder which links to the sub-domain. Set the folder name in the “Store uploads in this folder” field, and the sub-domain in the “Full URL path to files” field.
Your file should now be delivered through the sub-domain.
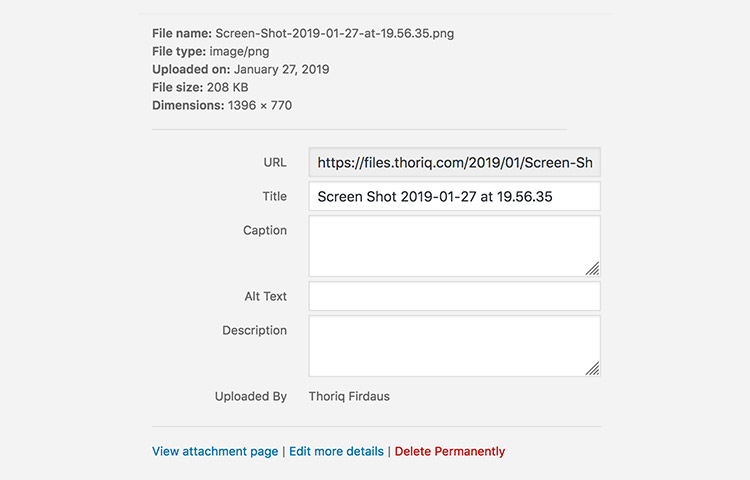
Note that if you opt for the sub-domain as the above example you might need to point DNS for the sub-domain accordingly to your site IP address