How to Completely Uninstall HMA VPN on Your Mac
Uninstalling an app on a Mac is usually a breeze. All you need to do is drag the app from the Applications folder to the Trash, and you’re done. Alternatively, you can uninstall apps with third-party tools like CleanMyMac.
However, this wasn’t the case for HMA VPN.
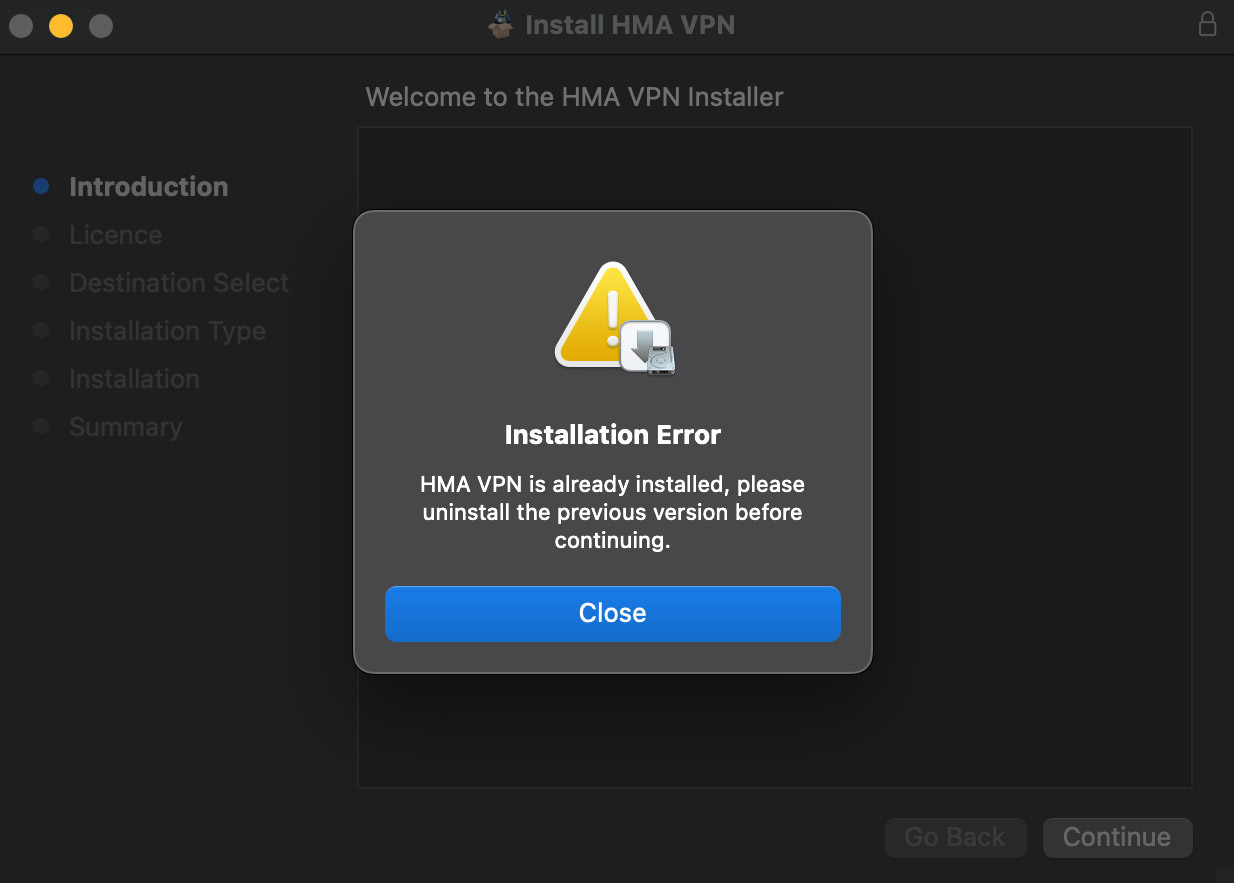
Recently, I encountered a problem with the app and needed to uninstall it to reinstall it. But after uninstalling, I was met with the follownig error when try to reinstall it back :
“HMA VPN is already installed. Please uninstall the previous version before continuing.”
This was extremely frustrating because I was certain I had uninstalled it, and there seemed to be no way to reinstall it. I scoured the web for solutions but came up empty. Consequently, I decided to manually search for all possible remnant files that HMA might have left on my Mac. I’m glad I did, as I found them, deleted them, and successfully reinstalled HMA without any issues.
If you’re facing a similar issue, receiving such an error when trying to install HMA VPN, use the guide below as a reference. It will help you identify and delete the necessary files, enabling a successful reinstallation. I’m documenting this not only for others but also as a reminder for myself in the future.
Assuming you’ve already uninstall the app (HMA VPN), start by doing the following:
Step 1. Terminate All Existing Processes
Open the Activity Monitor. In the search bar at the top right, type in “hma”. Any remaining HMA VPN processes that are still running will be displayed here.

Make a note of their respective PID numbers. Next, launch the Terminal. For each PID, terminate its process using the following command:
kill -9 PID_number
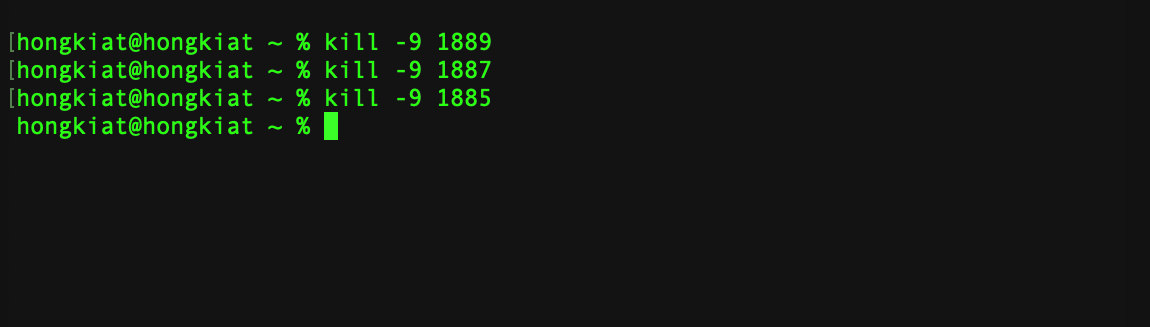
This will end the process, and you’ll also notice that the process will vanish from the Activity Monitor.
Step 2. Remove Configuration File(s)
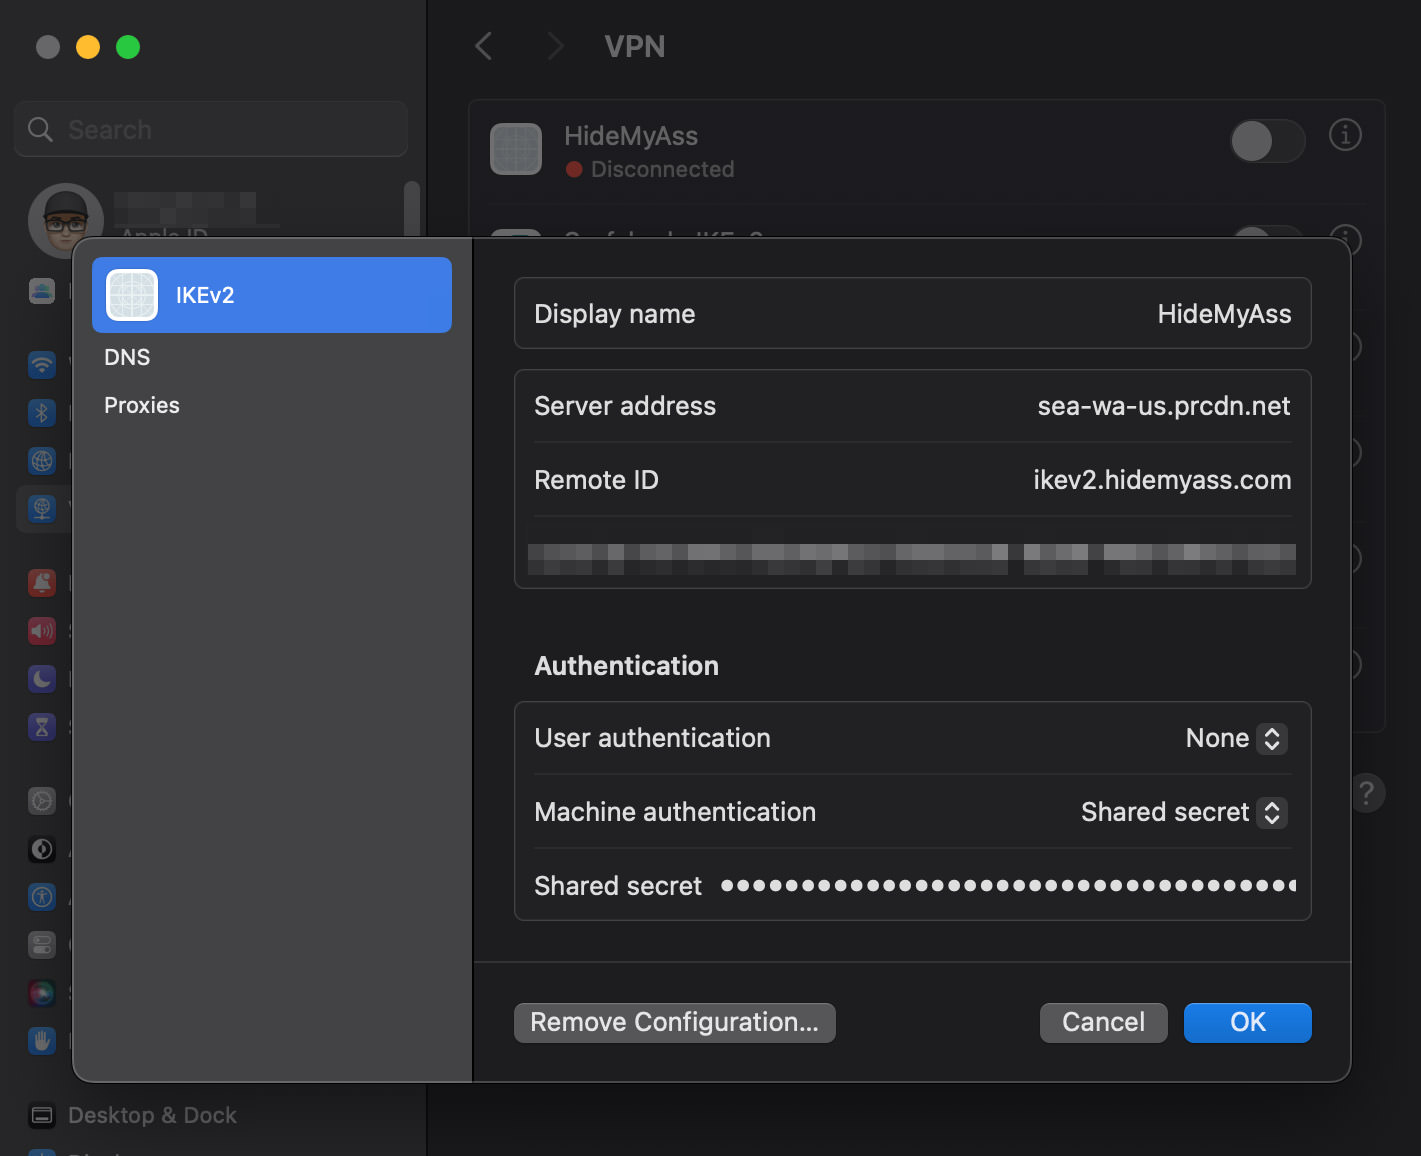
- Navigate to Settings > VPN on your Mac.
- Look for “HideMyAss” or “HMA“. If it’s active, disable it.
- Click on the info icon, and then select “Remove Configuration…“.
Step 3. Delete Remnant Files and Folders
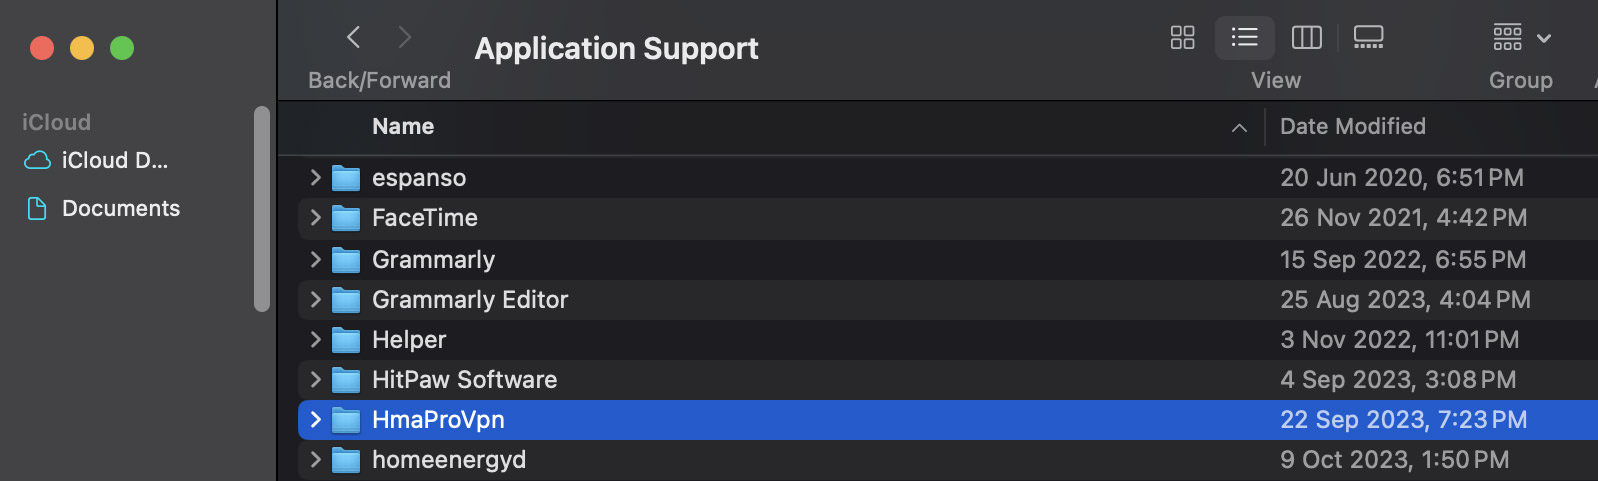
- Open a new Finder window.
- Navigate to your_username > Macintosh HD > Library > Application Support.
- Locate the folder named “HmaProVpn” and delete it.
Lastly, ensure that the following files and directories don’t exist. If they do, delete them:
~/Library/.mono/registry/CurrentUser/software/privax/hma! pro vpn/~/Library/Extensions/tap.kext~/Library/Extensions/tun.kext~/Library/StartupItems/tap/~/Library/StartupItems/tun/~/Library/Privax/HMA! Pro VPN/HmaIpHistory.log~/Library/Privax/HMA! Pro VPN/openvpn.cfg~/Library/Privax/HMA! Pro VPN/SpeedTestLogs
Step 4. Restart Your Mac
After completing all these steps, restart your Mac. You should then be able to install or reinstall the HMA VPN as usual.
I hope this helps!