How to Enable Split View in macOS
Split View is one of the cool features you’ll find in newer versions of macOS. It allows you to split your screen into two halves to view two different windows simultaneously. With this side-by-side view, you can block the distractions from other apps you have opened on your Mac.
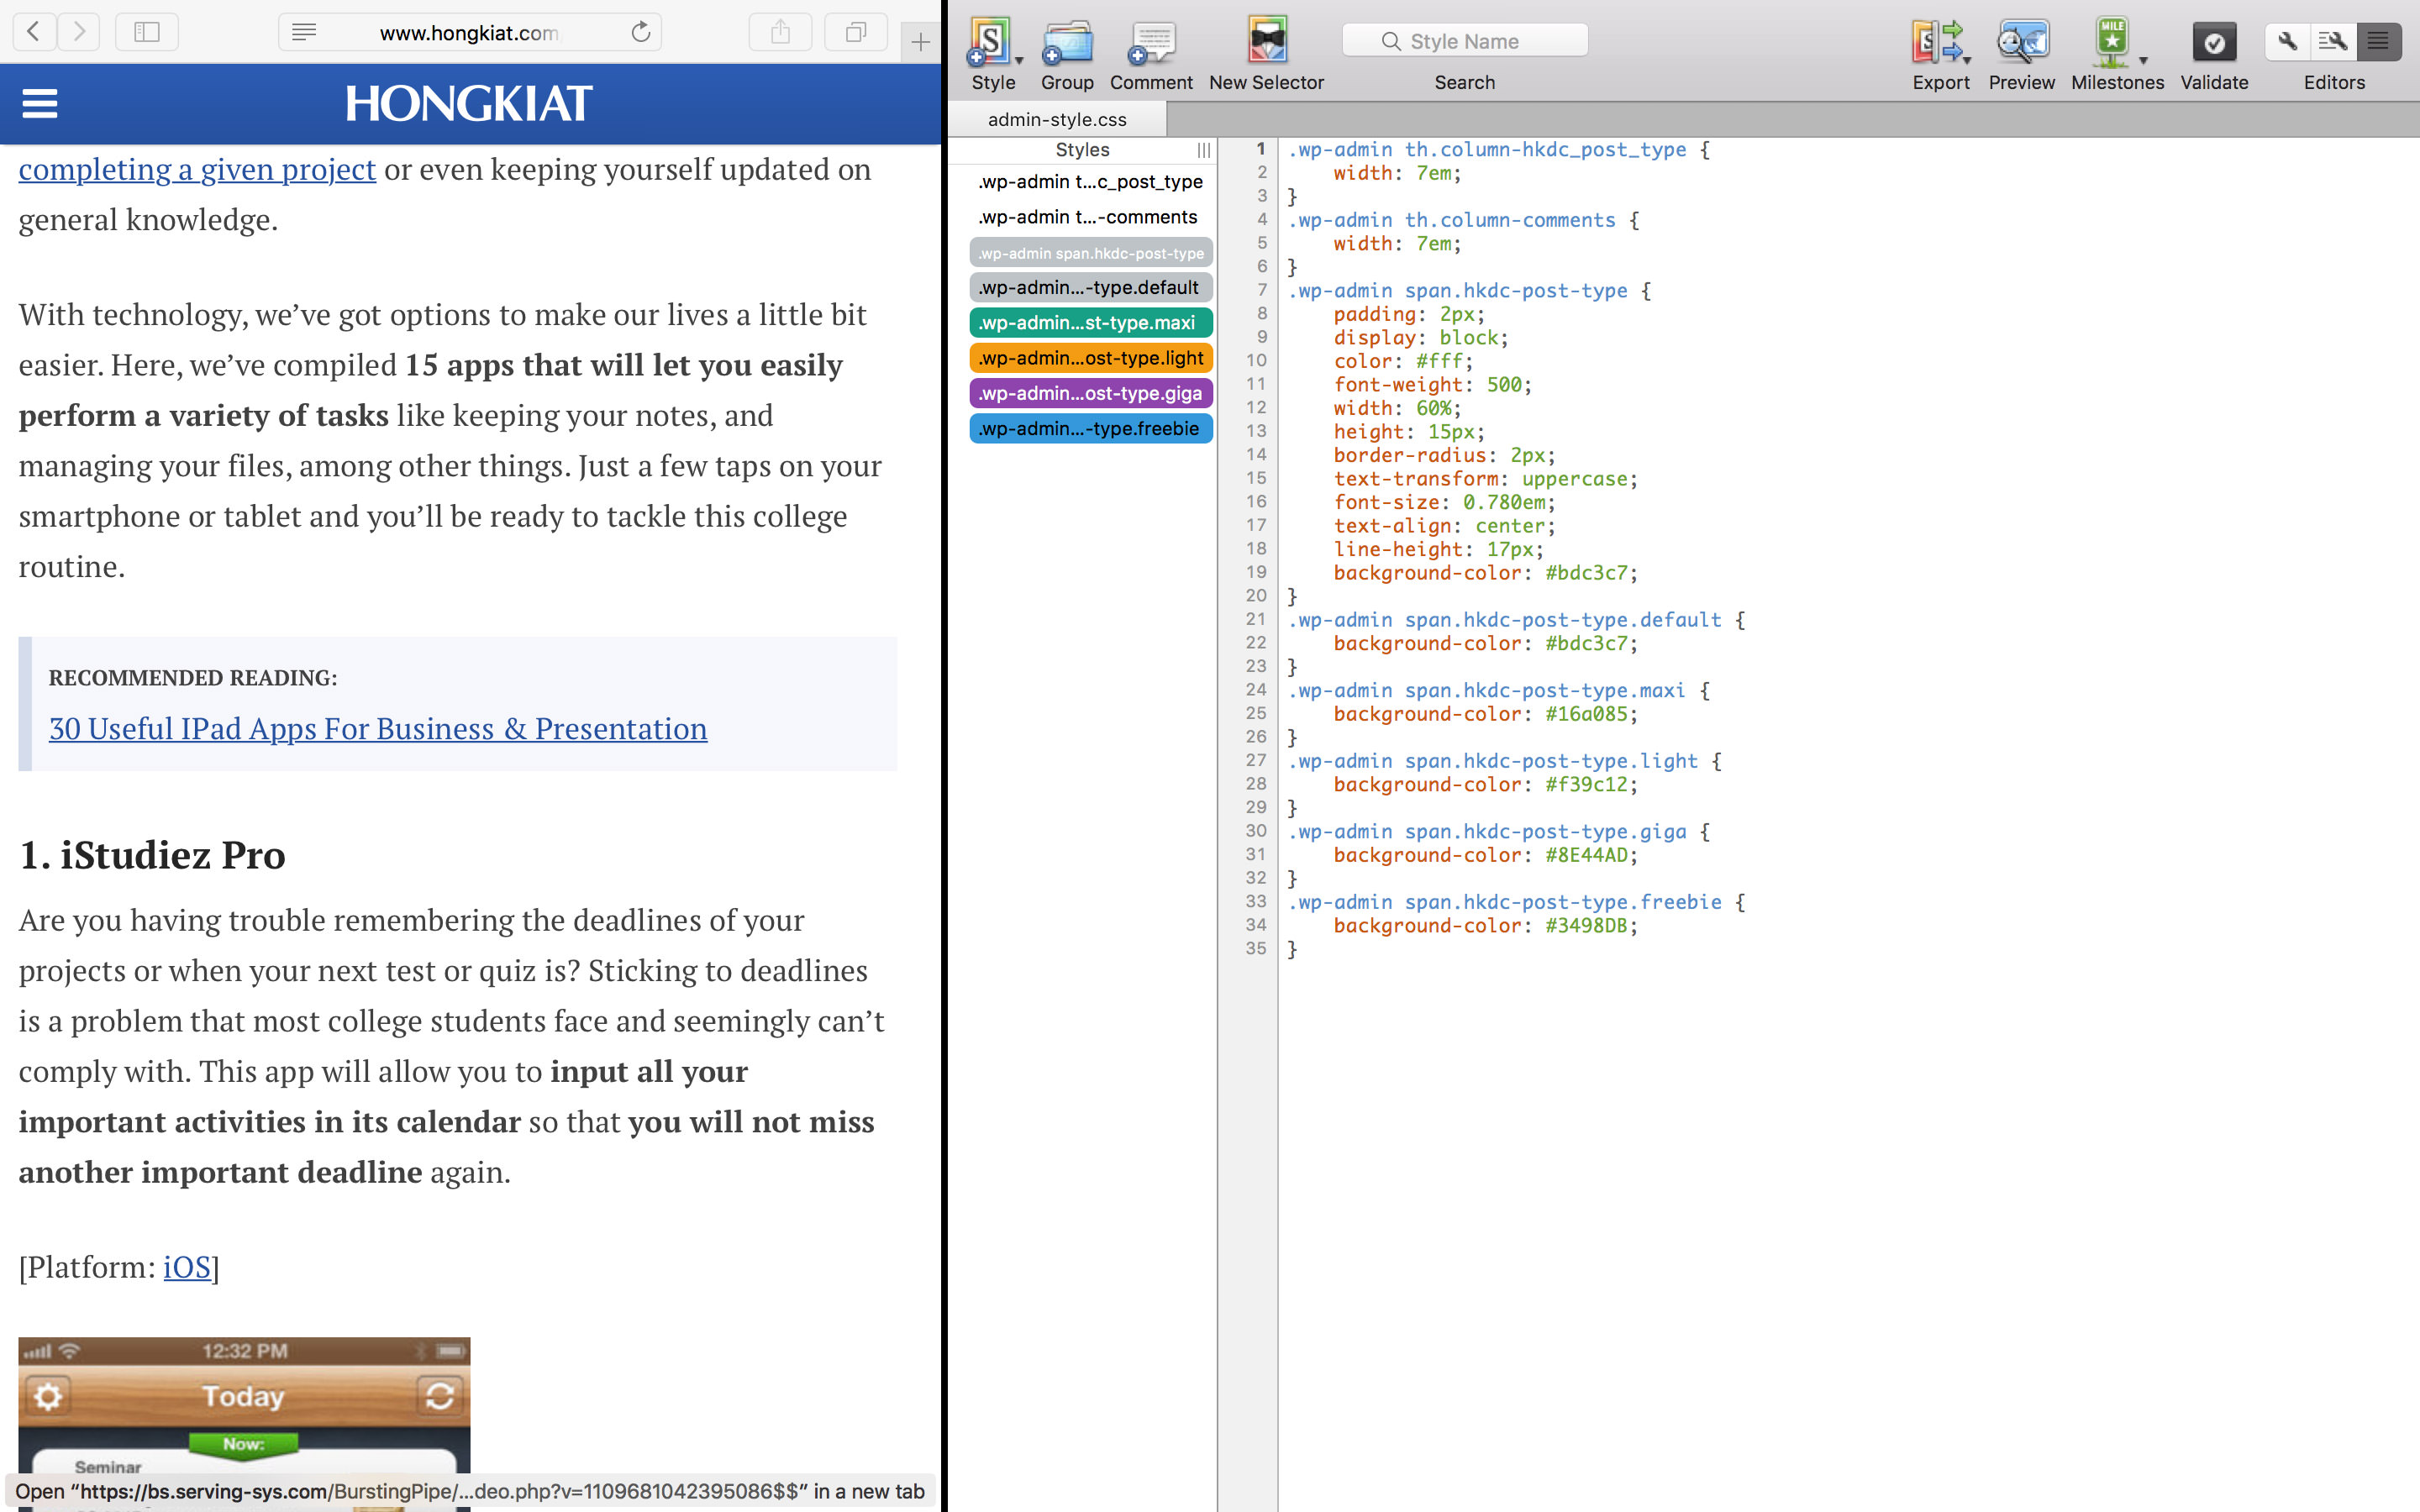
The split view feature can be useful for complex projects where you have to use multiple apps at the same time or (as in my case) when you want to work on your favorite code editor on one side and preview the changes on the browser on the other side.
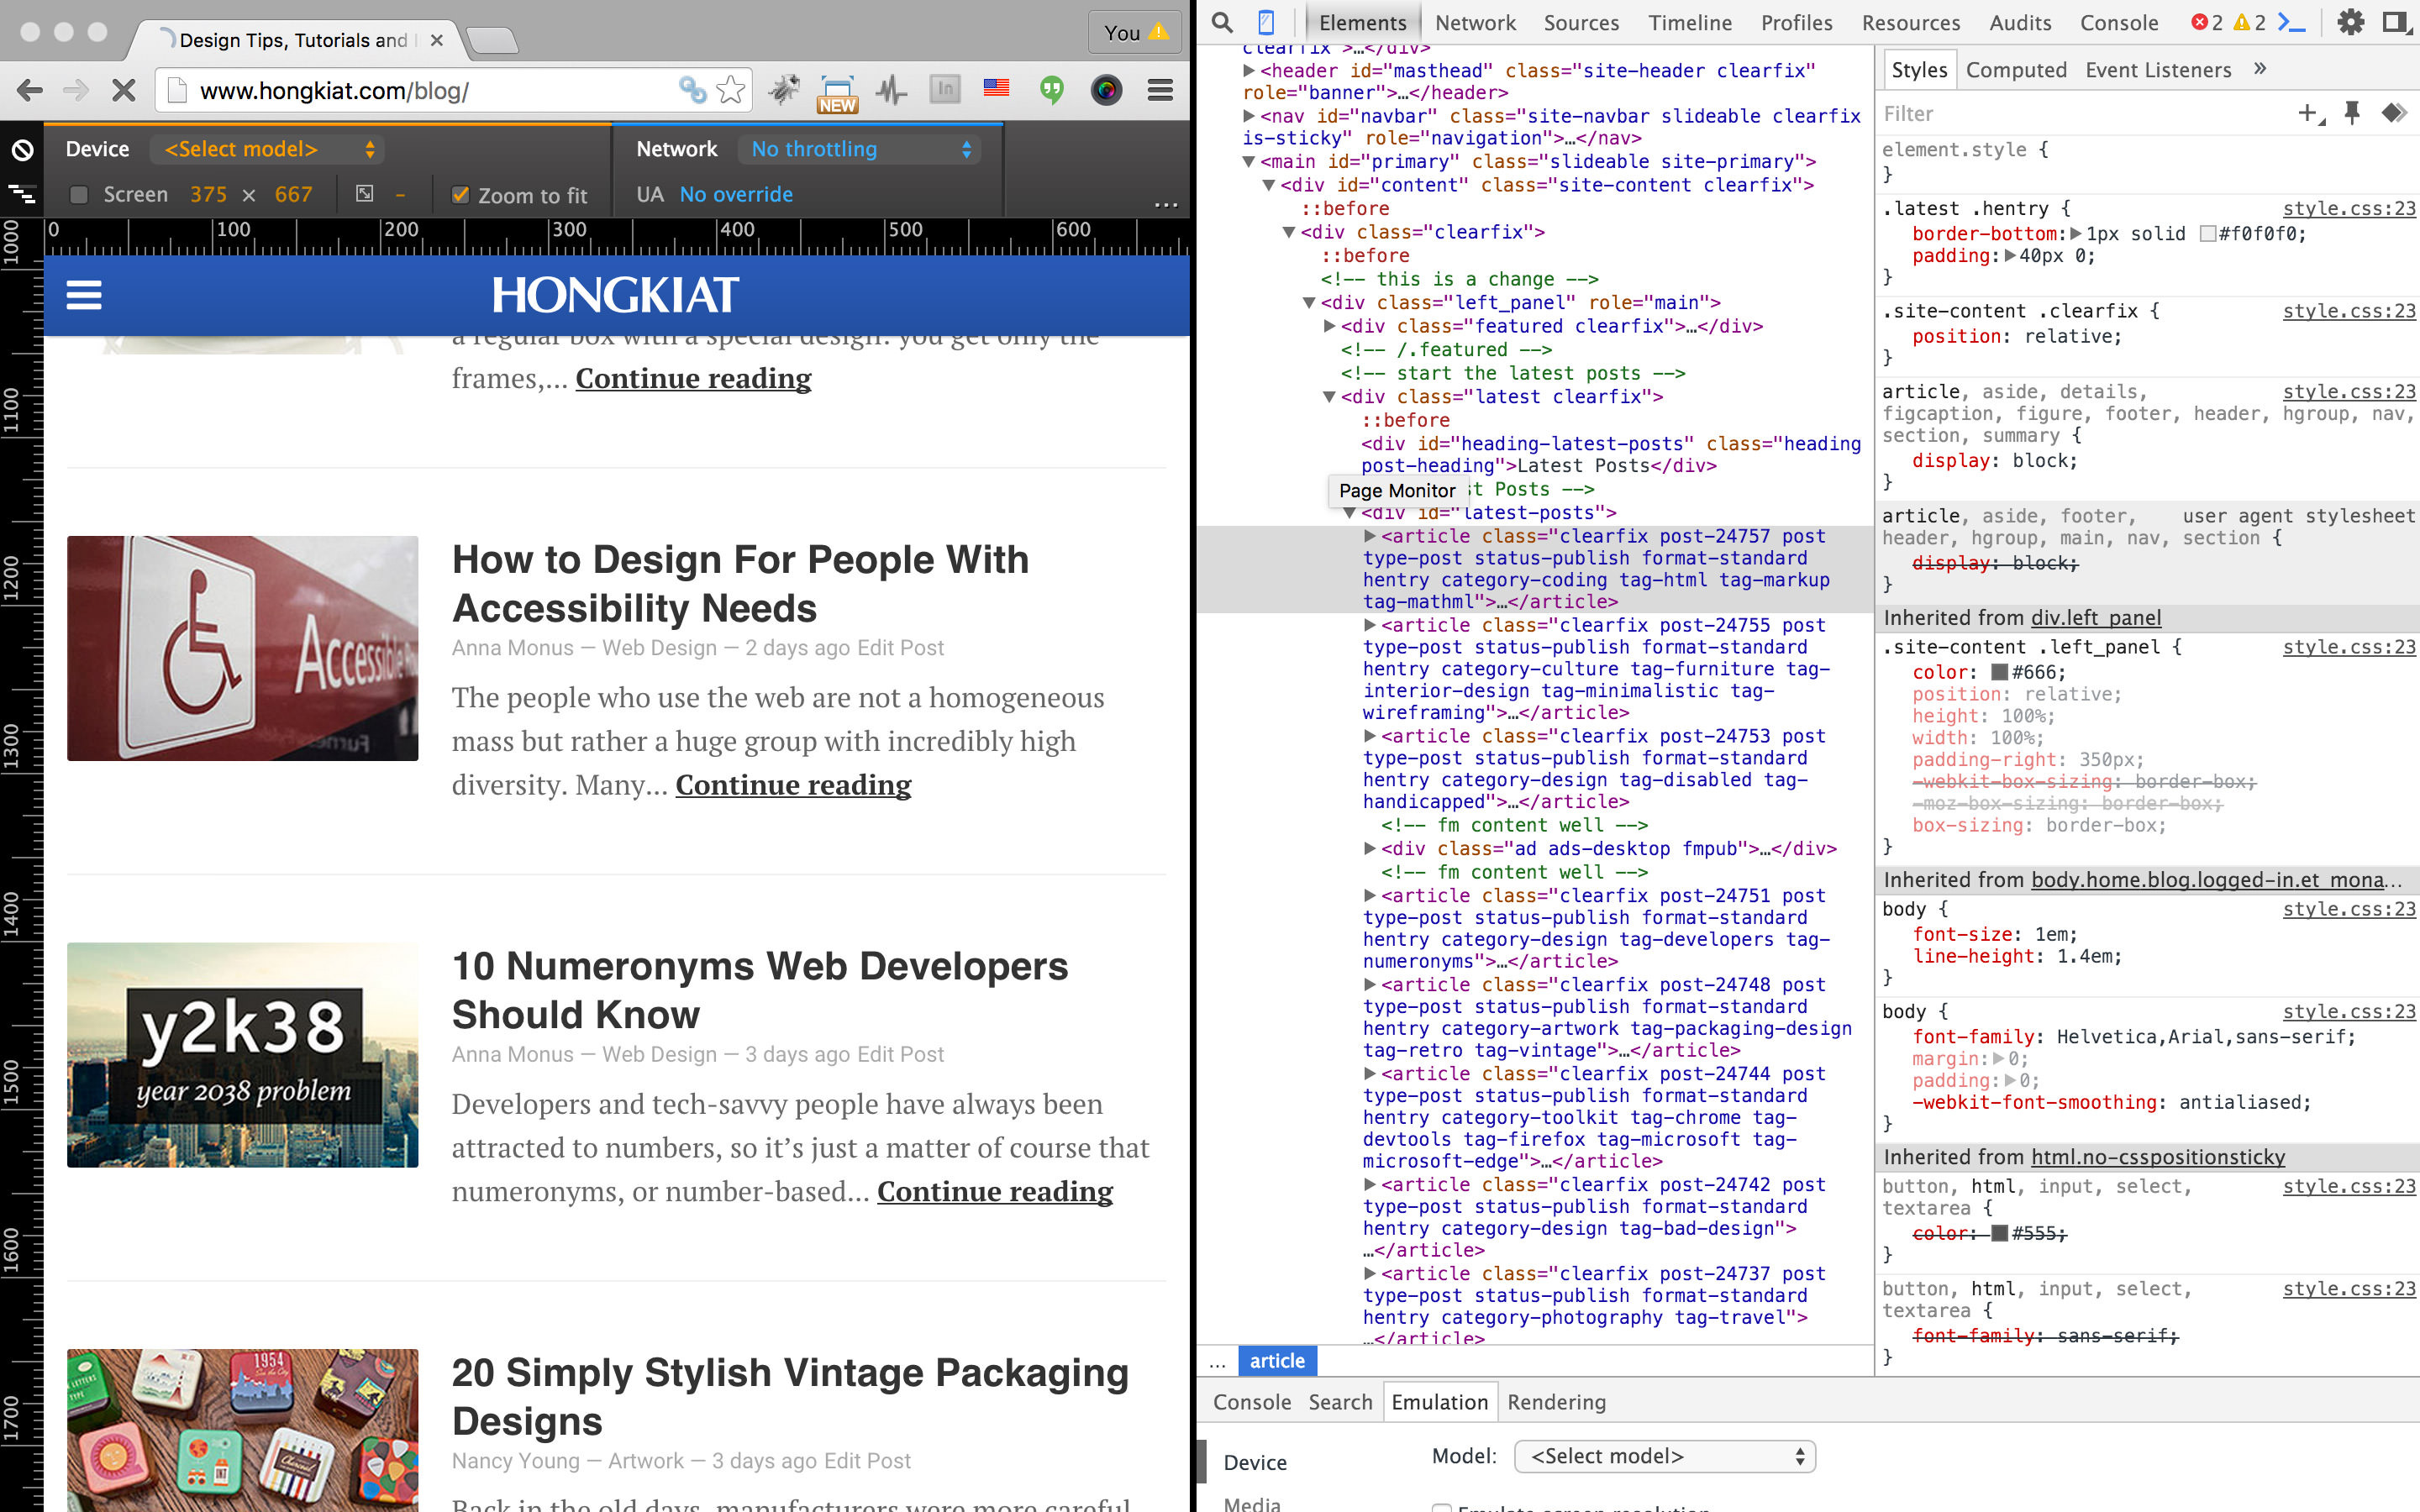
Or like what I personally often do – have the browser on one side, and Inspect Element on the 500 for code inspecting and debugging.
How to enable Split View
There is a video tutorial at the bottom of this post that you can skip to, but if your Internet connection leaves a lot to be desired, then here are the steps:
- With your first app already open, click on the green button on the top left corner of the app to get it into full-screen mode.
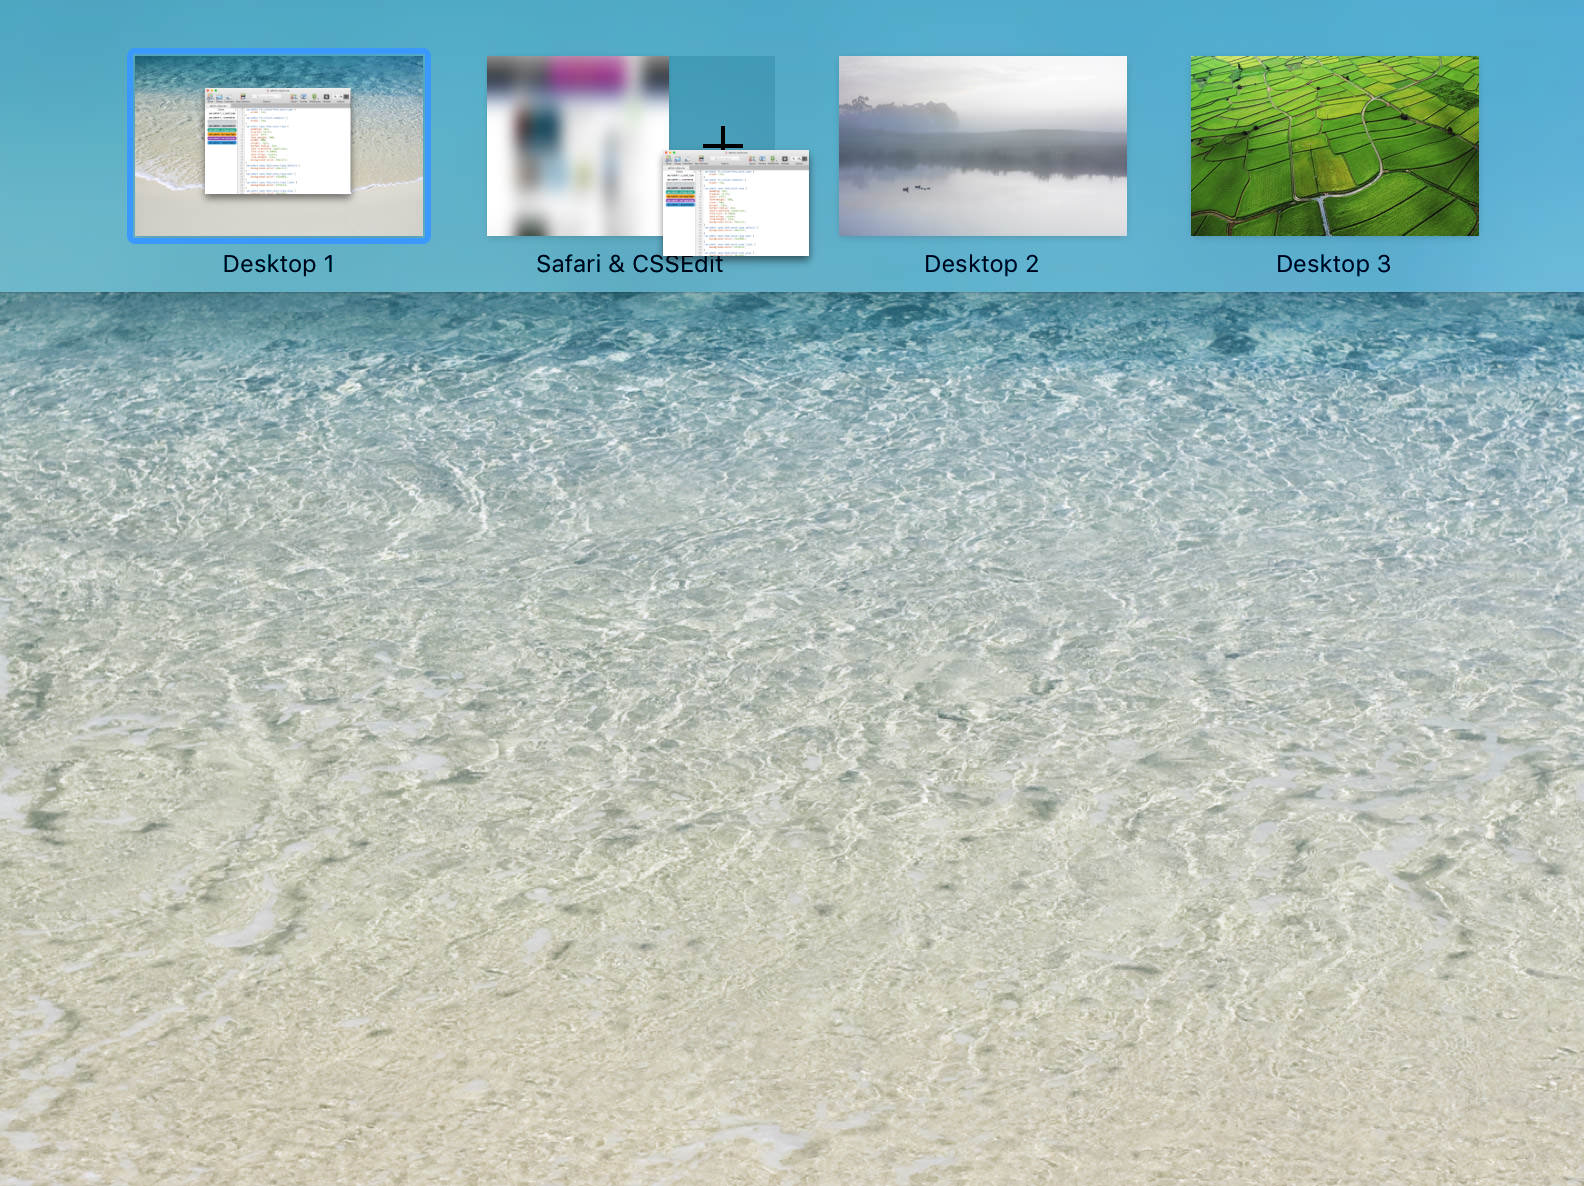
- Next, hit the F3 key to go into Mission Control.
- While inside Mission Control, drag the second app and release it into the thumbnail of the first app.

This will give you a full-screen mode of both the apps, with a 50-50 split. You can drag the middle divider to re-adjust how much space you want for each app.
How to exit Split View
To exit split view, or remove one app from the split view so you can add another, just hit the Esc key or click the green button on the top left corner of the particular app to restore it to its original size.
That’s it.