How to Make Siri Say Anything
Siri is the artificial intelligence personal assistant made available on your iPhone. It will answer to all your questions and searches as well as complete tasks you ask it to manage. It’s the perfect assistant anyone can hope for, fitted in the palm-sized gadget. That’s why it’s such a waste to not have a little fun with Siri.
Since its debut, the Web was riddled with funny parody videos about Siri. In most of these videos, Siri says things that was not programmed its system, basically it says anything the video maker wants.
Did you know that you can actually make Siri say whatever you want her to say? It is still not possible on your iPhone, but it definitely can be done, on your Mac. In this article, we will guide you through the process to get Siri on your Mac, and make her say anything so you too can play with (or make fun of) Siri.
Find Siri in your Mac
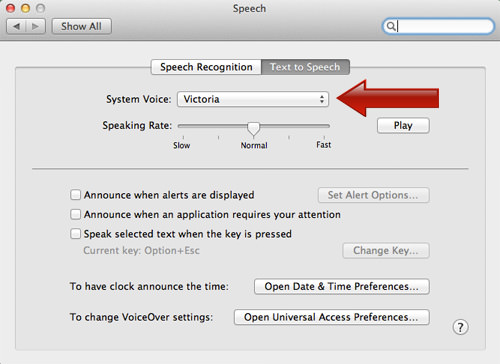
You may not know this but your Mac has a built-in text-to-speech application. To find Siri’s voice, go to System Preference and click on the Speech icon.
You will have a voice already selected for text-to-speech. To change it to Siri’s voice, click on the dropdown menu.
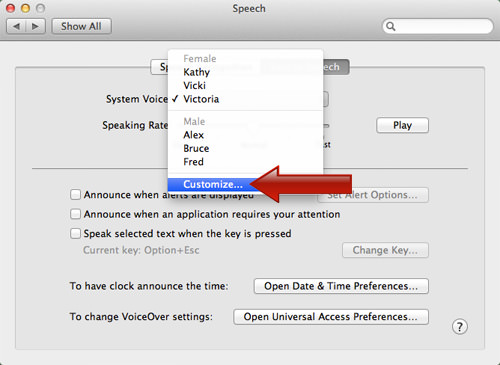
Click Customize…
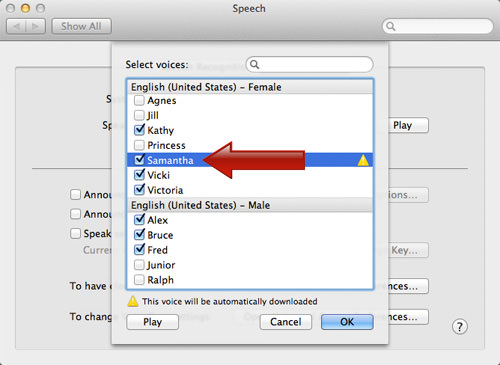
Now scroll until you find Samantha, check the box and click OK. Note: Samantha’s the voice for Siri in the US.
You will be prompted by the system, to confirm if you want to download Samantha’s voice. Click Install.
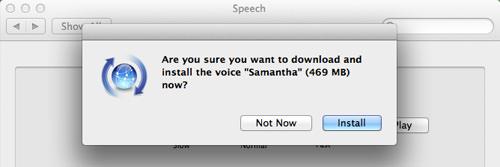
When the installation is done, go back to the Speech window and select Samantha as the preferred system voice.
Camera, Lights, Action
To make Siri say whatever you want, go to Applications > Utilities > Terminal. When the Terminal is open, you can instruct Siri to speak your text in the format of: say “speech here”. For example, you can use the following, copy and paste them to your Terminal and enter.
say "Hi, my name is Siri, and I am now your voice assistant."
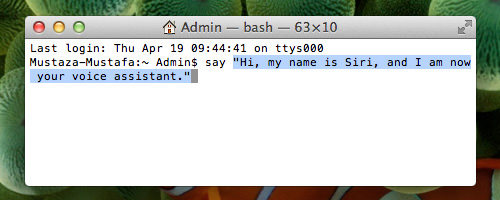
You will hear Siri’s voice saying ‘Hi, my name is Siri, and I am now your voice assistant”.
Save the speech
To save the speech by Siri, simply include ‘-o‘ in the command after the keyword ‘say‘, followed by the file name (you can name it whatever you wish)
say -o "filename" "Hi, my name is Siri."
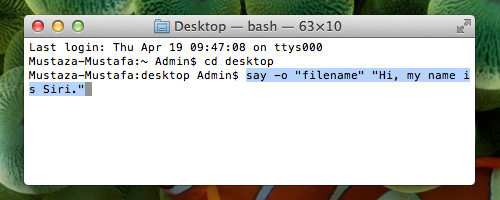
By default, the speech will not be played, instead it will be saved in your home directory in .aiff format. To save the speech on your desktop, first you need to change the directory. Type the following in your Terminal.
cd desktop
After changing the directory, use the line ‘-o’ command again and your speech will now be saved in your desktop with the file name you specified.
Saving a long Speech
If you have a long speech text for Siri, you can easily save the text file in a plain text format and save it to your desktop directory, then use the following line in Terminal.
say -o "filename" -f "speech.txt"
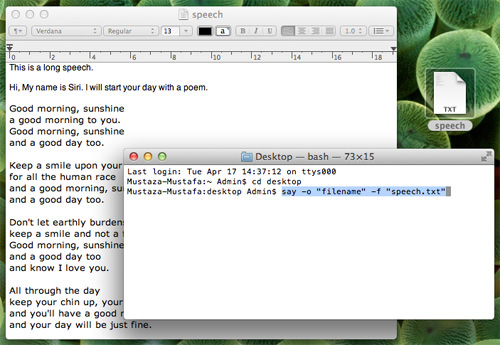
The ‘-f‘ function will call your input speech text file that you must first save in plain text format .txt
Again, Siri will not voice out the text, but the voice will be saved in your desktop in .aiff format.
Conclusion
Now you have Siri as your speech assistant on your Mac, and you can command Siri to say anything you want, be it a short quip or long speech. Have a new parody video featuring Siri/Samantha on your mind? Don’t forget to share it with us!