macOS Mojave’s Stacks: Everything You Need to Know
Apple has launched its latest macOS Mojave that comes with a number of cool features including Dark Mode, Dynamic Desktop, and a redesigned Mac App Store along with others. But for the people who always have a messy desktop, Mojave has a new feature called Stacks.
A really smart way to manage files on your desktop, Stacks removes clutter by grouping desktop files of similar kind together
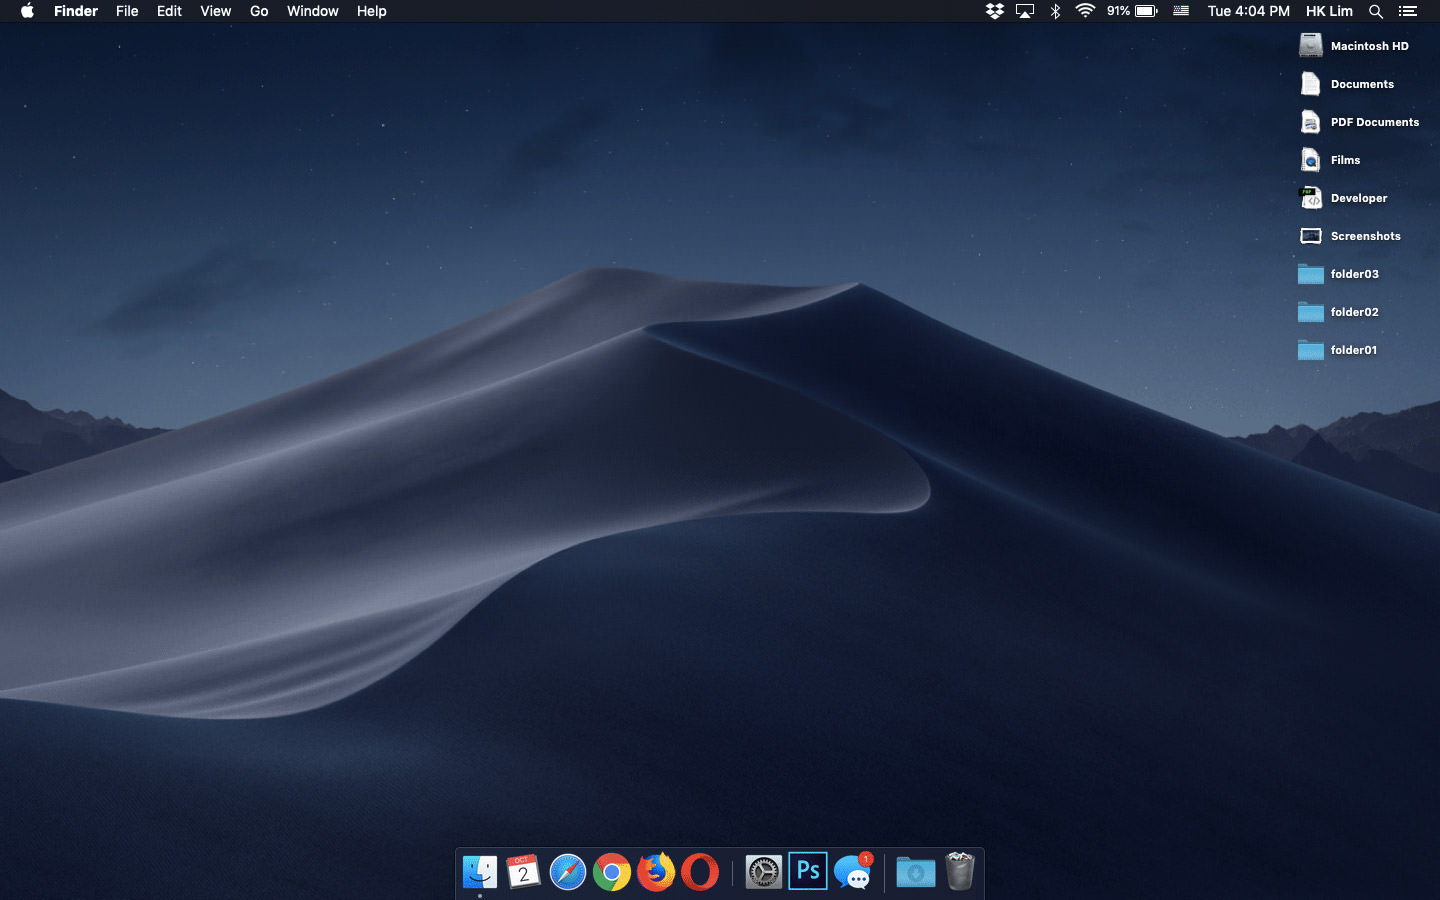
To give you an idea of how it works, it messy desktop like this:

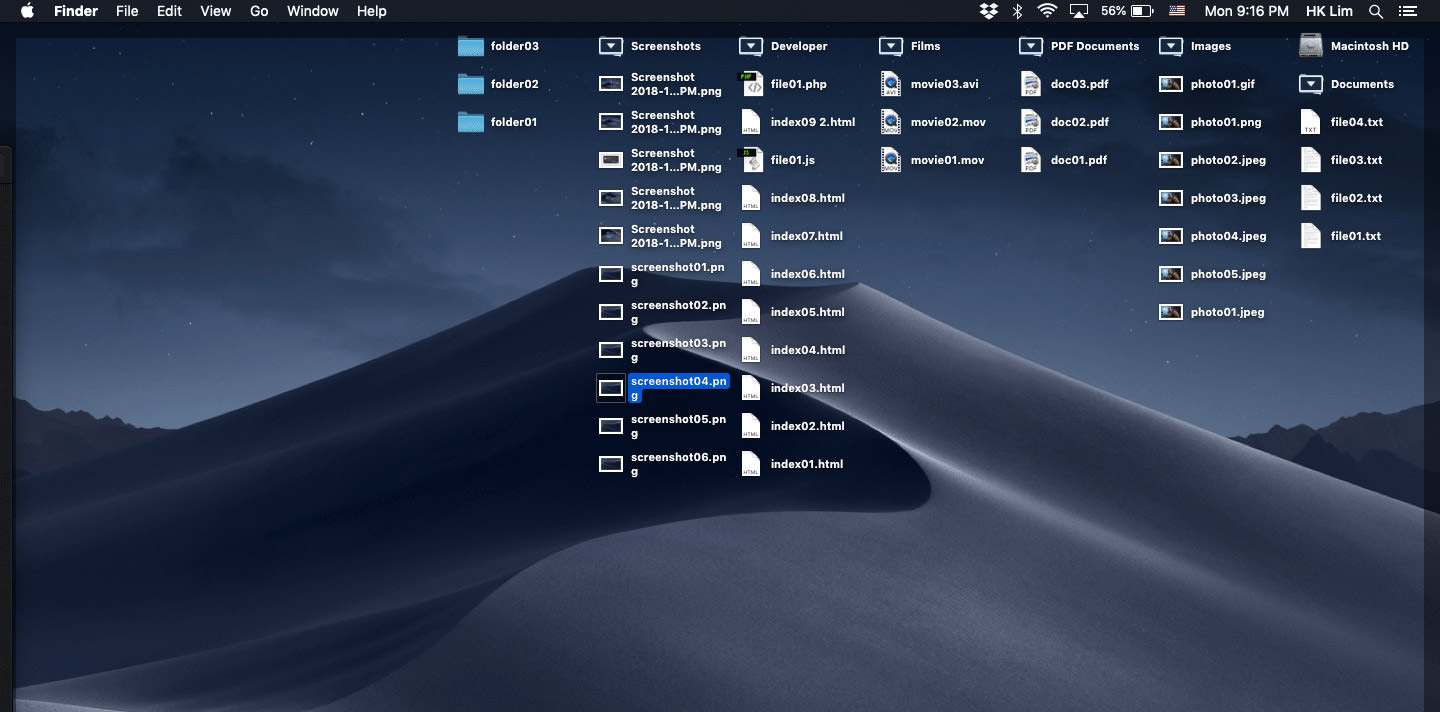
Into something much cleaner like this:
Interesting right? But such a helpful feature can only be useful if you could take full advantage of it. This post tells you all there’s to know about Stacks feature and how to use it. Let’s take a look.
How to turn on Stacks
To turn on Stacks, right-click (or Control + Click) anywhere on the desktop, and select Stacks.

Grouping your Stacks
Once enabled, Stacks (by default) groups files on your desktop by its "kind", under suggested names like the following:
- Documents
- Images
- Screenshots
- PDF Documents
- Films
- Developer, and so on.
Apart from these, Stacks can also group your files by the following:
- Date Last Opened
- Date Added
- Date Modified
- Date Created
- Tags

How files are grouped in Stacks
Stacks takes the files’ file extension into account and place them into their relevant groups. For example, the “Developer” stack groups all files with the extensions of .htm, .html, .php, .js, and so on together.
Note: At the time of writing this article, Stacks still, unfortunately, is unable to recognise .css and group it under “Others” instead of “Developer”. But I’m pretty sure Stacks’ accuracy will improve over time as the operating system gets an update.
Accessing files in Stacks
To access files grouped under a certain Stack, simply click on its Stack name. It will then expand and files within will be listed. Stack will remain expanded, showing a downward arrow icon. You have to click the downward arrow again to close the opened Stack.

Here’s a tip:
You can also open all your stacks simultaneously; they will be lined-up right to left with their respective files listed in top-down, giving you a clear and organised list of all your files, allowing you to easily access any files while you work.
Take a look at the sample screenshot below.
Note: This view will be resettled back (or closed) to its original stacked position if you restart your mac.
How to customise your Stack’s name
If you are grouping files in Stacks by “Kind”, then macOS will give them predetermined names and you are unable to rename them.
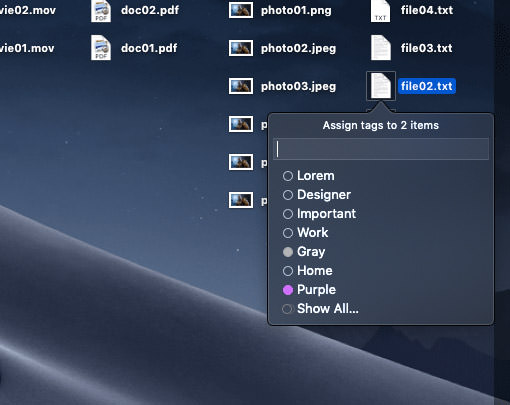
However, you can customize the name of the Stacks according to your requirement. For example, instead of using the per-determined Stack name “Developer”, you can group certain files under “Designers”.
To do that, you will need to group Stacks by tags. Here’s how you do it:
- Select file, or multiple files at once (hold Command and keep selecting files).
- Right click and select Tags.
- Enter a tag name, or select an existing tag.
- Repeat step 3 until you have finished assigning files to their respective tags.
- Right click anywhere on Desktop, select Group stack by > Tags.
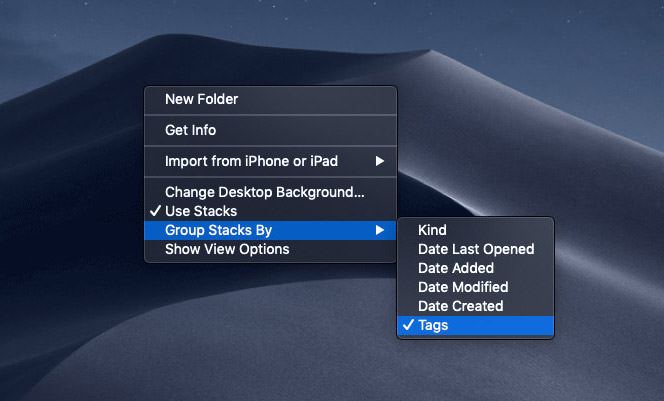
That’s it, your desktop files will now be grouped according to tag names you assigned.
Note: All files without tags will be grouped under “No Tags”.
Stacks does not work with folders
Folders on desktop, unfortunately, will be standalone and will not be grouped under any circumstances, even if you give them a tag name. They will be sorted right below the Stacks.
If you want to further reduce desktop clutter, the only way – for now – is to avoid having lots of folders on your desktop.
I hope this article gives you an insight of how Stacks on macOS Majave works. Have a clean desktop!