How to Create Image Slider With Photoshop and jQuery
Undoubtedly, image slider is one of the most commonly used elements in the business web design, due to its relatively large size that is able to draw the visitor’s attention once they arrive the site. Though the web has started to rethink about the usability of the image slider, it’s still considered as a must-learn for the newcomer of the web design industry.
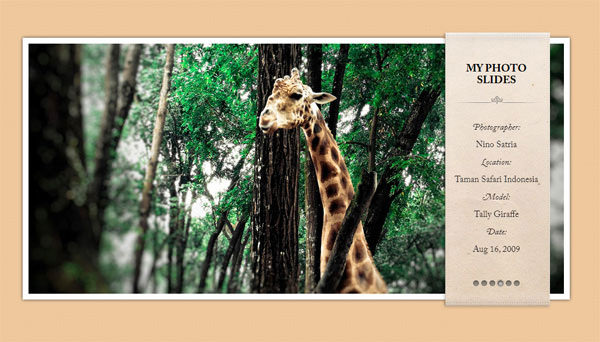
In this web design tutorial, we will learn to create custom image slider above using Photoshop, which you can preview the final result from here. Not only will we illustrate it in Photoshop, we will also turn it into a functional design by converting it into HTML/CSS and adding jQuery for its awesome sliding effect.
Sounds like a lot of complicated bits involved, but in fact it’s pretty straightforward and very easy to understand, let’s get started then!
More interested about adopting an image slider and customize it on the way? Here are posts dedicated for you.
Getting Started
For this tutorial you will need the following resources:
- 20 Repeatable Pixel Patterns.
- jQuery library
- Nivo Slider plugin
- Modernizr
- Paper Textures from VandelayPremier
- (Alternative) 13 HQ Old Paper Textures from overdosse
- Rinjani by Ciaciya
- Stupa by Agnes Sim
- Tally by Nino Satria
- Offerings by Timo Balk
- Uluwatu-Bali by Aris Wjay
Part I – Designing Image Slider
Step 1: Setting Up Background
Start by creating a new file with size 1000×700 px. Fill background with color #efc89e.
Add Pattern Overlay using free pixel pattern.


Step 2: Slider Base
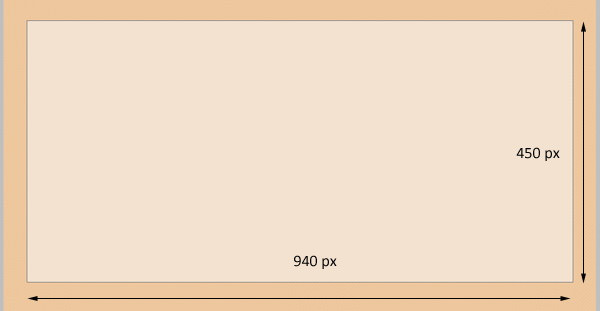
Activate Rectangle Tool. Create a rectangle with size 940×450 px. You can use any color, it doesn’t matter.
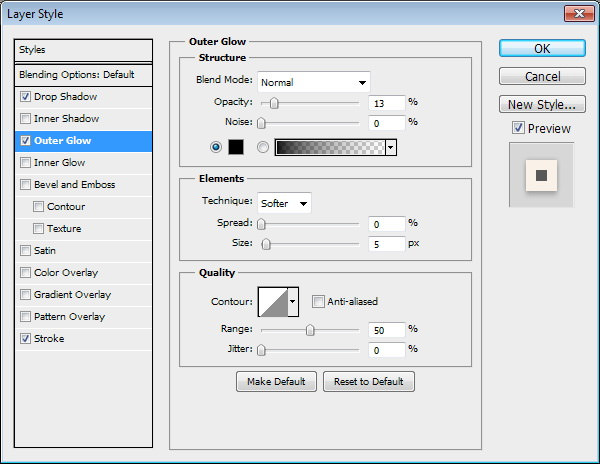
Double click layer to open Layer Style dialog box. Add Layer Style Drop Shadow, Outer Glow, and Stroke.
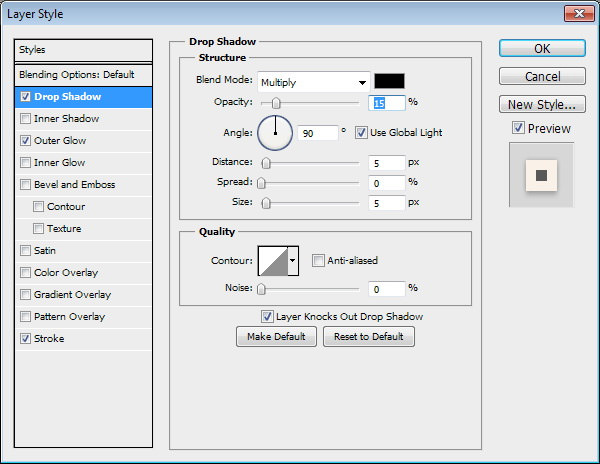

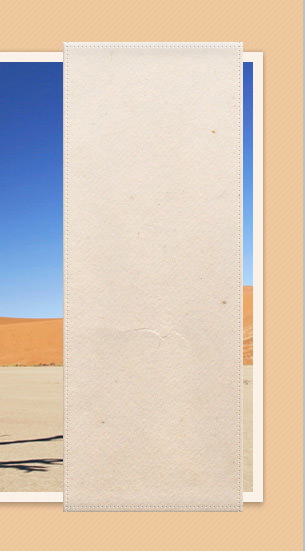
This is the result. The slider base now has a nice frame with soft shadow behind it.
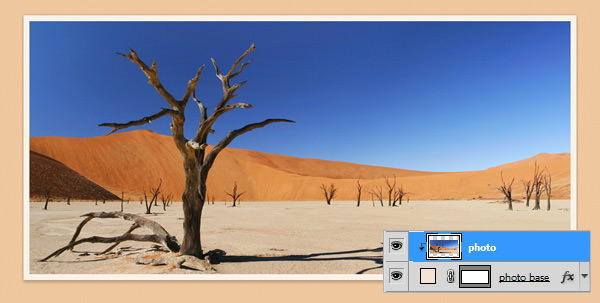
Step 3
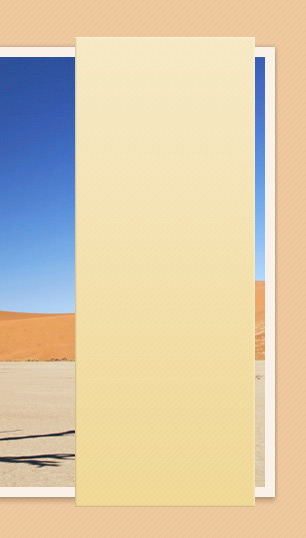
Add a photo and place it above the slider base. Hit Ctrl + Alt + G to convert it into Clipping Mask and insert the photo into the slider.
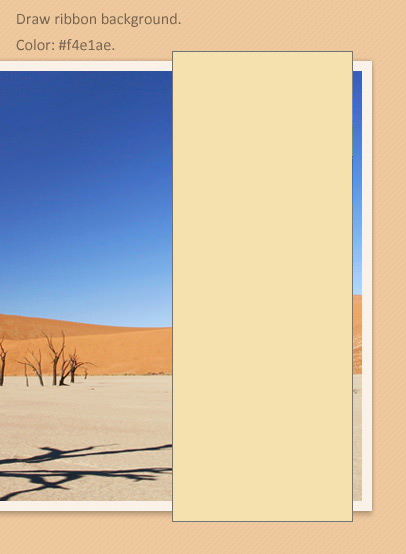
Step 4: Ribbon
Draw a rectangle shape with color #f4e1ae to be used as a ribbon.
Double click the shape’s layer and activate Bevel and Emboss, Gradient Overlay, and Pattern Overlay with following settings.
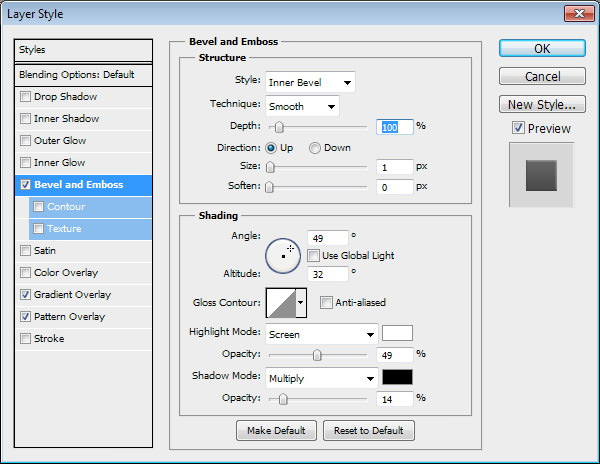
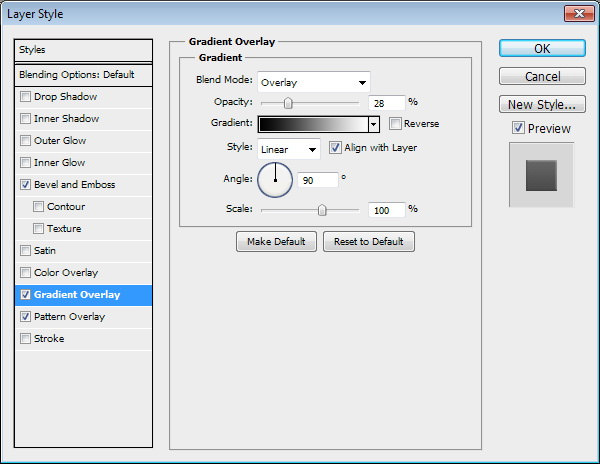
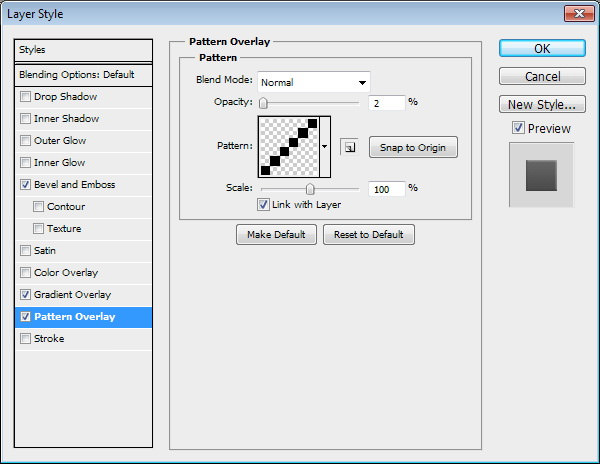
This is the result after adding Layer Styles.
Step 5
Let’s add paper texture onto the ribbon to make it more realistic. Place texture on top of the ribbon shape. Convert it to Clipping Mask by pressing Ctrl + Alt + G.

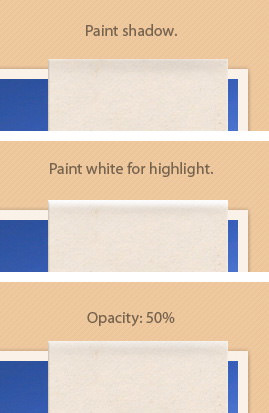
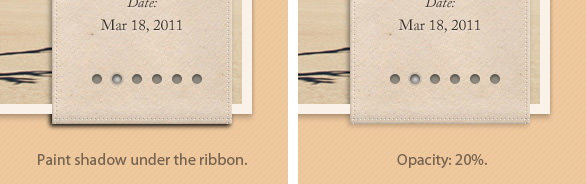
Step 6
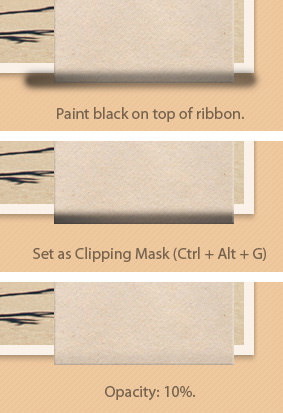
Let’s paint some shadows and highlights onto the ribbon. Create new layer above the ribbon. Paint black on lower part of the ribbon. Convert it to Clipping Mask (Ctrl + Alt + G) and then reduce its Opacity to 10%.
Step 7
Repeat previous process to upper part of the ribbon. But this time, add highlight by painting white and then reduce its Opacity to 50%.
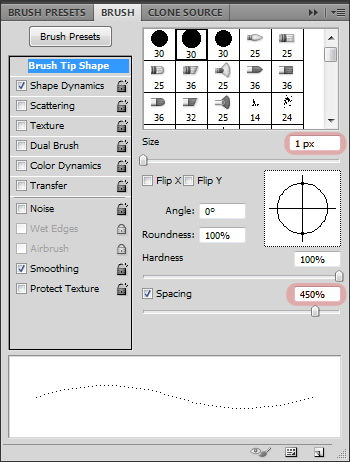
Step 8: Stitches
Activate Pencil Tool. Hit F5 to open Brush setting. Set brush size to 1 px and increase the spacing until we get a dotted line on the preview area.
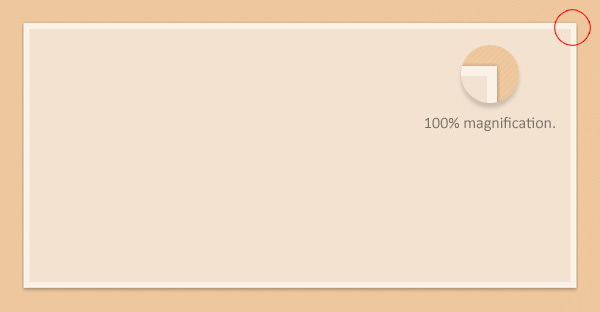
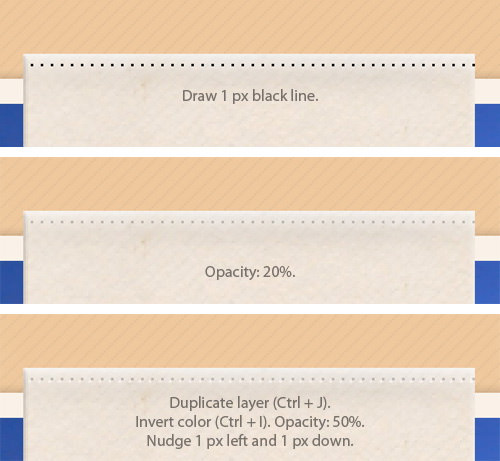
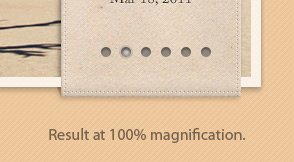
Step 9
Draw 1 px black line on top of the ribbon. Reduce its Opacity to 20%. Duplicate layer by pressing Ctrl + J. Hit Ctrl + I to invert its color. Increase Opacity to 50%. Activate Move Tool and then press down arrow and left arrow once to nudge it.
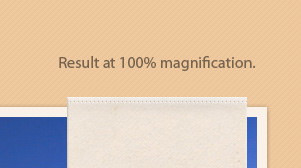
Here’s the result viewed at 100% magnification.
Step 10
Repeat this process to draw other stitches on another side of the ribbon.
Step 11: Add Ornate Shape
Set foreground color to gray. Use soft brush with size 1 px to draw an ornate shape. Be creative, you can use any shape you like. Next to it, draw a 1 px line and then erase its outer edge using a soft Eraser Tool. Duplicate the line, flip it horizontally, and place it on the other side.
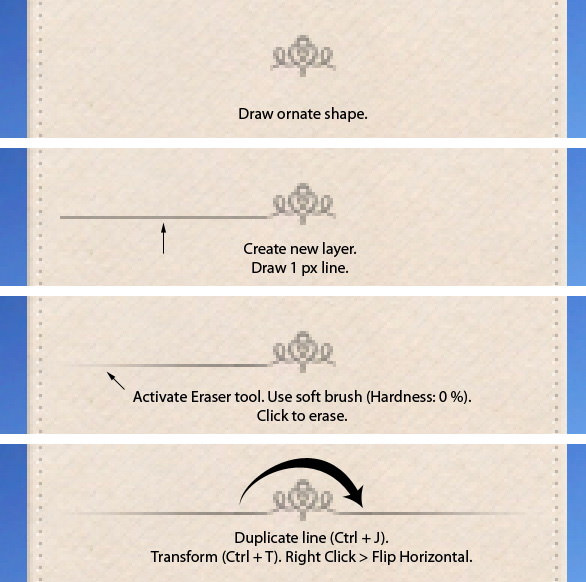
Step 12
Select all ornate layers and merge it into one layer by pressing Ctrl + E. Duplicate shape and then place it under the original ornate shape. Hit Ctrl + I to invert its color. Activate Move Tool and then press down arrow once to nudge it 1 px down.

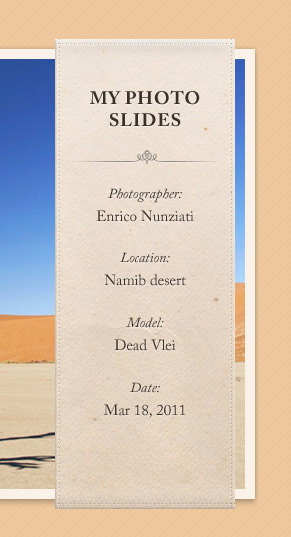
Step 13: Photo Information
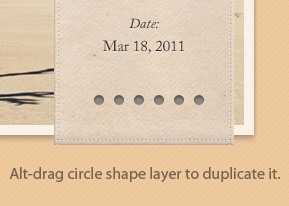
Type photo data inside the ribbon.
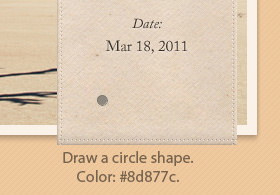
Step 14: Navigation
Next, we’ll draw some circles for slide navigation. Draw a circle shape with color: #8d877c on lower part of the ribbon.
Add Inner Shadow using following settings.
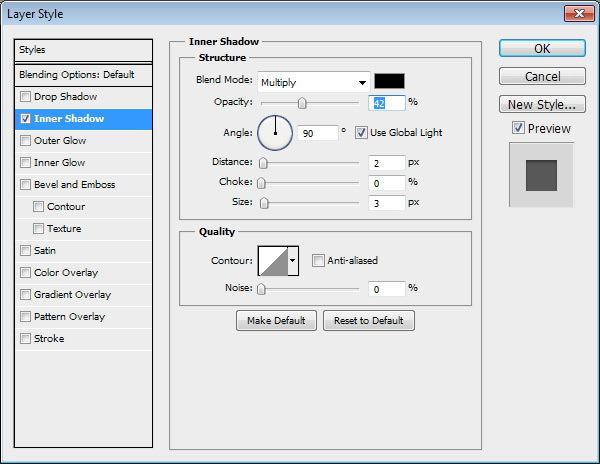
This is the result. The circle is turning into a shallow hole now.

Step 15
Hold Alt and then drag circle shape layer to duplicate it.
Step 16
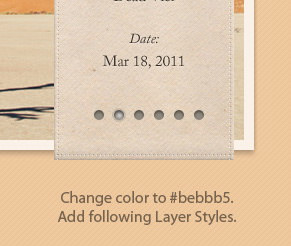
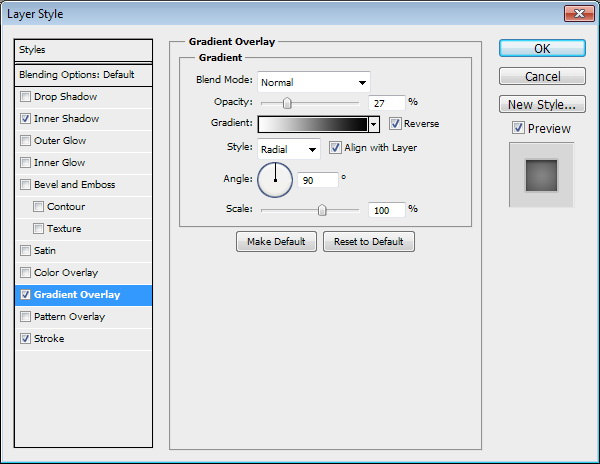
Let’s set active condition on one of these links. Select one of the circle and change its color to #bebbb5. Add Inner Shadow, Gradient Overlay, and Stroke.


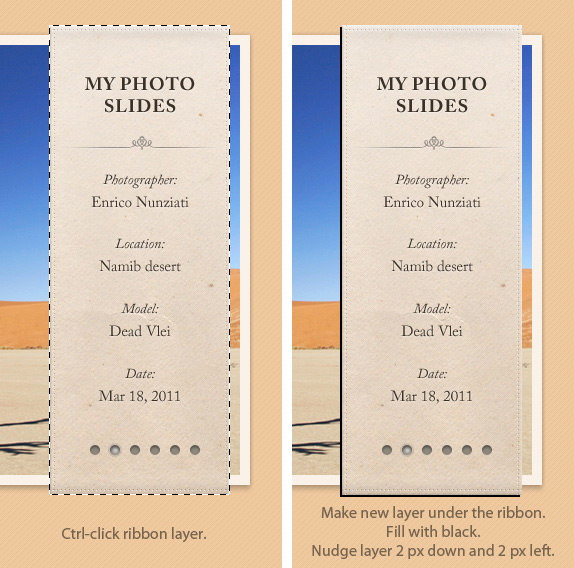
Step 17
Hold Ctrl and then click on the ribbon base thumbnail in the Layers Panel. Create new layer under the ribbon and fill it with black. Activate Move Tool and hit left and down arrow a few times.
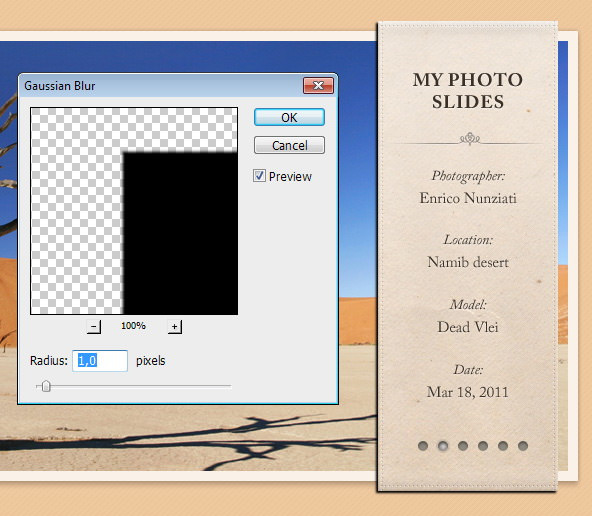
Step 18
Soften it by performing Gaussian Blur filter. Click Filter > Blur > Gaussian Blur.
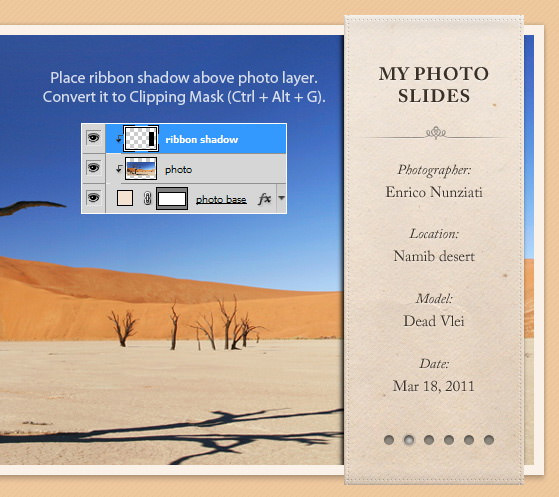
Step 19
Place ribbon shadow above slider frame layer. Convert it to Clipping Mask by pressing Ctrl + Alt + G.
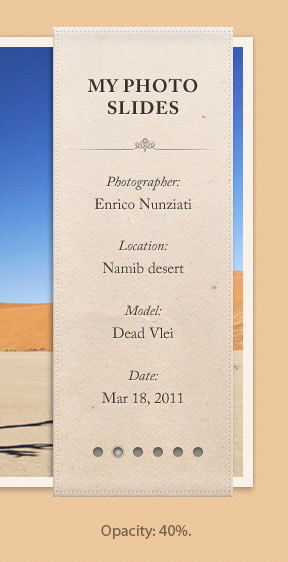
Step 20
Reduce shadow Opacity to 40%.
Step 21
Paint ribbon shadow on background. Reduce its Opacity to 20%.
Step 22
Use Pen Tool to draw back part of the ribbon. Set its color to #b68f63. Place it behind the slider.

This is the result viewed at 100% magnification.
Step 23
Duplicate the shape we have just created and place it behind the top of the ribbon. Flip it vertically.
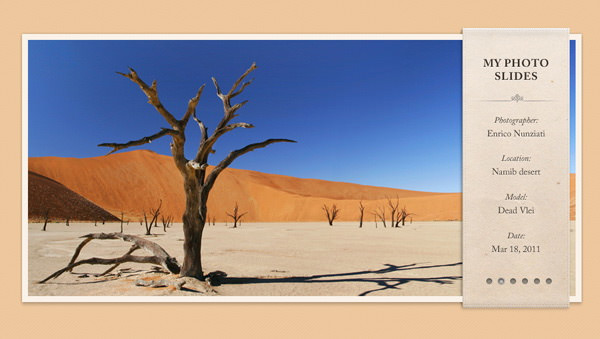
Step 24: Final Result in Photoshop
This is our final result in Photoshop. Next, we will continue to code it into a functional slider.
Part II – Converting Into HTML/CSS
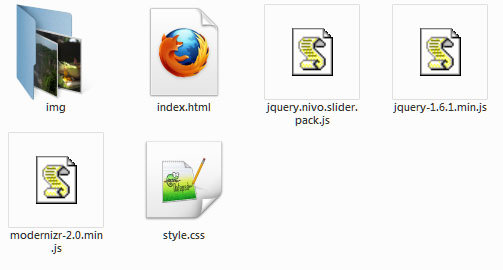
Step 25 – Setting Up Files
Create a new folder called My-Photo-Slider. Inside this folder, create a new blank HTML document (index.html), blank stylesheet (style.css), and folder for images (img).
We also need to include jQuery library and Nivo Slider plugin to the folder. As we use HTML5 markup, we need to add an IE hack to enable HTML5 elements on IE 8 or below. We’ll use a script called Modernizr to accommodate IE.
Step 26 – Basic HTML Markup
Open index.html in your favourite code editor. Define the DOCTYPE (we use HTML5), head elements (where we add the title of the documents and link CSS and JavaScript (jQuery Library, Nivo Slider, and Modernizr). We also add a div wrapper (to center the layout), header element, and slide wrapper.
<!DOCTYPE html>
<html lang="en">
	<head>
		<meta name="author" content="Aris FM" />
		<meta charset="UTF-8" />
		<title>My Photo Slides</title>
		<link href="style.css" media="screen" rel="stylesheet" type="text/css"/>
		<script src="jquery-1.6.1.min.js" type="text/javascript"></script>
		<script src="jquery.nivo.slider.pack.js" type="text/javascript"></script>
		<!--[if IE]>
			<script src="modernizr-2.0.min.js"></script>
		<![endif]-->
	</head>

	<body>
		<div id="pagewrap">
			<header>
			</header>
			<div id="slidewrap">
			</div>
		</div>
	</body>
</html>
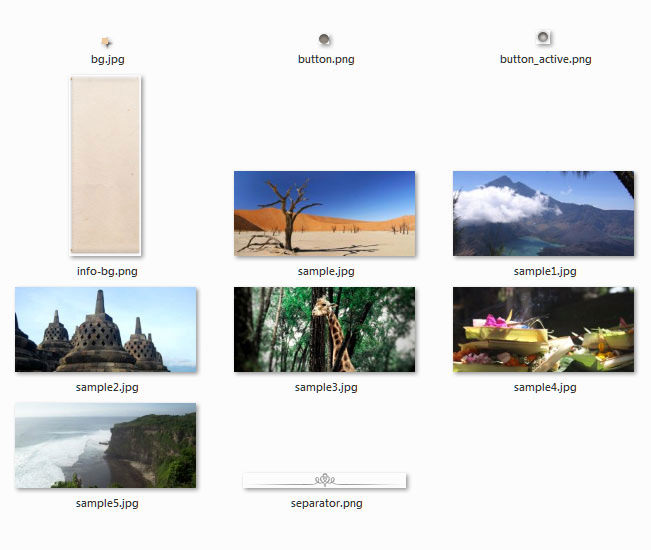
Step 27 – Slice PSD
Open the PSD mockup and slice out all of the necessary images. For the picture, let’s grab following pictures from sxc.hu (login required, if you don’t have an account yet, you can sign up for free). Resize all images to 920×430 px. Put all the images into the image folder (img).
- Rinjani by Ciaciya
- Stupa by Agnes Sim
- Tally by Nino Satria
- Offerings by Timo Balk
- Uluwatu-Bali by Aris Wjay
Step 28 – Create Header
Add these following code between <header> and </header>.
<h1>
	<a>My Photo Slides</a>
</h1>
Now let’s add style to the header. We also add the style for the body and wrapper elements. Put all styles into the stylesheet, style.css.
/* Basic Styling */
body {
	background:transparent url(img/bg.jpg);
	font:15px/2 'Adobe Caslon Pro', Georgia, Serif;
	margin:0;
	padding:0;
}
a {outline:0 none}
#pagewrap {
	margin:120px auto;
	padding:0;
	position:relative;
	height:100%;
	width:960px;
}
header {
	display:block;
	float:right;
	margin-right:40px;
	width:192px;
	z-index:52;
	position:relative;
}
h1 {
	background:transparent url(img/separator.png) no-repeat center bottom; /* Add a separator line below the title */
	font-size:18px;
	font-weight:bold;
	height:70px;
	line-height:1.1;
	margin:55px 10px 0;
	text-align:center;
	text-transform:uppercase;
}
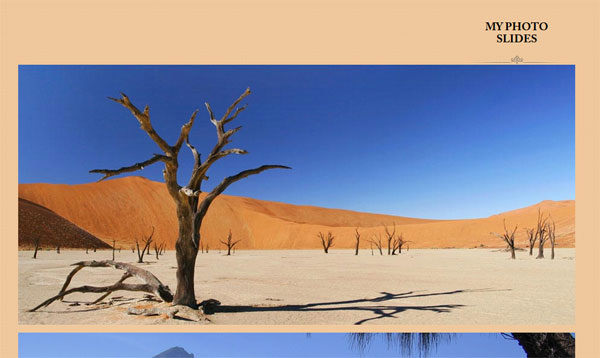
Step 29 – Add Photo Slider
Now we’re going to add code to main part of our document, the photo slider. Let’s add the photos first. Place these following code between <div id="slidewrap"> and </div>.
<div id="slider">
	<img alt="Gallery Picture" title="#caption1" src="img/sample.jpg" />
	<img alt="Gallery Picture" title="#caption2" src="img/sample1.jpg" />
	<img alt="Gallery Picture" title="#caption3" src="img/sample2.jpg" />
	<img alt="Gallery Picture" title="#caption4" src="img/sample3.jpg" />
	<img alt="Gallery Picture" title="#caption5" src="img/sample4.jpg" />
	<img alt="Gallery Picture" title="#caption6" src="img/sample5.jpg" />
</div>
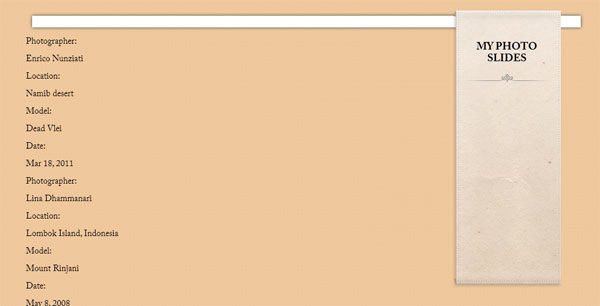
And then add the ribbon and the caption for the photos.
<div class="ribbon"></div>

<div id="caption1" class="nivo-html-caption">
	<span class="title">Photographer:</span><br/>
	Enrico Nunziati<br/>
	<span class="title">Location:</span><br/>
	Namib desert<br/>
	<span class="title">Model:</span><br/>
	Dead Vlei<br/>
	<span class="title">Date:</span><br/>
	Mar 18, 2011
</div>

<div id="caption2" class="nivo-html-caption">
	<span class="title">Photographer:</span><br/>
	Lina Dhammanari<br/>
	<span class="title">Location:</span><br/>
	Lombok Island, Indonesia<br/>
	<span class="title">Model:</span><br/>
	Mount Rinjani<br/>
	<span class="title">Date:</span><br/>
	May 8, 2008
</div>

<div id="caption3" class="nivo-html-caption">
	<span class="title">Photographer:</span><br/>
	Agnes Sim<br/>
	<span class="title">Location:</span><br/>
	Borobudur, Indonesia<br/>
	<span class="title">Model:</span><br/>
	Big Stupa<br/>
	<span class="title">Date:</span><br/>
	Jun 12, 2008
</div>

<div id="caption4" class="nivo-html-caption">
	<span class="title">Photographer:</span><br/>
	Nino Satria<br/>
	<span class="title">Location:</span><br/>
	Taman Safari Indonesia<br/>
	<span class="title">Model:</span><br/>
	Tally Giraffe<br/>
	<span class="title">Date:</span><br/>
	Aug 16, 2009
</div>

<div id="caption5" class="nivo-html-caption">
	<span class="title">Photographer:</span><br/>
	Timo Balk<br/>
	<span class="title">Location:</span><br/>
	Ubud, Bali, Indonesia<br/>
	<span class="title">Model:</span><br/>
	Offerings<br/>
	<span class="title">Date:</span><br/>
	Dec 20, 2009
</div>

<div id="caption6" class="nivo-html-caption">
	<span class="title">Photographer:</span><br/>
	Aris Wjay<br/>
	<span class="title">Location:</span><br/>
	Uluwatu-Bali<br/>
	<span class="title">Model:</span><br/>
	Beautiful Beach<br/>
	<span class="title">Date:</span><br/>
	Jul 20, 2011
</div>
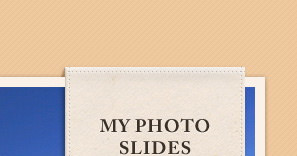
Now, if we open index.html in the browser, we have something like this:
Step 30
We still need to fix the slider’s appearance using CSS.
#slidewrap {position:absolute;}
#slider {
	position:relative;
	height:auto;
	width:920px;
	border:10px solid #fff;
	box-shadow:0 0 5px #444;
	margin:10px;
}
.ribbon {
	background:transparent url(img/info-bg.png) no-repeat;
	height:482px;
	width:192px;
	position:absolute;
	right:40px;
	top:-3px;
	z-index:50;
}
#slider img {
  position:absolute;
  top:0px;
  left:0px;
  display:none;
}
This is what we have now.
Currently, we have linked Nivo slider plugin but we haven’t hooked up the script. So let’s hook up the script by adding these JavaScript functions between <head> and </head> element.
<script type="text/javascript">
$(window).load(function()  {
$('#slider').nivoSlider();
});
</script>
Step 31: Slider Style
The final step is adding the style of the slider.
/* The Nivo Slider styles */
.nivoSlider  {
	position:relative;
}
.nivoSlider img  {
	position:absolute;
	top:0px;
	left:0px;
}
/* If an image is wrapped in a link */
.nivoSlider a.nivo-imageLink  {
	position:absolute;
	top:0px;

	left:0px;
	width:100%;
	height:100%;
	border:0;
	padding:0;
	margin:0;
	z-index:6;
	display:none;
}
/* The slices and boxes in the Slider */
.nivo-slice  {
	display:block;
	position:absolute;
	z-index:5;
	height:100%;
}
.nivo-box  {
	display:block;
	position:absolute;
	z-index:5;
}
.nivo-directionNav {display:none!important}
.nivo-html-caption  {
  display:none;
}
.nivo-caption {
	position:absolute;
	right:20px;
	text-align:center;
	top:130px;
	width:192px;
	z-index:60;
}
.nivo-caption p {margin:0}
.nivo-caption .title {font-style:italic}
.nivo-controlNav {
	position:absolute;
	bottom:10px;
	right:20px;
	height:15px;
	width:192px;
	text-align:center;
	display:block;
	z-index:51;
}
.nivo-controlNav a {
	background:transparent url(img/button.png) no-repeat center center;
	display:inline-block;
	height:14px;
	width:14px;
	text-indent:-9999px;
	cursor:pointer;
}
.nivo-controlNav .active {
	background:transparent url(img/button_active.png);
}
Final Result + Download
This is our final result, click here to see the working demo.
Can’t achieve certain step? Here are the result’s PSD file & complete project for you to test and play with.