How to Use AMP with WordPress
AMP is a community effort that promises better page load performance for websites in the mobile environment. However, as you can see in our previous tutorial, you’ll need to forgo some fancy elements on your website, adhere to the rules, comply with guidelines, and validate your pages. It might seem like a lot, right?
Fortunately, if you’ve built your website with WordPress, you can easily implement AMP using a plugin named AMP-WP. It comes with more features than you might initially realize. Let’s explore how it works.
Read Also: Top 10 Essential AMP Components for Mobile Optimization
Activation
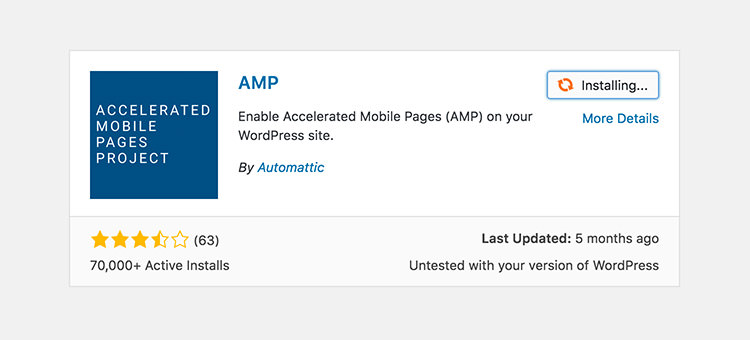
Firstly, log in to your website and navigate to the Plugins > Add New screen. Search for “AMP”, then install and activate the one by Automattic.
Once activated, you can view the AMP-converted post by appending /amp/ to the end of the post URL (e.g., http://wp.com/post/amp/) or by using ?amp=1 (e.g., http://wp.com/post/?amp=1) if you aren’t using the Pretty Permalinks feature on your website.
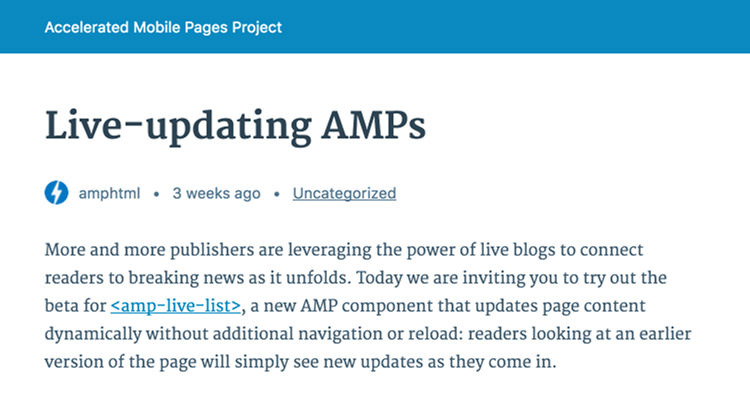
As you can observe above, the post has basic styling, which you can further customize.
Points to Note:
There are a few things you should be aware of regarding the current state of the plugin:
- Archives – Category, Tag, and Custom Taxonomy – are not currently supported. They won’t be converted into an AMP-compliant format. However, Custom Post Types can be integrated with AMP using a Filter.
- The plugin doesn’t add a new settings screen in the Dashboard. Customizations are made at the code level using Actions, Filters, and Classes.
- The plugin doesn’t natively support all AMP custom elements, such as
amp-analyticsandamp-ad. If you require these elements, you’ll need to add them by hooking into the plugin’s Actions or Filters.
Read Also: Mastering WordPress Action Hooks for Theme Customization
Customization
The plugin offers numerous Actions and Filters, granting flexibility in customizing styles, page content, and even the entire HTML markup of the AMP page.
Styles
After activating the plugin, you might want to immediately modify certain elements, such as the header background color, font family, and font size, to better align with your website’s branding and character.
To achieve this, you can use the amp_post_template_css Action in the functions.php file of your theme.
function theme_amp_custom_styles() {
    ?>
    nav.amp-wp-title-bar {
        background-color: orange;
    }
    <?php
}
add_action('amp_post_template_css', 'theme_amp_custom_styles');
When inspected using Chrome DevTools, these styles are added within the <style amp-custom> element and override the previous style rules. As a result, the header now has an orange background color.

You can continue writing style rules as you typically would. However, be aware of certain restrictions and ensure that the style sizes remain under 50Kb. If you’re ever uncertain, refer to our previous article on how to validate your AMP pages.
Templating
If you find yourself needing to make extensive changes beyond just styling, you might want to consider customizing the entire template. The plugin, amp-wp, offers several built-in templates, including:
header-bar.phpmeta-author.phpmeta-taxonomy.phpmeta-time.phpsingle.phpstyle.php
These templates resemble the standard WordPress template hierarchy.
You can override each of these templates by providing a file with the same name within the /amp/ folder in your theme. Once these files are present, the plugin will use them instead of the default files, allowing you to completely modify the output of these templates.
twentytwelve
|-- 404.php
|-- amp
|   |-- meta-author.php
|   |-- meta-taxonomy.php
|   |-- single.php
|   |-- style.php
You can redefine all styles using the style.php file or alter the entire AMP page structure according to your requirements with the single.php. However, ensure that your modifications adhere to AMP guidelines.
List of Hooks and Filters
As previously mentioned, this plugin comes with numerous Actions and Filters. While it’s not feasible to cover each one in this article, we can provide a cheatsheet, a summary, and the necessary snippets:
Actions
The amp_init action is beneficial for plugins that depend on AMP for functionality; it’s executed once the plugin has been initialized.
function amp_customizer_support_init() {
    require_once dirname(__FILE__) . '/amp-customizer-class.php';
}

add_action('amp_init', 'amp_customizer_support_init');
Similar to the wp_head action, the amp_post_template_head action allows you to include additional elements within the head tag of AMP pages, such as meta, style, or script.
function theme_amp_google_fonts() {
    ?>

    <?php
}

add_action('amp_post_template_head', 'theme_amp_google_fonts');
The amp_post_template_footer action is analogous to the wp_footer action.
function theme_amp_end_credit() {
    ?>
    <footer class="amp-footer">
    <p>© Hongkiat.com 2016</p>
    </footer>
    <?php
}
add_action( 'amp_post_template_footer', 'theme_amp_end_credit' );
Filters
The amp_content_max_width filter is used to set the maximum width of the AMP page. This width is also applied to embedded elements, such as YouTube videos.
function theme_amp_content_width() {
    return 700;
}
add_filter( 'amp_content_max_width', 'theme_amp_content_width' );
The amp_site_icon_url filter is used to specify the icon URL, which includes both the favicon and Apple icon. By default, it uses the image uploaded via the Site Icon interface introduced in version 4.3.
function theme_amp_site_icon_url() {
    return get_template_directory_uri() . '/images/site-icon.png';
}
add_filter( 'amp_site_icon_url', 'theme_amp_site_icon_url' );
The amp_post_template_meta_parts filter is useful when you want to customize the metadata output of a post, such as the author name, category, and timestamp. Using this filter, you can rearrange the default order or remove specific metadata from the AMP page.
function theme_amp_meta($meta) {
    foreach (array_keys($meta, 'meta-time', true) as $key) {
        unset($meta[$key]);
    }
    return $meta;
}
add_filter( 'amp_post_template_meta_parts', 'theme_amp_meta' );
amp_post_template_metadata is used for customizing the Schema.org data structure in AMP pages. The following example demonstrates how to provide the site logo that will be displayed in the AMP carousel in the Google search results and how to remove the page modified timestamp.
function amp_schema_json($metadata) {
    unset($metadata['dateModified']);

    $metadata['publisher']['logo'] = array(
        '@type'   => 'ImageObject',
        'url'     => get_template_directory_uri() . '/images/logo.png',
        'height'  => 60,
        'width'   => 325,
    );

    return $metadata;
}

add_filter('amp_post_template_metadata', 'amp_schema_json', 30, 2);
amp_post_template_file offers an alternative way to override template files. It is useful if you prefer to host your custom AMP template files in a directory other than /amp/.
function theme_custom_template($file, $type, $post) {
    if ('meta-author' === $type) {
        $file = get_template_directory_uri() . '/partial/amp-meta-author.php';
    }
    return $file;
}

add_filter('amp_post_template_file', 'theme_custom_template', 10, 3);
amp_query_var is used to change the AMP page endpoint when the URL Permalink is enabled. By default, it is set to /amp/. With the following configuration, the AMP page becomes accessible by adding /m/ to the URL (e.g., www.example.com/post-slug/m/).
function custom_amp_endpoint($amp) {
    return 'm';
}

add_filter('amp_query_var', 'custom_amp_endpoint');