How to Create Bootable USB Stick for macOS Catalina
As a mac user, there may come a time when you’d want to reinstall macOS on your computer- say something goes wrong with your machine or you just want to have a fresh start. Well, if you do want to install macOS on your computer, I would suggest you to do it via USB.
Here are a couple of reasons why:
You can do it offline – Installing macOS via USB will allow you to do it offline meaning that you wouldn’t need to wait for the re-downloading of the entire macOS installer, which could take a while depending on your internet speed.
You can do it faster – All it takes to reinstall macOS on a computer is to simply plug in the USB drive and get the mac to boot via external source (your thumb drive).
You can do it anytime you want – As long as you keep the USB drive bootable with the macOS installer in it, you can reformat and reinstall the macOS again anytime you want.
Prerequisites
Before we get started, here are some prerequisites that you need to take into consideration. Make sure you’ve got all of them as it will make the entire process much faster.
A thumb drive
A thumb drive, aka USB flash drive, is what you would need for this to work. I would suggest you to get the one with a capacity of 16 GB or higher to store the macOS installer file.
The required macOS version
Whether you want to reinstall the latest macOS Catalina, or you want to revert or downgrade to Mojave, or High Sierra, you will need to decide now as it dictates which installer file you will be downloading in a second.
Ready? Let’s get started.
Step 1. Download macOS installer file
Let’s start with this first as the downloading of the macOS installer file may take a while.
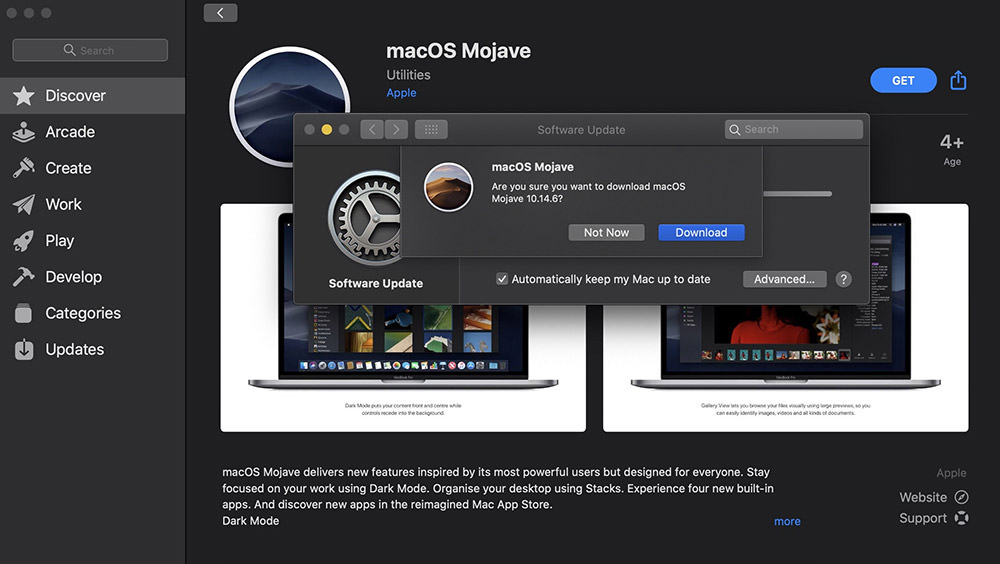
Click on the following links to choose which macOS’s installer file you would like to download:
- macOS Catalina
- macOS Mojave
- macOS High Sierra
- OS X El Capitan – Click this link, scroll down to to step 4 and click “Download OS X El Capitan”
Note: Clicking on any of the above links will launch the App Store, which brings you to the official download page of the specific macOS.
Next, click Get > Download to initiate downloading.
Note: Download will take around 10 minutes to a few hours, depending on your internet connection.
While waiting for the download, let’s move on to the next step – formatting your thumb drive.
Step 2. Format your thumb drive
If you are using an existing thumb drive, make sure to backup all existing data inside as we are going to format the thumb drive, getting it ready and compatible for the bootable mac installer.
- Plug the thumb drive into the USB port of your computer.
- Launch Spotlight (Command + Space), type in “Disk Utility” and hit Return to launch the app.
- Look for the name of your thumb drive under the “External” section on the sidebar of Disk Utility App.
- Click once to select your thumb drive, then click the “Erase” icon on the top.
- Give it a name, or just use “Untitled“, make sure the format is Mac OS External (Journaled), then click the “Erase” button below.

Note: The entire process will take around 5 minutes, depending on the capacity of your thumb drive.
Step 3. Make your thumb drive bootable
To proceed, you will need to ensure the downloading of the macOS installer (step 1) has completed.
- Launch Spotlight (Command + Space), type “Terminal” and hit return to launch Terminal app.
- Copy one of the command below that matches your criteria, replace
VOLUMN_NAMEto your thumb drive’s new name and paste it inside Terminal.Catalina installer
sudo /Applications/Install\ macOS\ Catalina.app/Contents/Resources/createinstallmedia --volume /Volumes/VOLUMN_NAME
Mojave installer
sudo /Applications/Install\ macOS\ Mojave.app/Contents/Resources/createinstallmedia --volume /Volumes/VOLUMN_NAME
High Sierra installer
sudo /Applications/Install\ macOS\ High\ Sierra.app/Contents/Resources/createinstallmedia --volume /Volumes/VOLUMN_NAME
El Capitan
sudo /Applications/Install\ OS\ X\ El\ Capitan.app/Contents/Resources/createinstallmedia --volume /Volumes/VOLUMN_NAME --applicationpath /Applications/Install\ OS\ X\ El\ Capitan.app
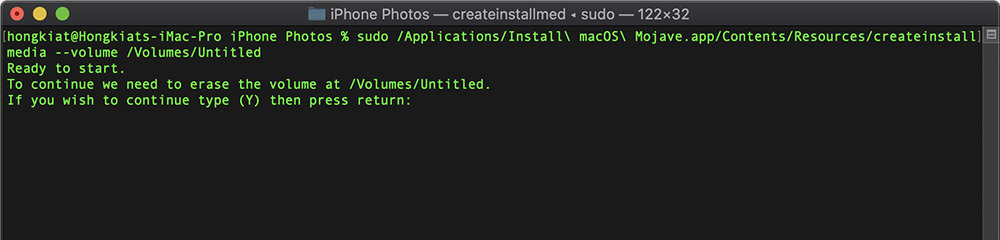
Example
If you are downloading Mojave installer, and your thumb drive’s name is Untitled, your command would be the following. Take note of the changes in bold.
sudo /Applications/Install\ macOS\ Mojave.app/Contents/Resources/createinstallmedia --volume /Volumes/Untitled
- Hit Return after confirming your command.
- Enter the administrator password and hit Return again.
- Type “Y”, and hit Return to confirm erasing your thumb drive to begin the process of creating a bootable thumb drive.
When you see “Install media now available at…." in Terminal, that means the entire process is done.
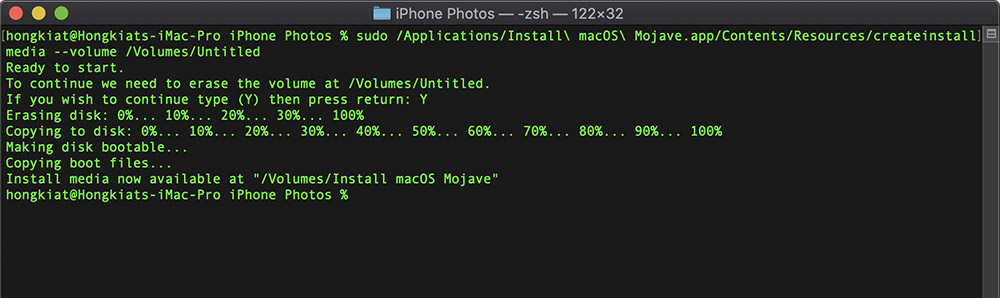
You can then Eject your thumb drive and quit the Terminal app.
Step 4. Test your bootable thumb drive
If you have managed to follow through till this step, this means you have created a bootable thumb drive with macOS installer. Now, let’s give it a test to see if it works.
- Plug in the thumb drive into the USB port of a compatible mac.
- Restart your computer.
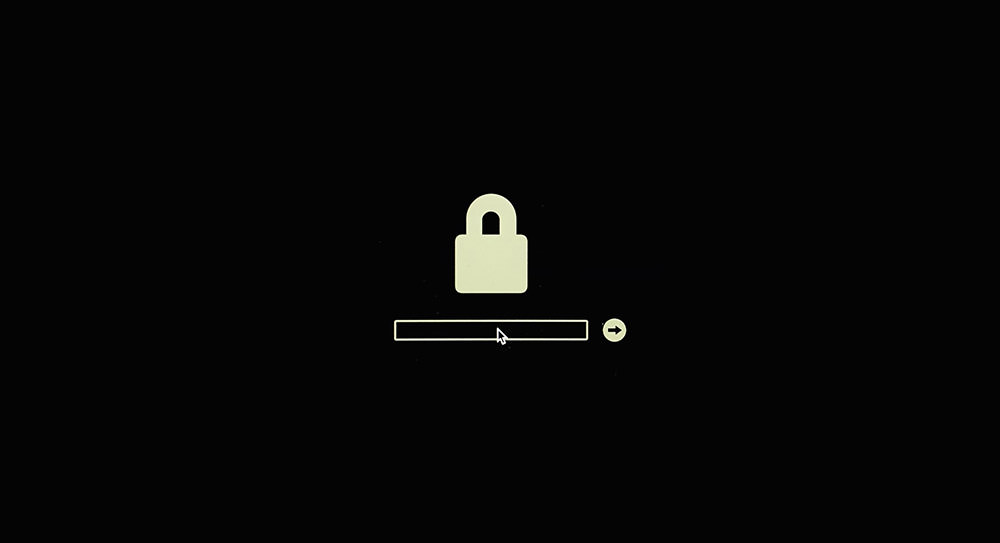
- Hold the Option key when your computer starts to boot.
- If you see a screen with a lock sign, enter your admin password and hit Return to proceed.
- If you see a screen that provides you with boot options (like the screenshot below), that means you’re bootable thumb drive is working.
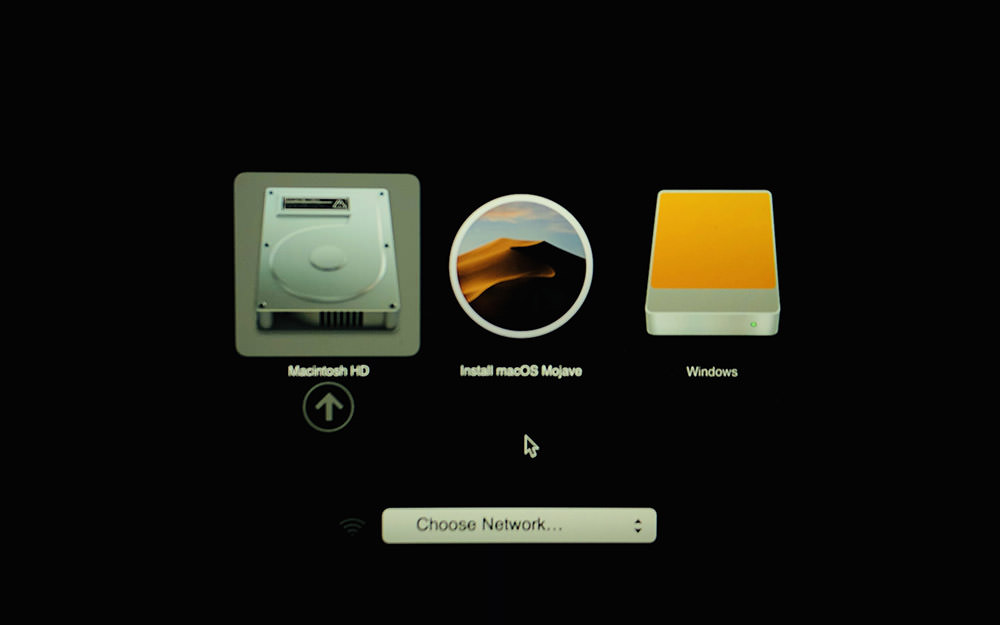
Double click “Macintosh HD” to return to your Mac, or “Install macOS …” to install your Mac afresh, but that’s another topic.
Hope this guide will help you in installing macOS through USB. Let us know about your experience in the comment section below.