How to Co-Edit WordPress Posts Using Wave
Managing a multi-author blog can be quite a hassle. But what if I tell you about a tool with which you can co-edit blog posts with other writers within WordPress itself and get feedback on your write-up like you’re sitting next to them. Above all, you can get this tool totally free!
Interesting right?
Well, I’m talking about Wave by Codox – a superb tool that brings Google Docs-like collaboration to WordPress. It enables you to work with your friends, fellow bloggers or your team members on a single post at the same time. For example, you can edit the content while others work on the images.
Read Also: How to Use and Customize the TinyMCE Editor in WordPress
With Wave, you can see the edits from all active collaborators in real-time. It is a boon for novice bloggers and authors who can take help from other bloggers and writers without using lengthy emails. It is especially useful when you need to combine contents from different persons into a single post.
Interestingly, Wave is not just limited to WordPress, you can also collaborate with others in Gmail, Evernote as well as Wikipedia.

Wave – pros & cons
Wave is engineered to bring virtual teams together. There are various benefits of using Wave some of which I’m mentioning below.
Pros
- Supports co-editing in WordPress, Gmail, Evernote, and Wikipedia.
- Works as an extension on various Chromium-based browsers including Chromium itself, Google Chrome, Vivaldi, Yandex Browser, etc.
- Features collaboration and instant co-editing without hassle.
- Allows collaborators to begin the co-editing session in just a single click.
- Lets you sign in using Google and send invites directly to your contacts.
Cons
- Doesn’t features options to track changes or revert the document to an earlier version unlike Google Docs (though the same is available in WordPress itself).
Installing Wave
Wave requires a simple installation of its extension in your web browser to work on your computer and can be accessed using its icon in the top-right corner of the browser. Below are the installation steps in detail:
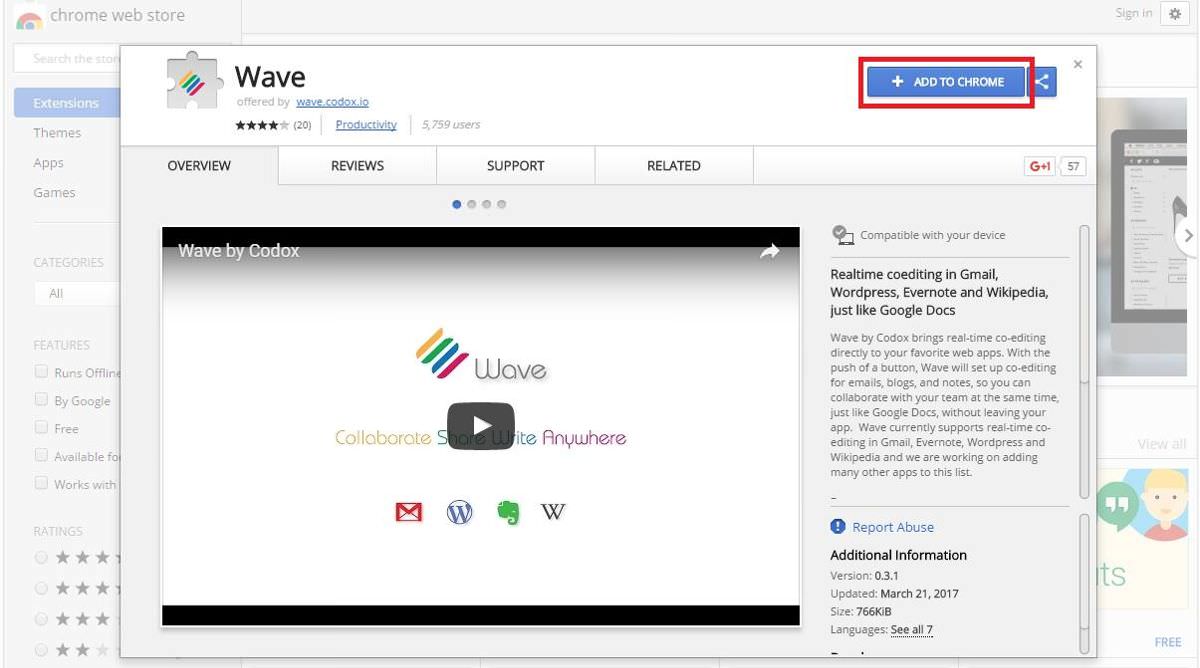
- Open the Wave extension link on the Chrome Web Store.
- Click the ADD TO CHROME button.
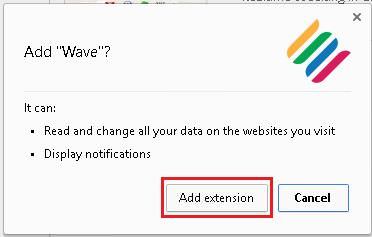
- Click Add extension button to confirm its installation.
- Close and restart the browser if the Wave icon doesn’t appear.
- You can now click on the Wave icon anytime to access the tool in your browser.
- After the installation, you need to create an account on Wave. You can either choose to SIGNUP or SIGN IN WITH GOOGLE to register yourself.
- After registering and setting up your account, you can start co-editing sessions after you send or receive an invite to collaborate with someone.

Start a co-editing session in Wave
There are just a few requirements to start co-editing on Wave. All you need to do is to install its extension and have the email ids of all the collaborators. All collaborators are assigned pics/icons to help identify them easily and notice their changes clearly.
After you and your collaborators have installed and enabled Wave, you can begin co-editing directly in WordPress. Please follow below steps to start the co-editing process:
- Sign in to your WordPress.
- In the dashboard, start writing a new post or choose an old post to edit it.
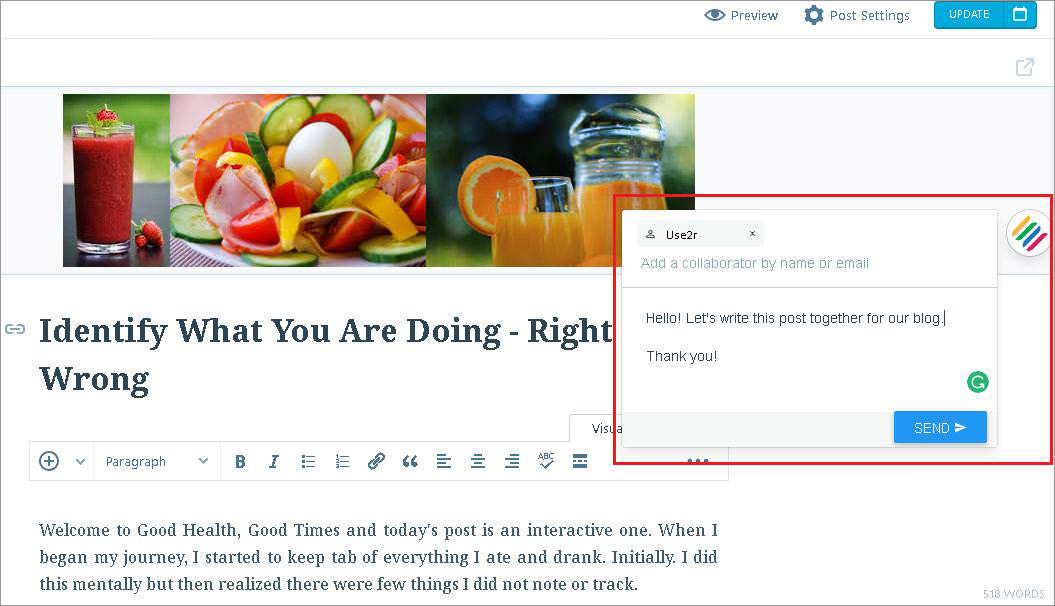
- Once you see the editor, a Wave icon/badge will appear on the center-right edge.
- Click on the Wave icon, enter the name or email of required collaborators along with an optional invitation message and click Send to send invites.
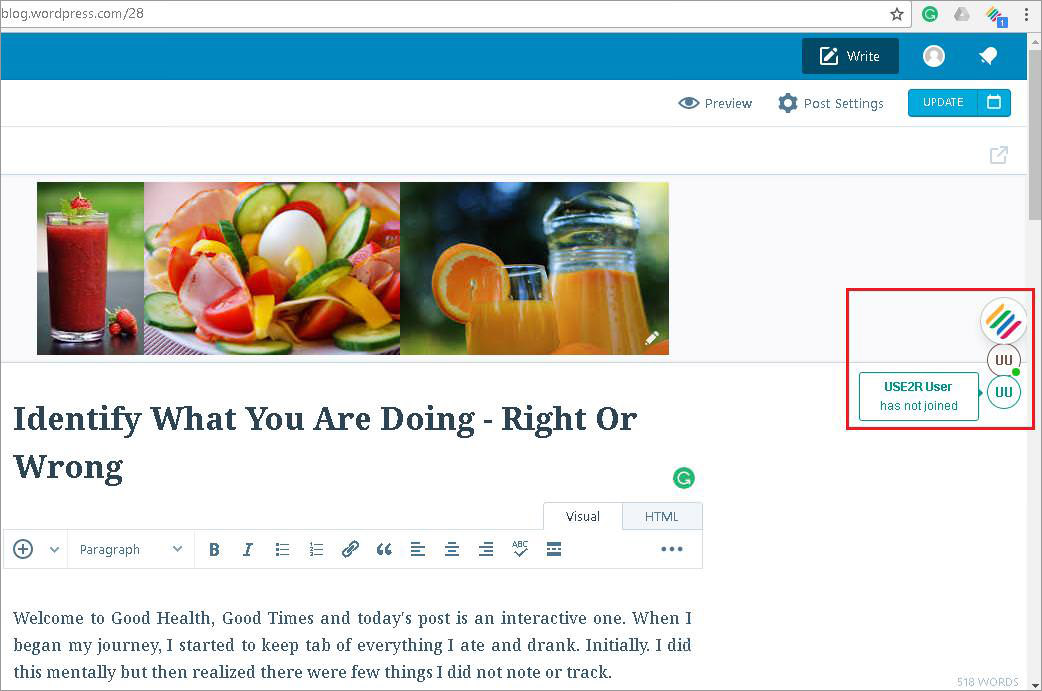
- An invitation to co-edit your post will be sent to all the given persons, which they can see only if they’re logged in to Wave on their browsers.
- A new pic/icon will appear with a green dot below the Wave icon whenever a new collaborator joins for co-editing your post in WordPress.
- A cursor with person’s name shows where he/she is editing at the time.
- Congrats, you have successfully started a co-editing session. Do remember that you can add more collaborators at anytime while writing/editing the post.

How to join a co-editing session?
Collaborators can join a co-editing session on WordPress directly from the invite they get. As you click the invite, you’re directed to the WordPress post to begin co-editing.
Below are the complete steps with screenshots:
- Sign in to Wave and click on the Wave icon on the top-right corner.
- Click the INVITES tab and it will show the received invites from others.
- Click one of the invites that you wish to join, and then log in to the WordPress dashboard (if asked) to join the co-editing session.

Some final thoughts
Using Wave, it takes very little effort to set up a collaborative environment, write an article and ask feedback from others directly within WordPress. And it’s a contextual tool to get "everyone on the same page".
Compared to Google Docs, Wave is only superior if you need to co-edit inside WordPress. Unlike Google Docs, Wave works only in Chromium-based browsers (at the time of writing), and although it lacks the revision history feature, the revision feature offered natively by WordPress covers that aspect.
Below you will find an informative video by the creators of Wave that can tell you further about the tool, its features, and working.
Are you planning to introduce Wave to your team? Don’t forget to tell me about yours and your peers’ experience of co-editing posts using Wave. I’m just a comment away.