How to Debug a Stopped Docker Container
Docker containers are easy to build and run. But they could also suddenly stop for many reasons. The tricky part often is figuring out why.
This guide covers practical ways to debug a stopped Docker container, from checking logs and exit codes to preserving its state before you restart anything.
Check container status and logs
When a container stops, your first stop should always be the Docker logs. Docker keeps a record of everything that was written to stdout and stderr while the container was running.
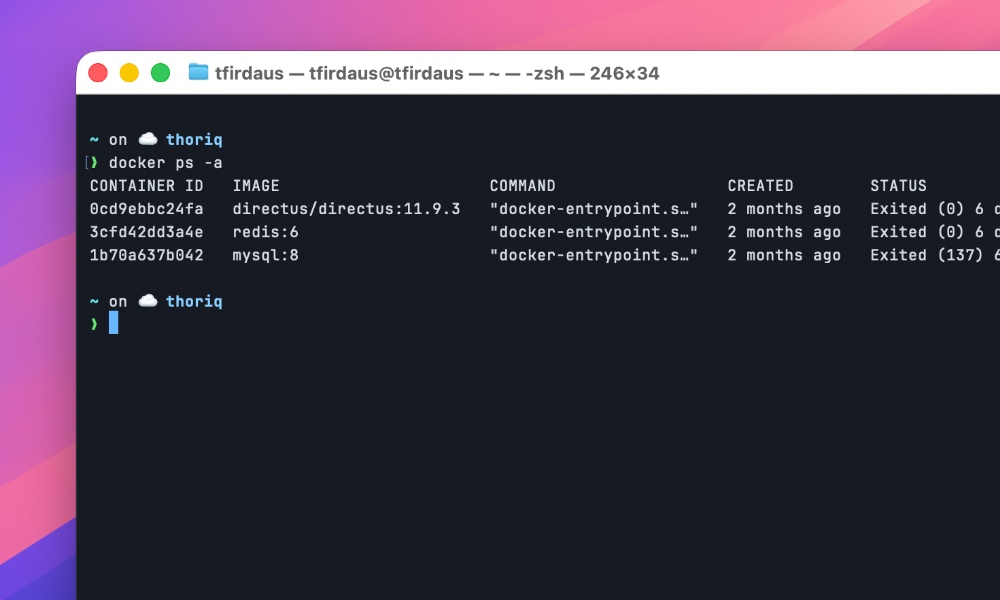
First, let’s see all containers, including stopped ones:
docker ps -a
Look for your container in the list. Note its name or container ID.
Then, check its logs:
docker logs [container_name_or_id]
This often reveals the immediate cause. Maybe your application threw an exception, or a dependency failed to start. If the logs don’t show anything obvious, don’t worry. We have more tools.
Understanding exit codes
As you can see from the screenshot above, every Docker container exits with a code. Exit code 0 means success (the container completed its task). Any other number indicates an error. You can see the exit code in the docker ps -a output, or get it directly:
docker inspect [container_name_or_id] --format='{{.State.ExitCode}}'
Common exit codes:
| Exit Code | Signal | Likely Cause |
|---|---|---|
| 0 | N/A | Success. Container finished task |
| 1 | N/A | General application error |
| 137 | SIGKILL (9) | Out-of-memory killer or force stop |
| 143 | SIGTERM (15) | Graceful shutdown request |
| 139 | SIGSEGV (11) | Segmentation fault (memory access) |
| 255 | N/A | Exit status out of range |
If you see exit code 137, your container likely hit a memory limit and was killed by the system. Exit code 143 usually means something asked Docker to stop the container gracefully.
Before you try to bring the container back up, there is one mistake worth avoiding.
Don’t restart too soon
The usual instinct is to run docker start [container] or reach for Docker Compose. That can erase useful evidence, especially if the container was not configured with persistent storage. You could lose:
- Application logs that weren’t captured by Docker’s logging driver
- Temporary files created during the failed run
- Crash dumps or core files
- Database transaction logs (if running a database)
- Configuration changes made at runtime
So before you even think about restarting, you need to preserve the evidence.
Preserve logs before they disappear
Docker keeps logs for stopped containers, but there are limits. By default, Docker uses the “json-file” logging driver with no size limit, but in production, you might have log rotation or different drivers.
First, save the logs to a file immediately:
docker logs [container_name_or_id] > container_logs.txt
For containers with a lot of output, you might want to limit to the last N lines:
docker logs --tail 1000 [container_name_or_id] > recent_logs.txt
If you suspect the issue happened a while ago, you can include the timestamps:
docker logs --timestamps [container_name_or_id] | grep -i "error\|exception\|fail"
Save container filesystem state
When a container stops, its filesystem still exists unless it was started with --rm.
You can extract files from it using the following commands:
| Command | What it preserves | Best for |
|---|---|---|
docker cp |
Specific files/directories | Quick extraction of logs, configs, temp files |
docker export |
Entire filesystem (as tar archive) | Complete backup for later forensic analysis |
docker commit |
Everything: files, environment, metadata, state | Perfect snapshot for team sharing or delayed analysis |
Copy files out before restarting
Use docker cp to extract important directories:
docker cp [container_name_or_id]:/var/log ./container_logs
docker cp [container_name_or_id]:/tmp ./container_tmp
docker cp [container_name_or_id]:/etc ./container_etc
Look for application-specific directories too. If you know your app writes to /app/logs or /data, copy those.
Create a full filesystem backup
For critical debugging situations, create a complete backup of the container’s filesystem:
docker export [container_name_or_id] > container_fs.tar
This creates a tar archive of the entire container filesystem. You can explore it later:
tar -tf container_fs.tar | head -20  # List first 20 files
tar -xf container_fs.tar ./var/log   # Extract just the log directory
Creating a snapshot with docker commit
You can also use docker commit.
This command creates a new Docker image from a stopped container, preserving everything including files, environment, metadata. It’s like taking a snapshot of the container exactly as it stopped.
docker commit [container_name_or_id] debug-snapshot
Now you have a new image called debug-snapshot. You can start it, explore it, even push it to a registry for someone else to examine:
# Start the snapshot container
docker run -it debug-snapshot /bin/bash

# List files inside (from outside)
docker run --rm debug-snapshot ls -la /var/log

# Push to Docker Hub for team analysis
docker tag debug-snapshot yourusername/debug-snapshot
docker push yourusername/debug-snapshot
This works well in a production environment because it preserves the container state completely. You can analyze it later, even if the original container gets removed or rebuilt.
But keep in mind that committed images can be large as they include all container layers. Use them judiciously, and clean up when you’re done with the following command:
docker rmi debug-snapshot
Make future debugging easier
For smoother debugging next time, use persistent volumes for logs and data, set up the right logging driver, and consider scripting the preservation steps you use most often.
When a container stops, save the evidence first, then restart it.