How to Clear DNS Cache in macOS Sonoma
If you’re a macOS user who has recently modified your DNS settings, it might be a good idea to flush, or in other words, clear the DNS cache. But why is clearing the DNS cache important?
It’s essential because when your DNS is cached, the nameservers or domain name might not resolve to the correct IP. This can direct you to a cached version of a website or, even worse, prevent you from establishing a connection to the desired website.
How to Clear My Mac’s DNS Cache?
In this article, I’ll guide you on how to clear and reset the DNS cache on the latest macOS Sonoma (Version 14.0).
For those using macOS Ventura or earlier versions, refer to the commands to clear the cache here.
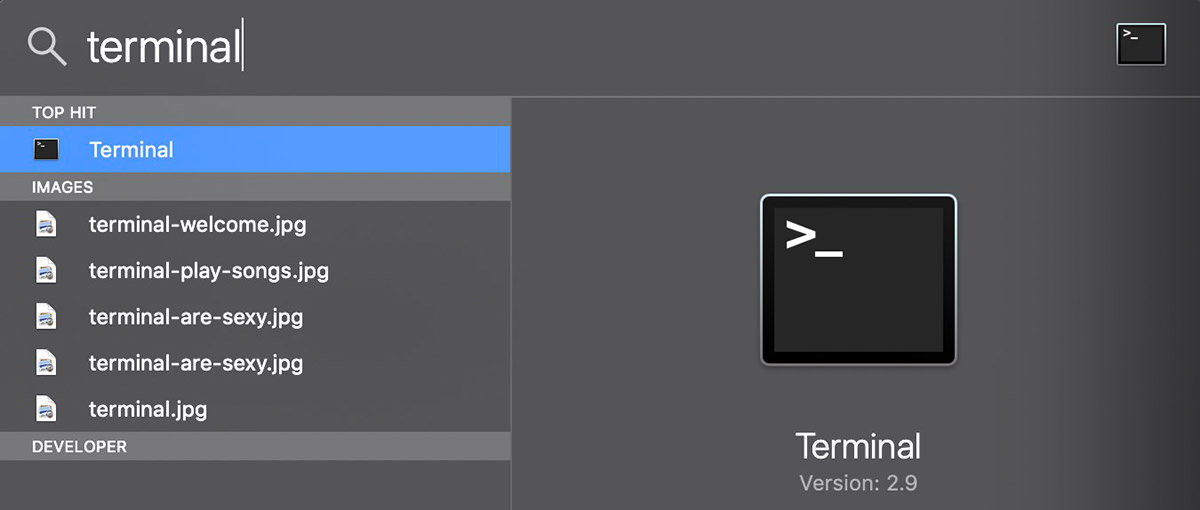
Step 1.
Open the Terminal app. You can quickly do this by using the keyboard shortcut Command + Space. Then, type “Terminal” and press Enter.
Related: More Terminal shortcut keys.
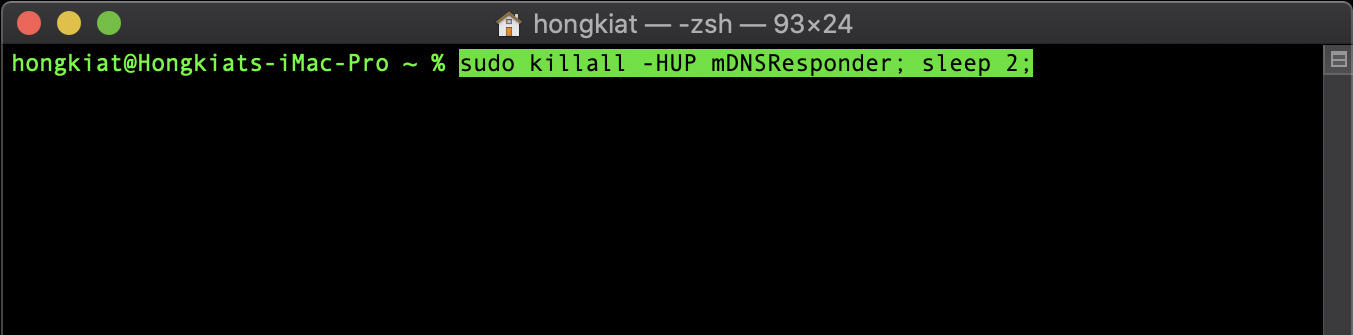
Step 2.
Copy and paste the following command into the Terminal, then press Return.
sudo dscacheutil -flushcache; sudo killall -HUP mDNSResponder
Screenshot:
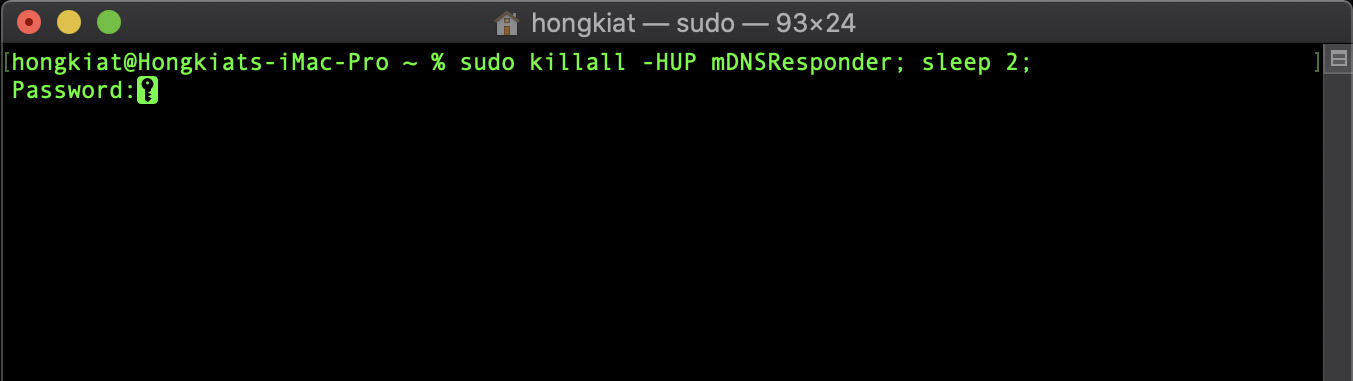
Step 3.
Input your macOS password and press Return once more.
Screenshot:
Step 4.
Close the Terminal using the keyboard shortcut: Command + Q.
That’s it! Your DNS cache should now be refreshed and cleared.
Clearing DNS Cache on Older macOS
If you’re using an older version of macOS, the mDNSResponder process command mentioned earlier may not work. Consult the table below to find the correct command for clearing the DNS cache based on your macOS version.
| macOS Version | Command |
|---|---|
| Ventura (Ver. 13) | sudo dscacheutil -flushcache; sudo killall -HUP mDNSResponder |
| Monterey (Ver. 12) | sudo dscacheutil -flushcache; sudo killall -HUP mDNSResponder |
| Big Sur (Ver. 11) | sudo dscacheutil -flushcache; sudo killall -HUP mDNSResponder |
| Catalina (Ver. 10.15) | sudo dscacheutil -flushcache; sudo killall -HUP mDNSResponder |
| Mojave (Ver. 10.14) | sudo killall -HUP mDNSResponder; sleep 2 |
| High Sierra (Ver. 10.13) | sudo killall -HUP mDNSResponder; sleep 2 |
| Sierra (Ver. 10.12) | sudo killall -HUP mDNSResponder |
| El Capitan (Ver. 10.11) | sudo dscacheutil -flushcache; sudo killall -HUP mDNSResponder |
| Yosemite (Ver. 10.10) | sudo discoveryutil mdnsflushcache;sudo discoveryutil udnsflushcaches |
| Mavericks (Ver. 10.9) | dscacheutil -flushcache; sudo killall -HUP mDNSResponder |
| Mountain Lion (Ver. 10.8) | sudo killall -HUP mDNSResponder |
| Lion (Ver. 10.7) | sudo killall -HUP mDNSResponder |
| Snow Leopard (Ver. 10.6) | sudo dscacheutil -flushcache |
| Leopard (Ver. 10.5) | sudo dscacheutil -flushcache |
| Tiger (Ver. 10.4) | lookupd -flushcache |