How to Create Custom Patterns in Photoshop
Creating your own Photoshop patterns is still one of the easiest ways to build reusable textures, stripes, and backgrounds without downloading someone else’s pack.
This tutorial shows how to create a small pattern tile, save it as a custom pattern, and reuse it across other Photoshop canvases. The example is simple, but the workflow still holds up.

1. Create a Pattern Tile
Start with a new canvas. Keep it small, since this image will repeat itself to form the final pattern.
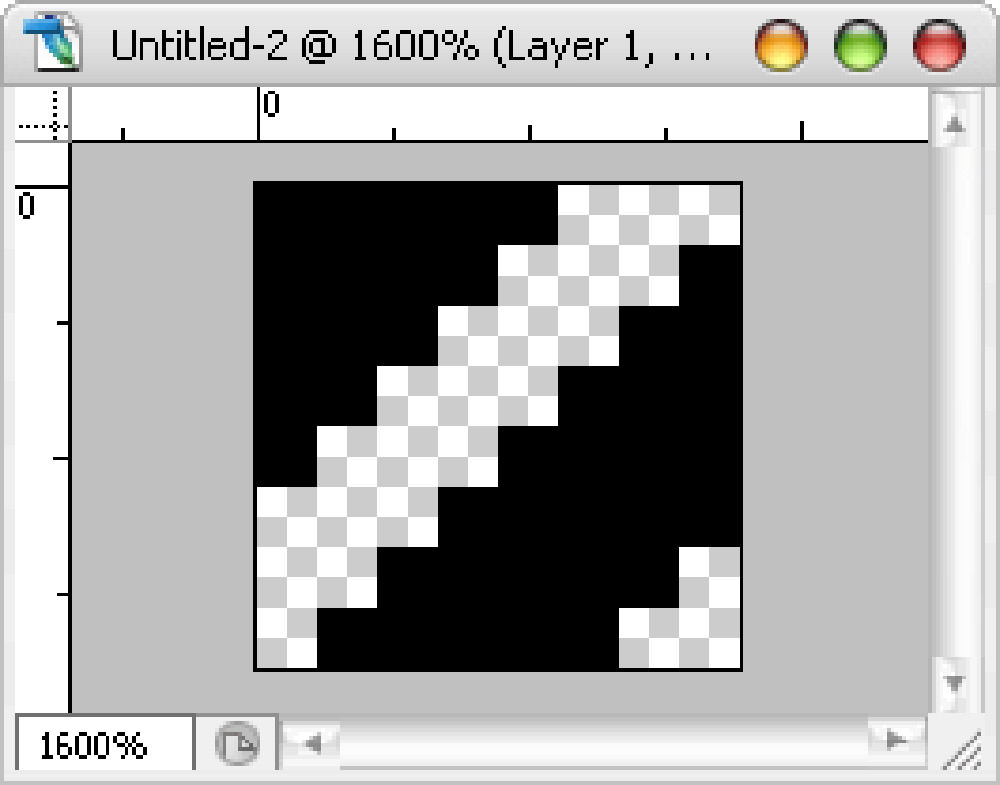
For this example, use an 8 x 8 pixel canvas, zoom in heavily, and build a simple pattern tile like the one below.

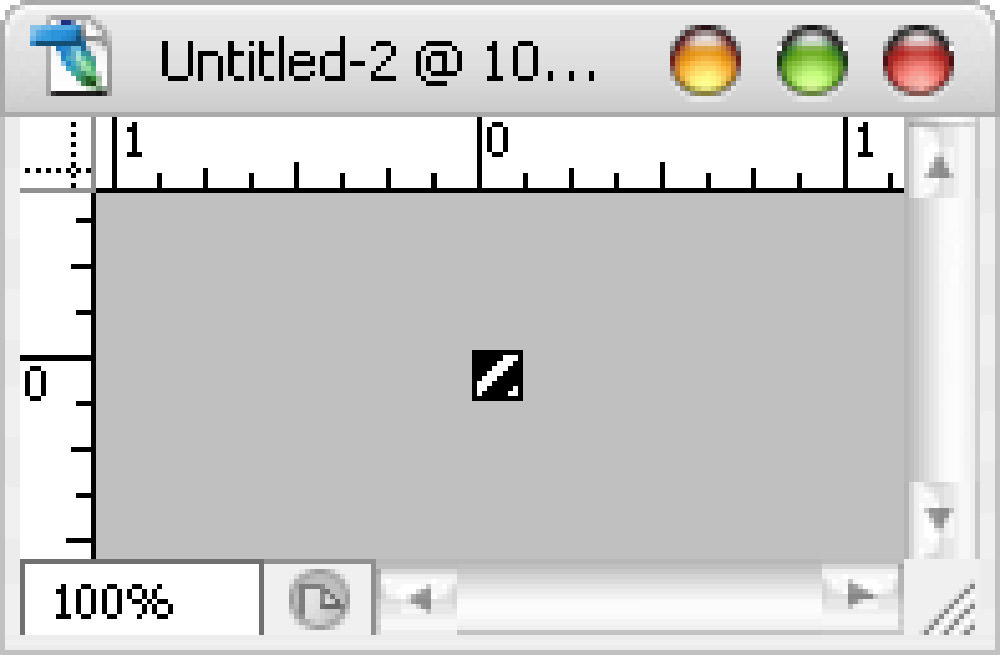
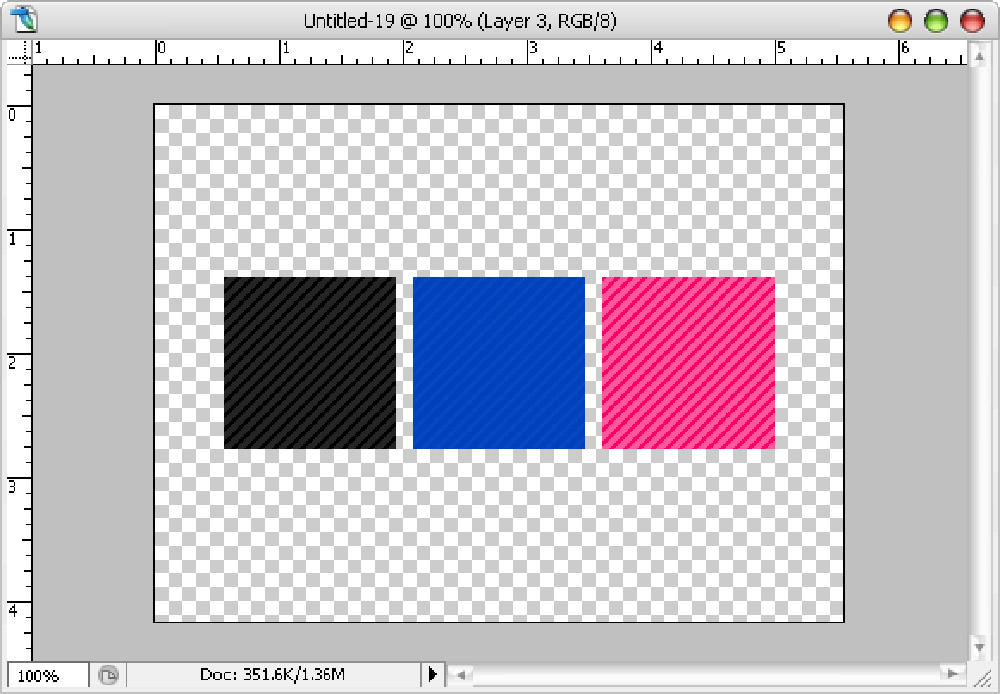
Pattern at 100% view:
Pattern at 1600% view:
2. Define It as a Pattern
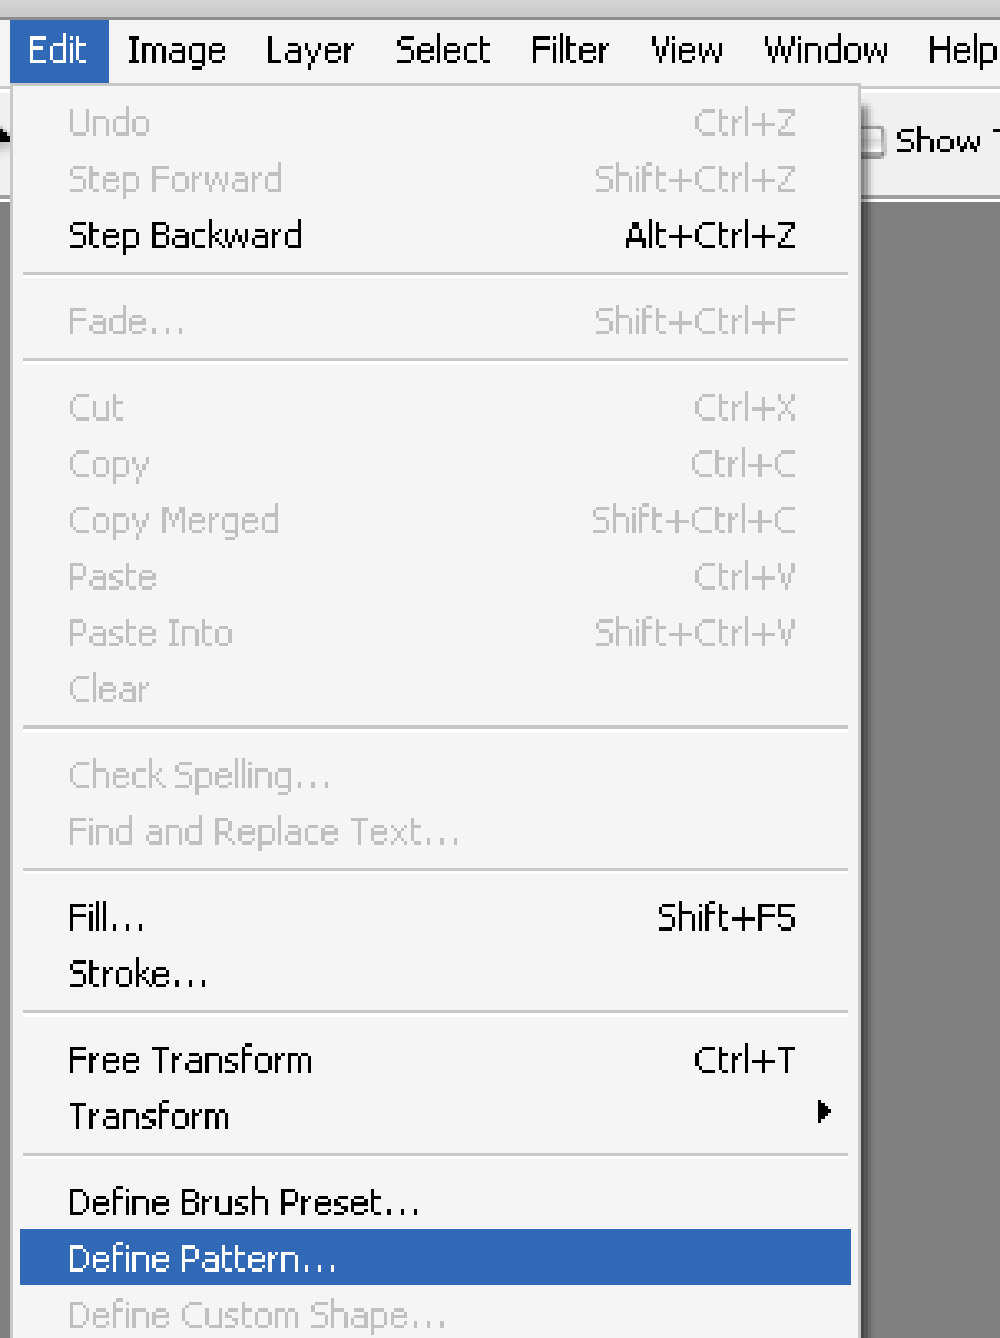
Once the tile is ready, go to Edit > Define Pattern.
Give it a name you will recognize later. In this example, Stripe5x works because the tile creates a stripe effect and each stripe is about 5 pixels thick.

After you click OK, the pattern is saved and ready to use in other files.
3. Use the Custom Pattern
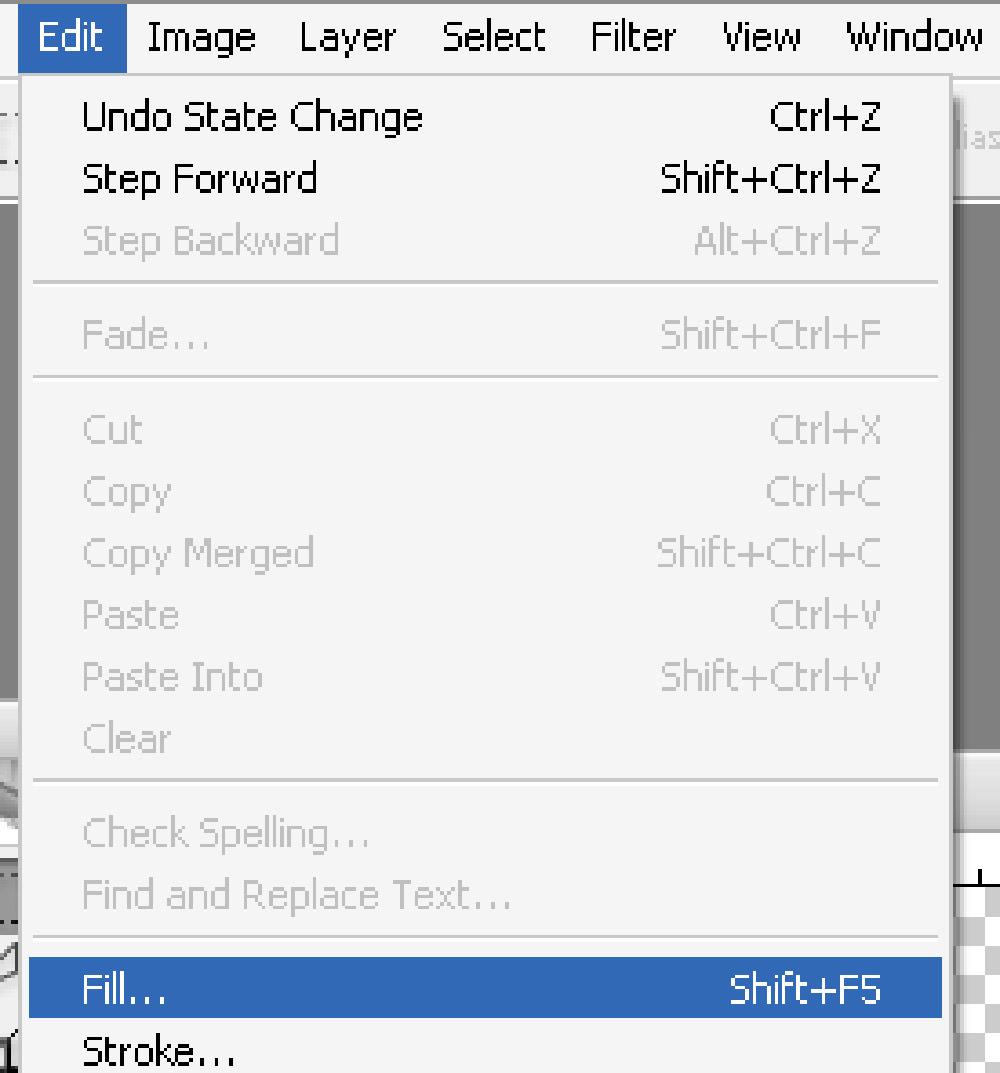
Create a new canvas to test it, then go to Edit > Fill.
In the Fill dialog, choose Pattern from the dropdown, select the pattern you just created, then click OK.
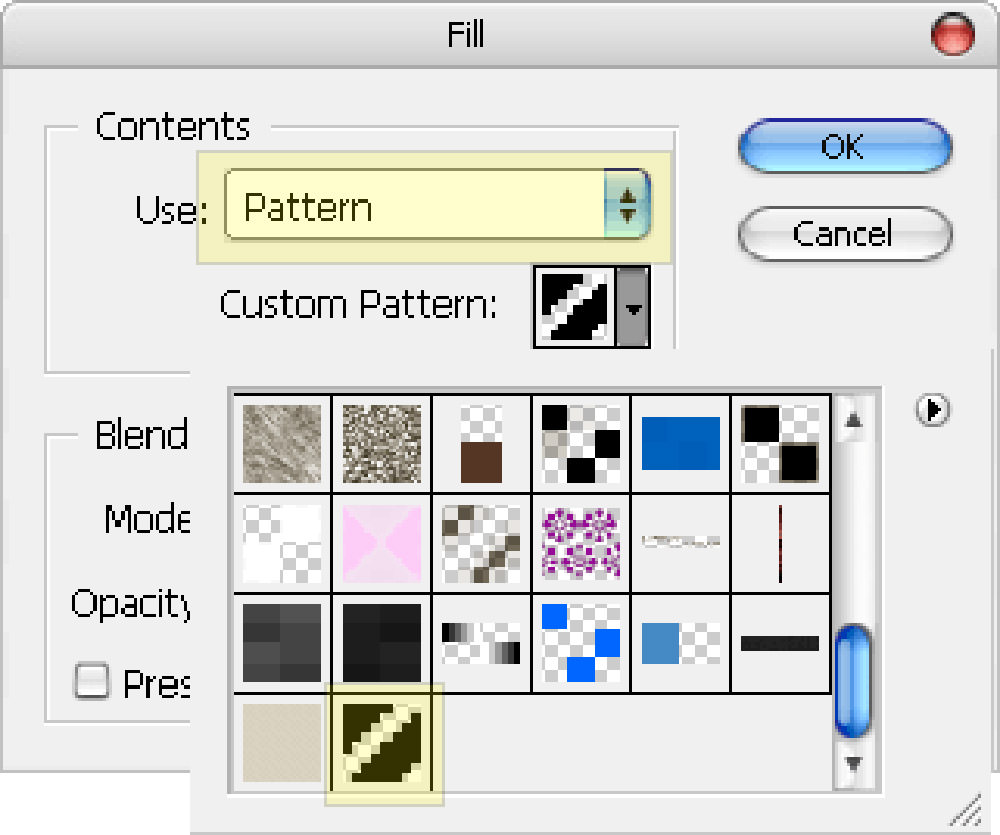
Your canvas should now be filled with the repeated pattern.
Alternative Way to Apply a Pattern
You can also access saved patterns through Layer Styles, which makes them handy for UI work like this glossy web button tutorial.
Right-click the layer name and choose Blending Options.
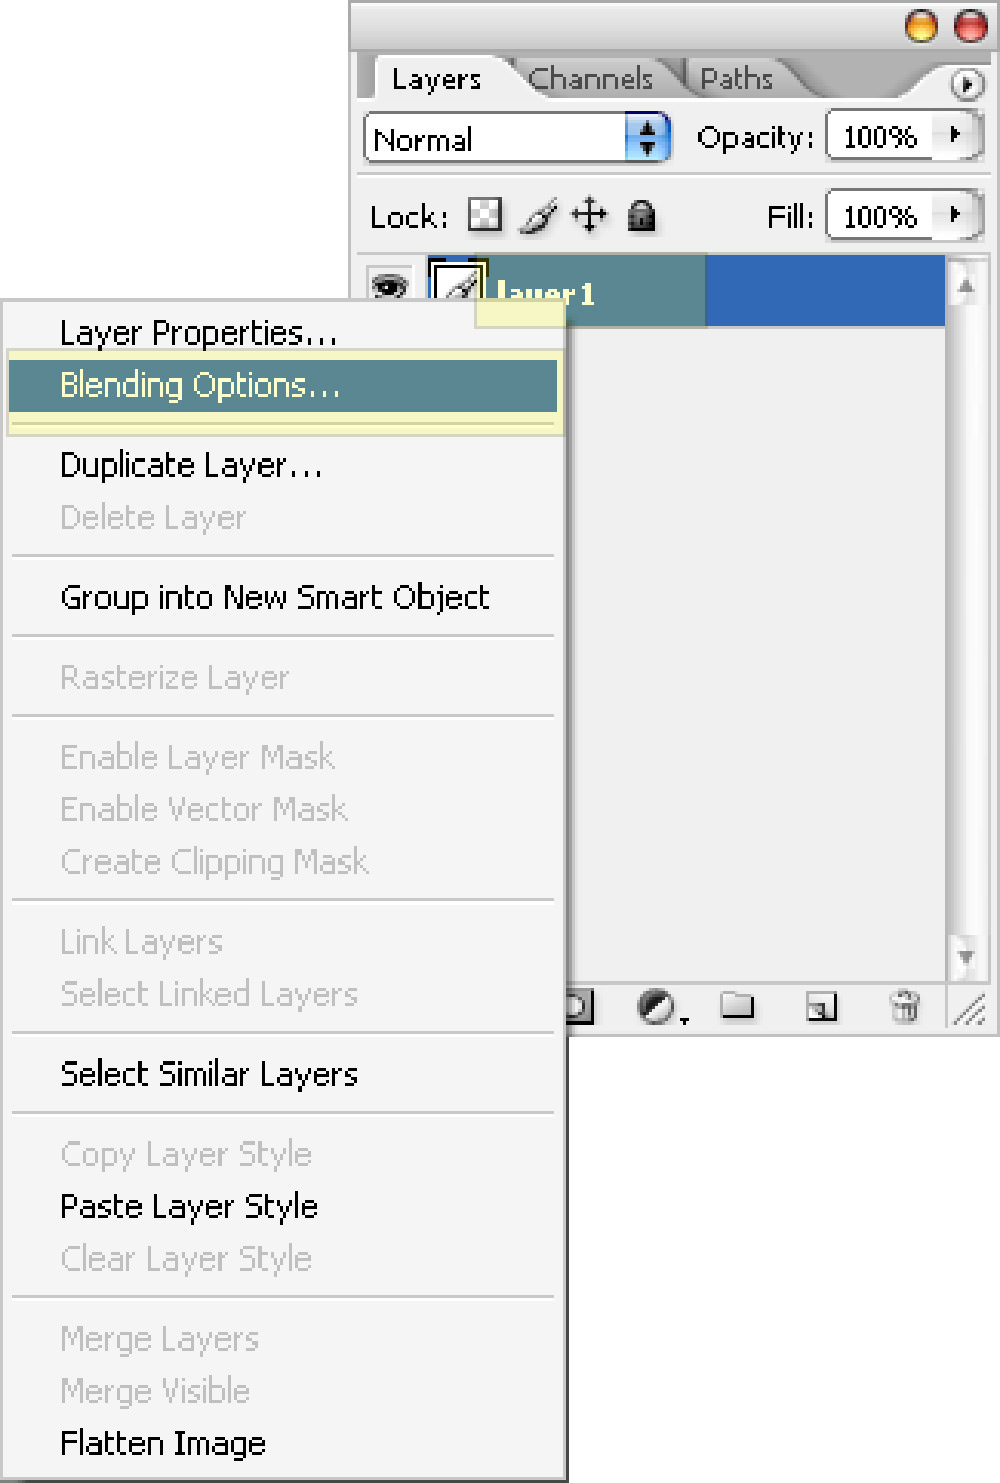
Enable Pattern Overlay, then choose your saved pattern.

Delete a Custom Pattern
Inside the pattern selection box, right-click a pattern and choose Delete.