How To Create Web Server On PC, The Fast Way
Every blogger should have a test site. I have 5, (3 online 2 offline/localhost). Why test site, some may ask. Test sites allow you to put your website (whether it is a blog, forum, CMS, etc) to a test and experiment it locally (even if you are offline) with new plug-ins/themes so you don’t have to interrupt your on-running live site all the time.
Click to skip if you already know about Apache web server.
A little background information..
How do you achieve test site on local PC and make sure it reacts exactly like your pay hosting? Before I start writing mine, I checked out Wiki-How just to make sure the end results of theirs and mine will still be the same.
Wiki-How break the installation of web server into 4 parts, the installing of
- Apache Webserver
- MYSQL
- PHP Engine
- PhpMyAdmin
A little intro for those who are unsure of that these are. I’m trying my best not to sound too technical, so here goes. Apache webserver is the things that runs your dynamic website; You’ll need MYSQL if your website keeps data/record in database; PHP Engine lets you run PHP scripts on your webserver; PhpMyAdmin interact with MYSQL so you can update your database records.
With the traditional way, these four components will have to be downloaded separately and configured and link properly if order to achieve “Localhost”. That is tedious for novices.
Creating webserver on the fly

First and foremost, download Reactor Server. Reactor Server is a one-click-installation that will configure all these 4 components for you.

Once the .exe if downloaded, double click to launch it. Keep hitting next until you reach the installation of files. Once installation’s done, Reactor icon and folder (see left) will be created on your desktop. Double click on Reactor Server icon, click on Start Server and basically that’s it! Your local webserver is up and running.
Reactor Server comes with OpenSSL, Zend, PhpMyAdmin, Php-Nuke, Zina, Apache, PHP, Perl and MySQL preinstalled.
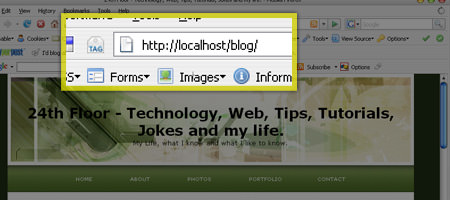
By default, PHP-Nuke CMS will appear when you clicked Localhost or type http://localhost/ in your browser. To remove PHP-Nuke, simply delete all files inside Desktop\Reactor\Core\htdocs\. Remember, whatever files you put inside \htdocs will be accessible as web pages.
Example \htdocs\index.html = http://localhost/index.html \htdocs\mywebpage\index.php= http://localhost/mywebpage/index.php