How to Build Self-Hosted (Private) Cloud For Free
If you want an alternative to public clouds like Dropbox and Google Drive and build a self-hosted cloud for your team or business, then Nextcloud is an ideal solution.
It provides almost all the necessary features of a cloud storage provider with all the control and security benefits of a private, self-hosted solution.
In this post, I am going to first find a hosting provider that supports Nextcloud, and then I will setup this solution to create my private cloud.
If you need a private cloud too then follow this tutorial to make one using Nextcloud.
Why use Nextcloud?
What caught my eye at the first glance is, Nextcloud has immense support for popular platforms — mobile as well as desktop platforms. It provides native apps for most operating systems, allowing you or your team to work from any device or place.
That means, there is no more infrastructure costs, thankfully.
That is just the start — Nextcloud hosts a lot more features that make it an amazing private cloud solution. Some of its salient features include:
- Self-hosted solution — Nextcloud can be hosted almost anywhere — your home or office, a data center, or a hosting provider, giving you total control where its developers have no access to your data.
- Sharing features — Nextcloud allows sharing files with peace of mind. You can share files with anyone on your cloud or out of your cloud using password protected links and they can also upload files.
- Security foremost — Nextcloud features industry-standard safety and security practices including end-to-end encryption feature. It supports popular authentication, control, and permission schemes.
- Lots of integrations — Nextcloud comes with support for integrations — apps and services to extend the functionality of your cloud. For example, you can manage tasks, edit files in Markdown, and do more.
Where to try Nextcloud?
If you are just looking for a free account to try out Nextcloud, then you can use hosting providers that offer managed instances of Nextcloud. However, a free account may not provide large storage size or support for all apps or features.
Please find below a list of such services to try out Nextcloud immediately:
- Dediserve — Allocates a total of 10GB in your free account.
- oCloud.de It provides a free account with 1GB storage space.
- OwnDrive — Offers a 1GB account with support for some apps.
- Serverdiscounter — Avails a whopping storage space of 5GB.
- Wölkli — Offers an account with 1GB storage space for free.
How to install Nextcloud?
Nextcloud can be installed on your server using any of the three methods:
- Web installer — It is the quickest way to install Nextcloud on your server, especially in shared hosting. You need to upload a single file to your server and execute it — it downloads and installs this solution.
- Archive file — It is the recommended option for a server owner. You need to upload its complete package (as archive) and extract its content in a folder on your web server to make it available publicly for all.
- Appliances — It is the easiest method for non tech-savvy persons but it is again applicable for server owners. You need to download an image file with pre-installed Nextcloud and load it on your machine.
System requirements
Let us first talk about the system requirements needed for installing and running a private cloud using Nextcloud.
As most of the free hosting providers offer a Linux distribution-based hosting service, so I am going to focus on requirements for such a service below. You can check full system requirements here.
- Server OS: CentOS 6.5 or 7, Debian 8+, openSUSE LEAP 42.1 or above, Red Hat Enterprise Linux 6.5 or newer, SUSE Linux Enterprise Server 11 SP3 or 12, and Ubuntu 14.04 and above LTS releases are supported.
- Memory: Minimum 128 MB, but 512MB RAM is recommended.
- Storage: Minimum 500 MB, but it depends on your requirements. Also, the server must allow a file with size of 65 MB for installing Nextcloud using the preferred method of using a web installer (single php file).
- Web server: Apache 2.4 (php-fpm, mod_php) or Nginx (php-fpm).
- Database: MySQL or MariaDB 5.5+ as well as PostgreSQL 9 and 10.
- PHP: PHP 5.6 and its newer versions are supported by Nextcloud.
Free hosting provider
I needed a hosting provider for creating my own cloud. I was looking for a free service as my cloud is just for temporary storage, but if you are serious enough, please opt for a good hosting or buy a VPS for this task.
That being said, I went on a hunt to find a free hosting that comes with the minimum system requirements needed for Nextcloud. And I must share that finding a free web host for this solution was not easy. After hours of searching and trying out 10-20 providers, I found 000Webhost works flawlessly.
Installing Nextcloud
In this tutorial, I am going to install Nextcloud using the first method, i.e., using a web installer. The reason being, I plan to keep this process easy for everyone of you and it is the only method that works well on shared hosting.
Follow the below steps to get up and running with your private cloud:
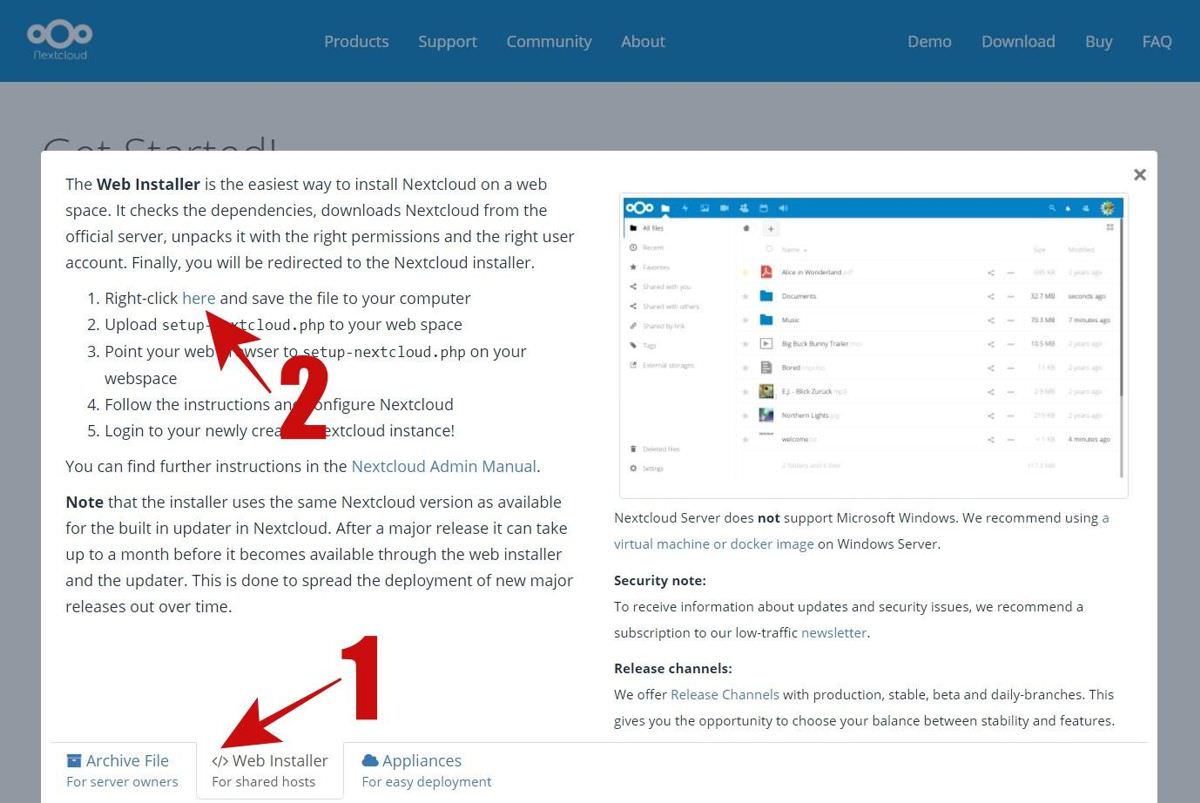
- First of all, open this link and switch to ‘Web Installer’ tab (at the bottom of the page), and download the file mentioned in the first step.
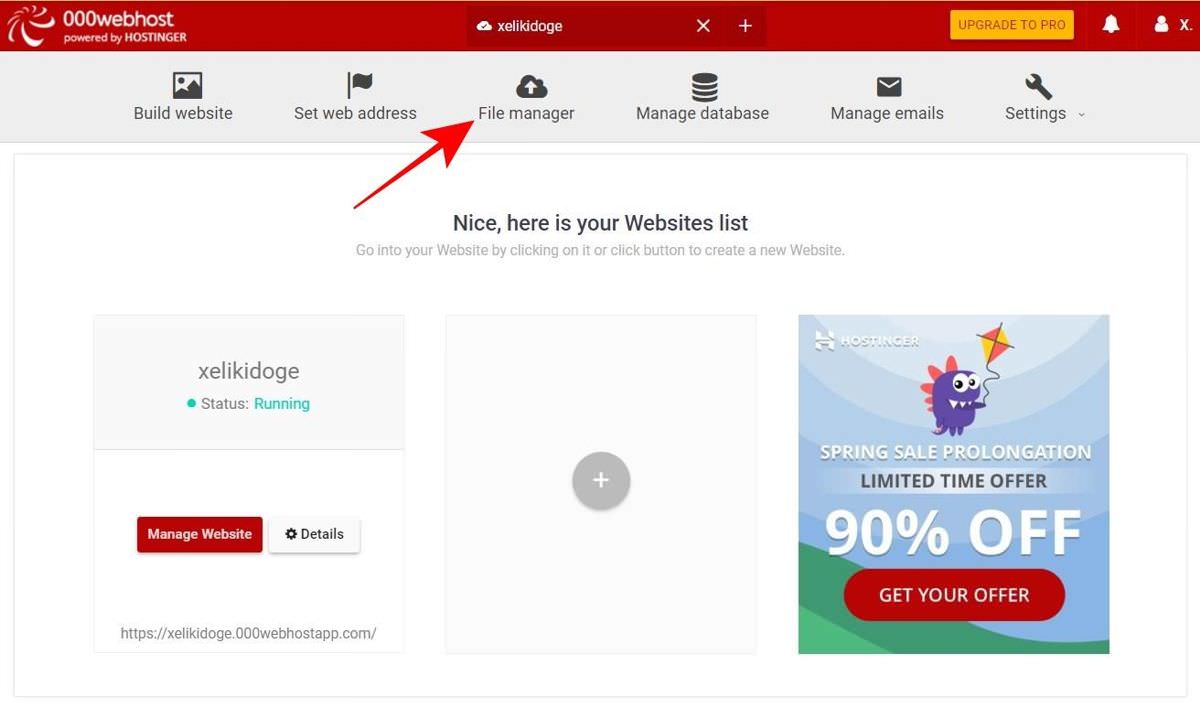
- Go to your server’s dashboard and open the file manager. For example, in 000Webhost, you will see the following dashboard.
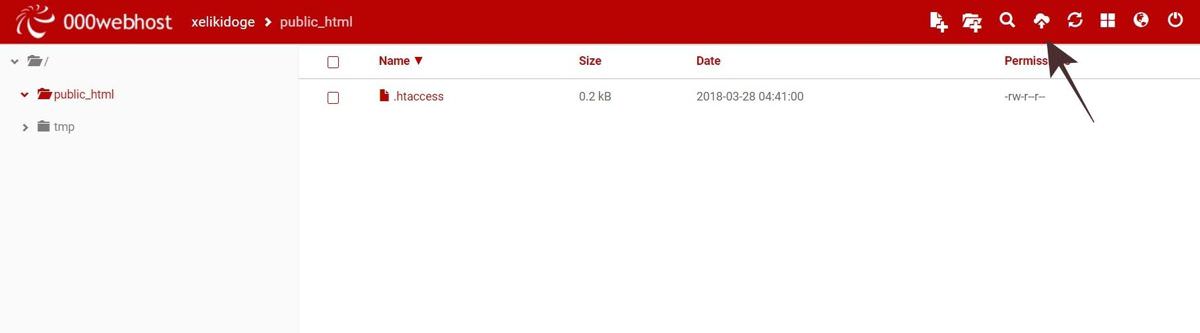
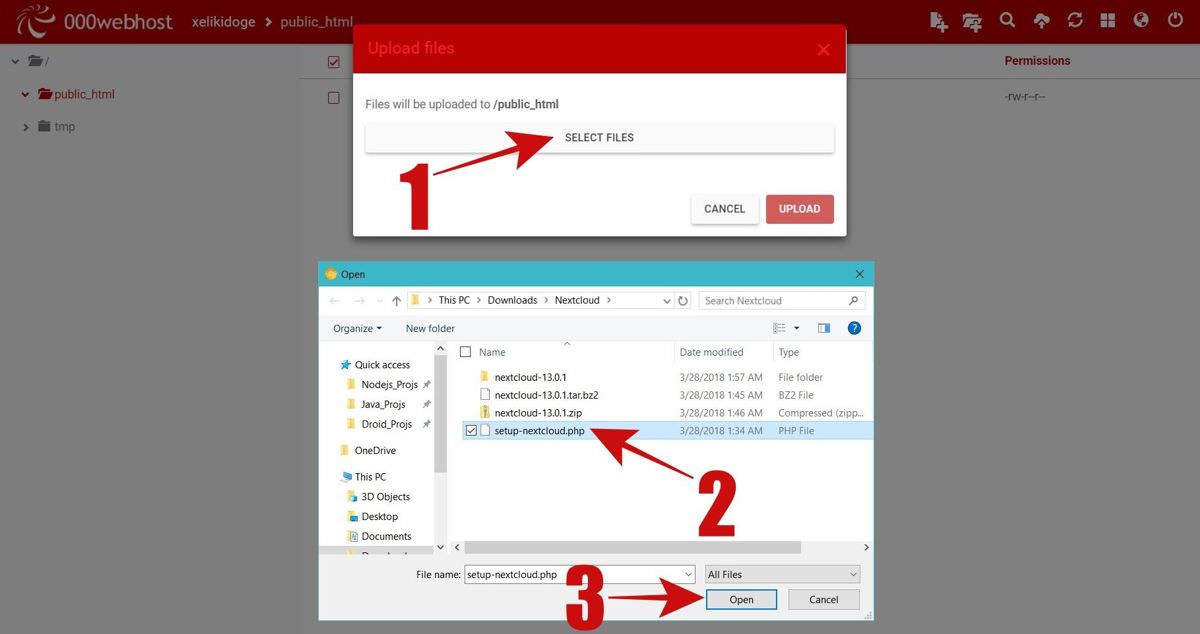
- Once in the file manager, click the upload button. Do note that you may see a different screen based on your server or host.
- Now select the file ‘setup-nextcloud.php’ (which you downloaded in step #1) from your computer and upload it to your server using file manager.
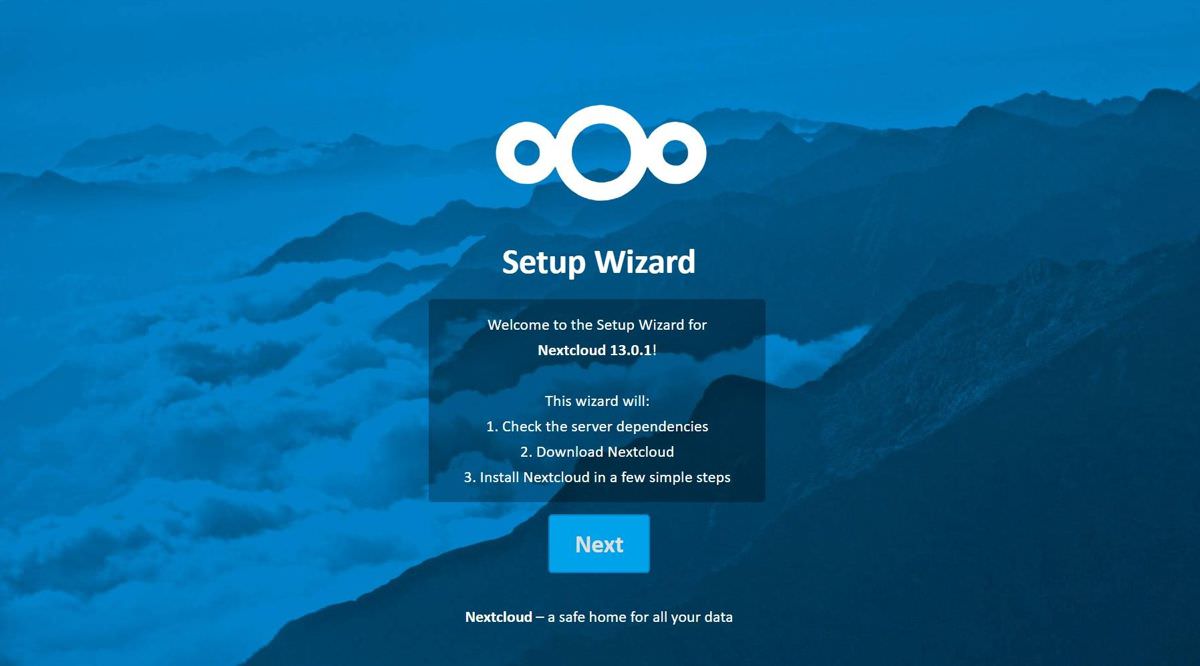
- After the file is uploaded, open ‘your-domain/setup-nextcloud.php’ in your browser. For example, if your domain is ‘example.com’ then you must navigate to ‘example.com/setup-nextcloud.php’.
- You will see the setup wizard of Nextcloud. Click Next to begin.
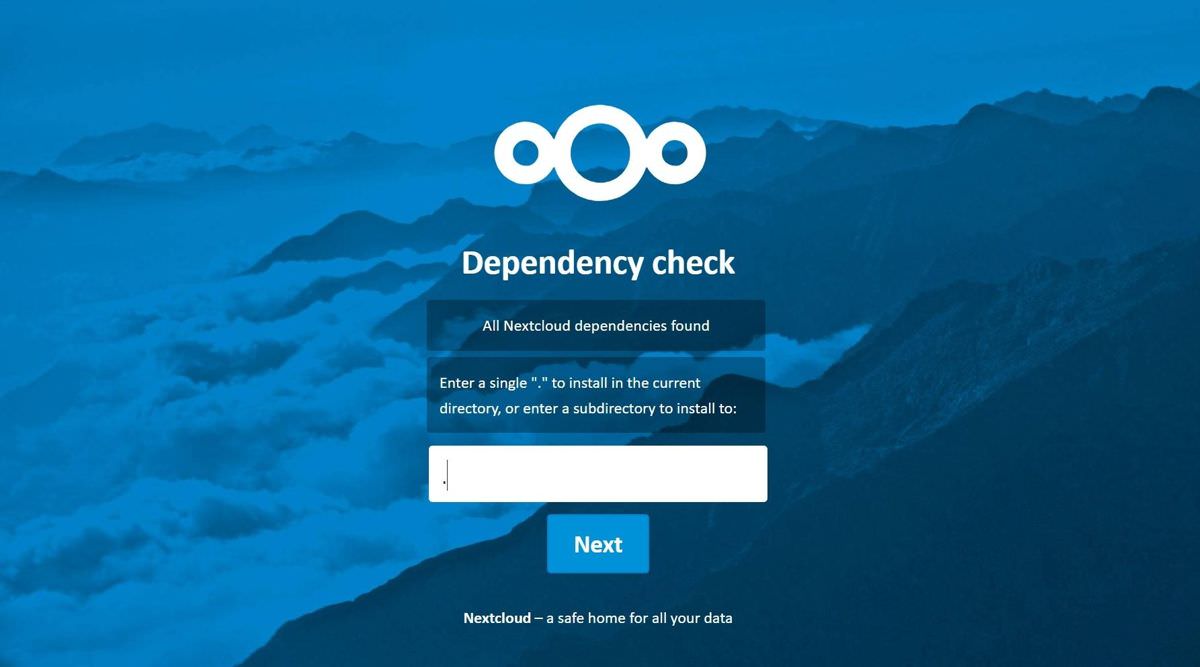
- Now you need to tell the installation directory for Nextcloud. If you do not wish to use a sub-directly, just enter “.” (full-stop) else enter the directory name. For instance, if your domain is ‘example.com’ you can use the same to access Nextcloud if do not mention a name, but if you do you can access your private cloud at the link ‘example.com/folder-name’.
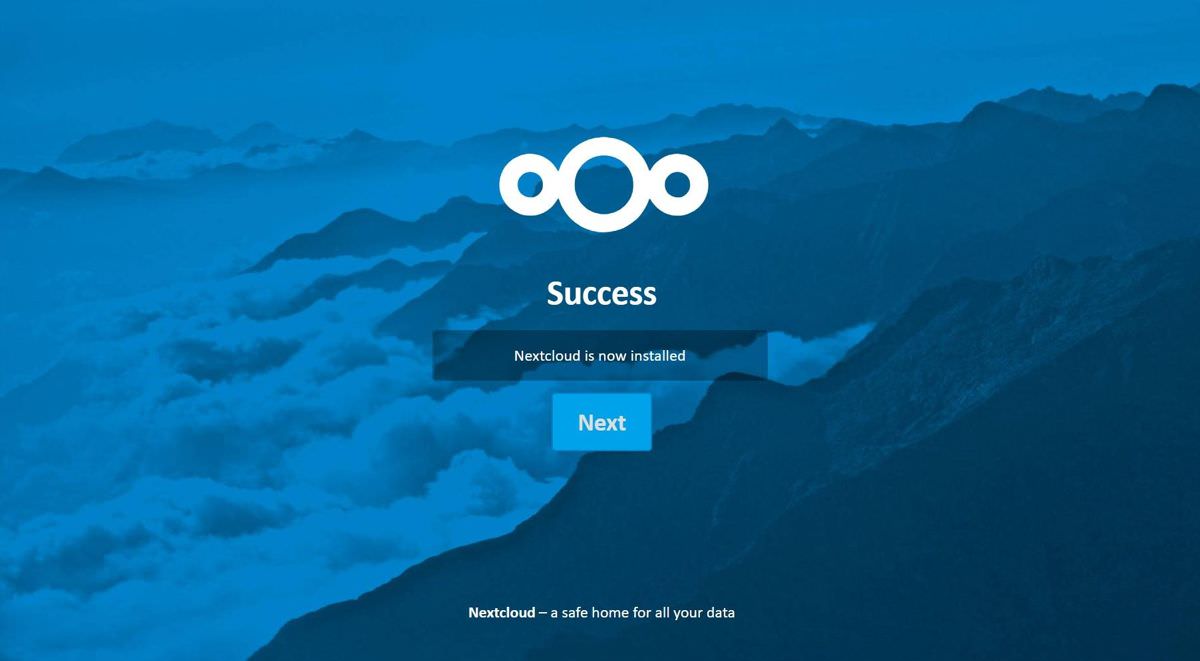
- If all will go well, you will now see a success page. Just click Next here.
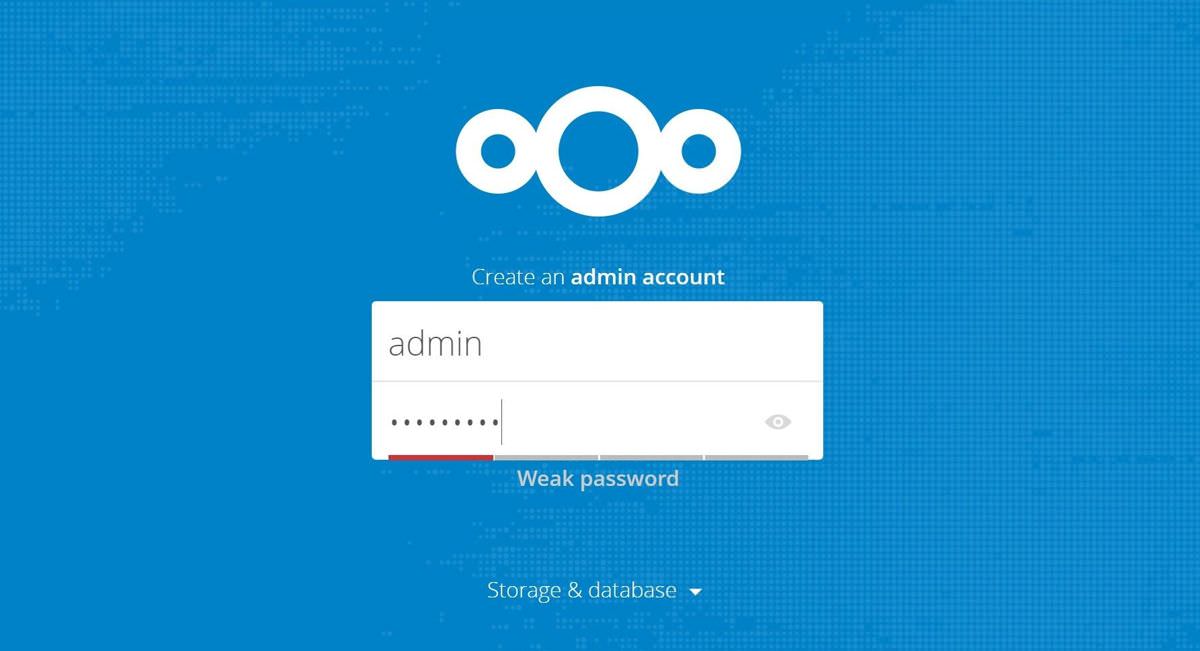
- In the next screen, Nextcloud will ask you to setup an admin account, using which you can access and manage your private cloud thereafter. Just enter your desired credentials and press the Finish button.
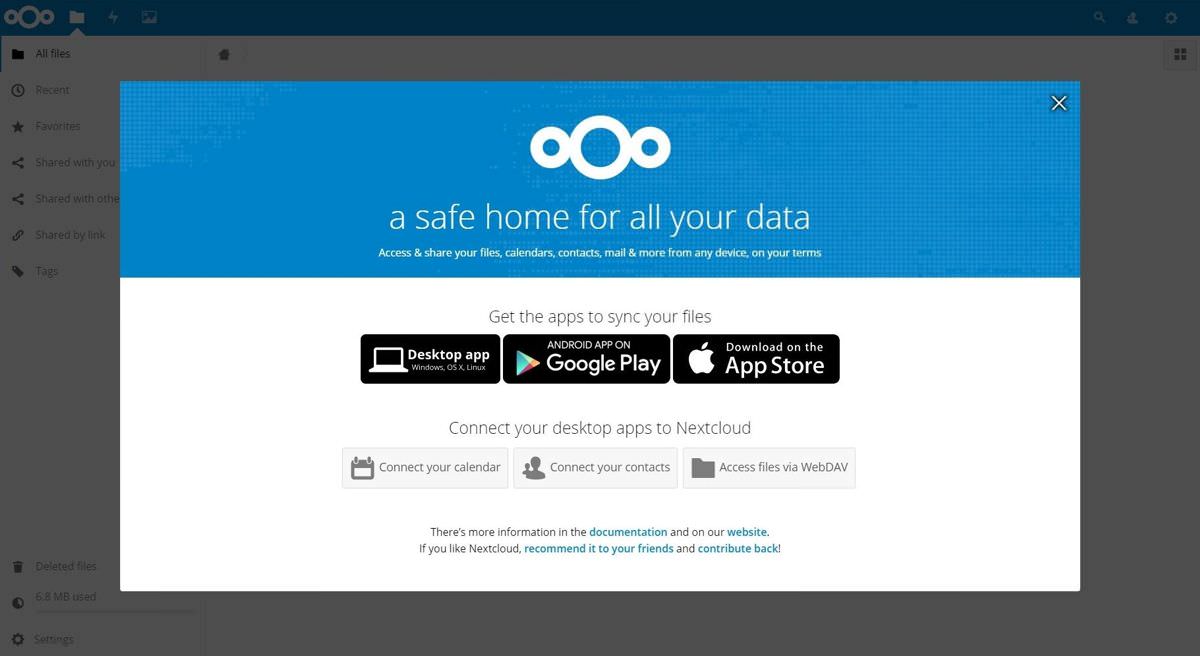
- It’s done. Finally, you will see the welcome message from Nextcloud.
Troubleshooting issues
"I uploaded the archive but I do not see it on my server"
In this case, it is probable that your server does not support large enough files to show or store the file that you are uploading using FTP or File Manager. Kindly verify the same by uploading any other file of large size (> 60MB).
If the server does not support large files to upload the Nextcloud archive, you can extract its archive on your computer and upload the extracted content to your server’s public directly (public_html or htdocs) via FTP.
However, Nextcloud archive has more than 12 thousand files, so you may also end up in another issue where your server does not support making so many upload requests.
"At ‘Dependency check’ page, it says dependencies error"
If Nextcloud tells you about some issue at the ‘Dependency check’ page, then your server does not support all the required programs/packages to run it. That means you need to find another server that supports Nextcloud.
"After ‘Dependency check’ page, it results in server error"
In such a case, either your server does not support large enough files to allow the installer to download the Nextcloud archive or the server has less execution time set, and the Nextcloud’s setup file needs more time to complete.
You can dig around your server’s settings and increase the PHP’s execution time limit to 300 seconds or more. Here is a tutorial to help you accomplish it.
What to do with Nextcloud?
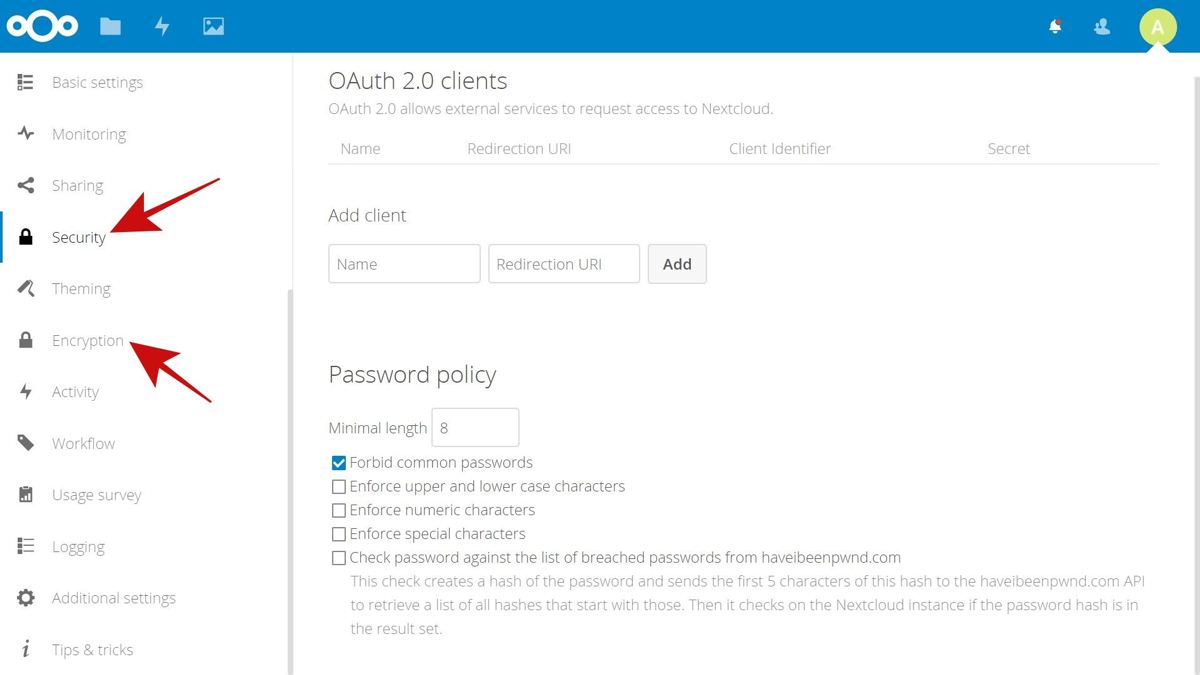
The first thing I did was to check out its settings and customize the various options to meet my requirements — especially encryption and security options. Then I experimented with uploading files and checking out its features.
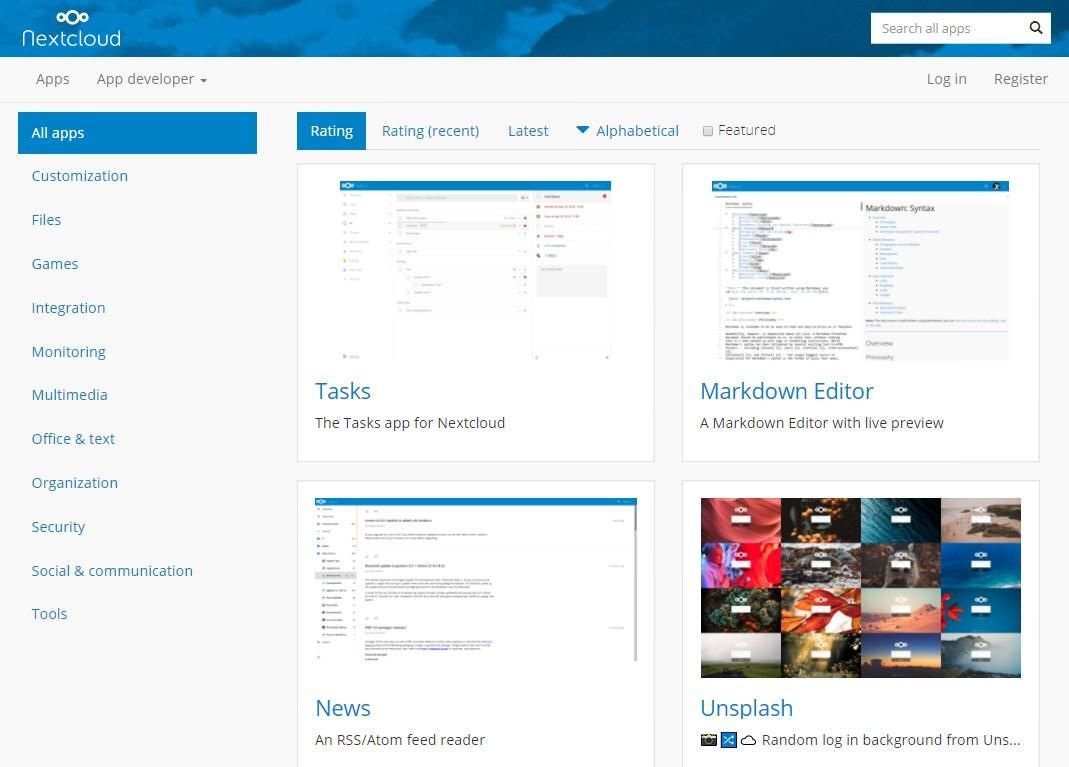
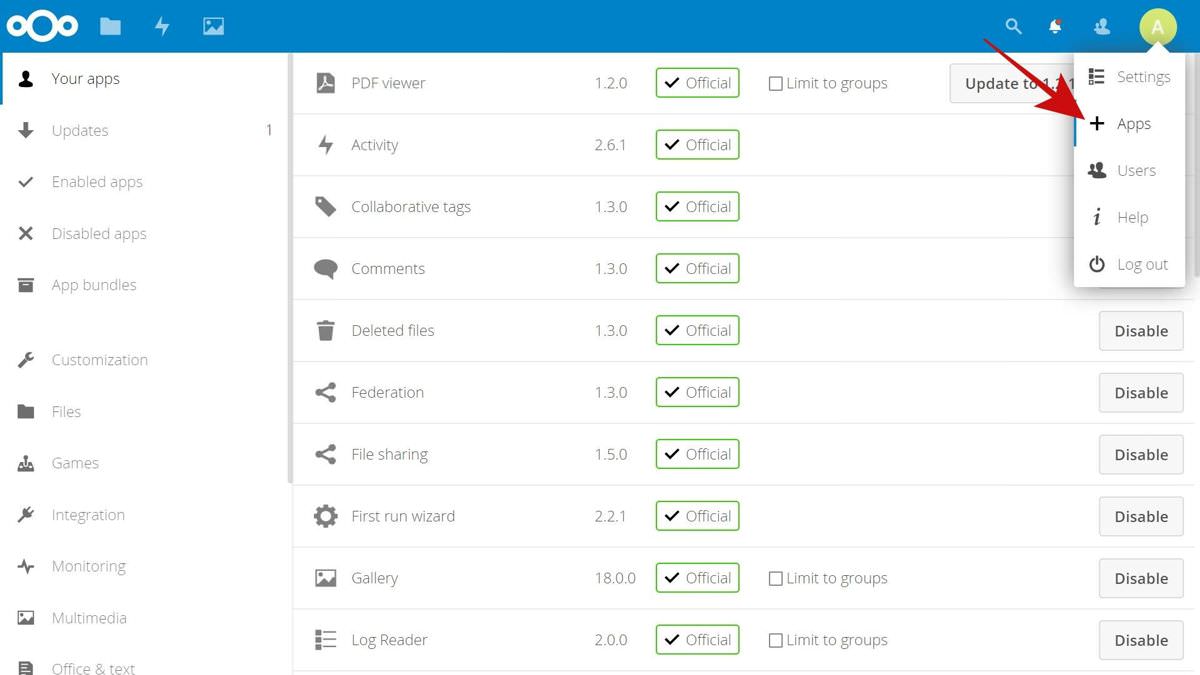
The more you dig into Nextcloud the more you will like it. For example, you can extend its functionality by adding apps from its app store. You will notice it has various apps — both official and third-party ones to add more features. For example, you can add calendar, contacts, tasks, etc.
Did you manage to create your private cloud? What did you do first with your Nextcloud? Please write your feedback as comments below.