How to Add Notification for Your Website (Updated)
The notification interface has become a common part of our digital interaction, both on the desktop, mobile devices, and on the Web. Specifically on the web, this capability is enabled by the Notification API available in browsers.
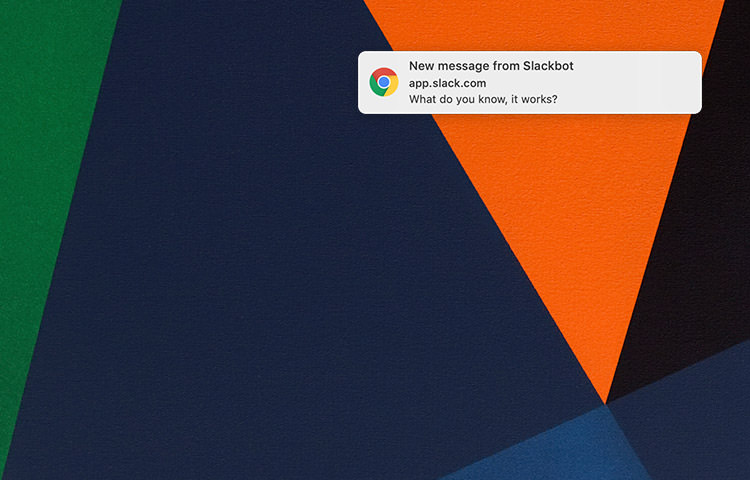
The Notification API was first introduced in OS X Mountain Lion and is now available in all modern browsers, including Edge and Opera. This enables regular websites and web applications such as Slack and Intercom to send out notifications when there’s an incoming message or a mention in your account. In macOS, this notification appears at the top right of the screen, as shown below. It disappears after a certain amount of time and is then stored in the Notification Center.
Let’s see how we can utilize this API on our website.
Recommended Reading: How to Create Hide / Show Notification Bar With CSS3
The Notification Permission
First, let’s walk through the permissions. Before a website can show notifications, users must explicitly grant permission. There are three permission levels for notifications: default, granted, and denied. To check the current permission level, you can run the following code in the browser console:
window.Notification.permission
This code logs the current permission level to the console. In my case, it returns 'granted'.

Users can deny notifications at any time through the browser’s preferences or site settings.

Running the Notification
Notifications are created using the window.Notification object. The following code, slightly modified for demonstration purposes, is borrowed from a Mozilla Developer Network example:
function notifyMe(title, options) {
  // Check if the browser supports notifications
  if (!('Notification' in window)) {
    $('.support, .no-permission, .notify-click').hide();
    return;
  }

  $('.no-support').hide();

  // Check whether notification permissions have already been granted.
  if (Notification.permission === "granted") {
    $('.no-permission').hide();
    var notification = new Notification(title, options);
  }
  // Otherwise, we need to ask the user for permission.
  else if (Notification.permission !== "denied") {
    Notification.requestPermission().then(function (permission) {
      if (permission === "granted") {
        $('.no-permission').hide();
        var notification = new Notification(title, options);
      }
    });
  }
}
In the preceding code, we created a function named notifyMe that wraps the Notification constructor, allowing us to pass two arguments: title and options.
Then, simply call this function with the desired arguments. In this example, we set the title to “Hi, there! 👋” and the notification body to “Welcome to our website” within the options object, like so.
notifyMe('Hi, there! 👋', { body: 'Welcome to our website' });
If the user hasn’t yet set the permission, the browser (like Safari shown here) will first prompt them to Allow or Don’t Allow notifications from this site.

Once granted, the notification will appear, as shown in the following screenshot.

Event
Furthermore, notifications can be triggered by events. For example, using the jQuery .on method, we can trigger a notification when a user clicks a button:
$('.button').on('click', function() {
  notifyMe('Hi, there 👋', { body: 'You've just clicked the button.' });
});
Further Reference
As you can see, using the Notification API is quite straightforward. Although the code shown here covers the basics, you’ll likely need to adapt it to suit your specific needs. Browser support is quite good; it works in all major desktop browsers and many mobile browsers. You can see it in action and download the source code from the links below:
Follow these references to explore the API further.
- Web Notifications – W3C.org
- Chromium Desktop Notification – Chromium
- Notification Web API