How to Install and Run Chrome OS Without Chromebook
Google Chrome OS is one of the emerging operating systems that’s gaining popularity, primarily due to its growing list of features. Although it was possible to run the Chromium OS (the base version of Chrome OS), on Windows yet it was not possible to run the actual OS. Thanks to its emulator, now one can try out Chrome OS without a Chromebook.
If you are a user looking forward to buying a Chromebook or a developer creating apps for Chrome OS, then this tutorial is for you. In this post, I am going to show you how to install and run Chrome OS on Windows using an emulator. You can explore Chrome OS or its apps without buying the actual hardware.
Note: You must have a working internet connection (a high-speed connection is not necessary but recommended else it will take more time) for this tutorial.
Read Also: 9 Cloud Operating System You Can Try Out for Free
1. Install Android Studio
First of all, you must install Android Studio — even if you only wish to try out the Chrome OS because its emulator works just in Android Studio as of now. Please follow the below steps to install it:
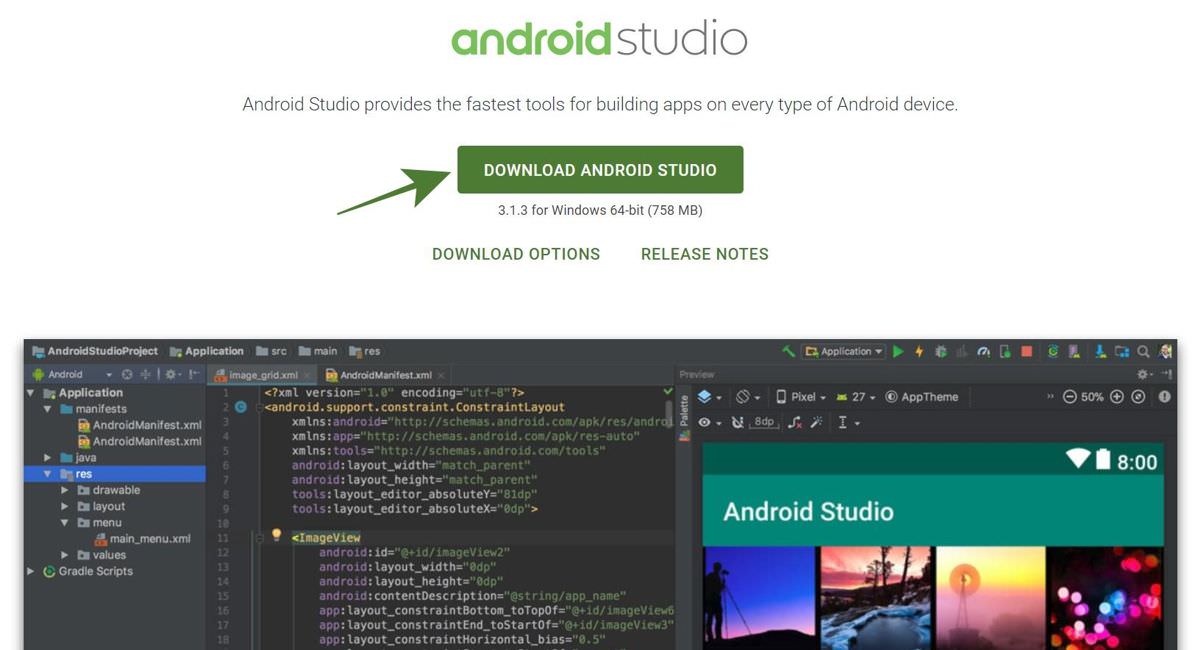
- Download Android Studio from Android Developers.
- Open the downloaded file to install Android Studio. It is easy — follow the on-screen instructions of its installer program.

2. Enable acceleration for VMs
Many modern CPUs can use extensions to accelerate running VMs (virtual machines). Though you can run a VM without enabling this acceleration yet it is recommended to allow it for the smooth functioning of the VMs.
Follow the given instructions to activate acceleration for VMs:
- Open the Android Studio after installation.
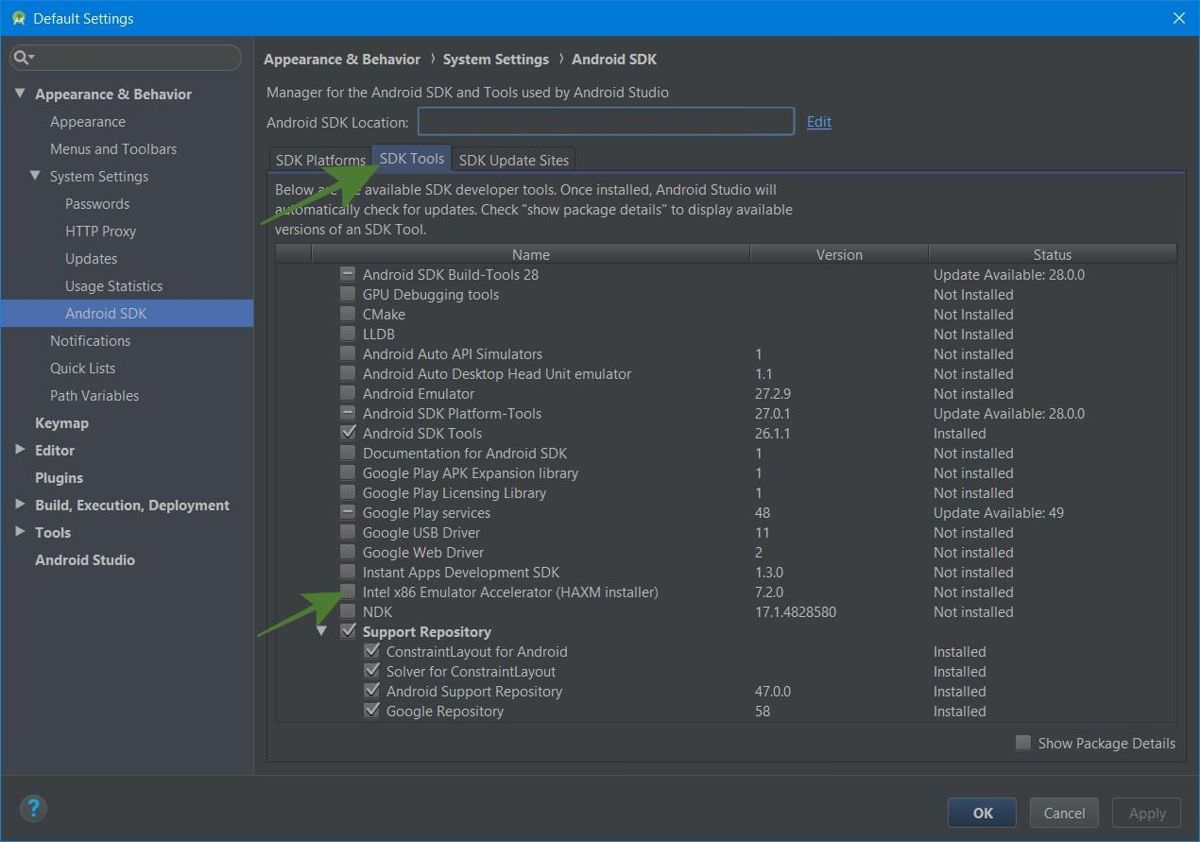
- Click the Configure button and choose “SDK Manager“.
- Switch to “SDK Tools” tab and check/select “Intel x86 Emulator Accelerator (HAXM installer)” if available, then click Apply at the bottom.
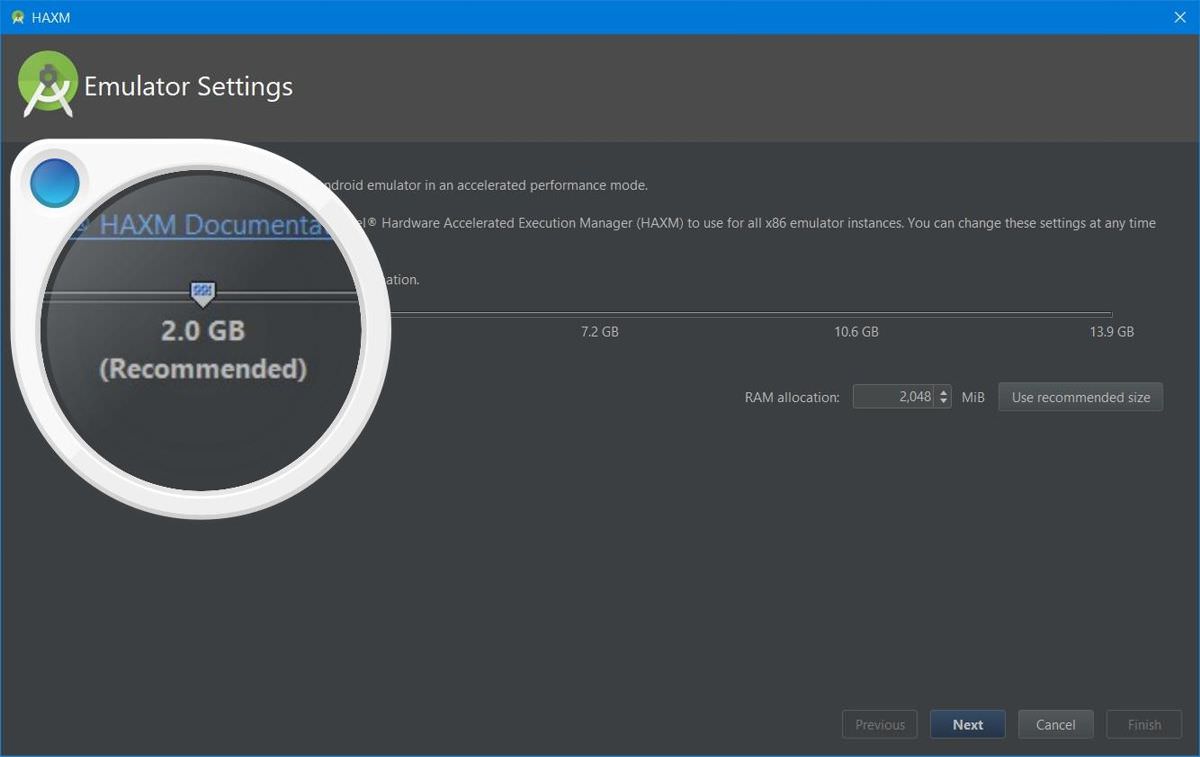
- Please confirm the installation if asked, and select a minimum of 2.0 GB of RAM for the Intel HAXM (emulator accelerator).
3. Get the image of Chrome OS
You must get the system image of Chrome OS to run it virtually on the emulator. It is possible to get its image through the Android Studio SDK Manager. You can download the image by following the steps given below:
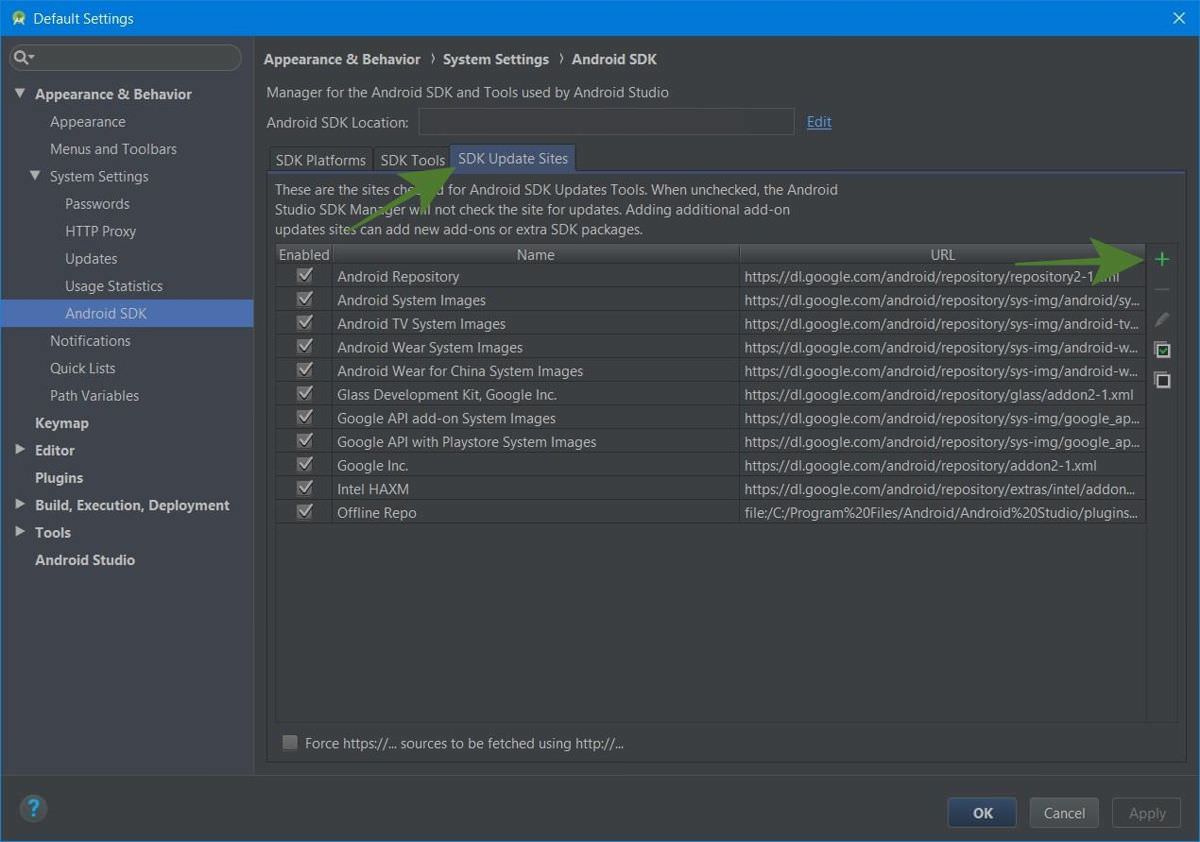
- Switch to “SDK Update Sites” tab in the SDK Manager, then click the + button present on the center-right of the window.
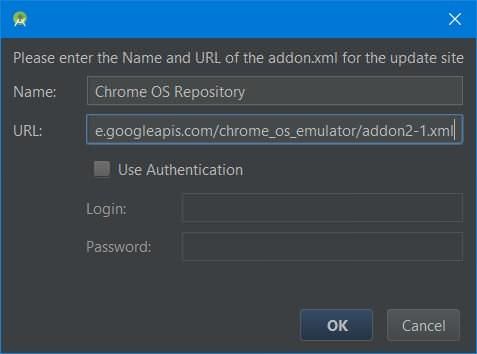
- In the new dialog window, type in “Chrome OS Repository” and “https://storage.googleapis.com/chrome_os_emulator/addon2-1.xml” respectively in the Name and URL fields and click OK.
- Press the + button again and enter “Chrome OS System Images” and “https://storage.googleapis.com/chrome_os_emulator/sys-img2-1.xml” in the Name and URL text fields and click the OK button.
- Now click Apply present at the bottom of the window.
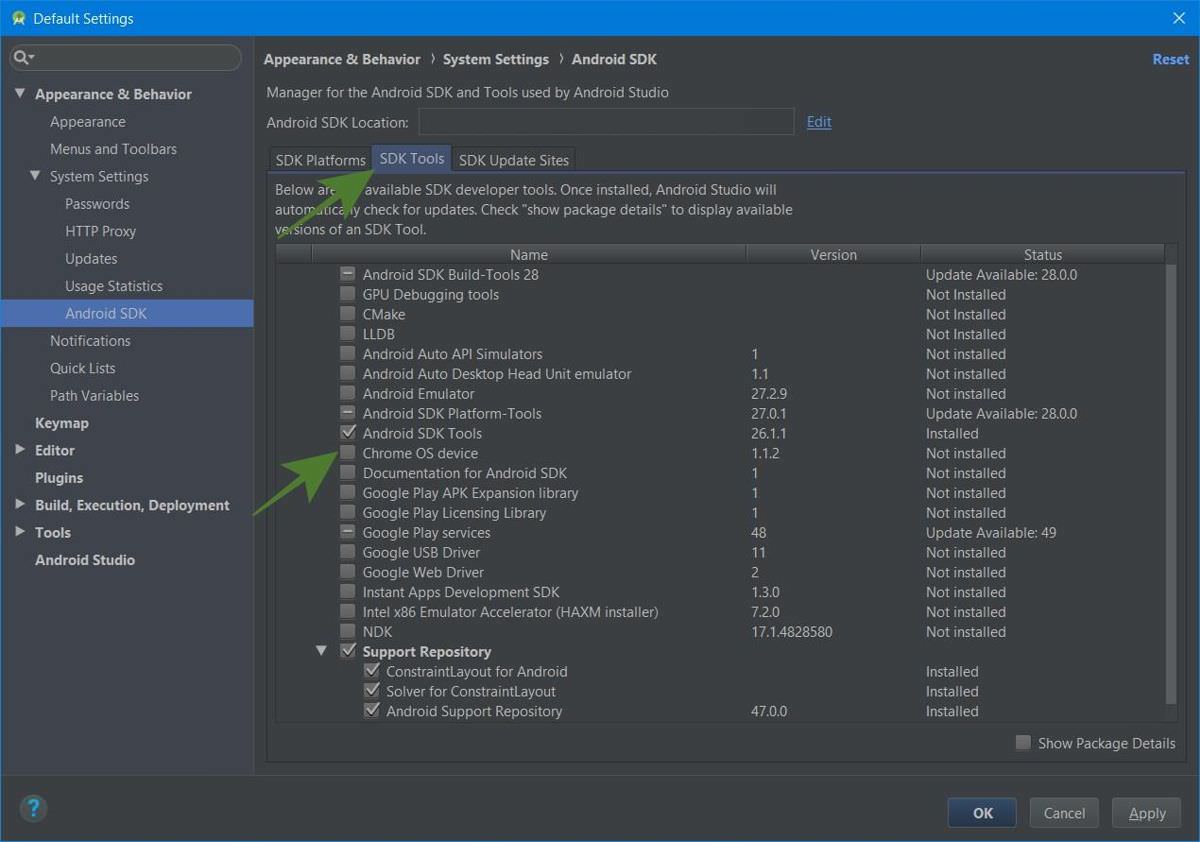
- Then switch to the “SDK Tools” tab and check/select “Chrome OS device” and click OK to install selected tools (confirm if asked).
- Finally, please restart Android Studio to make changes.
4. Create an AVD for Chrome OS
Now, you have the system image for Chrome OS, so you can create a virtual device to run Chrome OS on the emulator. Follow the below steps to do it:
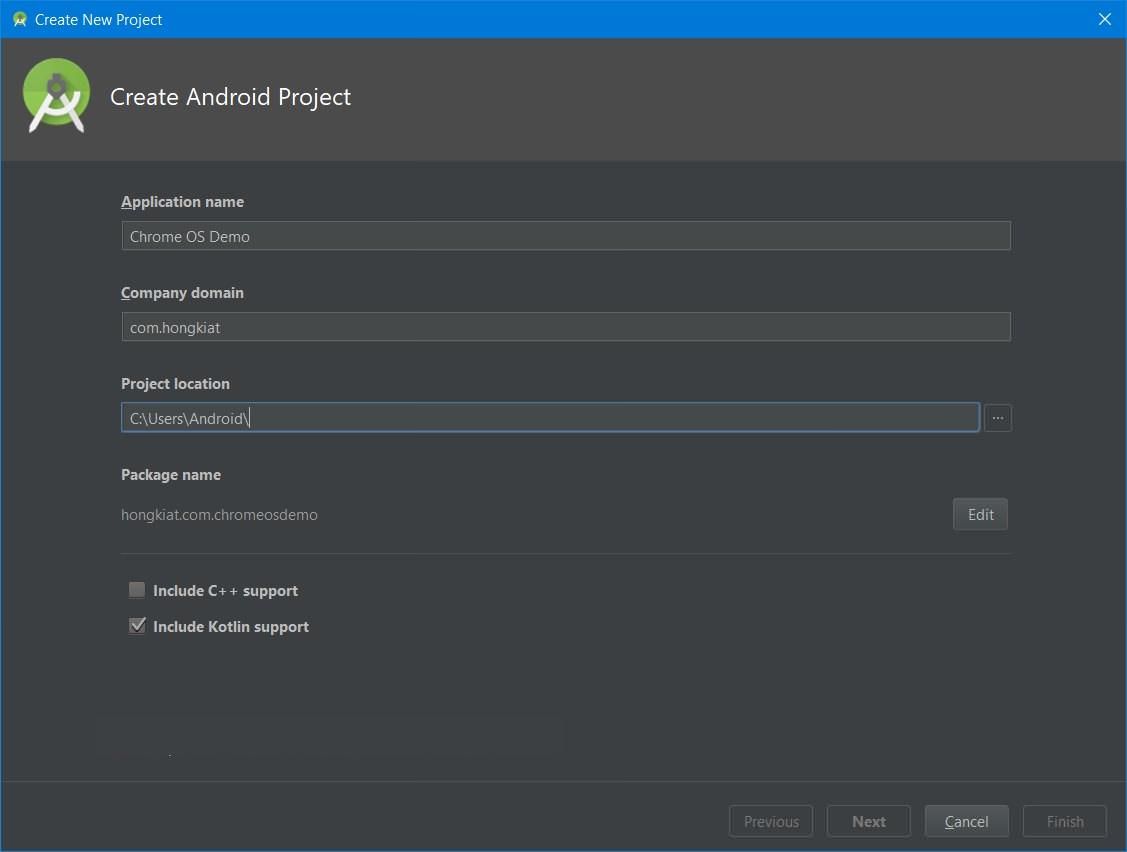
- Click the option “Start a new Android Studio project” and follow the on-screen instructions to create a new project. It is required because the option to open AVD Manager is present on the workspace screen. Do note that it may take some time because it may download necessary files.
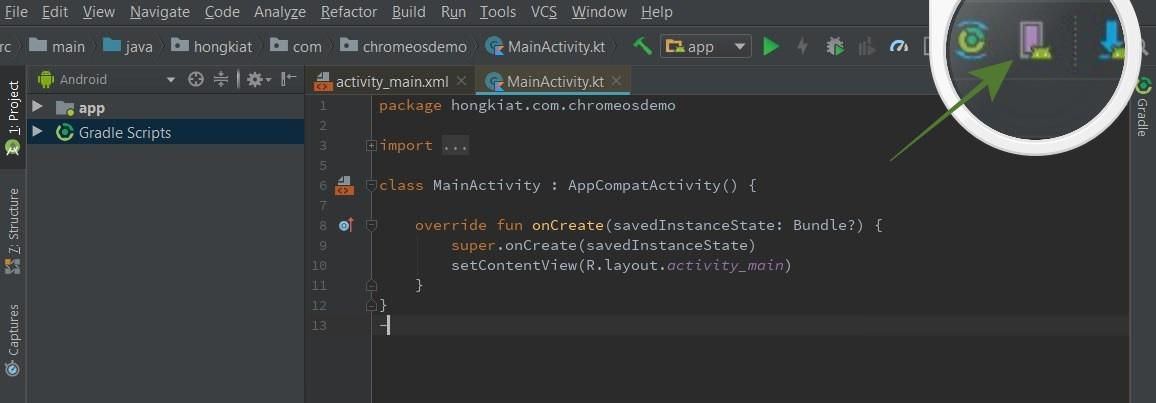
- Click the button for “AVD Manager” from the top-right of the window, and then click the button “Create Virtual Device…” in the AVD Manager.
- Select Tablet from the left, go to “Pixelbook (beta)” in the center and click Next.
- In the next window, select a system image for your AVD (Android Virtual Device). If your system does not have the SDK Platform required for the new AVD, you can quickly download it from the Recommended tab.
- Verify the settings for your new AVD and click the Finish button.
- Finally, after it is created, you will see its entry in the AVD Manager. On this screen, you can click its play button to run the Chrome OS.

That is all about installing and running Chrome OS without a Chromebook. Do note that this tutorial was created on Windows, but you can follow it on any platform with minor changes here and there. So, how was your experience?