Export Photoshop Layers Easily With Cut&Slice Me
Update: Cut&Slice Me is no longer in service.
Cutting and slicing in the design process can be quite time-consuming. It becomes even more complex when you have to cut and slice hundreds of layers on different scales.
Sure, there are copy merged, export layers to files or slice features in Photoshop, but they don’t do much to speed up the cutting and slicing process. That’s where a plugin comes in handy.
Cut&Slice Me is a Photoshop extension that simplifies cutting and slicing. It allows you to export your layers for iPhone, Android, or Desktop devices. The exported files come in various scales and resolutions, such as Retina for iPhone or HDPI, LDPI, MDPI, and XHDPI for Android.
Cut&Slice Me Installation
To use the Cut&Slice Me plugin, you need at least Adobe Photoshop CS6/CC installed on your machine. Download the plugin (and the sample PSD file that we’ll be working on later).
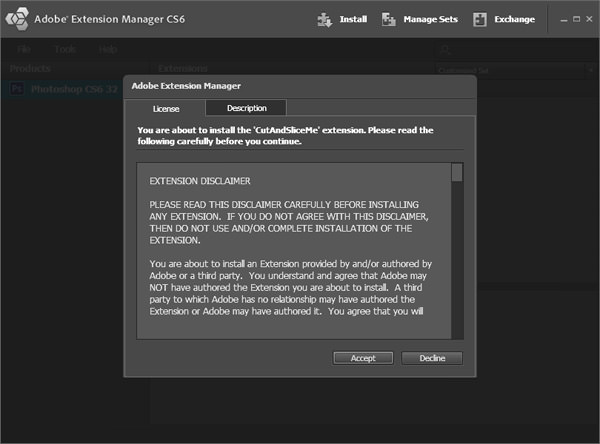
Once your download has finished, double-click the CutAndSliceMe.zxp file, and the installation will automatically begin by Adobe Extension Manager. Follow the instructions, and restart Photoshop if it is already open.
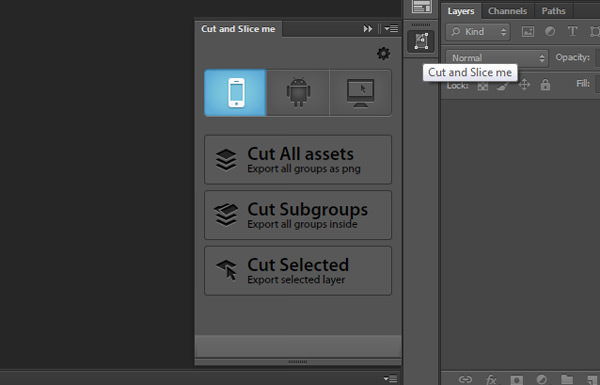
To make the plugin visible in your Photoshop right panel, go to Window > Extensions > Cut and Slice Me.
Getting Started
Cut&Slice Me is straightforward to use, but you need to do some setup to ensure the plugin works efficiently during cutting and slicing.
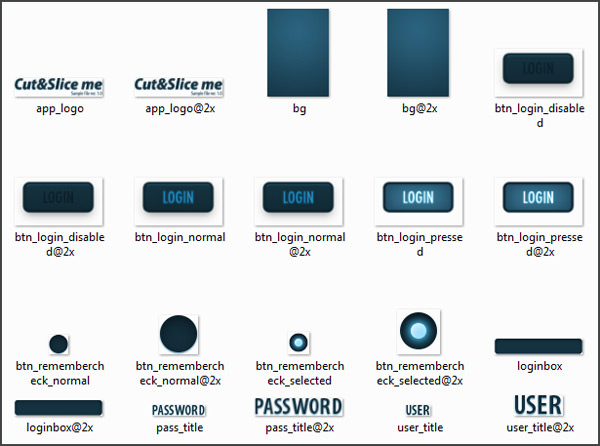
First, organize your layer objects into folders, as Cut&Slice Me only checks group names. You also need to add an “@” symbol at the end of the layer group name you want to export.
Slicing Defined Size
All unnecessary transparent pixels are removed during the exporting process. To keep the exported file at your desired size:
- Check the ‘Snap Vector Tools and Transforms to Pixel Grid’ setting in Edit > Preferences > General.
- Create a rectangular vector layer for the size you want.
- Place this shape at the very top of the group to define the export area size. Finally, name the shape “#”.

Different State Asset
For buttons or elements with different states, use this special method:
- Create a new layer group for the button and include a “_BTN” label in its name.
- Inside the button group, create another group containing button states and name them accordingly. State names should include:
- normal
- hover
- clicked/pressed
- selected
- disabled
This rule can also apply to other elements with different states, as shown in the screenshot below.
Using Cut&Slice Me
Let’s see how Cut&Slice Me can assist with your designs. We’ll use the sample PSD design file from the Cut&Slice Me homepage.
As mentioned earlier, Cut&Slice Me lets you export to iPhone, Android, and the Web. You can slice all assets, subgroups, or selected layers. Let’s slice and export the sample design for iPhone.
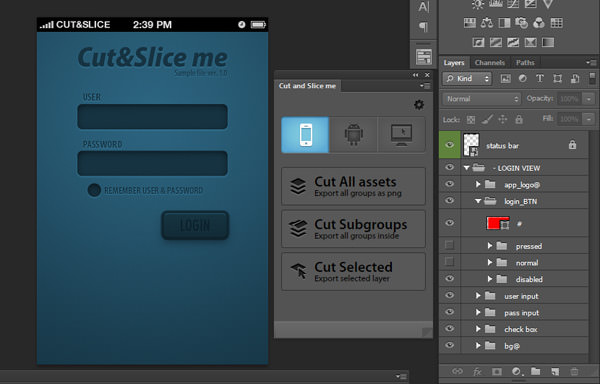
After the exporting process finishes, you’ll find the result files are located in the original PSD file location (see image).
Now that you have a solid understanding of how the plugin works, let’s try using it with another design.
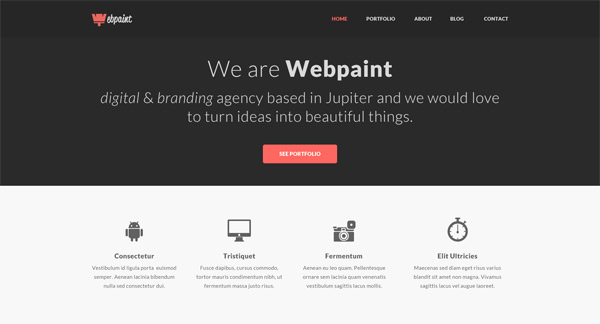
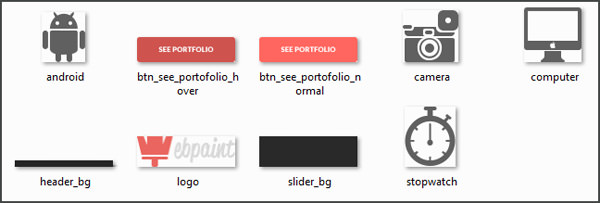
Using the Webpaint template from Elemis Freebies, you’ll see how to set up the plugin rules from scratch.
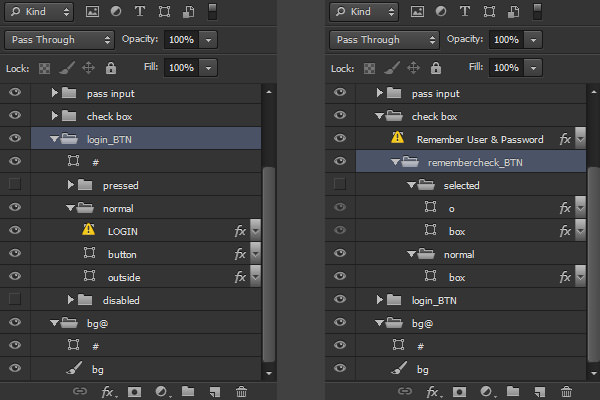
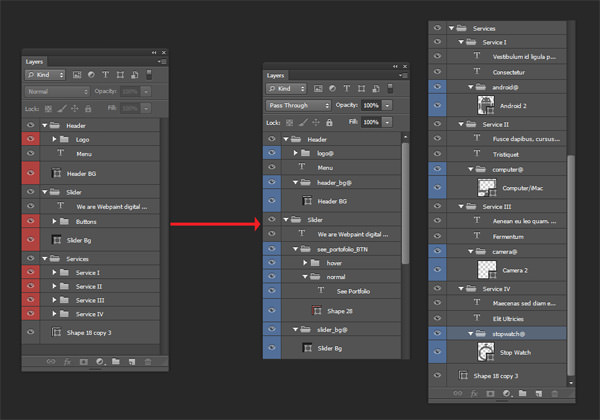
For simplicity, we’ll only use half of the design for exporting. The following screenshot compares the layer structure before and after preparing them for export.
On the left (in red) are the original layers, and after rearranging and renaming them, we arrive at what’s on the right (in blue).
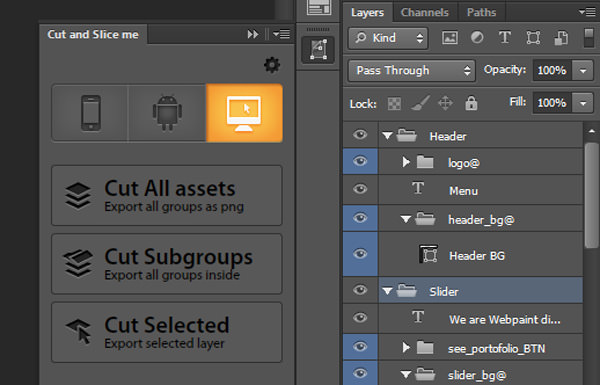
As the template is for the web, choose the device mode for desktop (monitor icon) in the plugin panel. Then, hit Cut All Assets.
Now, the defined asset has been sliced successfully, as shown below.
If slicing your own design, ensure it’s in the highest resolution, as final images are for XHDPI on Android and Retina on Apple devices. The plugin maintains the full resolution, then scales it down for export into different sizes.
Conclusion
No time is wasted when you cut and slice using this Photoshop plugin. With a bit more discipline in layer organization, even complex designs can be sliced with precision and ease.