How to Create a Static Blog with Assemble
Today, we’ll explore Assemble, a Grunt plugin that simplifies the creation and management of static sites. While it shares similarities with Jekyll, Assemble offers additional flexibility and features, enhancing its power significantly.
Features like Permalink, Bootstrap Boilerplates, and LESS compiler elevate Assemble beyond traditional static site tools, equipping it with capabilities akin to a comprehensive CMS. In this guide, we’ll walk you through the steps to use Assemble for building your own static blog.
How to Remove Unnecessary CSS Using Grunt
Using a framework like Bootstrap and Foundation is one of the fastest ways to build a responsive website.... Read more
Step 1: Install Project Dependencies
Assemble requires Grunt to function (refer to our previous posts on Node.js and Grunt for further assistance). After setting up Node and Grunt, create a package.json file in your project folder to list the Node packages needed to build your blog.
Insert the following JSON configuration into your package.json file:
{
  "devDependencies": {
    "assemble": "~0.4.40",
    "grunt": "~0.4.5",
    "grunt-contrib-connect": "~0.8.0",
    "grunt-contrib-watch": "^0.6.1"
  }
}
This configuration specifies that our project depends on Grunt, Grunt Connect, Grunt Watch, and Assemble. Next, install these packages by running the following command in the Terminal:
npm install
Step 2: Configure Grunt Tasks
Once the dependencies are in place, create a gruntfile.js and add the following script:
module.exports = function(grunt) {
  grunt.initConfig({
    pkg: grunt.file.readJSON('package.json')
  });

  grunt.loadNpmTasks('assemble');
  grunt.loadNpmTasks('grunt-contrib-connect');
  grunt.loadNpmTasks('grunt-contrib-watch');

  grunt.registerTask('default', ['connect:livereload', 'assemble', 'watch']);
};
This script configures grunt to load and register the dependencies we just installed with npm install. These tasks will be activated in the following steps.
Step 3: Organize Your Blog’s File Structure
Next, we’ll structure the folders and files for our blog as follows:
MyBlog/
  package.json
  gruntfile.js
  app/
  layout/
    default.hbs
  content/
    page/
      index.hbs
    blog/
      first-posting.hbs
  partials/
Assemble permits us to customize our file and directory setup via gruntfile.js. For simplicity, we’ll start with the default structure shown above.
Step 4: Designing the Blog Layout
In Assemble, layouts form the backbone of your pages. We created a layout file named default.hbs in the MyBlog/app/layout/ folder in the previous step. Assemble utilizes the Handlebars templating language, denoted by the .hbs extension.
Beginner’s Guide to Using Handlebars.js
In this post, we are going to look into Handlebars, a JavaScript templating engine based on Mustache. It... Read more
The default.hbs file will serve as the template for all pages in the blog. We will incorporate Bootstrap through the BootstrapCDN to establish the styling foundation of our blog. Add the following HTML code to default.hbs:
<!DOCTYPE html>

<html lang="en">
<head>
<meta charset="UTF-8">
<title>My Blog</title>
<link rel="stylesheet" href="//maxcdn.bootstrapcdn.com/bootstrap/3.2.0/css/bootstrap.min.css">
</head>

<body>
<div class="container">
<div class="row">
<div class="col-md-12">
<h1 class="page-header text-center">MY BLOG</h1>
</div>
<div class="col-md-9 main">
{{> body }}
</div>
</div>
</div>
</body>

</html>
Step 5: Configure Grunt Tasks
Next, update the Gruntfile.js to specify how Assemble should process and compile the directories and files. Open Gruntfile.js and insert the following configuration into the Grunt.initConfig section:
grunt.initConfig({
  pkg: grunt.file.readJSON('package.json'),
  watch: {
    assemble: {
      files: [
        'app/content/blog/*.hbs',
        'app/content/pages/*.hbs',
        'app/layouts/*.hbs',
        'app/partials/*.hbs'
      ],
      tasks: ['assemble']
    },
    livereload: {
      options: {
        livereload: '<%= connect.options.livereload %>'
      },
      files: [
        './dist/*.html'
      ]
    },
  },
  assemble: {
    options:{
      layoutdir: 'app/layouts',
      flatten: true,
      layout: 'default.hbs',
      partials: 'app/partials/*.hbs'
    },
    page: {
      files: {
        'dist/': ['app/content/page/*.hbs']
      }
    },
    blog: {
      files: {
        'dist/': ['app/content/blog/*.hbs']
      }
    }
  },
  connect: {
    options: {
      port: 8800,
      hostname: 'localhost',
      livereload: 35728
    },
    livereload: {
      options: {
        open: true,
        base: './dist'
      }
    }
  }
});
Step 6: Create a Page and Your First Blog Post
Now, let’s build a page. Open the index.hbs file in the MyBlog/app/content/page/ folder and add the following content:
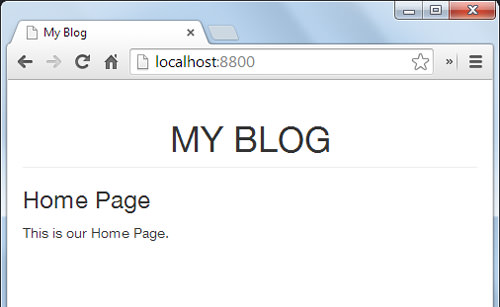
<h3>Home Page</h3>

<section>
<p>This is our Home Page.</p>
</section>
Execute the grunt command in the Command Prompt or Terminal. This action will convert the index.hbs file into an HTML file and open it in your browser. Let’s see how it looks:
Next, we’ll generate the first post for our blog. Open the first-post.hbs file in the MyBlog/app/content/blog/ folder and insert the following content:
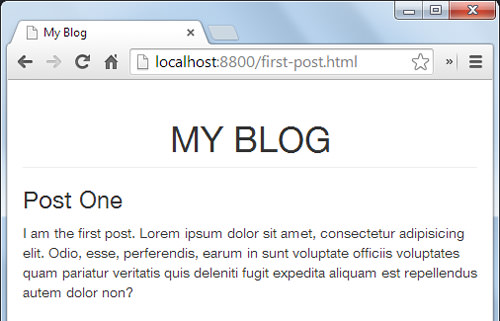
<h3>First Post</h3>
<section>
<p>I am the first post. Lorem ipsum dolor sit amet, consectetur adipisicing elit. Odio, esse, perferendis, earum in sunt voluptate officiis voluptates quam pariatur veritatis quis deleniti fugit expedita aliquam est repellendus autem dolor non?</p>
</section>
Run the grunt command again to generate the first-post.html file in the newly created dist folder. Visit localhost:8800/first-post.html in your browser to view the first post. It should appear as shown in the image below:
You can create additional posts by adding more .hbs files in the MyBlog/app/content/blog/ folder.
Step 7: Create a Sidebar List of Blog Posts
Next, let’s create a sidebar to list blog posts, utilizing Assemble’s “Partial” feature for reusable code fragments. Start by creating a new file named sidebar.hbs and add the following code, then save it in the MyBlog/app/partials/ folder:
<h3>Sidebar</h3>
{{#each pages}}
<li class="list-unstyled">
<a href="{{relative dest this.dest}}">{{ data.title }}</a>
</li>
{{/each}}
Include the Sidebar partial in the default.hbs file as shown below:
<div class="col-md-3 sidebar">
{{> sidebar }}
</div>
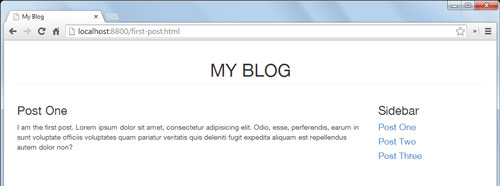
The #each helper iterates over all blog posts in the MyBlog/app/content/blog/ folder, listing them in the sidebar. The appearance is depicted in the following image:
Step 8: Implementing Variables
Assemble enables the use of variables through YAML front matter (YFM), which is an optional section at the top of a page for managing metadata. To demonstrate, let’s specify the title of a post. Open first-post.hbs and modify the code as follows:
---
title: Post One
---

<h3>{{ title }}</h3>
<section>
blahblah...
</section>
The {{title}} tag will display “Post One,” the title we defined above.
Step 9: Organizing the List of Posts by Date
Assemble allows for sorting blog posts by specified attributes. Here, we’ll arrange our blog posts in the sidebar by date. First, add a date to the YAML front matter in first-post.hbs as shown:
---
title: Post One
date: 2014-07-10
---
Update the other post files in the MyBlog/app/content/blog/ folder similarly. Then, adjust the sidebar.hbs to display the date below each post title:
<ul class="list-unstyled">
{{#withSort pages "data.title"}}
<li>
<h4><a href="{{relative dest this.dest}}">{{ data.title }}</a></h4>
<small>Posted on: {{formatDate data.date "%B %d, %Y"}}</small>
</li>
{{/withSort}}
</ul>
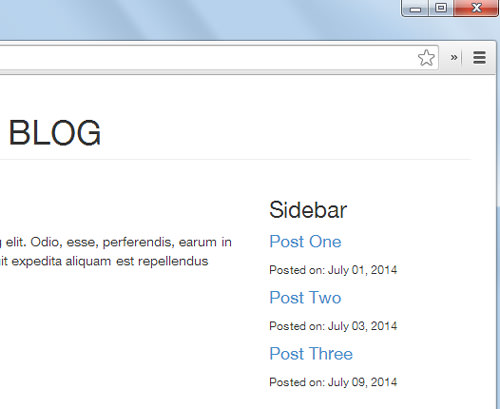
The posts in the sidebar are now ordered by date, as depicted in the image below:
Conclusion
We’ve successfully created a simple blog using Assemble. As shown, Assemble is an effective alternative for building websites. For hosting, you might consider using a free service like Heroku or GitHub Pages, both of which support Node.js, to make your site publicly accessible.