A Look into Google Antigravity
Writing code has come a long way. We started by writing everything from scratch by hand, then moved to frameworks, libraries and boilerplates, and now we’re working with AI tools. Google Antigravity is part of this shift.
Despite the name, Antigravity won’t actually make your code afloat. But it might change how you write code. Rather than typing every line yourself, you can simply explain what you want to build, and an AI agent will plan the steps, write the code, and improve it for you. So you can focus on the idea instead of the implementation.
In this post, we’ll explore a bit more what Google Antigravity is, how it works, and why developers are starting to pay attention to it.
Installation
Let’s first get started with the installation.
Google Antigravity is available on all major platforms – macOS, Windows, and Linux. You can download the installer from the official Google Antigravity website.
If you’re on macOS, you can also download it from the Homebrew Cask.
After you’ve downloaded the installer, run it and follow the on-screen instructions. Once installed, launch Google Antigravity from your applications menu or desktop shortcut.
Upon the initial launch, you will be prompted with several questions, such as whether you’d like to import configuration from other compatible editors like VS Code and Cursor, the editor theme, and the workflow setup you’d like to run:
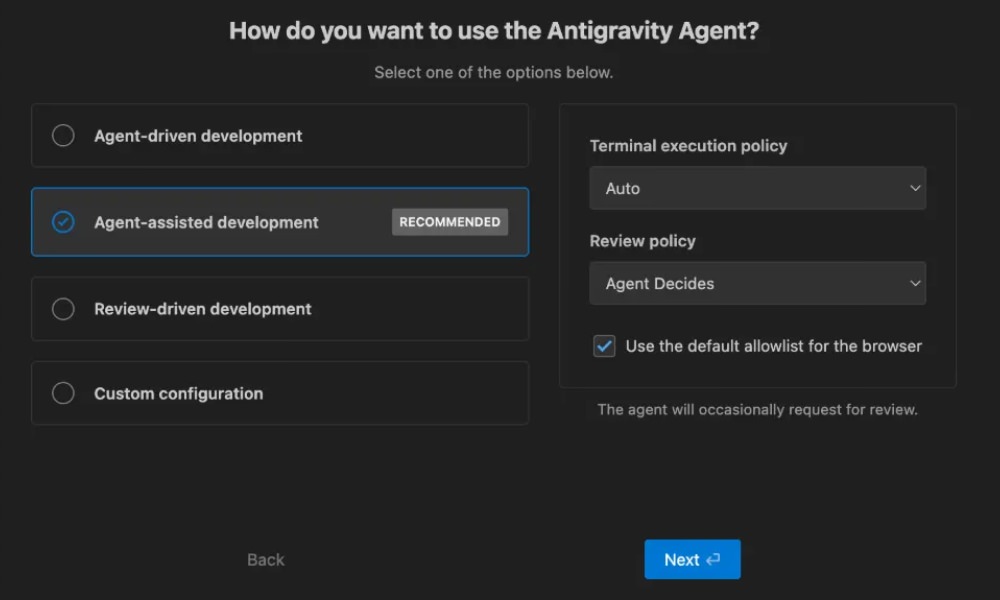
There are 4 options, as we can see above.
Although the recommended setup is Agent-assisted development, I prefer to be very hands-on with my code, so I selected Review-driven development. This mode lets you always review and approve the code changes suggested by the AI agent before applying any changes.
This setting also turns off the Terminal execution policy. I think this is a safer option, since I don’t want the AI agent to run any terminal commands without my approval either.
Again, you’re free to keep the default or fully customize the setup in the settings.
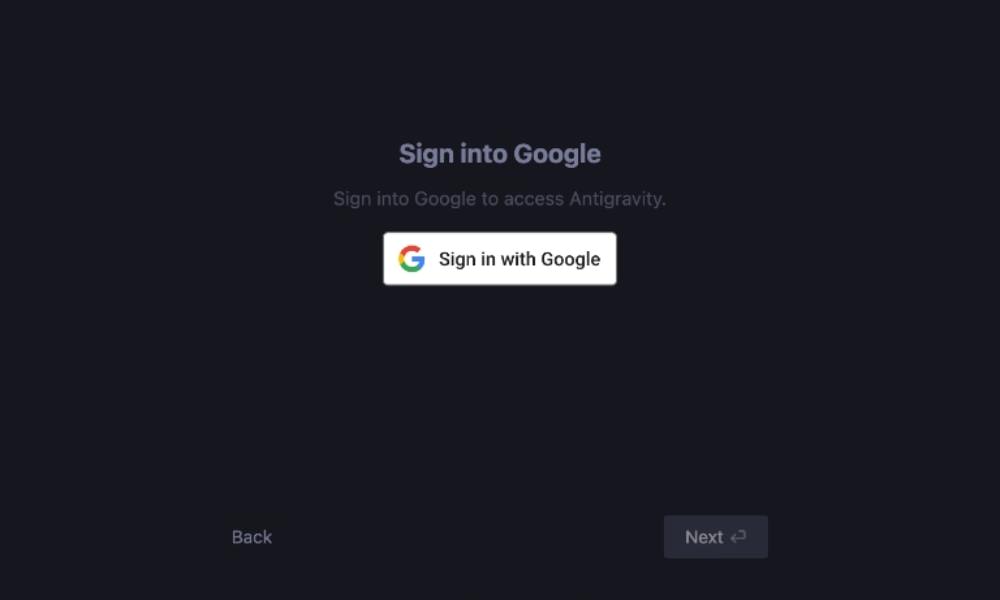
On the last step, you will be asked to log in to your Google Account.
First Impression
Google Antigravity is built on top of Visual Studio Code. So even though there are several tweaks that Google made, if you’ve been using Visual Studio Code, you will immediately feel at home. The interface is clean and intuitive, with a sidebar for file navigation, a main editor area, and a terminal at the bottom.
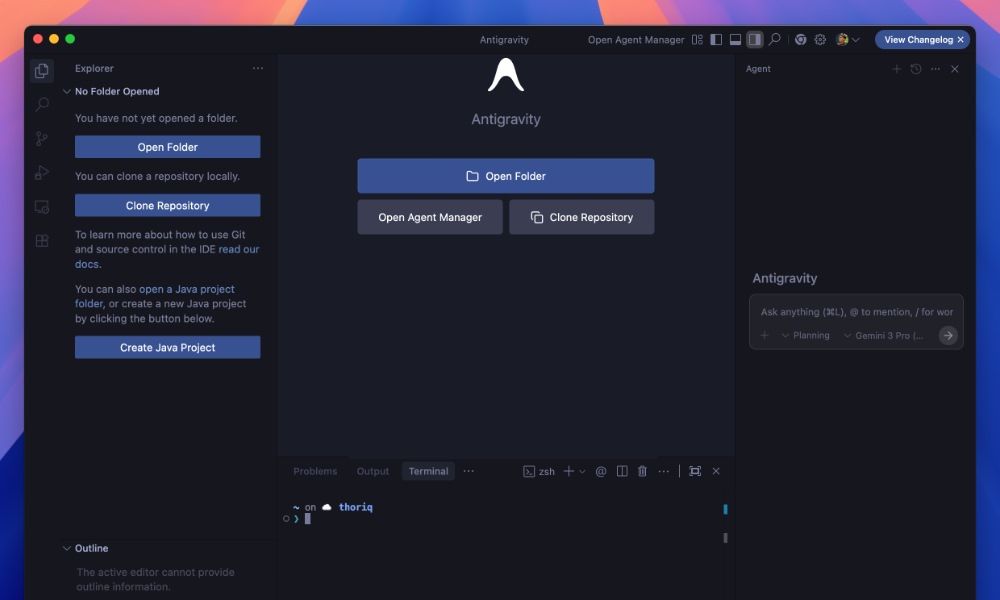
On the right side, you will find the prompt input where you can interact with the AI agent. And there are two modes you can choose to interact with the AI agent: Planning mode and Fast mode.
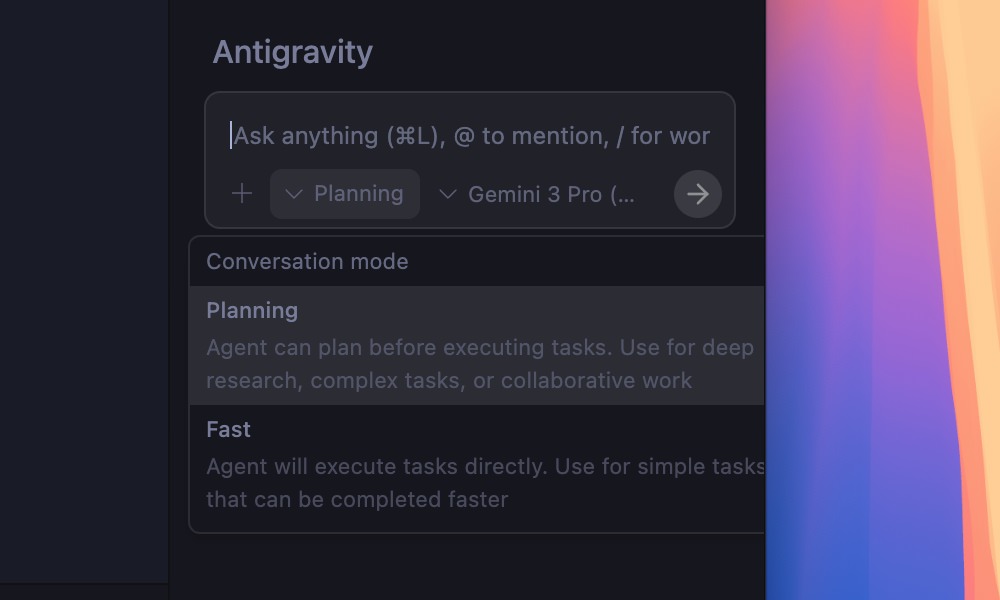
Planning Mode
I think Planning Mode is best when you’re working on something big or complex. So instead of jumping straight into code, the AI first pauses and creates a clear plan.
For example, if you ask it to build a WordPress plugin, it will outline steps like creating the directories, files, and outlining which WordPress functions and hooks that it’s going to use in the plugin.
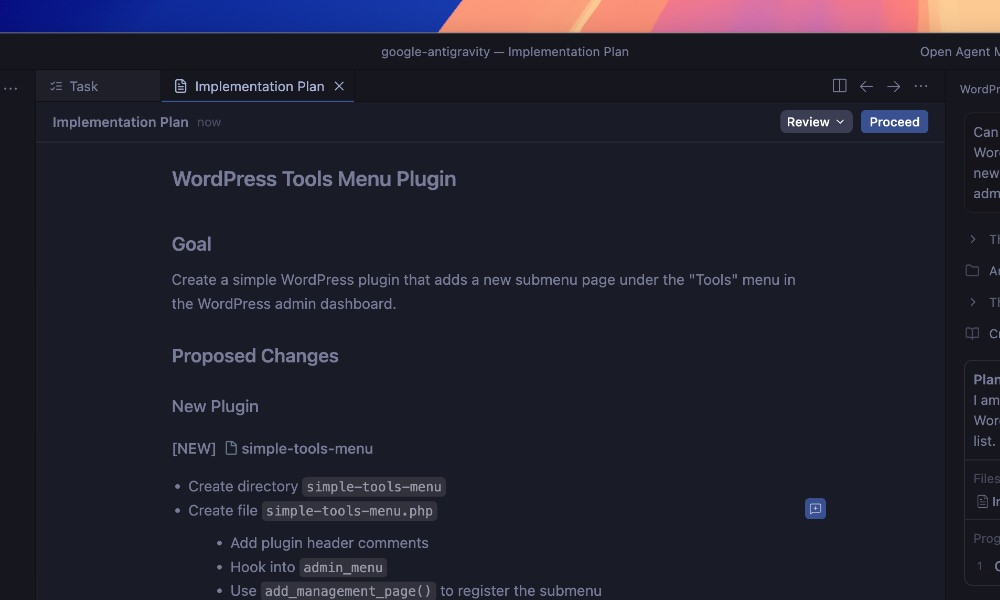
This gives you a chance to review the approach, make changes, and stay in control before any code is written.
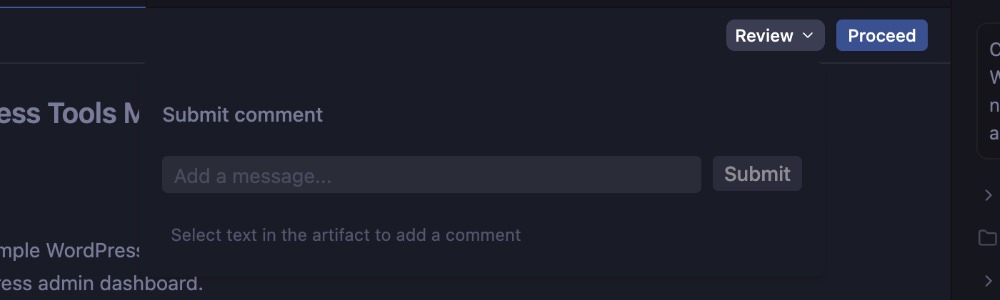
Once you think it’s good you can hit the Proceed button to continue. Or, submit a review for any changes you’d like to see in the plan.
Aside from the implementation plans that we saw here, Google may also generate task lists, screenshots, and browser recordings, depending on what you’re trying to build.
Fast Mode
Whereas in Fast Mode, the AI agent will proceed immediately with creating the plugin directory, files such as the PHP and readme.txt file, and add the functions and hooks without outlining the plan.
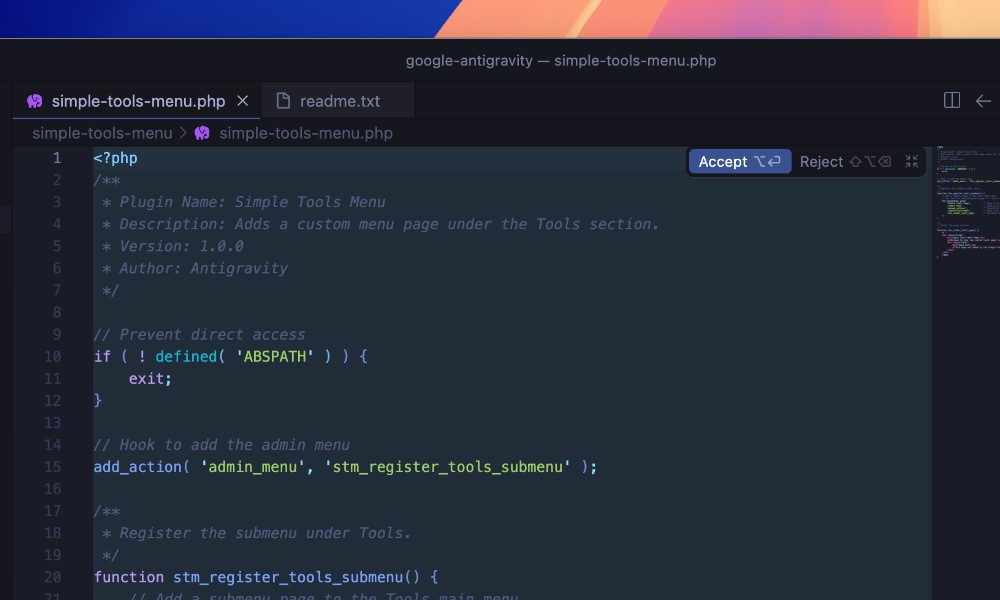
You can still review the code and accept it if you like the output, or request changes.
Agent Manager
The Agent Manager is a unique feature of Google Antigravity that changes how you work as a developer. Instead of being hands-on and writing everything line by line, you become more like a project architect.
Through what Google calls the “Mission Control” dashboard, you will define high-level goals and delegate tasks to AI agents. These agents handle the detailed planning and execution for you, so you can focus more on direction and decisions rather than implementation.
To open it up, find Open Agent Manager at the top right of the window, as you can see below.
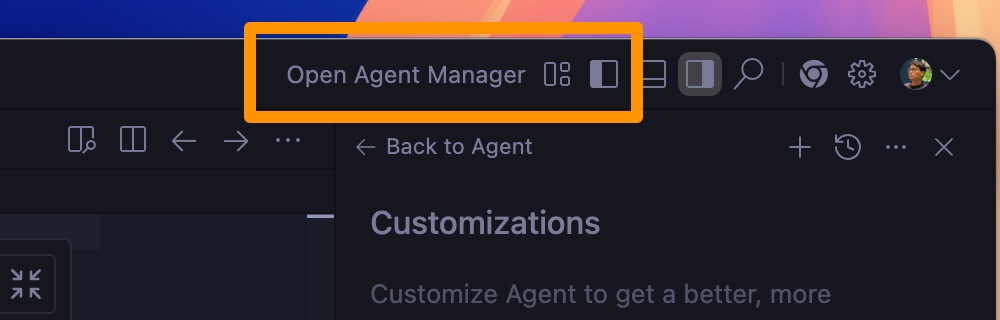
The Agent Manager looks similar to common AI chat interfaces, where you can see the prompt input right at the center of the screen.
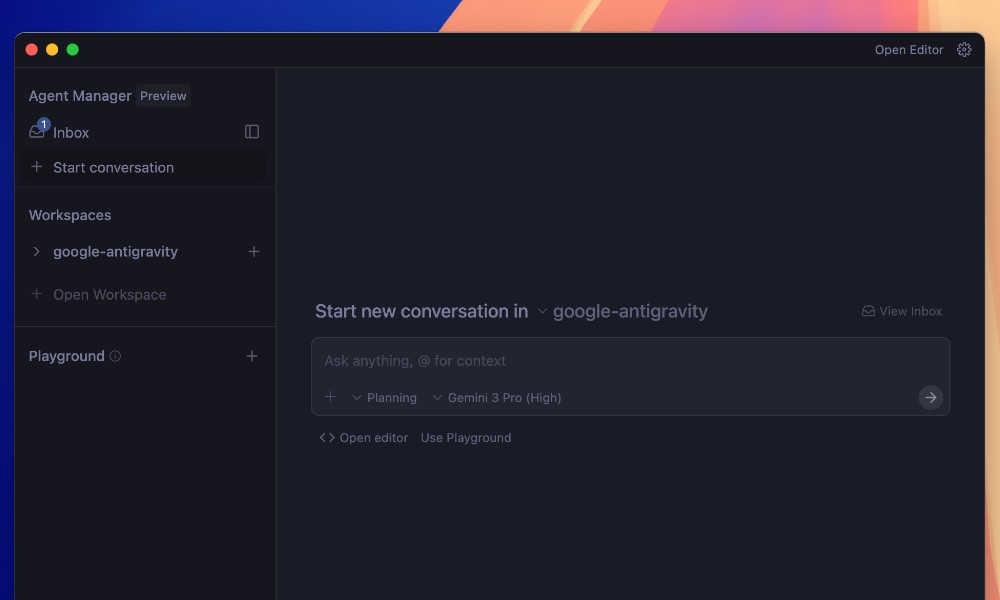
On the left side, you will find several sections:
Inbox: This is where you can see all your ongoing and past conversations with the Agent.

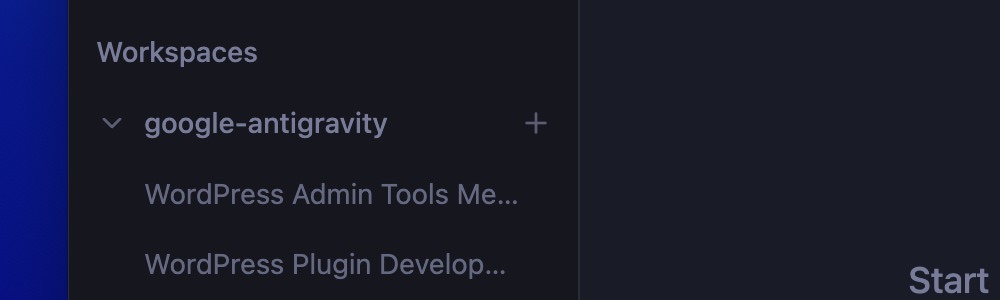
Workspaces: This is where you can manage different projects and apply outputs from the Agent to specific projects.
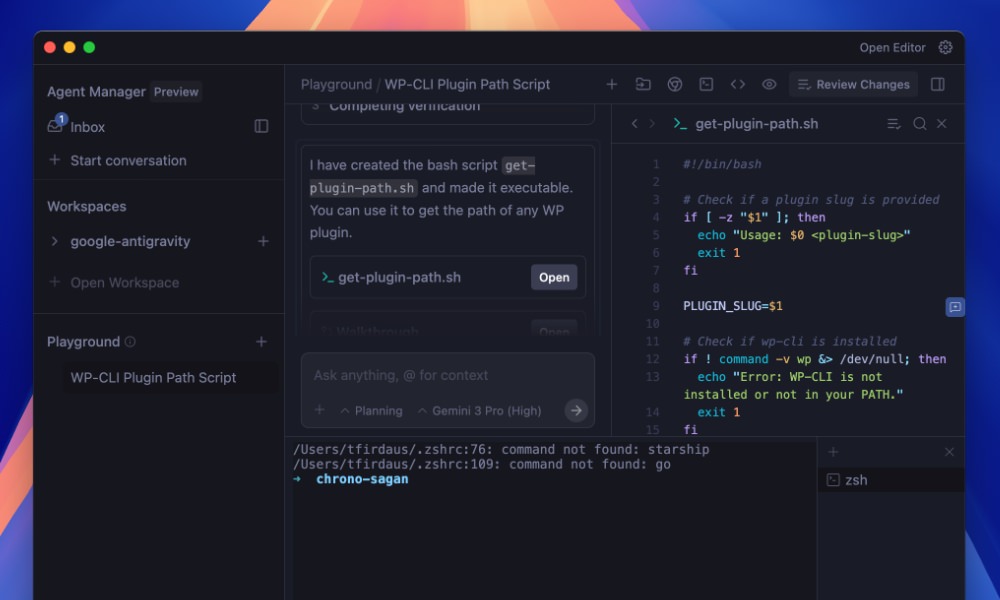
Playground: This is where you can experiment with different prompts and see how the Agent responds without affecting your main projects. If you like the output, you can easily transfer it to one of your workspaces.
Starting New Conversation
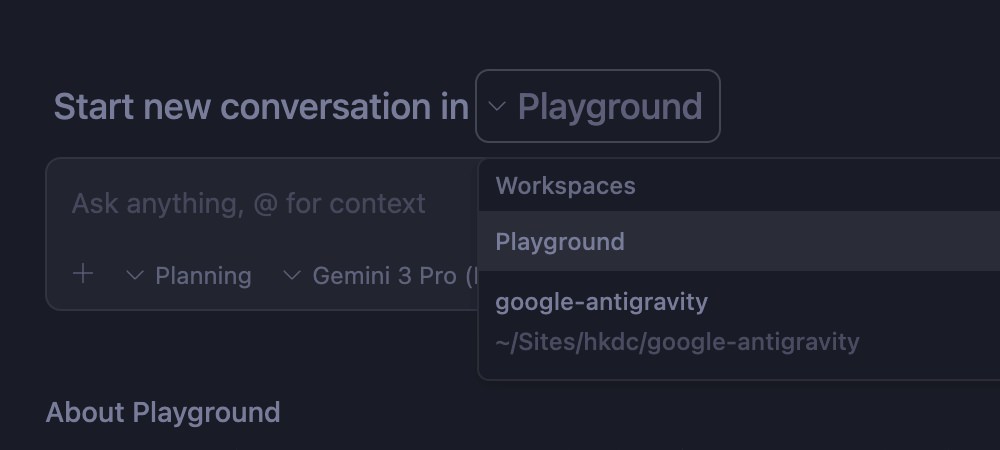
Let’s try starting a new conversation with the Agent. Click on the New Conversation button at the top left of the Agent Manager. Then, you can choose whether you’d like to start your new conversation in a specific Workspace, or in a Playground.
I’d choose to start in the Playground so I can experiment freely without affecting any projects.
In this case, I’d like to ask to create a new script to retrieve a path for a plugin in WordPress.
Within the Playground, Google Antigravity will create an isolated workspace directory outside the main ones. You can continue to iterate on the outputs in the Playground.
If you feel the script is ready and you’d like to move to a Workspace, you can click on the directory at the top right of the window and select the directory where your workspace resides.
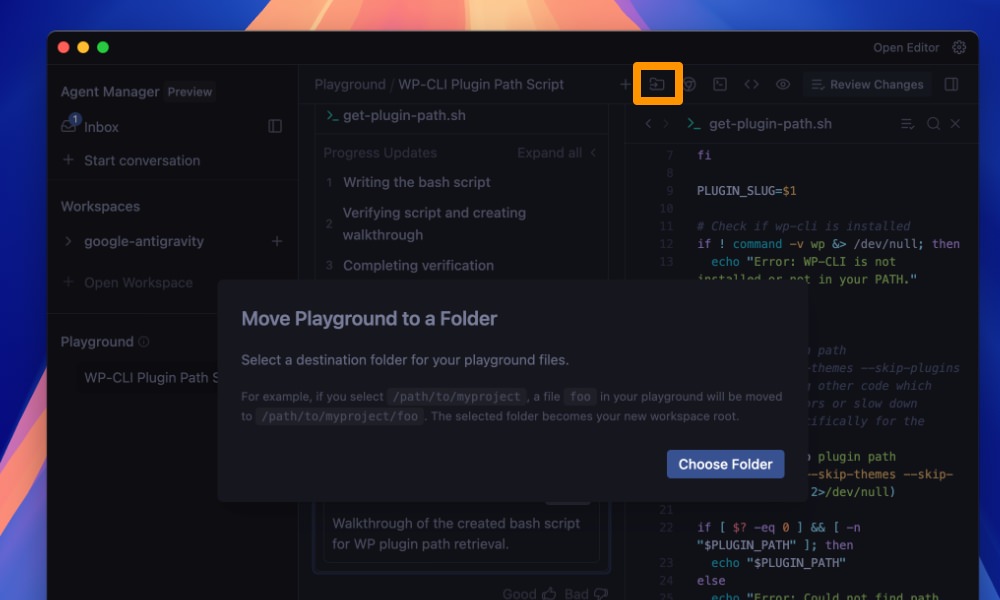
This will move all the files created in the Playground to the selected Workspace.
Wrapping up
Google Antigravity is an exciting new tool that might change how we write code. By allowing us to focus on high-level ideas and delegating the implementation details to AI agents, it has the potential to significantly speed up development workflows.
It’s currently in public preview and is free for individual users with very generous limits, so I encourage you to try it out and see how it fits into your development process.
In the next article, we’ll explore how to further customize Google Antigravity and how to secure your projects when working with AI agents.
Stay tuned!