Free ES5/ES6 JavaScript File Upload Plugin – Uppy
One of the trickiest form inputs to design is the file upload. It has a default HTML style, but it’s not the prettiest thing in the world.
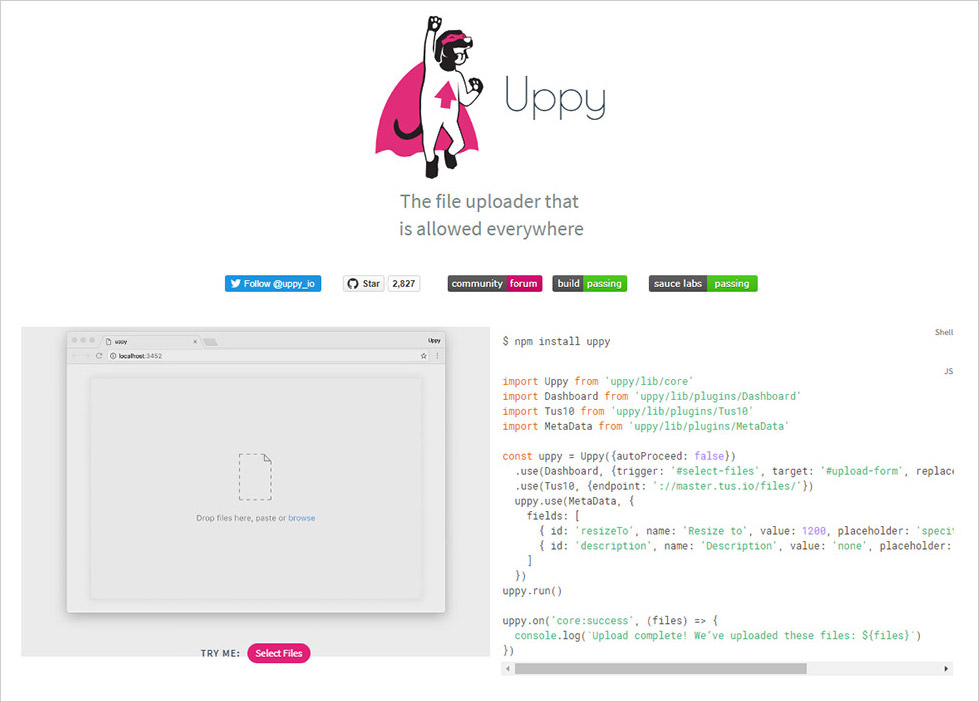
Uppy takes file uploads to a whole new level with a custom interface and a dynamic Ajax-style loading process.
It runs on ES5/ES6 code, so you can build your web apps with the latest JavaScript standards. And, it even supports file uploads from cloud storage sites such as Dropbox or Google Drive, so it’s a multifaceted file uploading script for the web.

Read Also: Creating Stylish Responsive Form With CSS3 and HTML5
Uppy is completely free and open-source, with a repo on GitHub. However, the easiest way to install this plugin is through npm or Yarn, so you can run it like a real package.
Once you get the files added to your website, you just include the Uppy.js file and the CSS code. Then, you target whatever input field you want and Uppy takes care of the rest.
It has a unique interface that looks like one large square placement to drag & drop files. You can also select items from your hard drive or even upload files remotely from external URLs. Pretty crazy!
You can find the entire setup process on the documentation page, but it does require at least some understanding of ECMAScript 6. This library looks towards the future of scripting and isn’t the easiest thing to use with pure vanilla JavaScript.
But, if you’re serious about web development it’s worth learning ES6 anyways. You can find tons of resources online for self-teaching and you can even use Uppy as your first “real” project to dive in & start learning.

Check out the Dashboard Example to see Uppy in action. For this page, the upload is hidden behind a trigger button, where you click the button to display a modal upload field.
From there, you can select whether you want to upload a picture from your computer, from the web, or even from your webcam!
The Examples page offers a bunch to look through, including a drag & drop example, along with an internationalized demo page.
But, to really learn how this works, I recommend skimming the docs and browsing through the main GitHub repo. You can also share your thoughts with the creators on Twitter @transloadit.
Read Also: 4 Form Design UX Tips You Should Know (With Examples)