Easy WordPress Setup on OpenShift
OpenShift is a platform-as-a-service provided by Redhat, a leader in open source solutions. It leverages the open source OpenShift codebase running on RHEL systems and offers robust support for various software hosting options. This platform is versatile, supporting numerous open source technologies and databases, as well as multiple programming languages.
Interested in setting up a self-hosted WordPress blog for free? We’ll show you how to install and manage a WordPress instance on OpenShift in just one hour.
How to Host Personal Website On Google’s Servers For Free
At the present time, everyone is hosting a personal or portfolio website to showcase his information on the... Read more
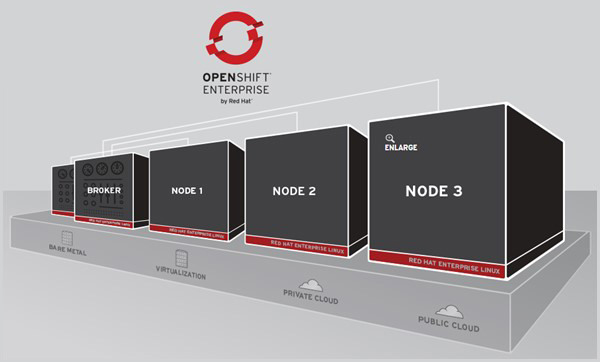
What Makes OpenShift Special?
Why choose OpenShift? Unlike typical PaaS offerings, OpenShift distinguishes itself with its ease of maintenance using Git, coupled with robust support for PHP and MySQL. Additionally, OpenShift’s free plan includes 3 small gears.
What exactly are gears? Gears are virtual containers that pack a set of resources, enabling the seamless running of applications. They provide scalability by allowing an application to utilize multiple gears. Under the free plan, each small gear offers 512MB of RAM and a 1GB disk quota.
Setting Up Your Self-Hosted WordPress Blog
Setting up your blog involves a straightforward three-step process:
- Create an OpenShift account
- Create an application with the WordPress source code
- Configure the necessary WordPress settings
Create an OpenShift Account
Sign up for OpenShift if you don’t already have an account. An OpenShift account lets you manage your application framework, submit your app’s code via Git, and launch your WordPress site.
Create an Application
An application on OpenShift is a piece of software that runs within the platform’s controlled environment. Unlike apps on your smartphone or computer, an OpenShift app utilizes only the resources allocated to it and can automatically scale these resources as needed.
Here are the steps to create your application:
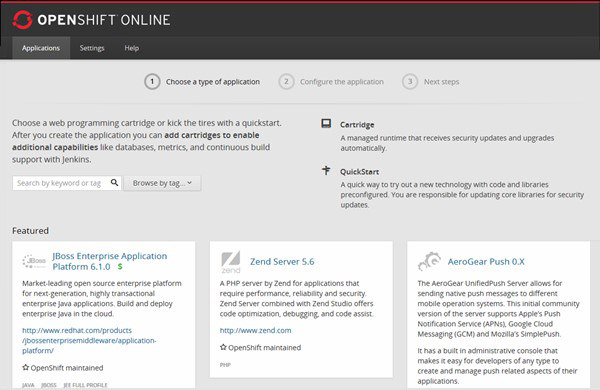
- Log in to the OpenShift online console.
- Select Applications from the top menu.
- Click the ‘Add Application’ button.
- Scroll down and choose WordPress 3.x from the “Instant App” section.
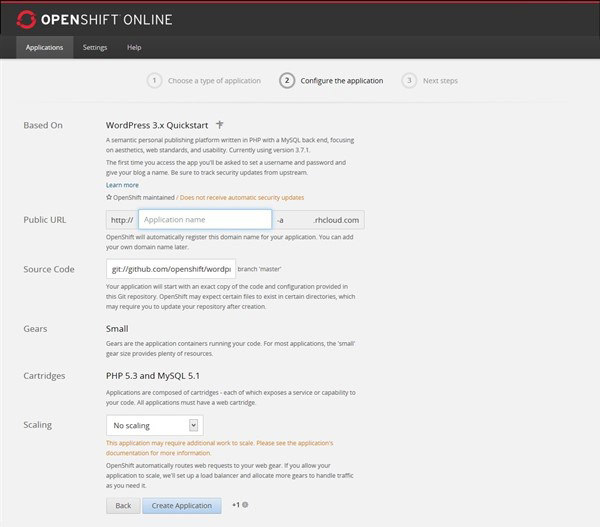
- Enter your application name, which will be part of your public URL, and click the ‘Create Application’ button.
- After creation, click ‘No, continue’. Note down the database credentials displayed for future reference.
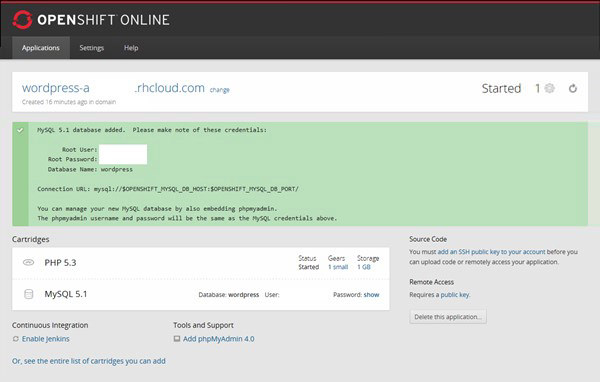
Great job! You’ve now set up your WordPress application on the OpenShift platform.
3. Configure WordPress
Now that your WordPress application is initiated on OpenShift, it’s time to configure it to transform it from mere software on a server to your very own running blog. Here’s how to complete the setup:
- Select Applications from the top menu on OpenShift.
- Click on your newly created WordPress application from the list.
- Navigate to your app’s public URL, which appears at the top of the page, such as blog-aksinghnet.rhcloud.com.
- Open your application’s link; WordPress will prompt you to fill in some basic yet essential details to finalize the setup.
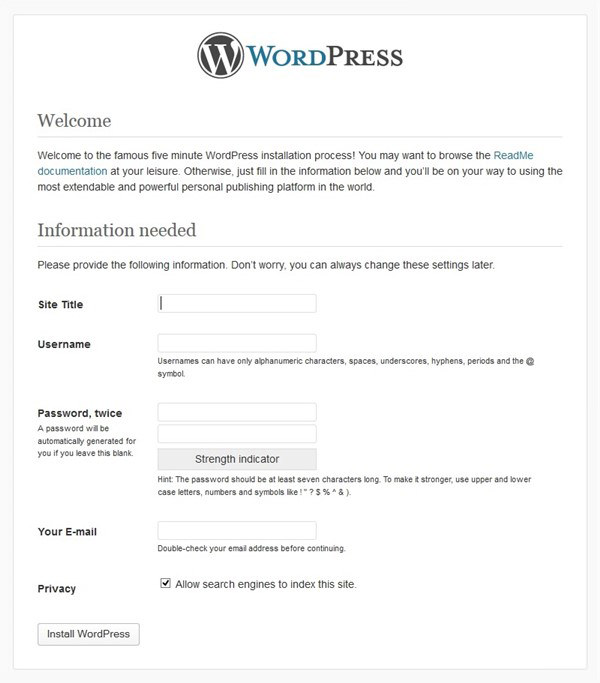
5. Enter the following details:
- Site Title: Choose a compelling title, like Hongkiat.com or AKSingh.net.
- Username: Select a secure username that isn’t easily guessed.
- Password: Create and confirm a robust password.
- Your E-mail: Provide a valid email address.
- Privacy: Ensure it is checked for privacy reasons.
6. Click on the ‘Install WordPress’ button and look for a success message from WordPress!
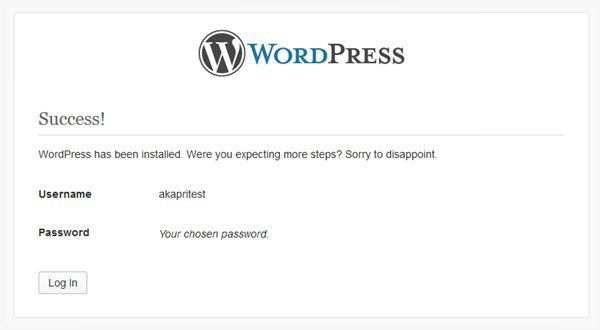
7. Your blog is now ready. Hit the ‘Log In’ button, enter your credentials, and start exploring the exciting world of your self-hosted WordPress blog.
All Done
Congratulations on successfully setting up your free WordPress blog on OpenShift! Your blog operates just like any self-hosted WordPress site but without the costs of traditional hosting. Ready to start posting? Log into your WordPress dashboard and unleash your creativity.
Explore more: