PNotify – Customizable JavaScript Notification Plugin for Your Website
For those of us constantly on the go, notifications keep us informed about important events, news, and updates. Notifications reduce waiting times while keeping us up-to-date with the latest happenings, making them essential on both desktops and mobile devices.
If you want to create notifications for your site, you can easily do so with a plugin called PNotify. It’s a free and open-source JavaScript plugin with numerous options and is user-friendly. With PNotify, you can display up to 1000 notifications simultaneously (check out this benchmarking test). How cool is that?
Why Use PNotify?
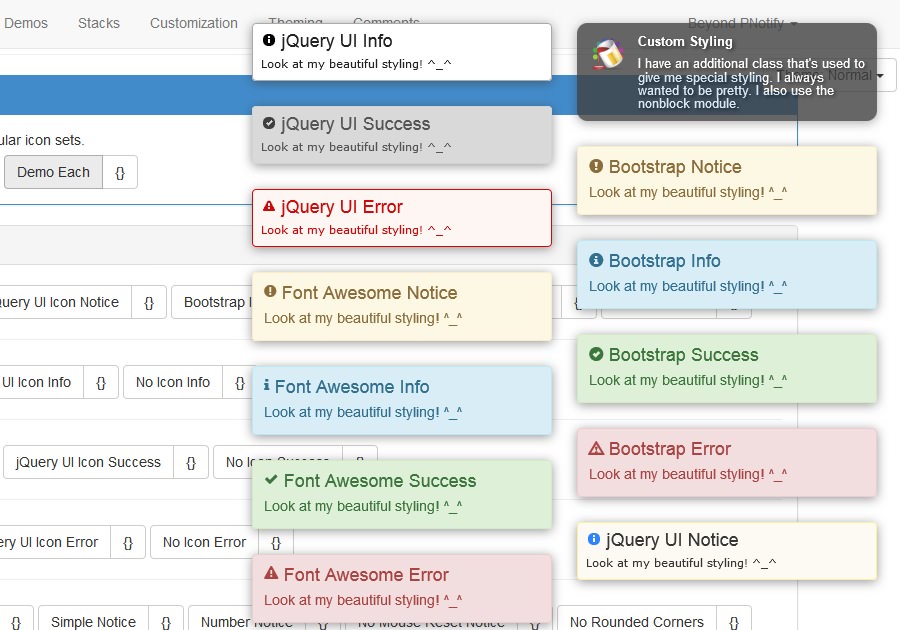
PNotify, formerly known as Pines Notify, offers three main notification types: info, notice, and error. It features a variety of effects, themes, and styles. You can choose from different styles such as Bootstrap, jQuery UI, Font Awesome, or even create your own. There are also about 18 pre-made themes available from Bootswatch and transition effects to enhance your notifications.
PNotify not only boasts impressive graphical features but also includes powerful APIs and modules. These APIs support desktop notifications (based on the Web Notifications Draft standard), dynamic updates, event callbacks, a history viewer to see past notifications, and HTML support in titles and bodies.
PNotify offers an unobtrusive notification experience, allowing you to click through elements behind the notice without dismissing it. You can also control the notification’s position using the Stacks feature, which lets you place notifications anywhere, such as top/bottom bars or tooltips.
Basic Usage
PNotify’s source files are available in customizable bundle modules and can be found here.
Getting Started
To get started, include the following script and stylesheet in your HTML:
<script type="text/javascript" src="pnotify.custom.min.js"></script>
<link href="pnotify.custom.min.css" media="all" rel="stylesheet" type="text/css" />
PNotify is straightforward to use. Here is a simple notification example:
$(function(){
    new PNotify({
        title: 'Simple Notification',
        text: 'Hey, I\'m a simple notification.'
    });
});
This is the result:

To create a notification, initiate a new PNotify function. You can pass the title, text, style, and other options within the function. If you don’t specify the notification type, it defaults to notice. There are over 20 configurable options. For a full list and their default values, click here.
Styling
To change the style, pass the styling option in the notification and specify your desired style. Available styles include bootstrap2, bootstrap3, jqueryui, and fontawesome. Remember to include the related style sources in your project.
For example, to change the notification style to the jQuery UI theme, use this snippet:
new PNotify({
    title: "jQuery UI Style",
    text: "Hey, I\'m styled with jQuery UI theme.",
    styling: "jqueryui"
});
Alternatively, you can set the default style for all notifications like this:
PNotify.prototype.options.styling = "jqueryui";
new PNotify({
    title: "jQuery UI Style",
    text: "Hey, I\'m styled with jQuery UI theme."
});
Here is the styled result:

Adding Modules
PNotify supports modules, which are rich APIs enabling advanced notification features. There are 7 modules available: Desktop, Buttons, NonBlock, Confirm, History, Callbacks, and Reference Module. You can use these modules by passing their respective options into the notification.
For example, here’s how to use the Desktop Module:
PNotify.desktop.permission();
new PNotify({
    title: 'Desktop Notification',
    text: 'I\'m a desktop notification. You need to give me permission so I can appear as intended. If not, I\'ll become a regular notification.',
    desktop: {
        desktop: true,
        icon: null
    }
});
The PNotify.desktop.permission(); method ensures users have given permission for the site to display notifications. If permission is denied, the notification will be shown as a regular notice.
To enable desktop notifications, set desktop: true. To disable it, set desktop: false. You can also use a custom icon via the icon option. Set it to your icon URL, false to disable the icon, or null to use the default icon.

For more module implementations and their options, visit this link.
Explore further implementation details and demos on the official PNotify site. You can also visit the GitHub page for additional information.