How to Create Post Draft In Jekyll
In the previous post, we have shown you how to install Jekyll and publish your first post with it. If you have followed it, you can see that creating a post is a breeze; we simply create a new Markdown file, save it within the /_posts folder, and it will show up in the blog immediately.
That, however, could be a problem if you have put your blog online. Your post may have unfinished sentences, contain errors, and a few other things that should not be seen by your readers.
That’s why we usually create a draft first before pressing the Publish button. So, in this post, we will show you how to create a post draft in Jekyll before it hits the public eye.
Recommended Reading: How To Create A Blog With Jekyll – A Beginner’s Guide
But first, let’s start up the Jekyll server with the following command line.
jekyll server --watch
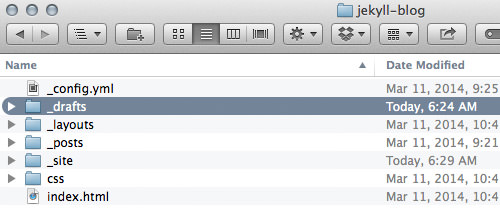
File and Directory
Prior to version 1.0, working with a draft in Jekyll is hardly manageable. There are numerous ways to deal with it.
Some have set published: false in the post files to prevent it from being published, and some put future: false in the configuration file to prevent Jekyll from generating posts with a future date — which still will be published once the date rolls around.
Now, Jekyll has made things simpler to control.
Jekyll relies on strict directory structure. In the case of creating drafts, we need to create a new folder named _drafts. We put all drafts into this folder.
The draft file name does not have to include the post date; we can just name it this way:
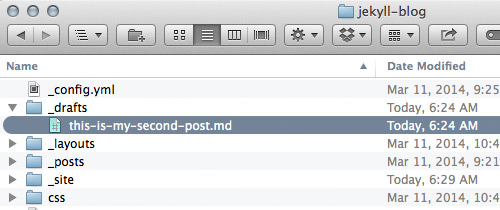
Jekyll will ignore this folder. You can write your post as usual, and it won’t be displayed out in the open yet. Once you are done with your post, you can put it in the _posts folder, and add a proper date in the filename.
Hold on?!
Hold on, can’t we just create any folder? Well, the _drafts folder name is the official naming convention to put your drafts in. We technically can name the folder anything, but doing so would prevent us from previewing our drafts.
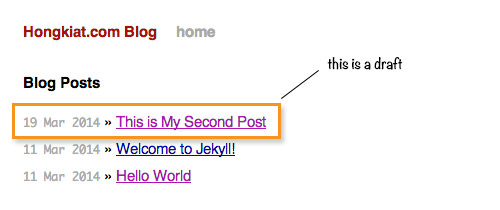
In Jekyll, we can run the jekyll command with the --drafts flag to preview the drafts: jekyll server --watch --drafts Refresh your blog, and you will see the draft appear on the blog. The draft will be displayed with its latest modified date.
Conclusion
We have shown you how to create a draft in Jekyll. It’s quite simple. But we can make the workflow from draft to publication more streamlined with the help of a plugin. We will discuss it in the next post. So, stay tuned.