How to Use Gmail With Your Custom Domain Name
When you’re running a business or company, sending and receiving emails with a @gmail.com doesn’t look very professional. But, if you already have a domain name, you can use Gmail with that very domain name. It allows you to use Google’s Gmail interface to check, send and reply emails, all using anything@customdomain.com.
In this tutorial, I’m going to show you how to link your domain registered with NameCheap with Gmail on Google Workspace (formerly known as G Suite). Let’s take a look.
Gmail Tips & Tricks For Inbox
Gmail is one of the most used email service providers; and there is a good reason behind it.... Read more
- If you already have a domain name, go to Google Workspace, click Start Free Trial to sign up for an account. If you don’t yet have a domain, you can get a domain + sign up for Google Workspace all via NameCheap. (See here for the complete process).
- Sign in to Google Admin Console. If you are doing this for the first time, you’ll need to Accept Google Workspace Terms of Service.
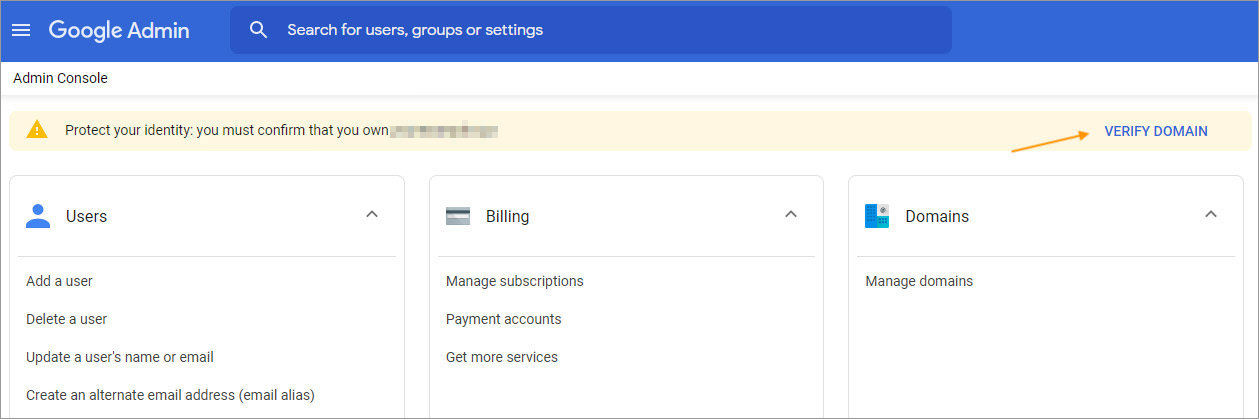
- Click Verify Domain on the top right corner.
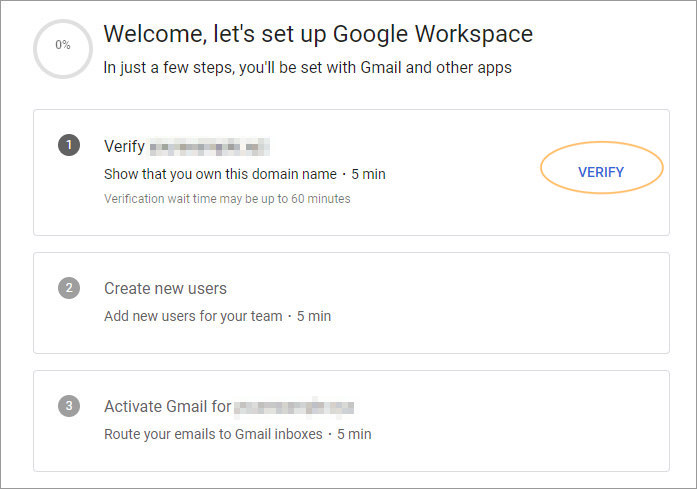
- Select Verify from the options.
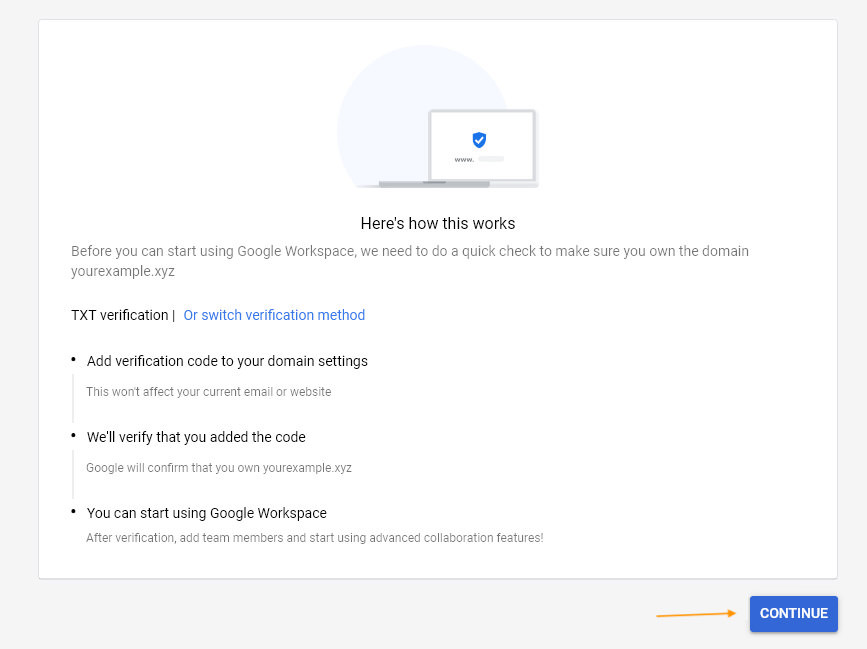
- Follow the instructions mentioned under Here’s how it works and then click Continue.
- On the next page, under Let’s add your verification codes, click Copy to copy the verification codes to your clipboard.
- Now, open a new browser window and log in to your NameCheap account.
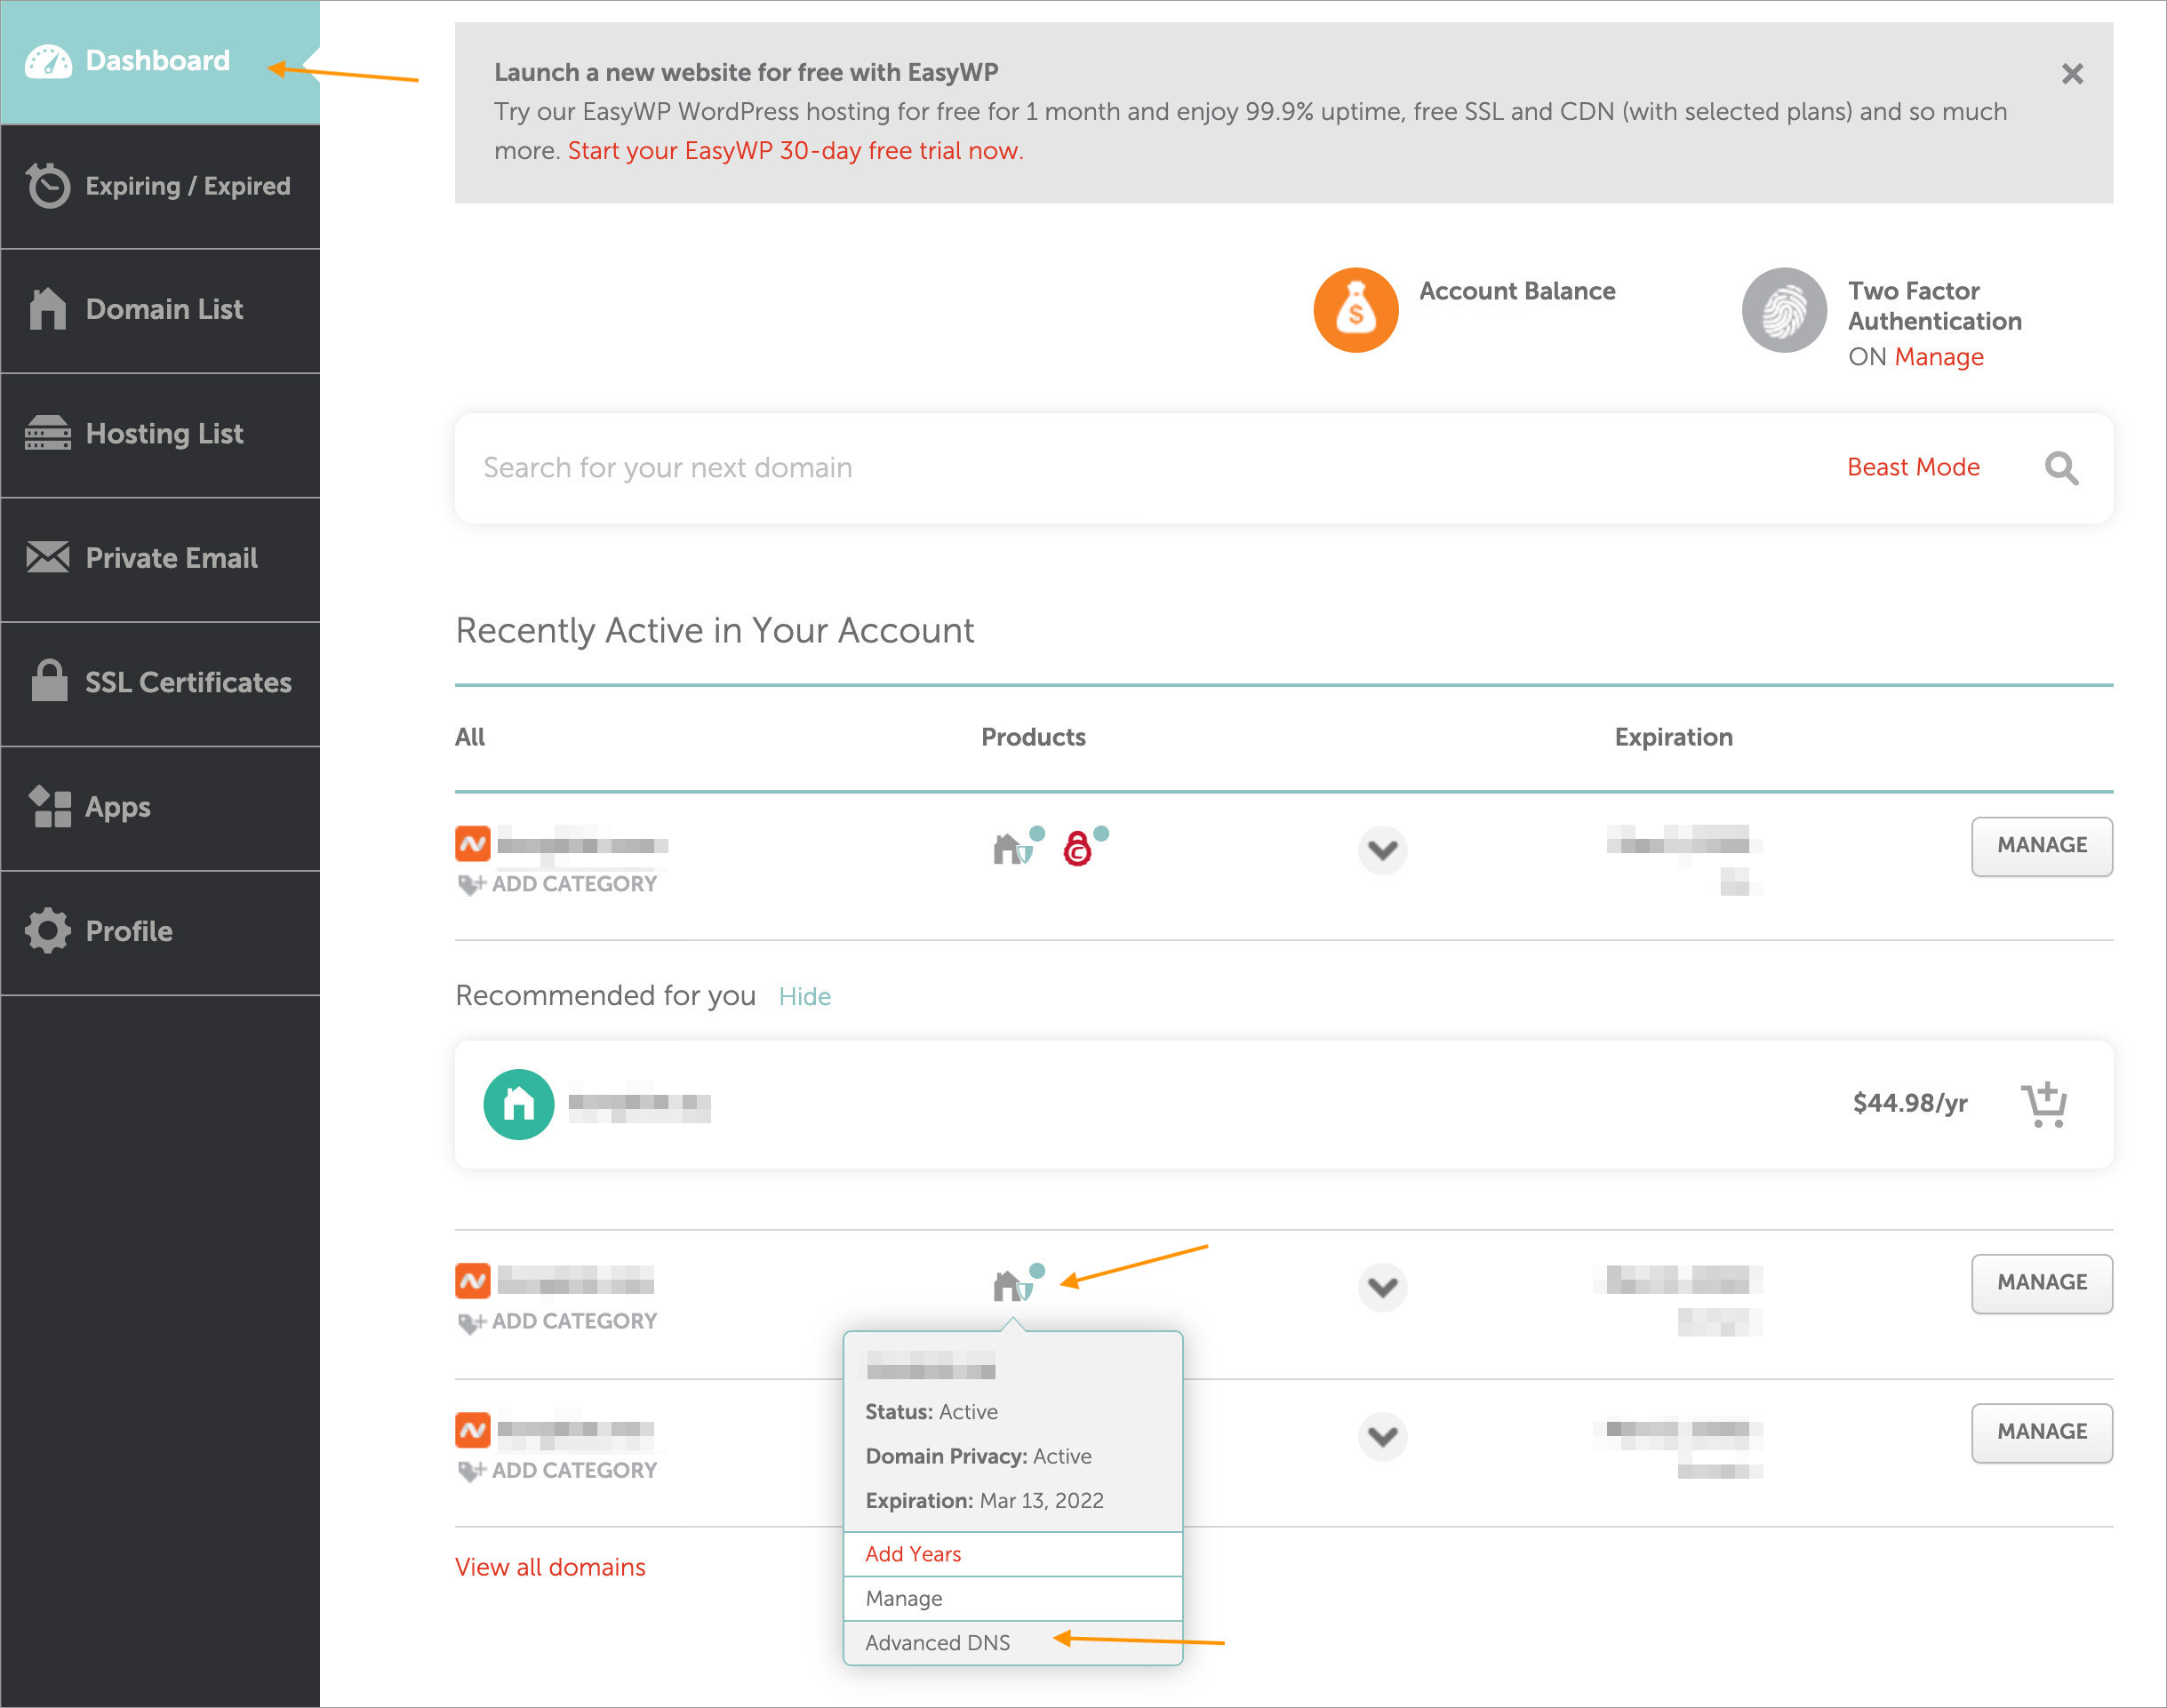
- In the Dashboard tab, look for your domain. Hover over the home icon, and click Advanced DNS.
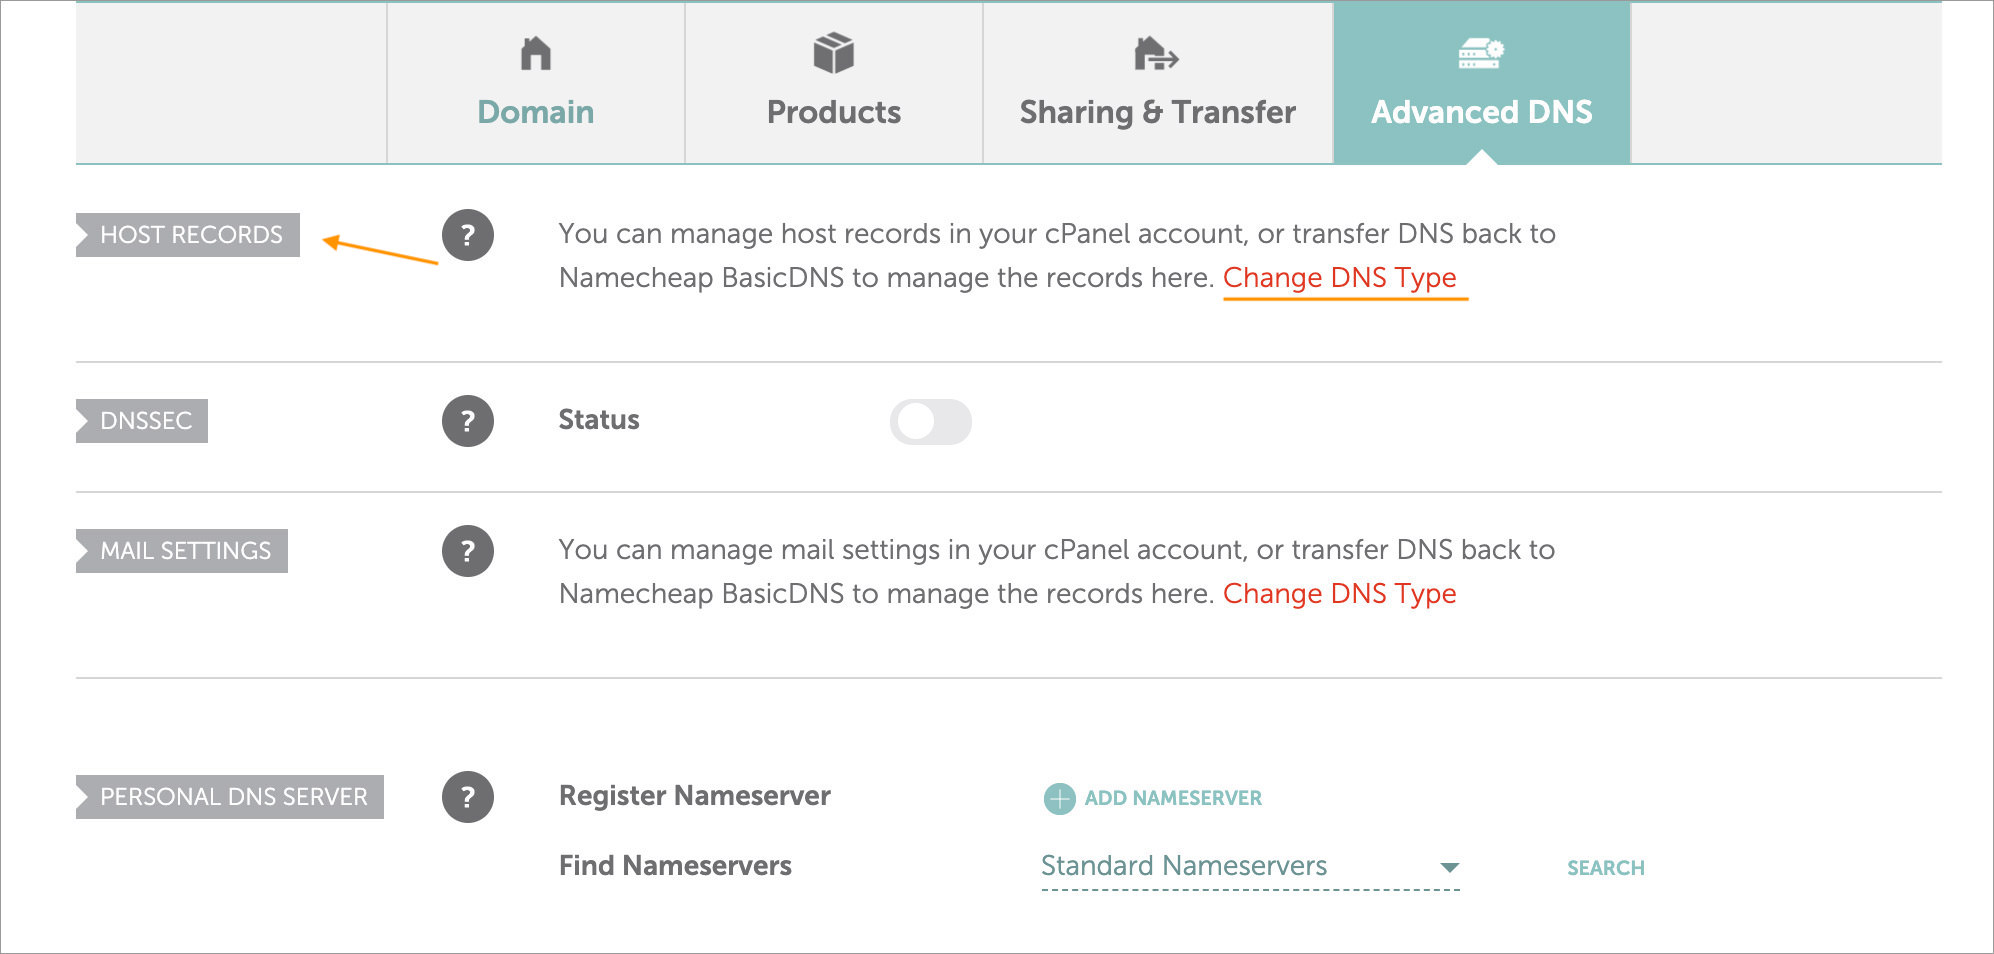
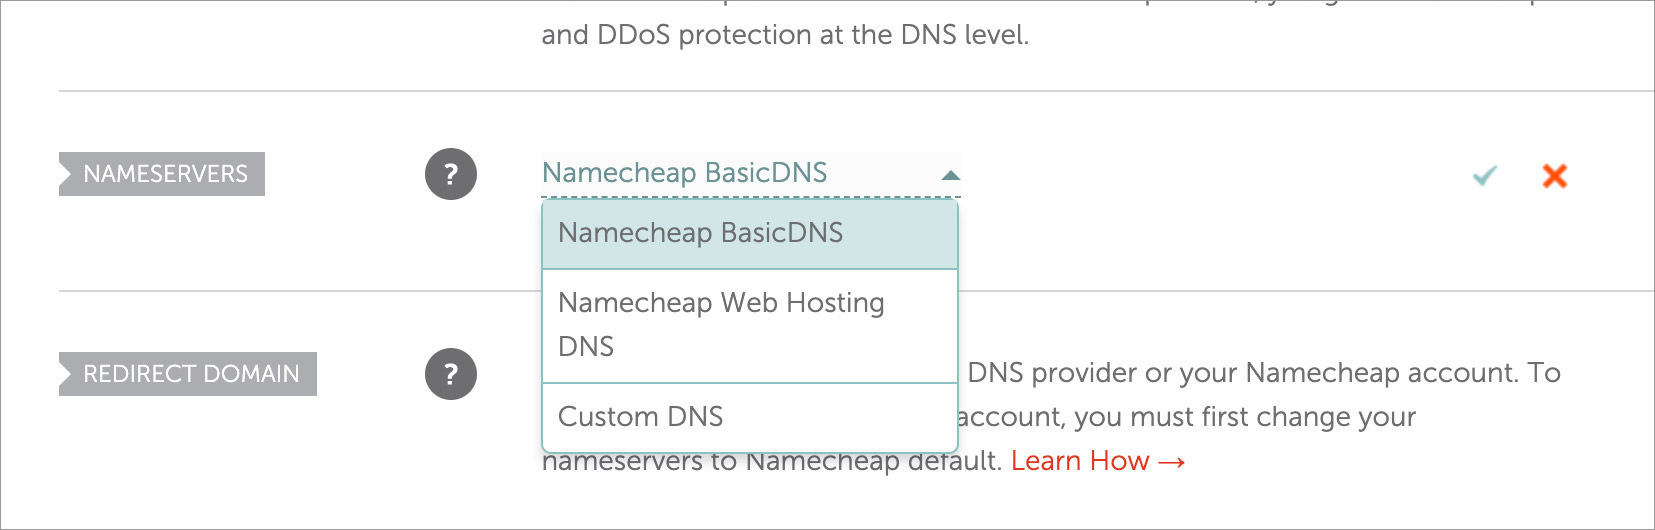
- Beside Host Records, click Change DNS Type, then beside Nameservers, choose Namecheap BasicDNS, and click the tick icon.
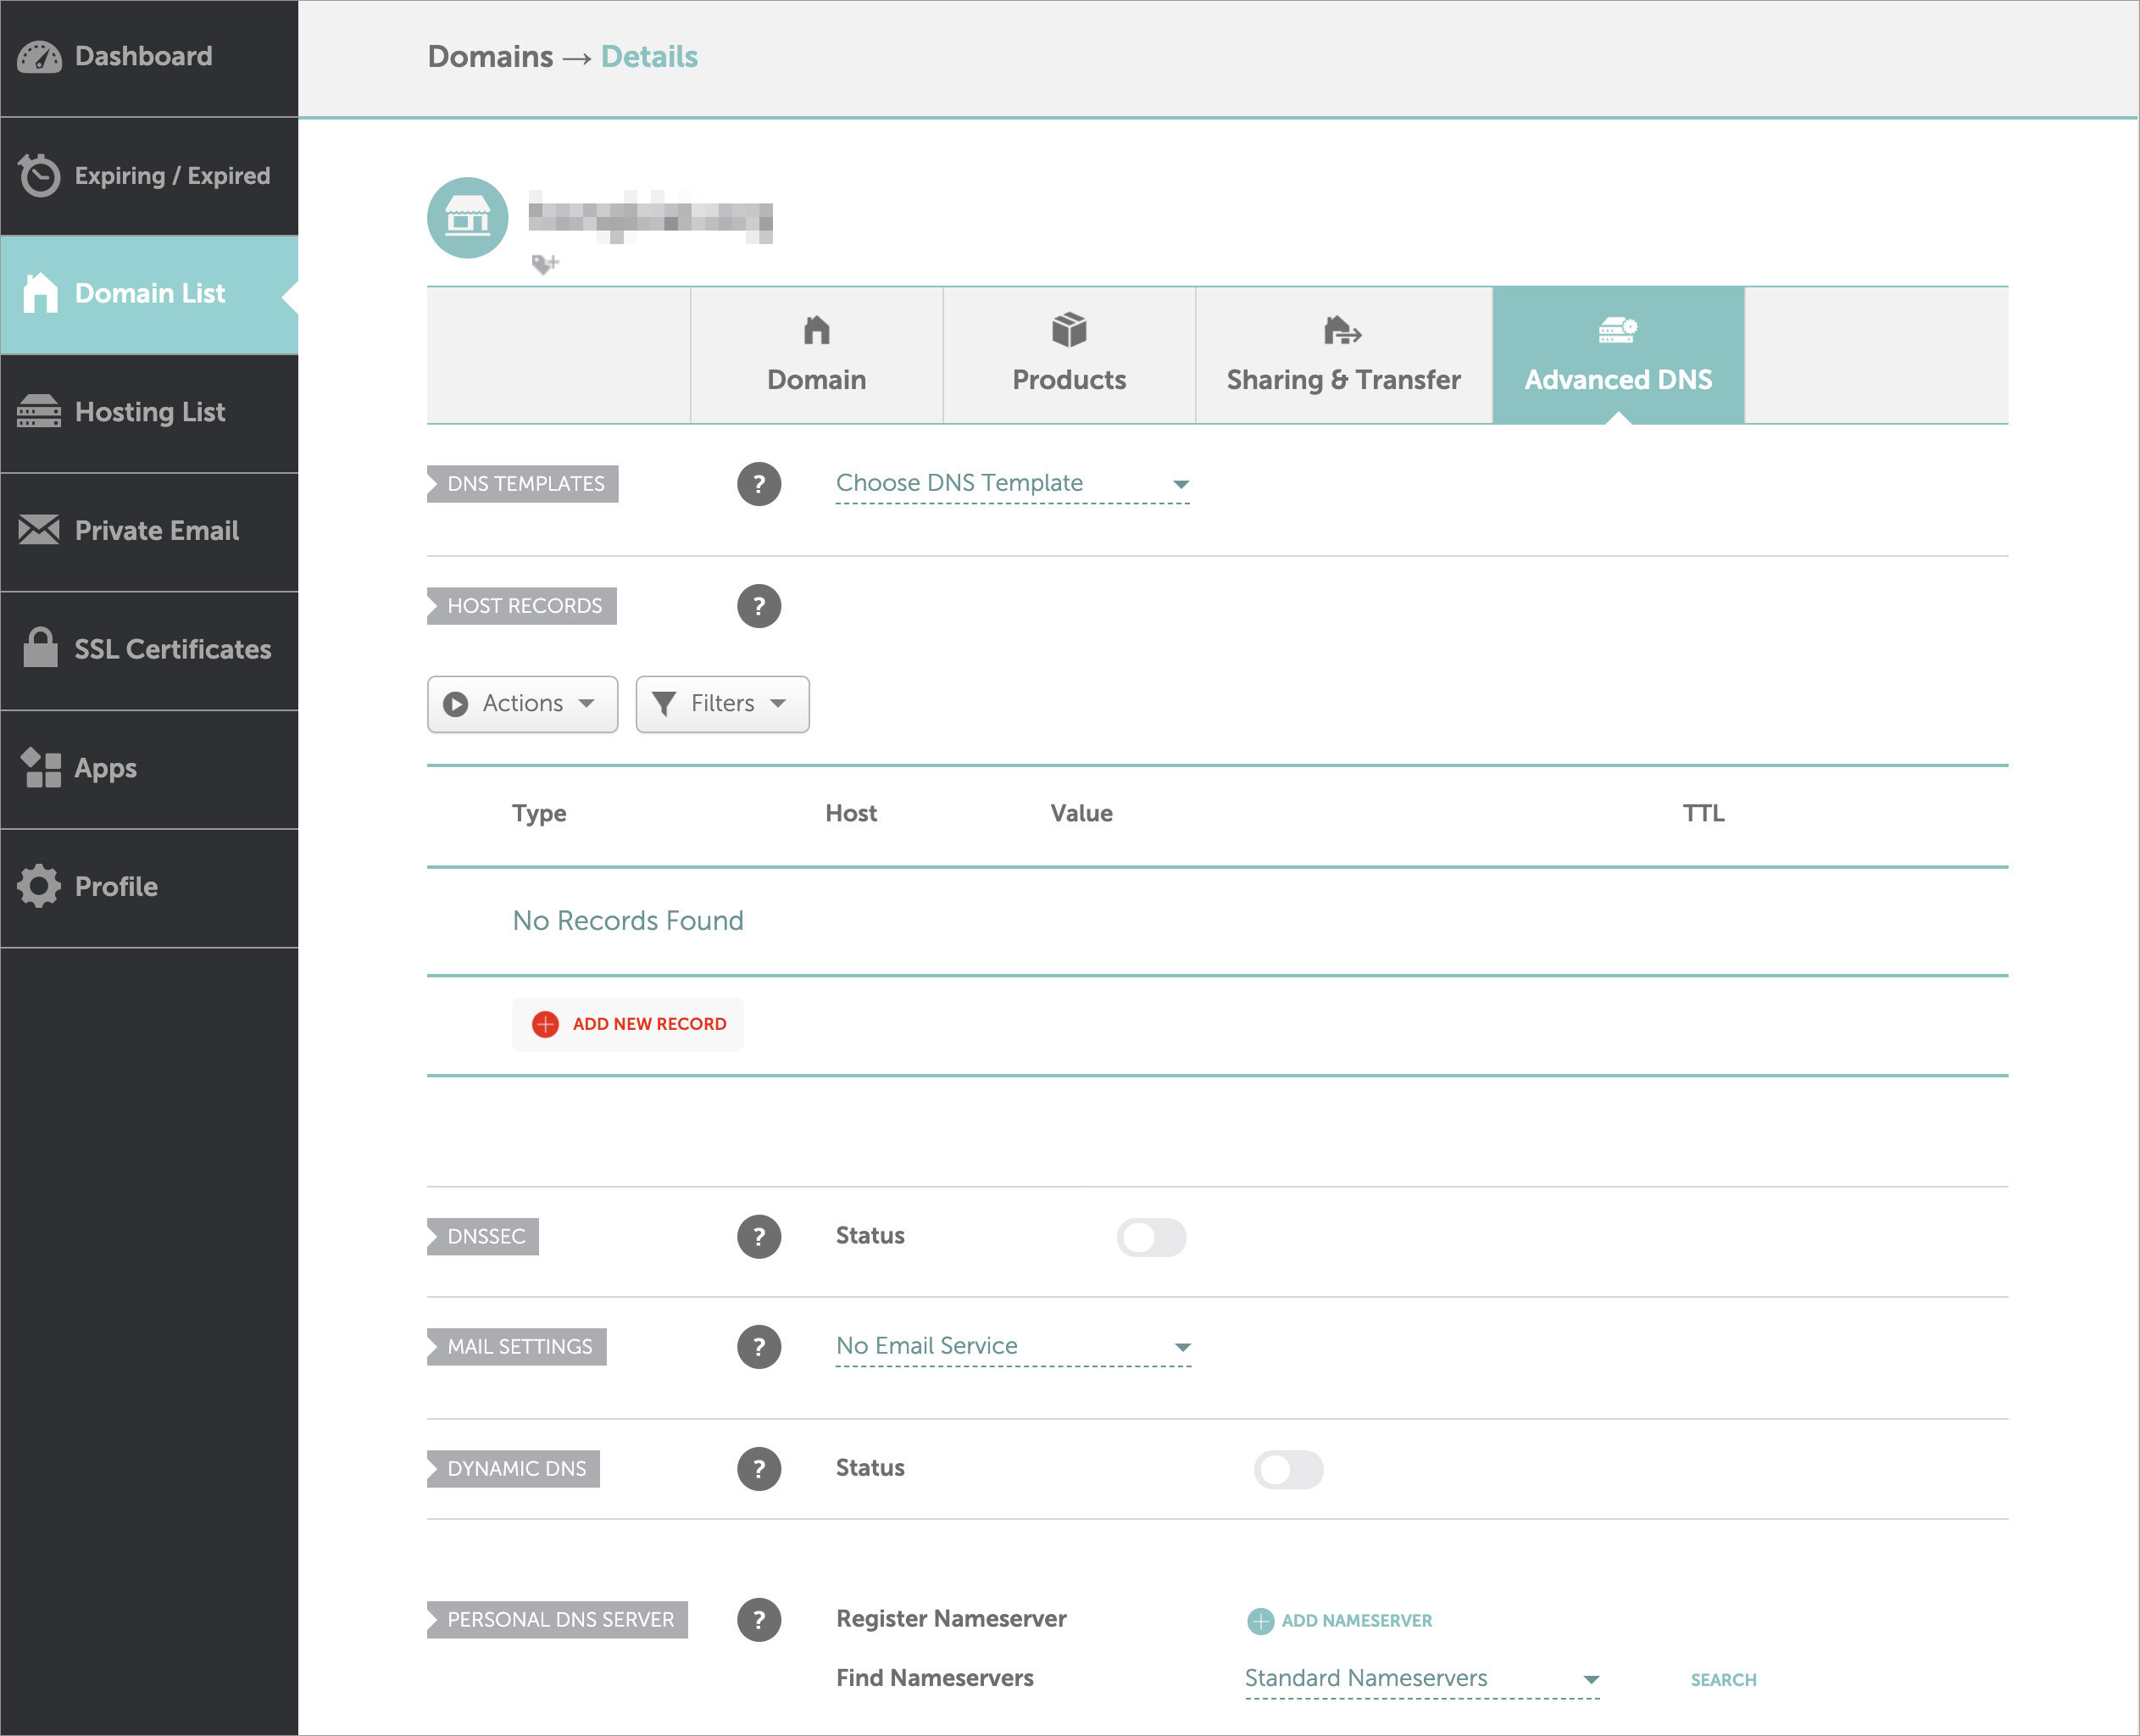
- Under Host Records, if you see this screen, then it means that you’re on the right track so far.
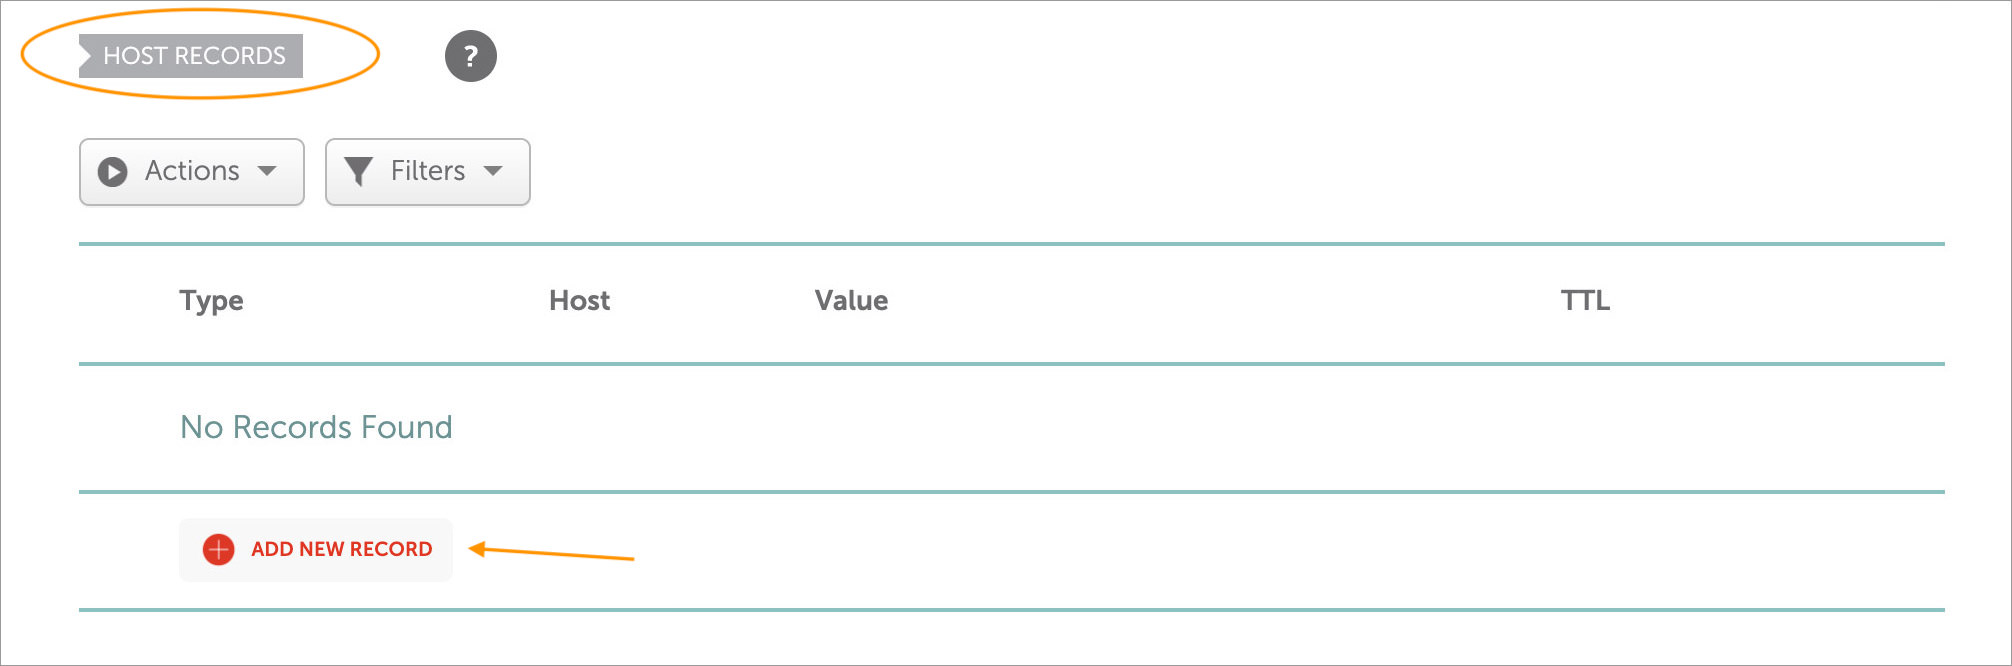
- Now, under Host Records, click Add New Records.
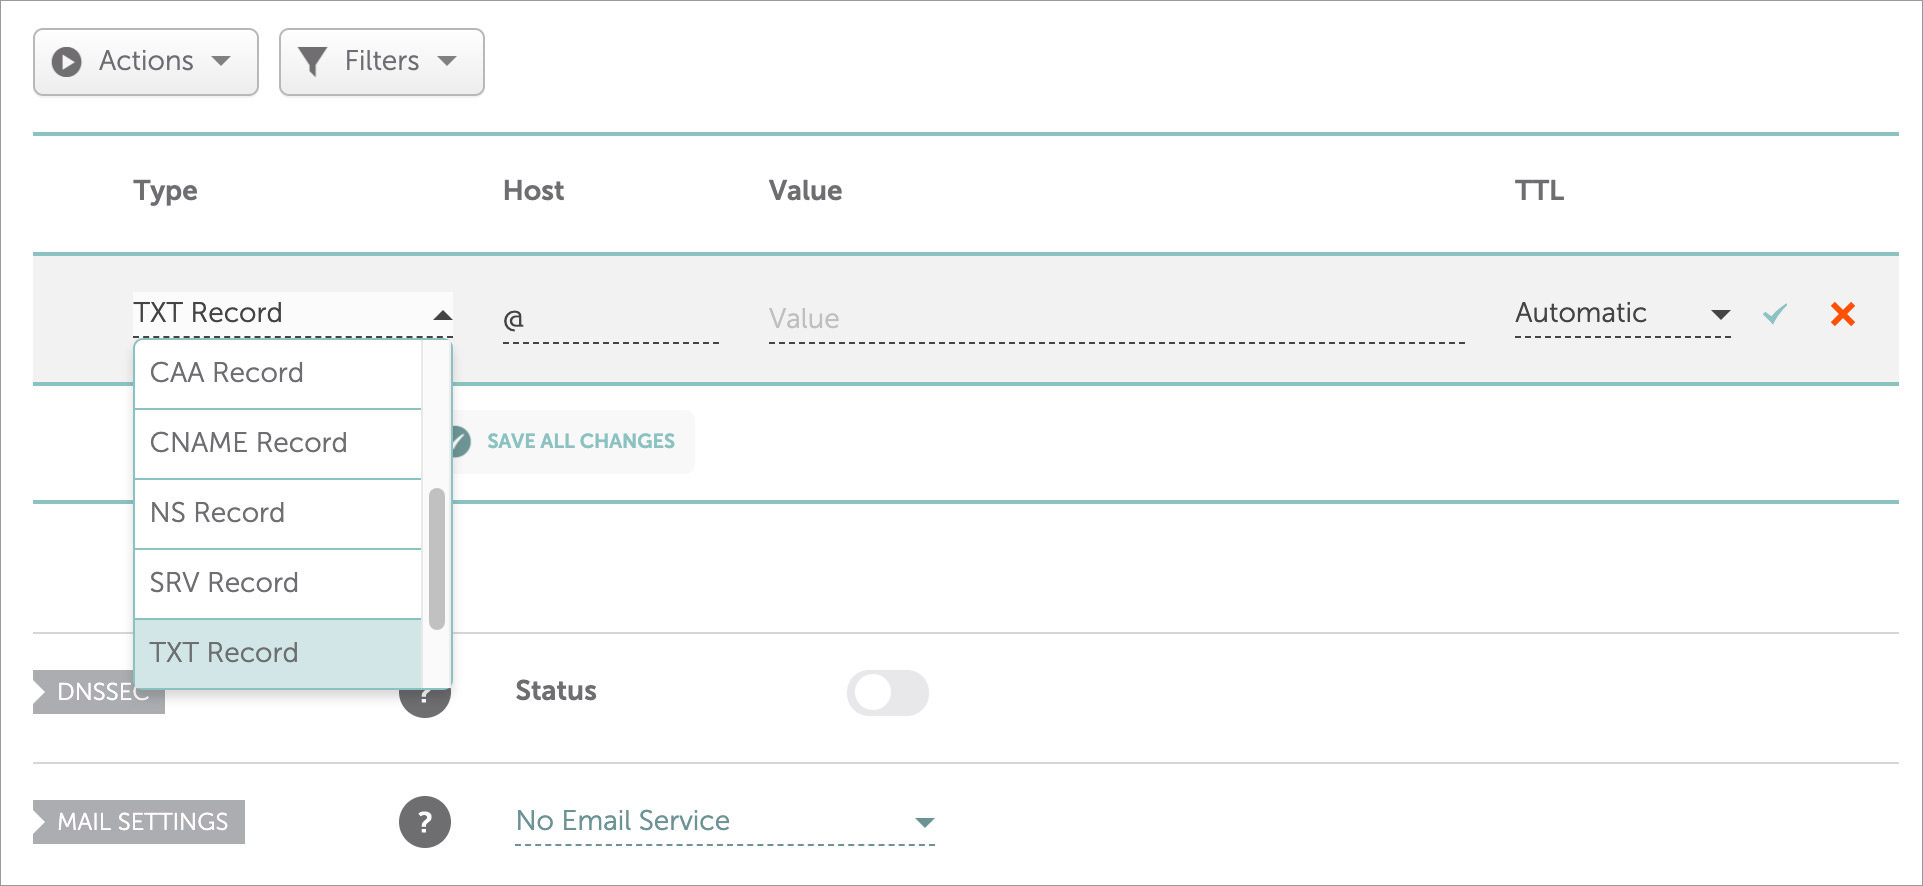
- In the drop-down menu under Type, select TXT Record. Similarly, under Host, enter @, and under Value, paste in the verification codes copied earlier, and then click the tick icon.
- In the Mail Settings, select Gmail from the drop-down menu, and then click Save Changes.
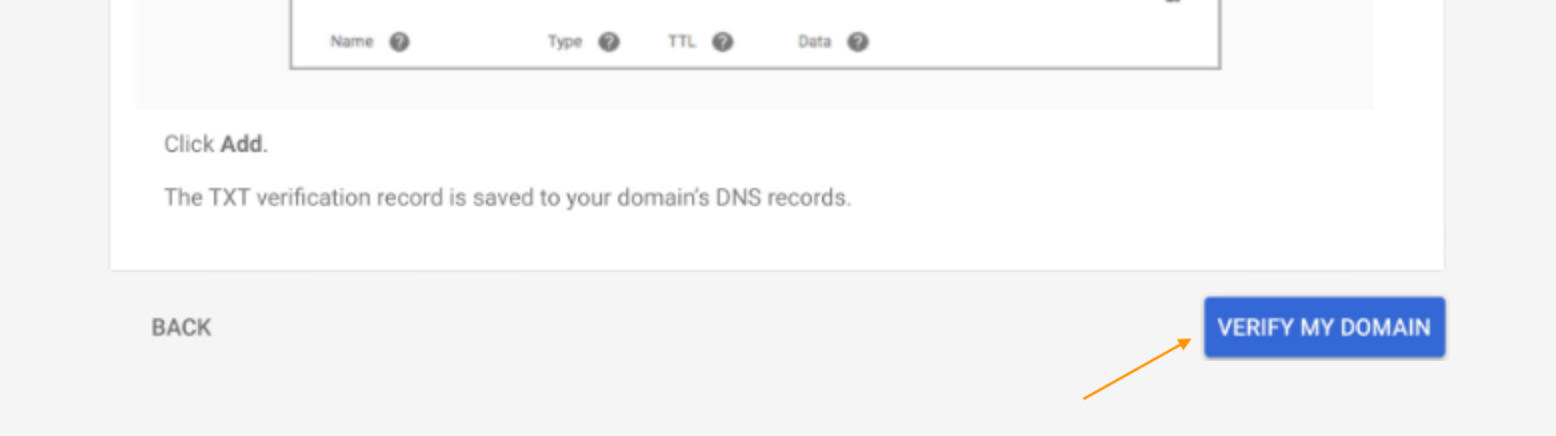
- Now, back to the other browser of your Google Workspace, scroll to the bottom, and click Verify my domain.
- Wait till the verification process is finished, and you will see the following message.


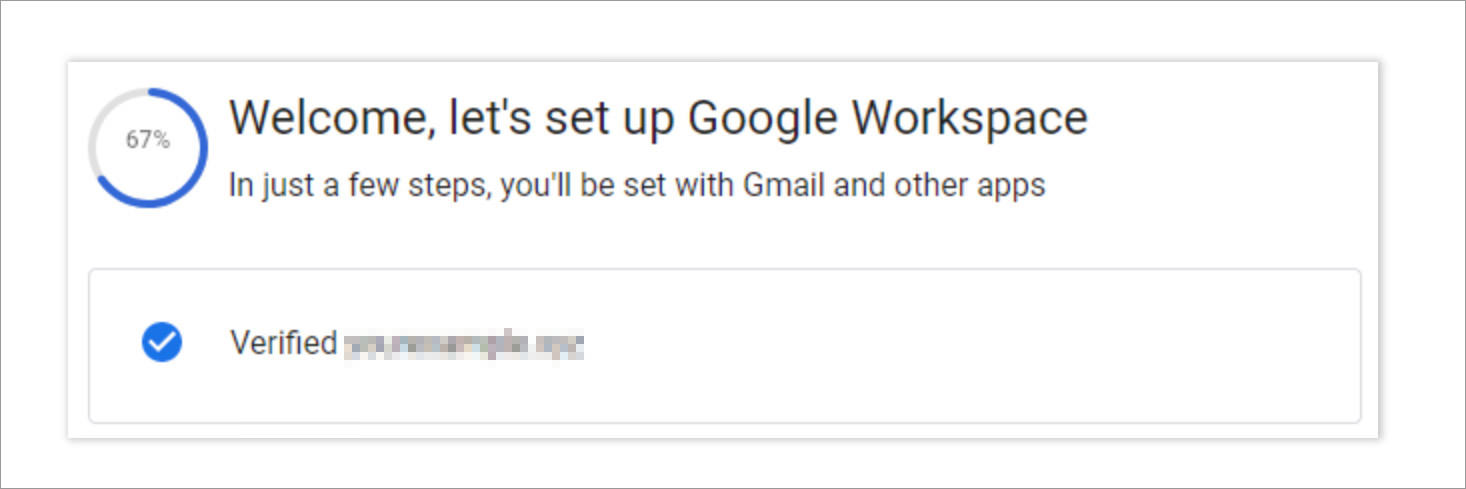
That’s it, you’ve got your domain in NameCheap verified for your Google Workspace. If you want to add a new user, go to Google Admin and do take the needful steps. Every user you’ll add will have their own username@customdomain.com email.