How to Install AUTOMATIC1111 for Stable Diffusion on Mac
In the previous post, we talked about installing and running stable diffusion on Mac using Diffusion Bee. Although Diffusion Bee is easy to install, it doesn’t offer many options for customizing the image you want to create. That’s where AUTOMATIC1111 comes in.
AUTOMATIC1111 (also known as A1111) Stable Diffusion WebUI is a more advanced graphical user interface (GUI) that gives you more control and customization options. In this guide, we’ll show you how to install and use AUTOMATIC1111 on your Mac.
So, open up your Terminal app and let’s begin.
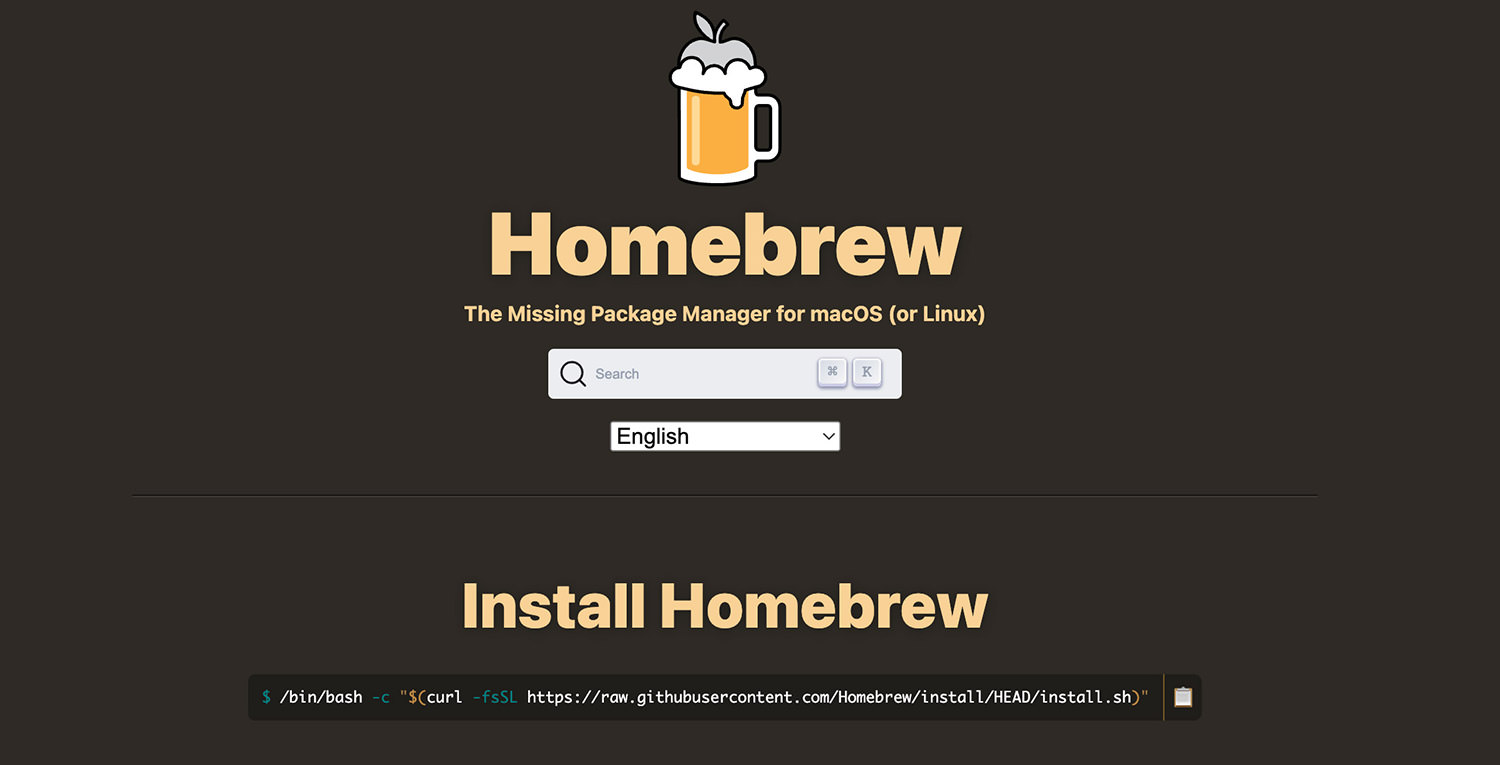
Step 1 – Install Homebrew
Before we proceed, we need to install Homebrew on your Mac. If you haven’t installed it yet, you can do so by copying and pasting the following command into your Terminal and pressing enter. This will install Homebrew on your system.
/bin/bash -c "$(curl -fsSL https://raw.githubusercontent.com/Homebrew/install/HEAD/install.sh)"
Step 2 – Install Other Packages
Next, we need to install several other packages that are necessary for the installation process. These packages include cmake, protobuf, rust, python, git, and wget .
To install them all at once, type in the following command. If any of the packages have already been installed, they will be skipped during the installation process.
brew install cmake protobuf rust python@3.10 git wget
Step 3 – Clone AUTOMATIC1111
Now we’ll make a copy of AUTOMATIC1111 on your Mac, in the home directory. To do this, type cd in Terminal and hit Enter. This will take you back to the home folder.
In the home folder, use the following command to make a copy (git clone) of AUTOMATIC1111 in your home directory.
git clone https://github.com/AUTOMATIC1111/stable-diffusion-webui
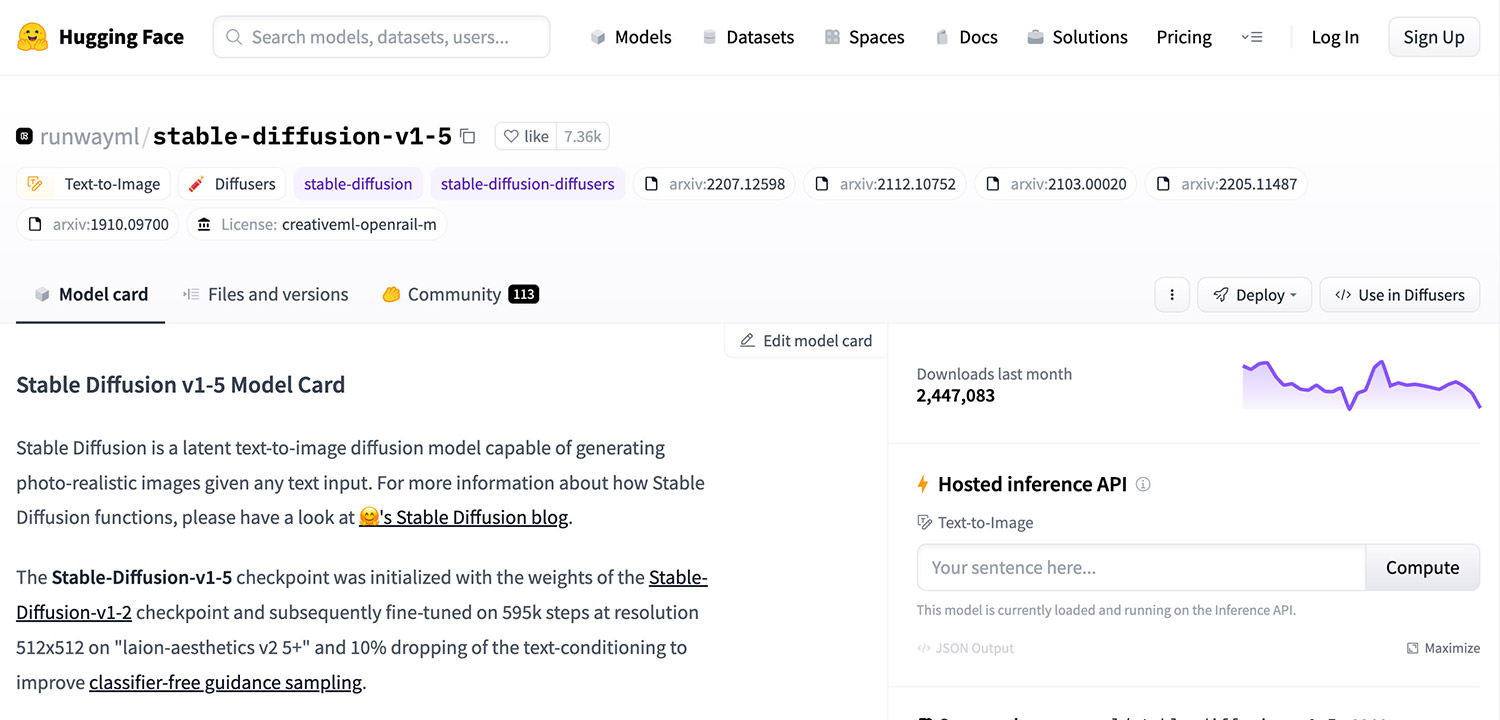
Step 4 – Download Stable Diffusion Model File
To run Stable Difussion using AUTOMATIC1111, you’ll need a model as well. You can download the v1.5 model of Stable Diffusion by going to this page, or directly from the link below. Keep in mind that the file size of this model is over 4GB, so it may take some time to download.
Download v1-5-pruned-emaonly.ckpt
Step 5 – Move Model File to Directory
After downloading the model file, you need to place it in the folder named stable-diffusion-webui/models/Stable-diffusion. To navigate to this folder in the Terminal, type the following command:
cd stable-diffusion-webui/models/Stable-diffusion
Then, to open the folder in Finder, type in the following command and hit Enter.
open .
Drag and drop the downloaded file into the folder. After doing so, the folder should contain two files. You should see something similar to the screenshot below.

Step 6 – Run AUTOMATIC1111 in Terminal
To run AUTOMATIC1111, copy and paste the following command in Terminal. Keep in mind that this may take some time to run for the first time, as there are additional packages that need to be installed.
cd ~/stable-diffusion-webui;./webui.sh
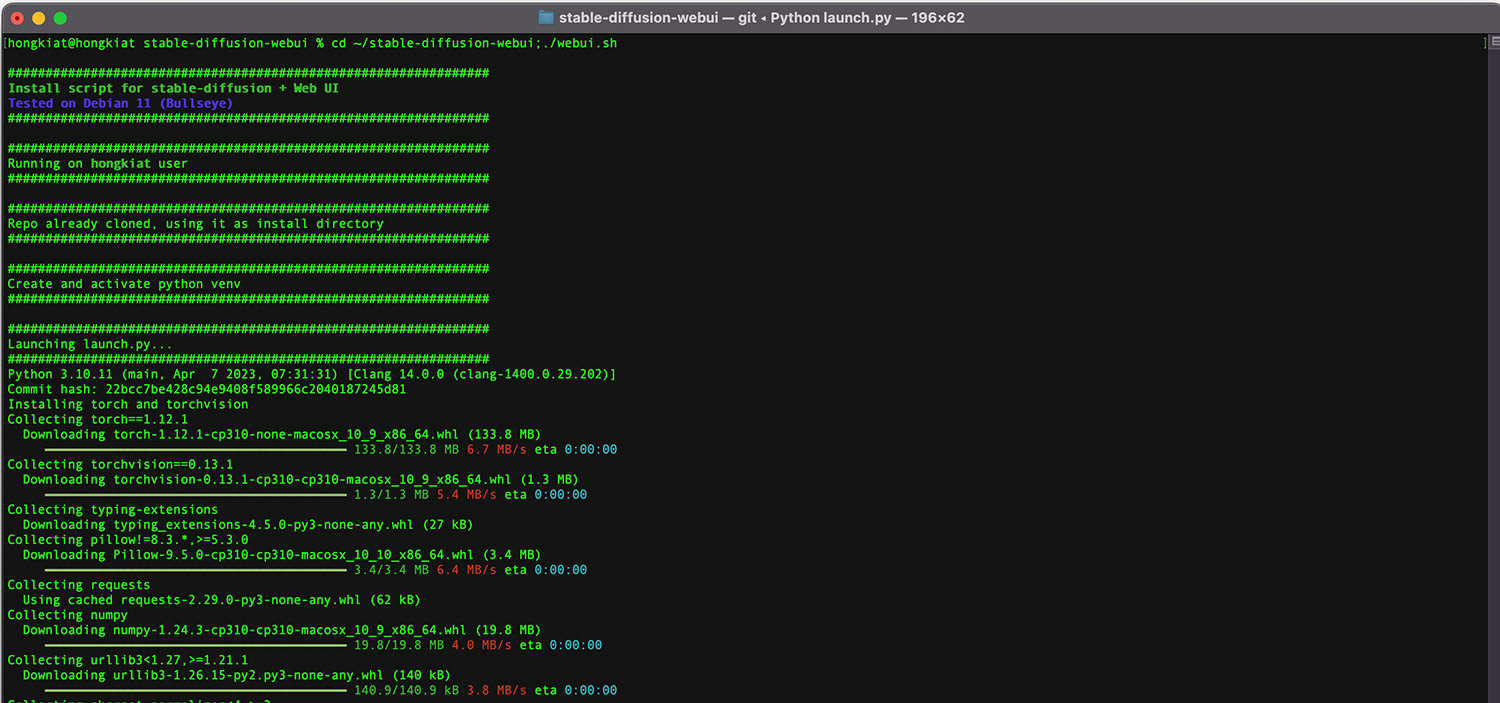
When you see something like the screenshot below in your Terminal, it means AUTOMATIC1111 has been successfully launched.

Step 7 – Access Stable Diffusion on Browser
To access the AUTOMATIC1111 GUI, open a web browser and navigate to the following URL: http://127.0.0.1:7860/. Once you arrive at this page, you will be greeted with the AUTOMATIC1111 user interface.
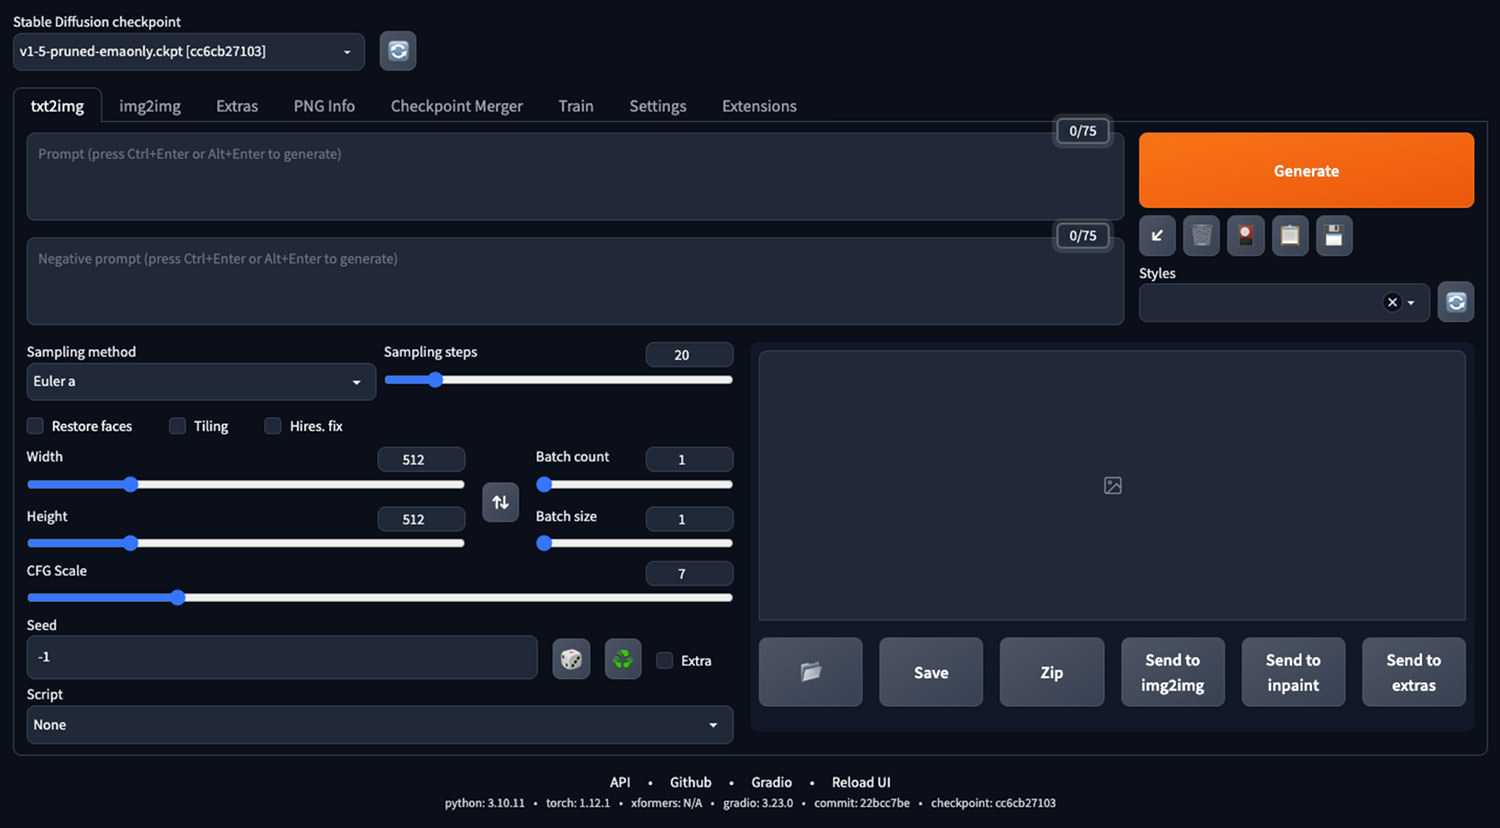
Step 8 – Test It!
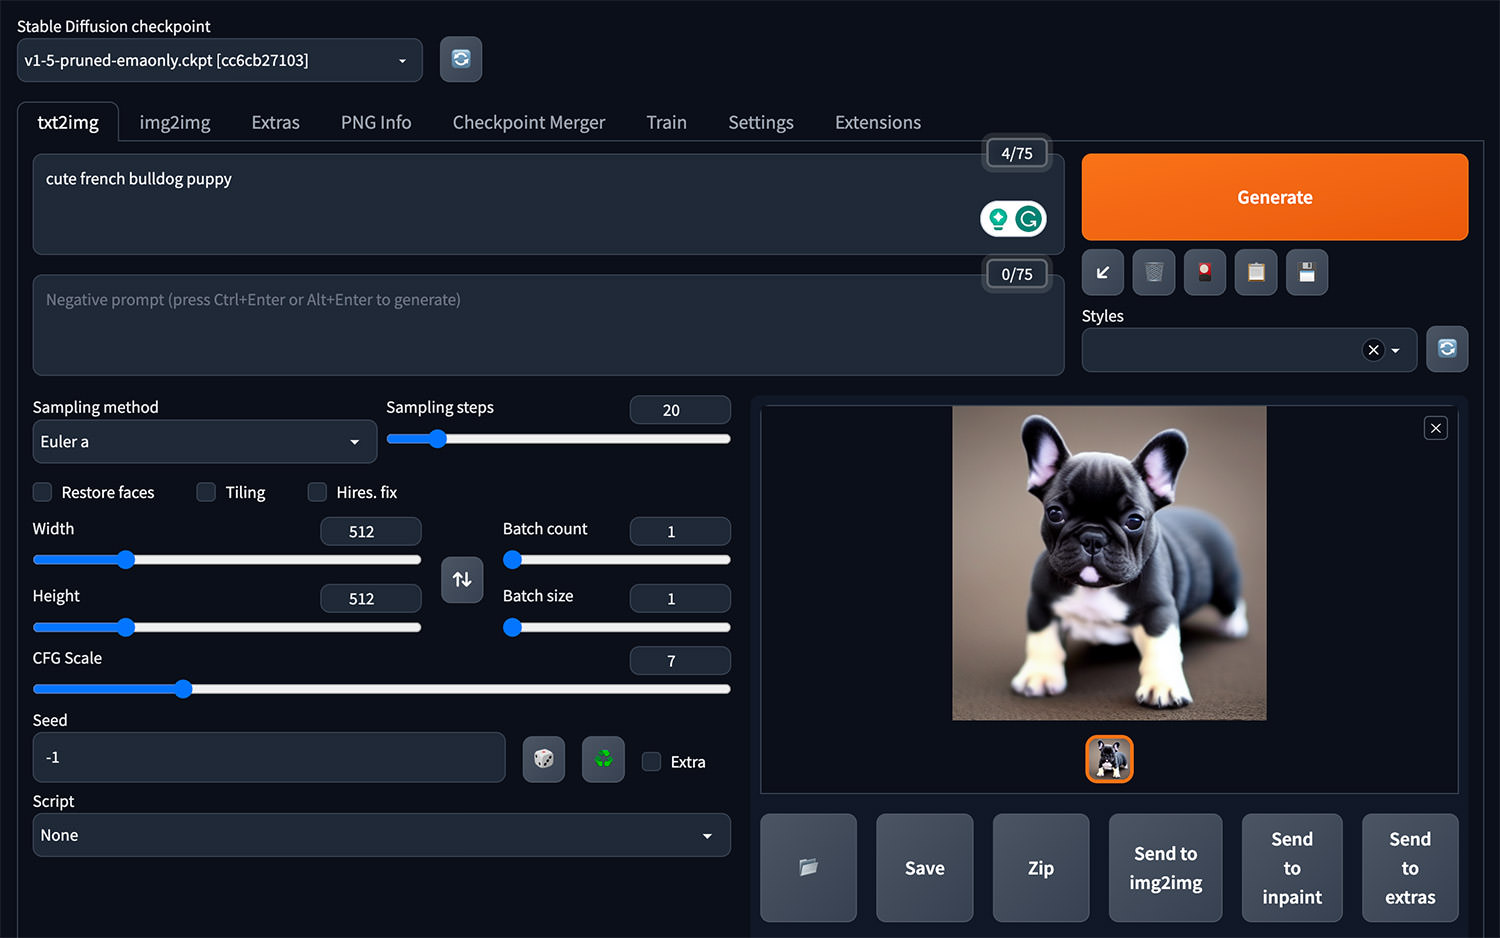
To test whether AUTOMATIC1111 is working properly, navigate to the “txt2img” tab on the GUI. From there, enter a prompt such as “cute french bulldog puppy” and click the “Generate” button.
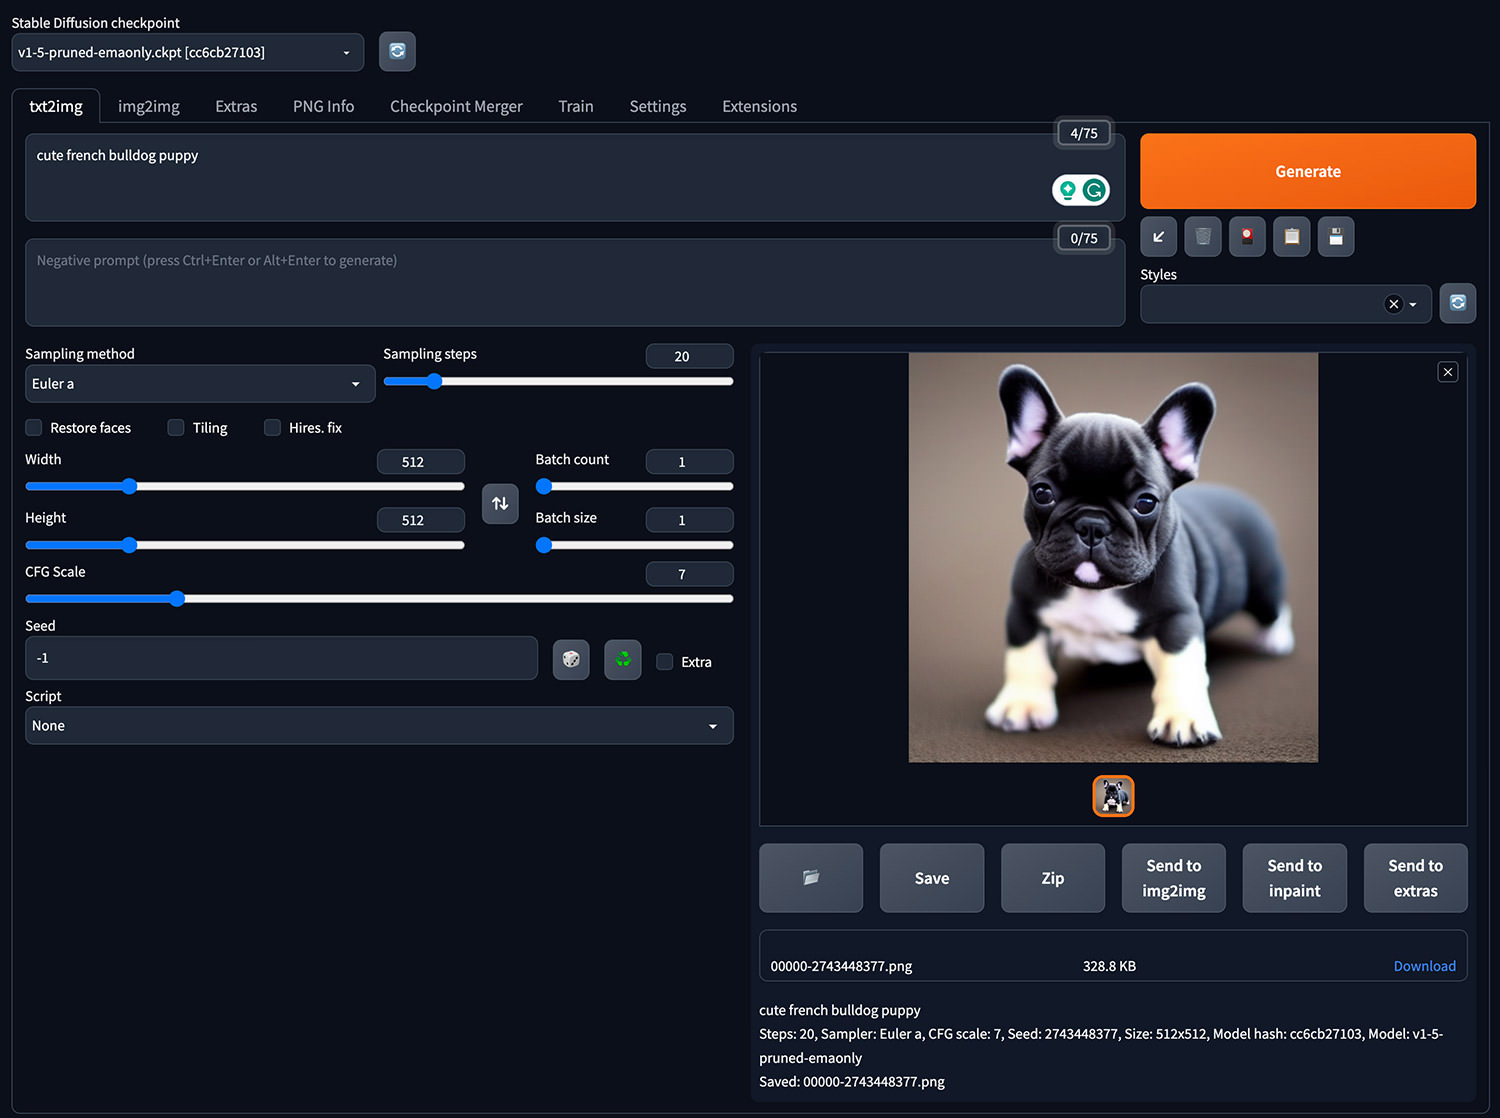
Once you’ve clicked the “Generate” button, the image generation process will begin. You can monitor the progress of the image generation both in the GUI and in the terminal.

Troubleshooting
Although the installation process may not be entirely smooth, there are ways to fix any errors that may arise. In the following sections, I will outline some common errors that I encountered during my own installation process, along with the solutions I used to fix them.
If you encounter similar issues, I hope that these solutions will be helpful to you.
Error #1
ERROR: Could not find a version that satisfies the requirement torch==1.12.1 (from versions: 2.0.0)
ERROR: No matching distribution found for torch==1.12.1
This error occurs while the system is trying to install additional packages at the beginning stage of executing the cd ~/stable-diffusion-webui;./webui.sh command.
Solution:
When trying to run AUTOMATIC1111, you may encounter an error that indicates it requires Torch version 1.12.1 instead of the latest version 2.0.0. While it is possible to use an older version of Torch to resolve this issue, the process can be complicated. Instead, a simpler solution is to reinstall Python (which solves the problem for me). If you encounter this problem, you can try the following commands, in sequence:
brew uninstall python3
brew install python3
After completing the reinstallation of Python, run the same command again by typing it into the Terminal.
cd ~/stable-diffusion-webui;./webui.sh
Error #2
stderr: ERROR: Could not install packages due to an OSError: [Errno 13] Permission denied: '/us/local/dev. txt'
Consider using the - -user option or check the permissions
This is an error that you might encounter towards the end of executing the command: cd ~/stable-diffusion-webui;./webui.sh.
Solution:
Use the following command instead, and enter your Mac’s password when asked.
sudo cd ~/stable-diffusion-webui;./webui.sh