How to Publish a Post to WordPress via Email
WordPress post and page editor comes with a WYSIWYG editor, making it as easy to write and format posts as using a word processor like Microsoft Word or Pages. But did you know you can also write and publish posts through email?
There are times when sending a post by email can be very useful, such as when you accept contributions from others but don’t want to give them account access. Instead of sifting through a crowded inbox, this method lets you find the post directly in the WordPress backend.
Let’s see how it’s done.
Enabling Infinite Scroll for WordPress Themes
On the web, Infinite Scroll is a technique that loads content continuously as users scroll down a page.... Read more
Required Setup
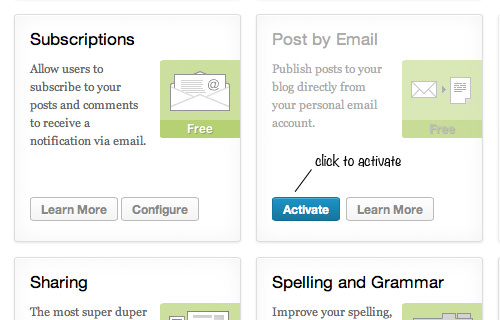
Posting by email on a self-hosted WordPress site is possible with Jetpack. Make sure you have it installed and the feature activated, as shown below.
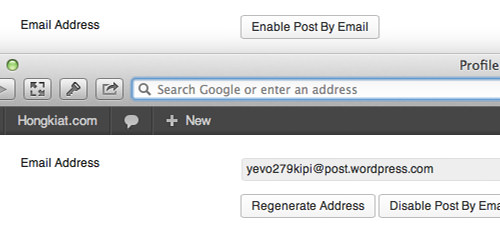
Next, go to Profile > Your Profile and enable Post by Email. This will generate a unique email address to send the post to. Users with “Publish Post” privileges, like Authors and Editors, may need to create their own unique email addresses as well.
Remember, anyone with this email address can publish posts to your blog, so keep it secret.
Now that we’ve set up the requirements, let’s move on to the Email app.
Sending a Post Through Email
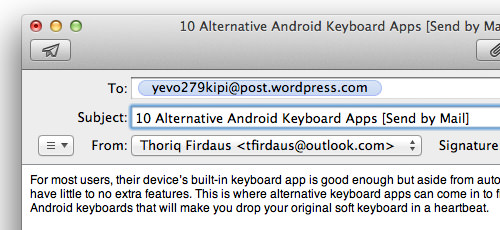
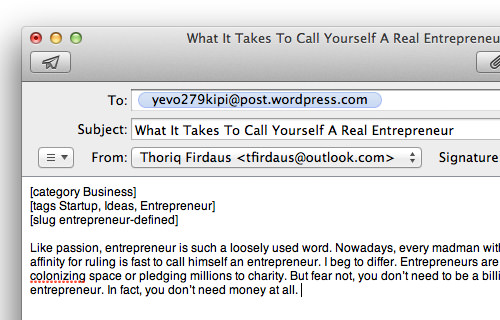
Compose the post content as you would in an email. You can write in plain text or rich text format and set the post title in the email Subject. Send it to the unique email address you generated earlier.
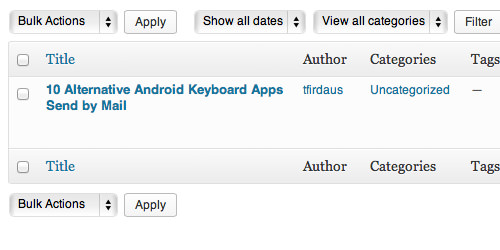
Log in to the WordPress backend, and you should see the post published. Note that users with Contributor status won’t be able to publish posts immediately; their posts will be pending review.
The Shortcodes
You can use shortcodes to configure the post, such as setting the post to “published” or “draft,” specifying categories and tags, and naming the post URL slug. Here’s a list of useful shortcodes:
- [title Your post title] – Set the post title.
- [slug some-url-name] – Name the post slug URL.
- [category x,y,z] – Specify the post categories. If they don’t exist, WordPress will create them.
- [tags x,y,z] – Specify the post tags.
- [excerpt]some excerpt[/excerpt] – Wrap the post excerpt.
- [delay +1 hour] – Delay the post publishing time, scheduling it automatically.
- [comments on | off] – Allow or disallow comments.
- [status publish | pending | draft | private] – Set the post publishing status.
- [password secret-password] – Set a password for the post.
- [more] – Split the post to show only the first part.
- – Split the post into pages.
For more shortcodes, check out this post.
There’s no restriction on where to place the shortcodes. Here’s an example.
Final Thought
Note that the Post by Mail feature has limitations. At the time of writing, assigning a featured image thumbnail and sending a post to a Custom Post Type aren’t possible.
Additionally, inserting images into the post via email attachment can be problematic. The image might not upload correctly, and the src URL could be filled with random strings. To resolve this, you can upload the image separately using the address format media+[uniqename]@post.wordpress.com.
Despite these issues, Post by Mail can still be very handy in certain situations.