10 Simple Photoshop Tips for Website Designers
Photoshop offers powerful tools that help turn your design ideas into reality. However, how familiar are you with Photoshop? Sometimes, it might seem like some designers can create complex designs faster than others. It’s not about clicking speed, but about knowing Photoshop’s features and capabilities.
We want you to make the most of Photoshop. That’s why we’re sharing 10 helpful Photoshop tips to speed up your design process. By the end of this article, you’ll know some tricks and shortcuts that can make your work smoother and faster.
100+ Adobe Photoshop Keyboard Shortcuts
Photoshop is an exceptional design software used by almost every designer in the world. The software has so... Read more
The shortcut keys mentioned are for Windows. If you’re on a Mac, remember: Control = Command and Alt = Option.
10. How to Easily Undo Actions
Many designers frequently use the undo function. Even when sketching, we often wish there was an ‘undo’ option!
In Photoshop, pressing Ctrl + Z undoes your last action. However, pressing it again redoes the action, which can be inconvenient if you want multiple undos.
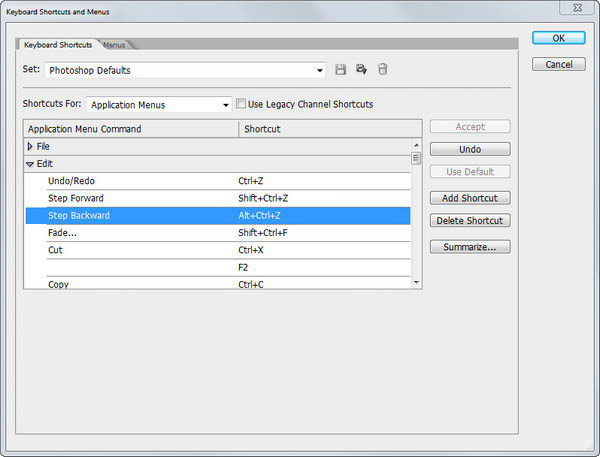
For multiple undos, use Alt + Ctrl + Z. This lets you undo several steps based on the number of History States you set under Edit > Preference > Performance.
If you prefer the more common undo shortcut of Ctrl + Z, you can change it in the Keyboard Shortcut panel. Press Ctrl + Shift + Alt + K to access it and then adjust the setting under the Edit section.
9. Easily Sample Colors from Anywhere
Ever seen a well-designed website and wanted to know the exact colors used? When I’m working on a website layout in Photoshop, I often look for color inspiration. Usually, I’d use a color picker tool, note down the hex number, then enter it in Photoshop to get the color. Sounds tedious, right?
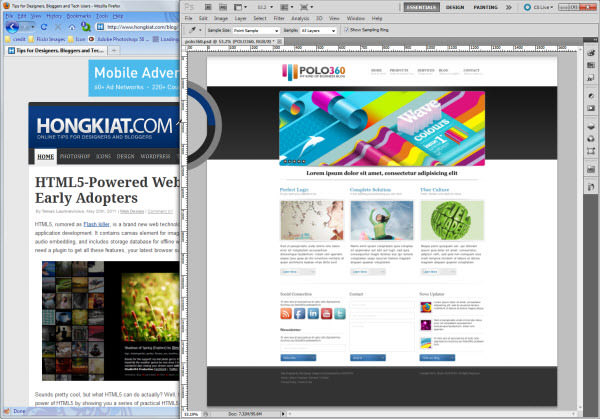
You don’t have to go through that. Simply use the Eyedropper tool by clicking on it or pressing I. Then, click anywhere on your Photoshop screen and drag the Eyedropper icon to any location on your monitor to pick the color. It’s that simple.
8. Handy Guide Tool
Tip #8 offers two useful pointers. As website designers, we often use guides to position elements perfectly.
Usually, to create a guide, you’d go to View, then New Guide, choose its orientation, set its position, and hit Enter. But there’s a shortcut: Press Ctrl + R to activate the Ruler tool. Click on it and drag down for a horizontal guide, or drag sideways for a vertical one.
Here’s another tip: When moving a guide with the Move tool (activated by pressing V), hold Alt to switch between horizontal and vertical guides. With these tips, you’ll master the guide tool in no time.
7. Duplicate Layer Styles with Ease
Layer styles can give unique looks to elements, like making a social media icon stand out. But applying the same style to multiple icons can be time-consuming.
Did you notice the fx icon next to your layer? It’s not just decorative. If you press Alt and drag the fx icon to another layer, it copies the styles from the original layer. Pretty handy, right?
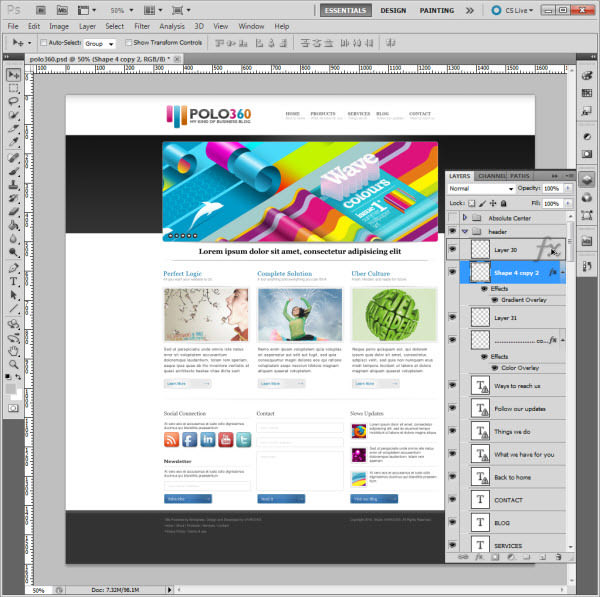
Additionally, if you drag the fx icon to another layer without pressing Alt, it moves the layer’s styles, rather than copying them.
6. Simplifying Element Centering
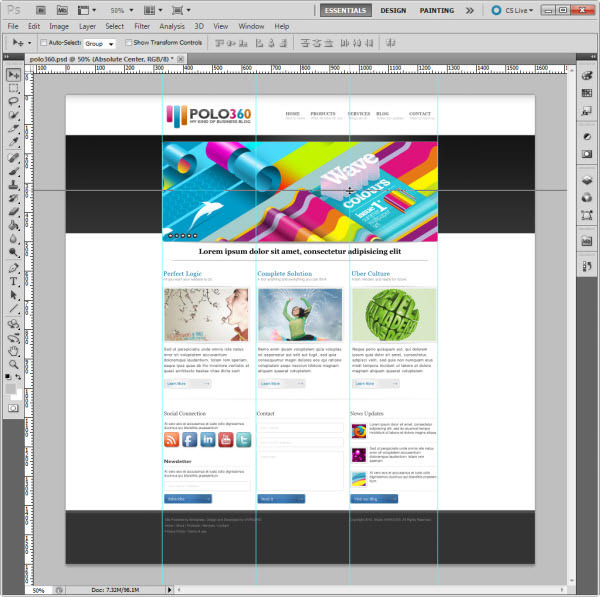
For a pixel-perfect design, elements often need to be positioned with precision. While using guides can help, centering an element within a specific area can be cumbersome, needing multiple guides, measurements, and focus.
However, there’s a more straightforward approach: Click on the layer of the element you wish to center, then press Ctrl + A to select the entire document. Activate the Move tool and look for icons beside the option “Show Transform Controls”. Click the 2nd icon to vertically center, and the 5th to horizontally center. Just like that, your element is perfectly centered.
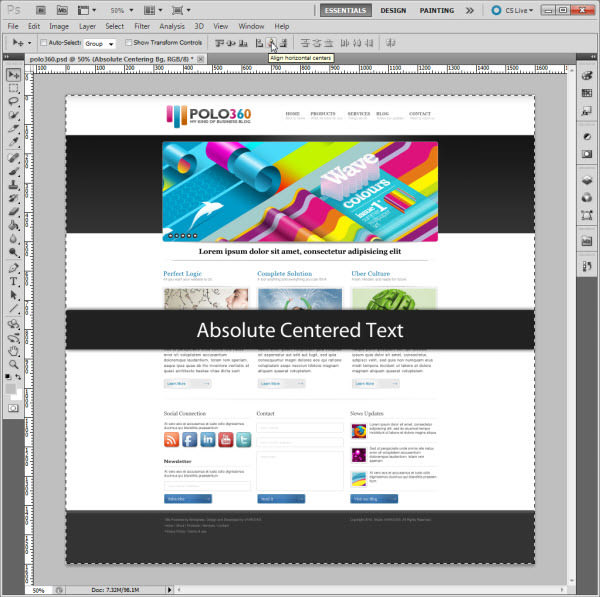
Furthermore, you can center elements within specific areas, like a footer. Use the Selection tool (activate with M) to select the area, and then center the element within that section.
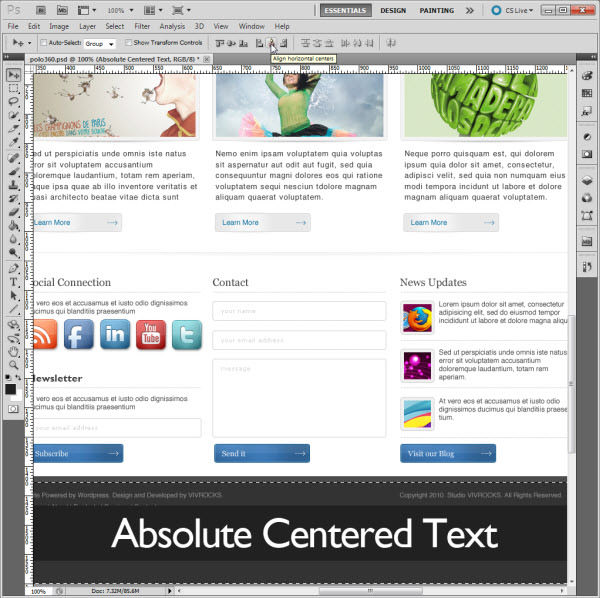
Explore other alignment options beside “Show Transform Controls”. They offer valuable assistance in various alignment scenarios.
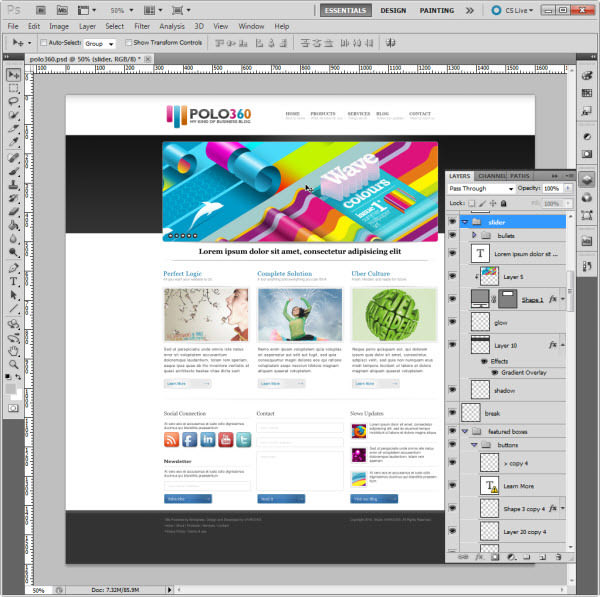
5. Isolating Elements for a Clearer View
When designing, you might want to view certain elements in isolation, ensuring they appear as expected. For instance, if you want to check the transparency of slider buttons, ensuring they look consistent with or without the slider’s image.

Instead of toggling layer visibility individually, hold Alt and click on the ‘eye’ icon next to the button group. This hides all other layers, allowing you to focus solely on those buttons. Repeat the action to restore layer visibility. This method is especially useful when slicing images, letting you work on specific elements without distractions.
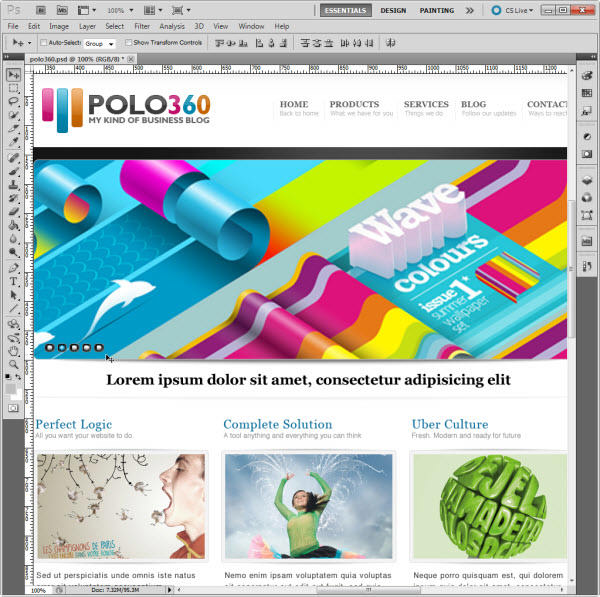
4. Tailoring Font Tracking for Unique Typography
Adjusting font tracking (the space between characters) can enhance typography in specific cases, such as logos or buttons, making them more memorable.
For instance, to adjust the tracking of ‘360’ in ‘POLO360’, use the Type tool (activate with T). Then, hold Alt and press < to reduce tracking, creating a unique type appearance. This trick is invaluable when working with artistic fonts, ensuring optimal typography without extensive font searches.
3. Quick Layer Selection
Designing layouts involves juggling typography, spacing, and graphics. The challenge grows when trying to find a specific element’s layer among hundreds.
Make this task easier: Activate the Move tool with V, hold Ctrl, and click the element. This selects the element’s layer directly. Remember, if the element is part of a group, this method selects the group folder instead.
2. Harnessing the Power of Smart Objects
Smart Objects enhance editing by offering two main functions: nondestructive transformations and nondestructive filtering. They’re especially useful for layouts with heavy graphics. Right-click a layer and choose ‘Convert to Smart Object’ to access these benefits.
Once converted, you can transform the object without quality loss. For example, after downsizing an image slider and deciding it’s too small:
You might revert to the original size:

However, without using Smart Objects, quality is compromised:
Clearly, Smart Objects maintain quality during transformations. Also, filters applied to Smart Objects are easily toggled on or off, further enhancing flexibility.
1. Embracing the Beauty of Snapshots
Having learned multiple productivity-boosting techniques, consider a scenario where, after hours of work, you wish to revert to a midpoint. Redoing everything is daunting, but Snapshots offer a solution.
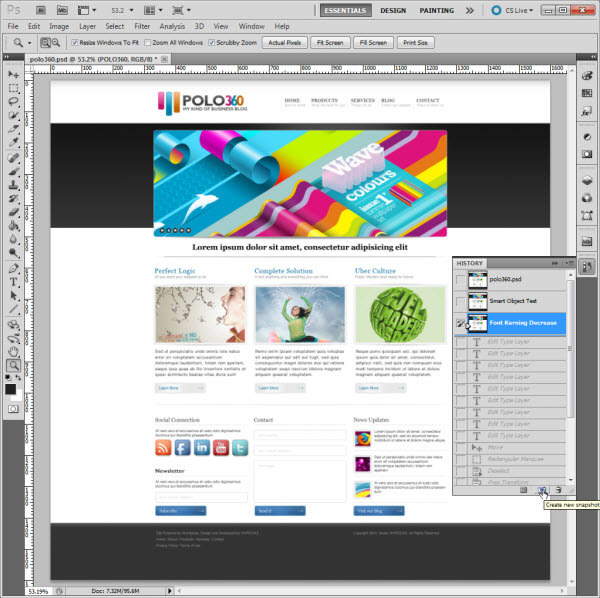
Snapshots capture temporary copies of editing stages. If you wish to revert, select the desired snapshot. Access Snapshots through the History palette and use the second icon at the bottom. Multiple snapshots can be taken and named for clarity, allowing easy comparison of different design effects.
Remember, snapshots disappear when the document closes. To preserve them, save each as a separate file.