Setting Up Cloudflare CDN in WordPress
Content Delivery Network or CDN is a geographically dispersed group of servers that enables serving content, such as the HTML pages, JavaScript files, stylesheets, and images, from the closest location allowing your users to see the content as fast as possible.
However, setting up a CDN can be a bit complicated especially when you’re setting up a traditional CDN. You will need a new domain, typically a subdomain. Add the domain to the CDN configuration. If you’d like to load the CDN from HTTPS, you will also need to install the SSL certificate for the domain which can be a challenge of its own.
You’ll also need to change the URLs for existing static content on your site. The process can take days or weeks depending on the size of your site.
This is where Cloudflare comes in.
What is Cloudflare?
Cloudflare is a web infrastructure provider with over 100 data centers in 80 countries. It works similar to a proxy in which it will deliver your website through their network which includes the static files so, essentially, it also works as a CDN.
On top of that, Cloudflare is also a DNS provider which is among the fastest. It also provides free SSL, some security features like Firewall and DDoS protection that’ll protect your website from some common security threats, and other unique services to optimize your website performance like Edge computing, and Automatic Platform Optimization (APO).
Let’s see how we can set up a CDN on top of your website with Cloudflare.
Setting up Cloudflare
Here’s a walkthrough of how to set up Cloudflare on your WordPress website.
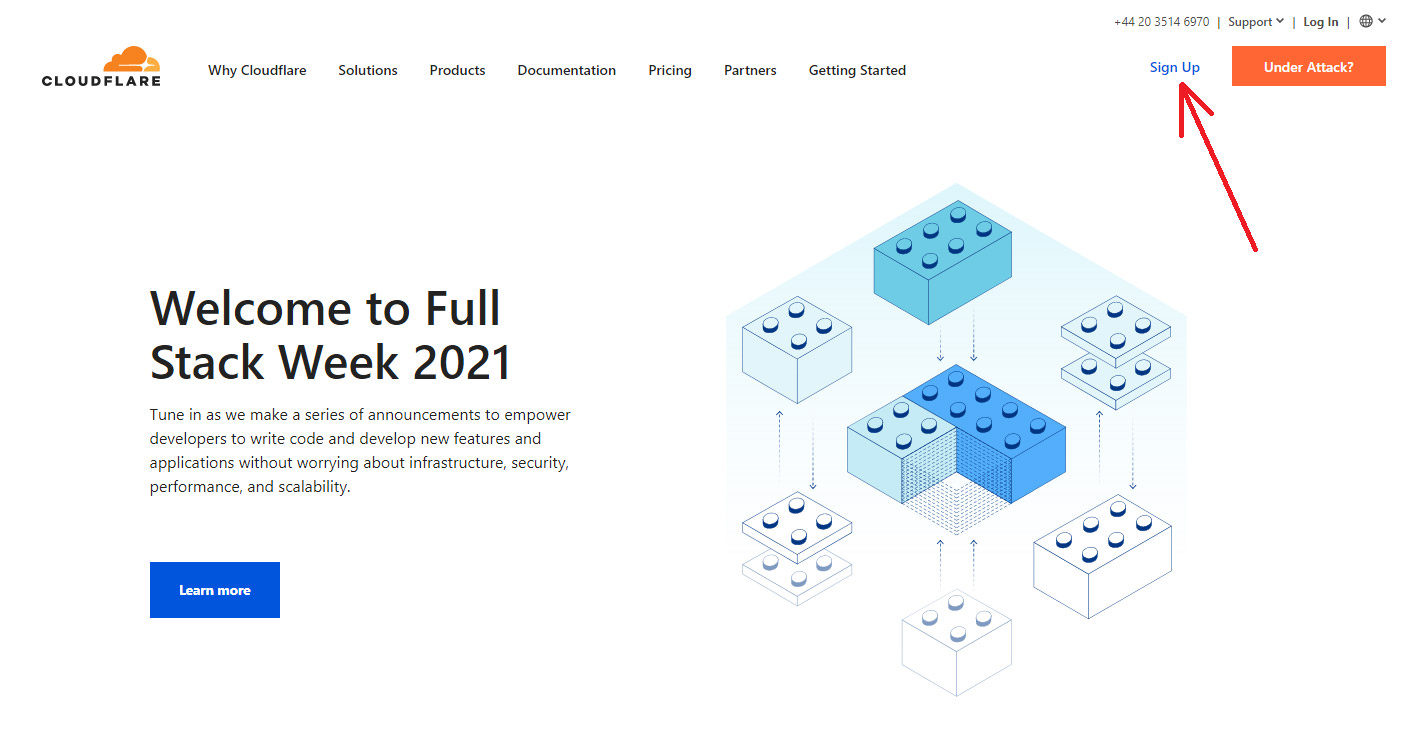
- Go to cloudflare.com and create a new account.
- You will be automatically logged in after signing up. If you aren’t, manually log in, and then click “Website” on the left sidebar. Click “Add Site”, enter your domain, and click “Add Site” again.
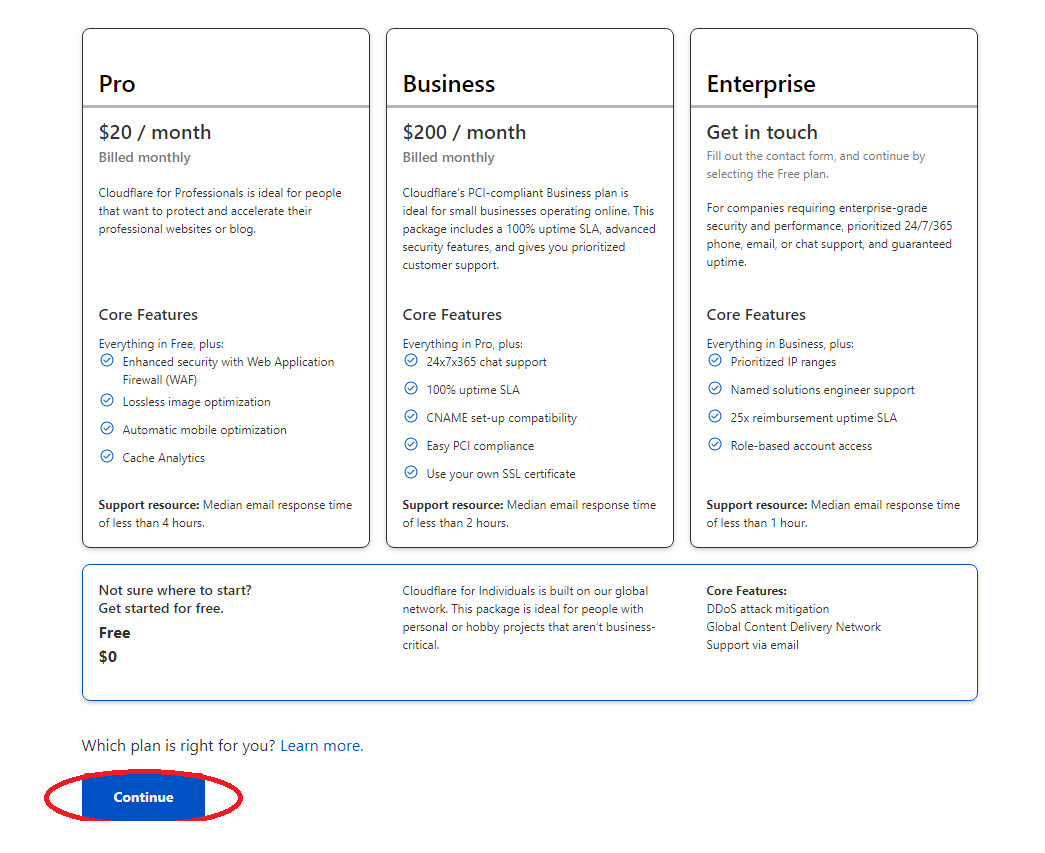
- Select a plan from the options available as per your requirements and click “Continue”. If you don’t know which to choose, start with the free plan first.
- Confirm or change DNS records in Cloudflare. Depending on your site settings, you can check the MX records for emails (if any) as Cloudflare does not forward MX records over its network. Also see if the subdomains you use are included or excluded from Cloudflare, whichever you want.
- When all records are added and confirmed, click “Continue”.
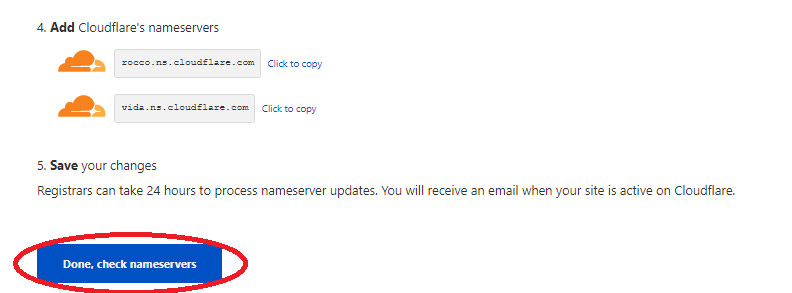
- Finally, you will need to point your domain’s current nameserver to Cloudflares’. Follow the on-screen instructions on how to do this. Click “Done, check nameservers” when you have updated and your DNS has properly propagated.


Connecting WordPress to Cloudflare
Cloudflare also has a free WordPress plugin. It’s an official plugin so you can be sure that it would work out of the box and be well-maintained directly by the developers from Cloudflare.
It makes it easy to integrate WordPress with Cloudflare infrastructure. Once you have it connected with your site, you can operate Cloudflare such as viewing the analytics and changing the settings right without having to leave your WordPress admin page.
Here’s how to add, and connect Cloudflare plugin to your WordPress website.
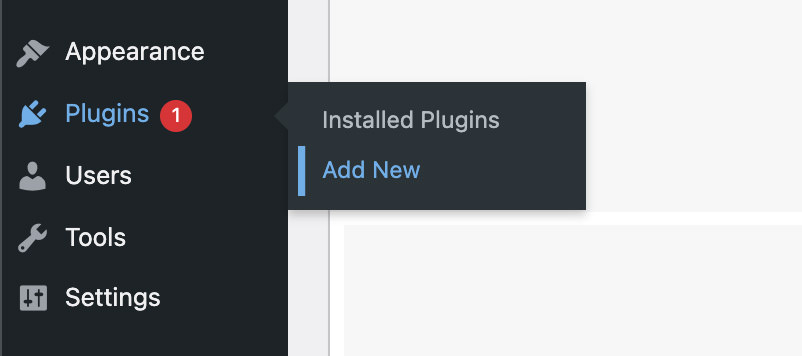
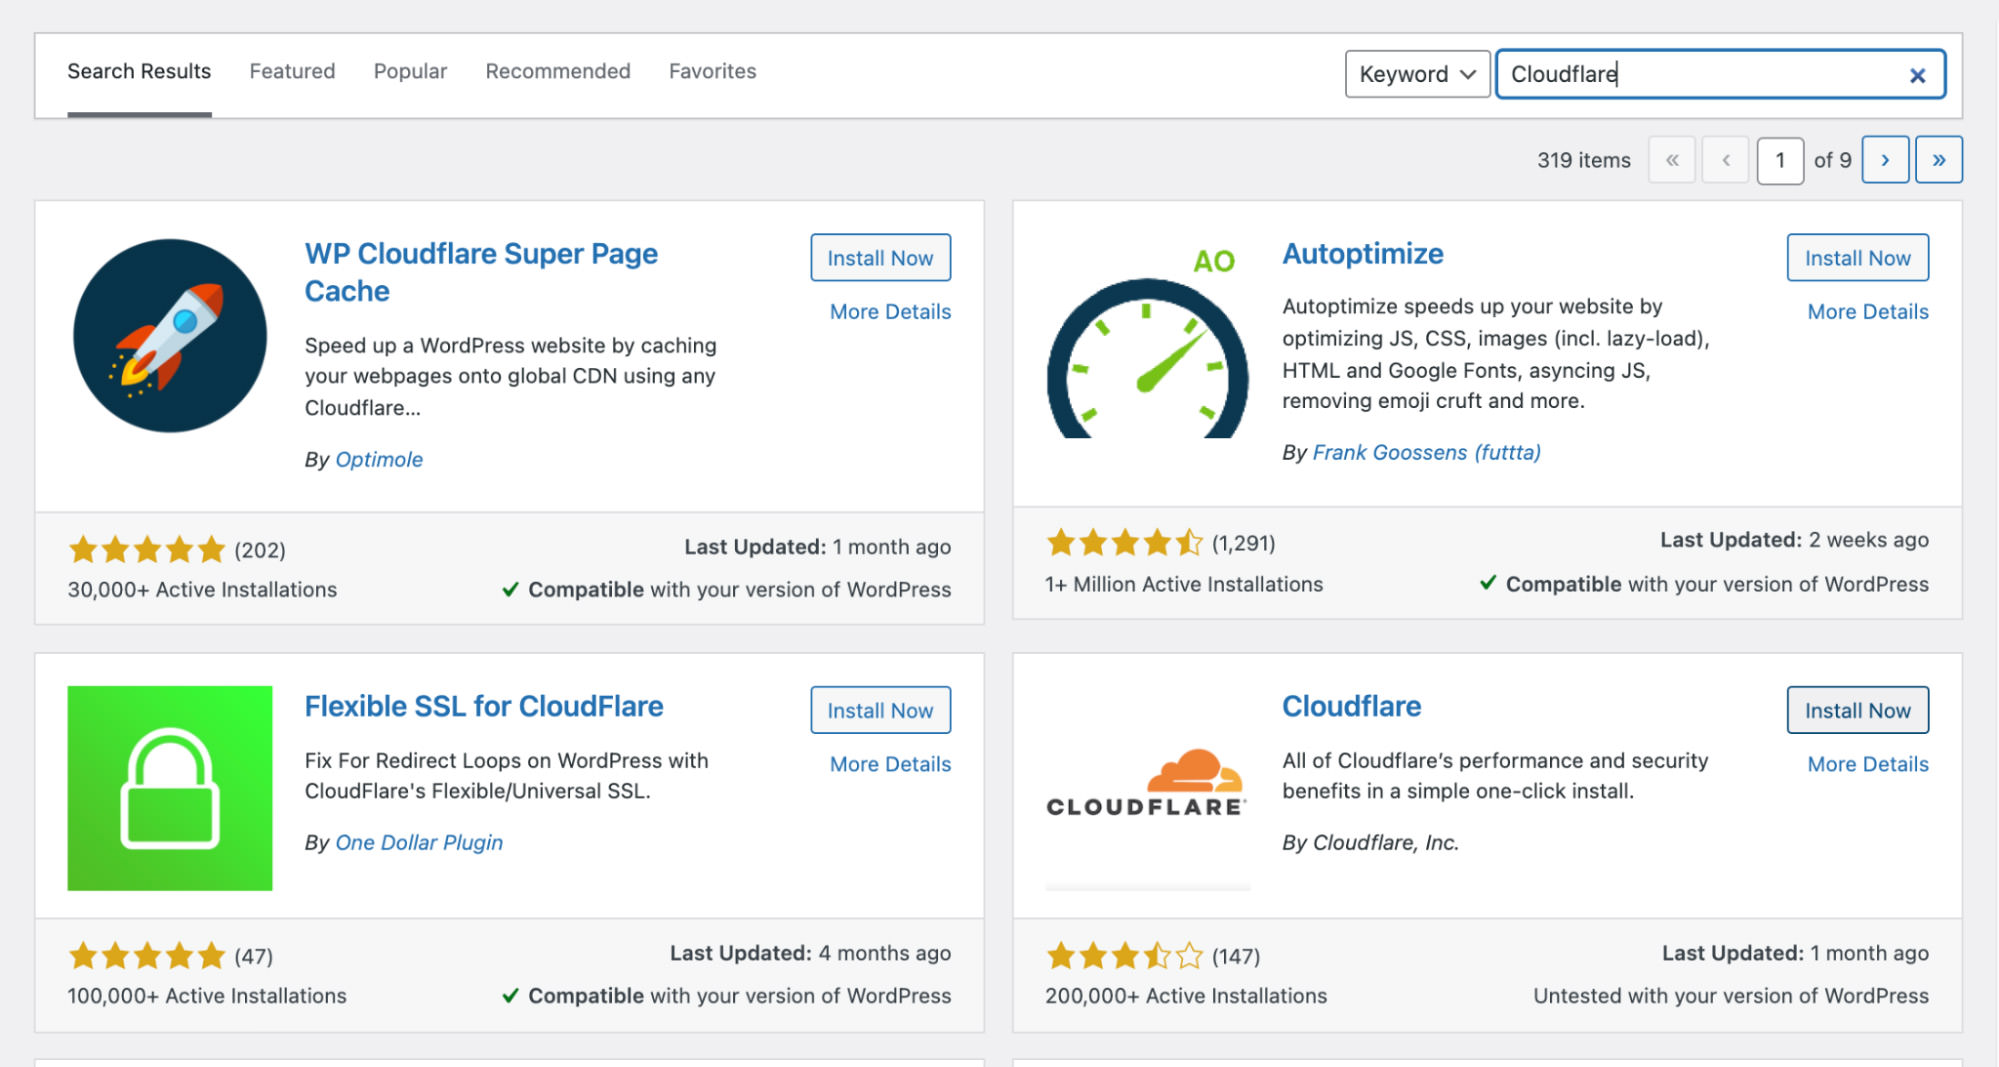
- In your WordPress admin, navigate to Plugins > Add New.
- Enter “Cloudflare” in the search, hit enter, and click “Install Now” in the Cloudflare plugin.
- After the Cloudflare plug-in is installed, on the sidebar, navigate go to Settings > Cloudflare, and click on the green button to connect your account.
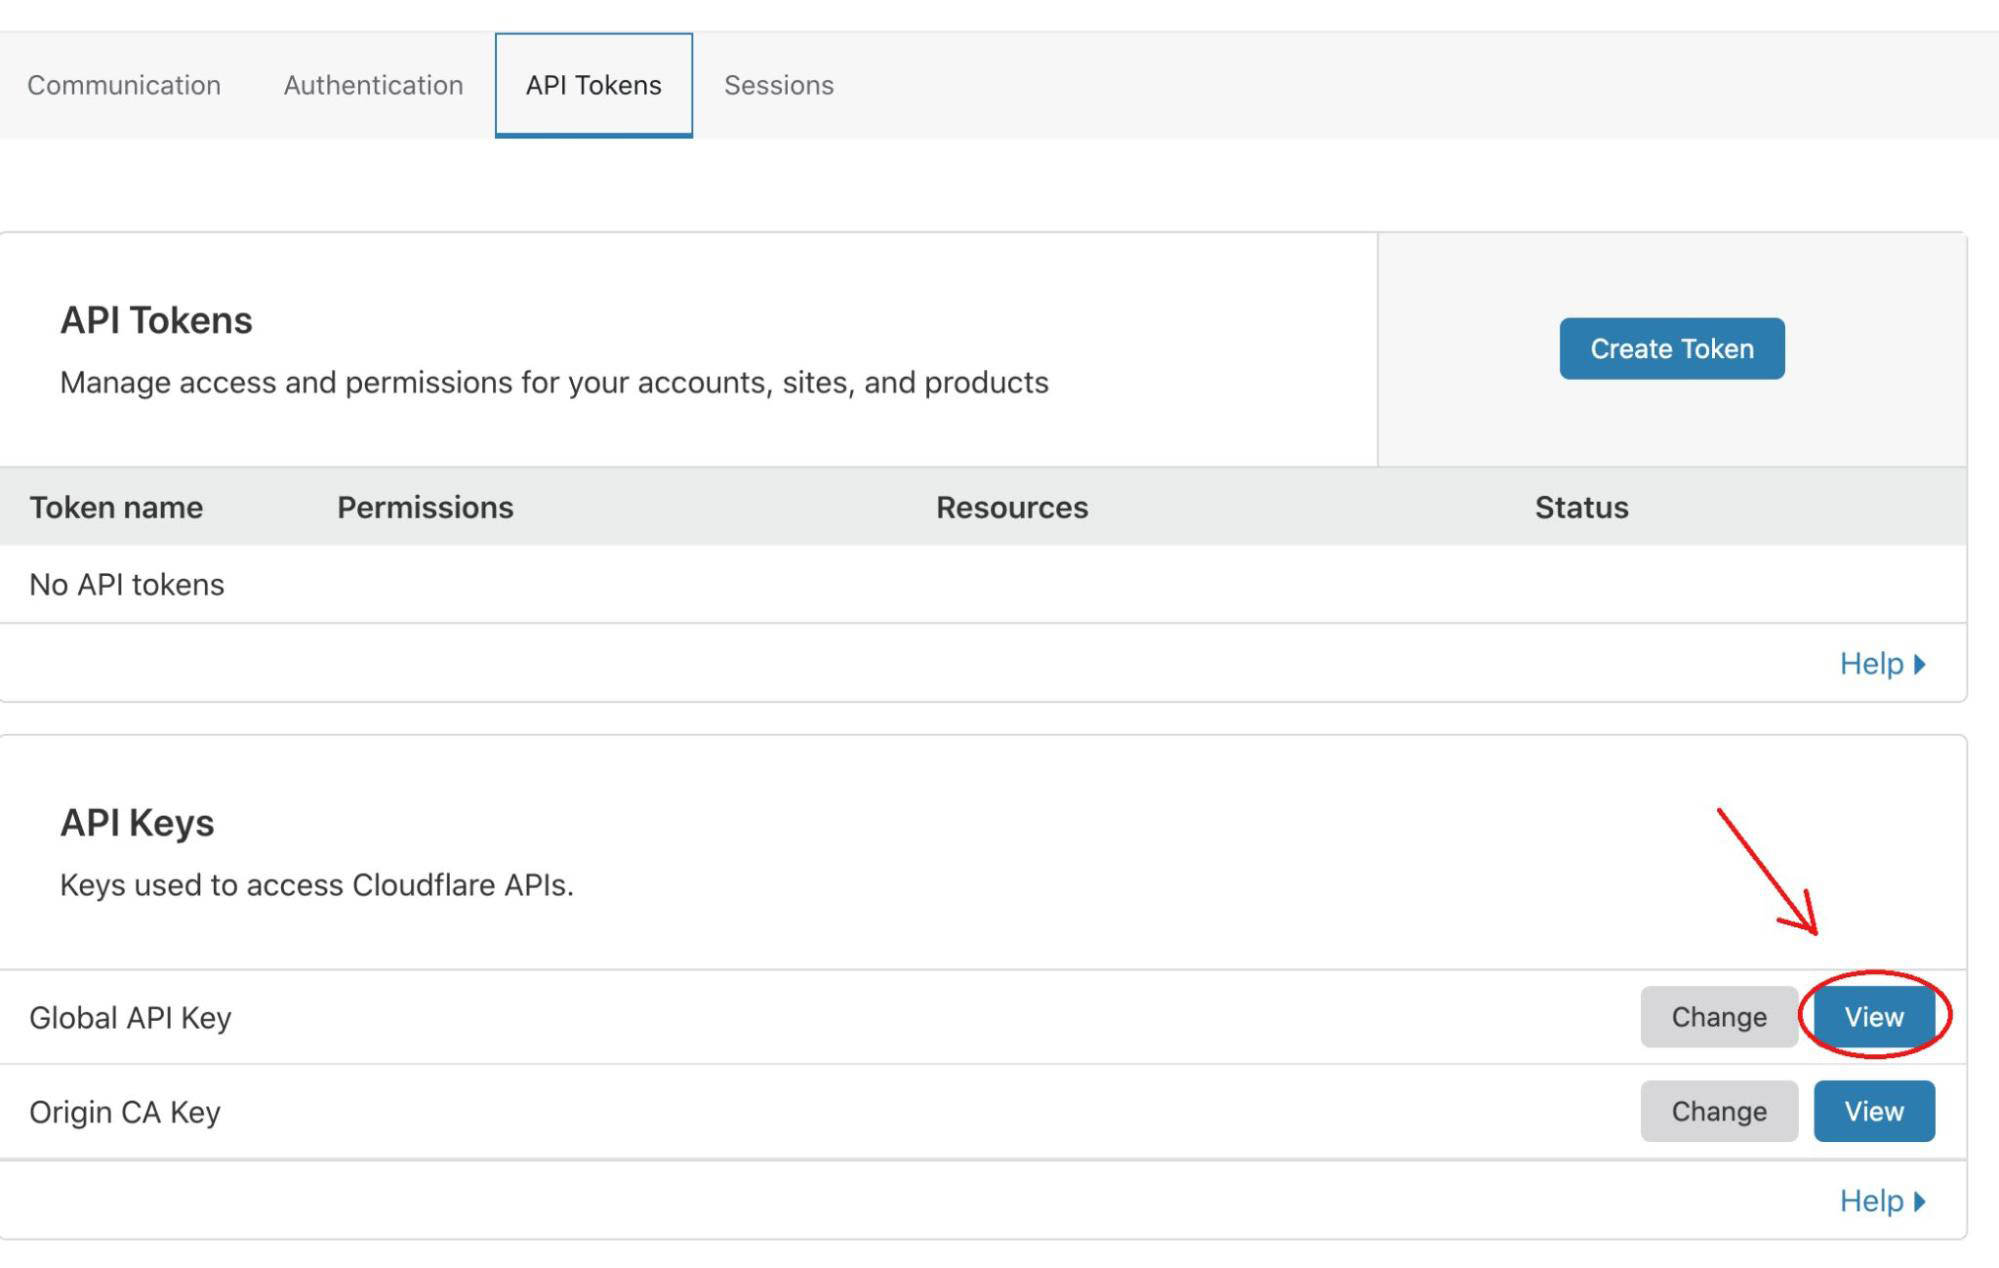
- To get the API Key, click the user icon on the top right, click on My Profile, and then click “API Tokens” on the left sidebar.
- Click the “View” button beside the Global API Key, enter the password, copy the API key, and paste it into the plugin settings in WordPress.
- On the next screen, enter your email and API key and then click “Save API Credentials”.
- Back on the Cloudflare homepage in your WordPress, click the Apply button to allow the Cloudflare plugin to optimize all required settings for you automatically.


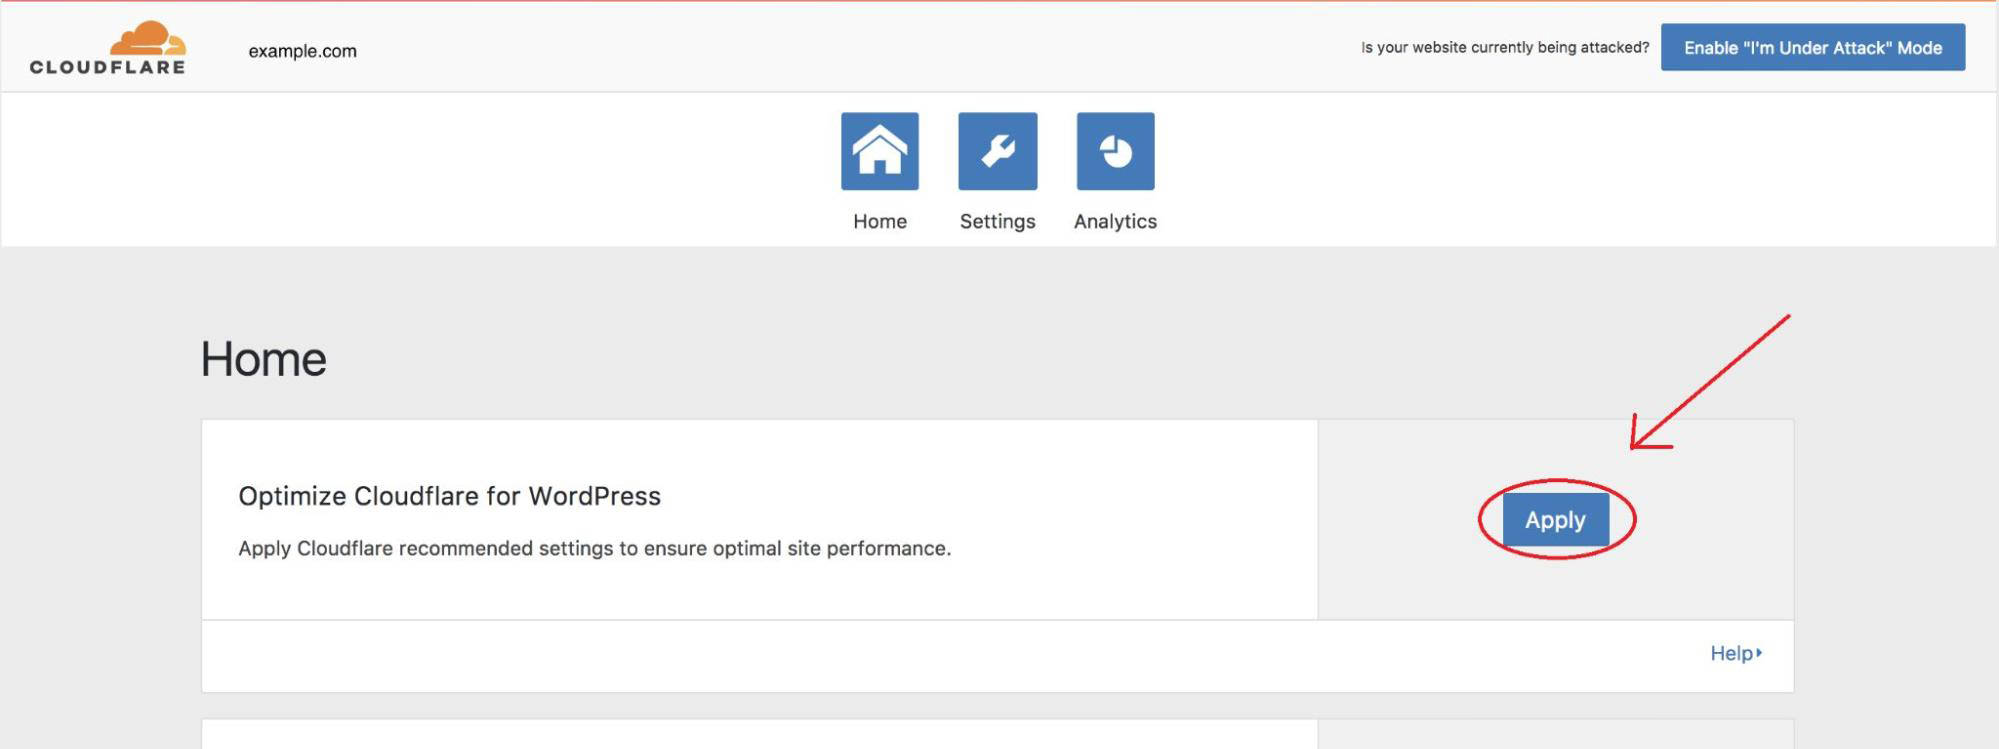
That’s it, your Cloudflare WordPress plugin is all set up.