7 Essential Google Slides Tips Every Teacher Should Know
Like other sectors, the education sector has witnessed a massive shift in the last few years, and this evolution is likely to continue in the upcoming years. Technological advancements have revolutionized teaching techniques, making it imperative for teachers to learn them to provide immersive learning experiences to students. One such powerful and feature-rich tool for education is Google Slides.
Easy collaboration, dynamic animation effects, offline editing, a library of pre-designed and customizable templates, and other user-friendly features and capabilities of Google Slides make it the most popular choice among teachers. Teachers can use this platform for multiple purposes, like creating digital portfolios of students, formative assessments, collaborative projects, etc. In a nutshell, with Google Slides, you can explore a world of opportunities to make learning effective and fun.
In this article, we have provided a few Google Slides tips to help teachers keep online and in-classroom students engaged.
1. Use Available Themes to Make Your Presentations More Engaging
Google Slides has a wide range of pre-designed themes that you can use to create educational presentations without investing much time.
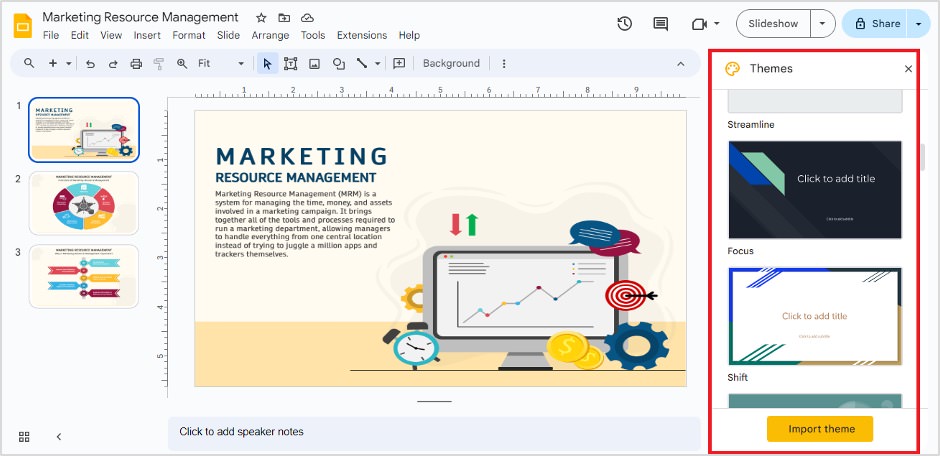
You can also import aesthetically designed free Google Slides themes downloaded from online sources or created by you. To do this, click on the Import theme (the yellow-colored tab). It will open the following window.

Here, choose the theme you want to import and click ‘Insert‘.
2. Enhance Collaboration by Sharing the Slides
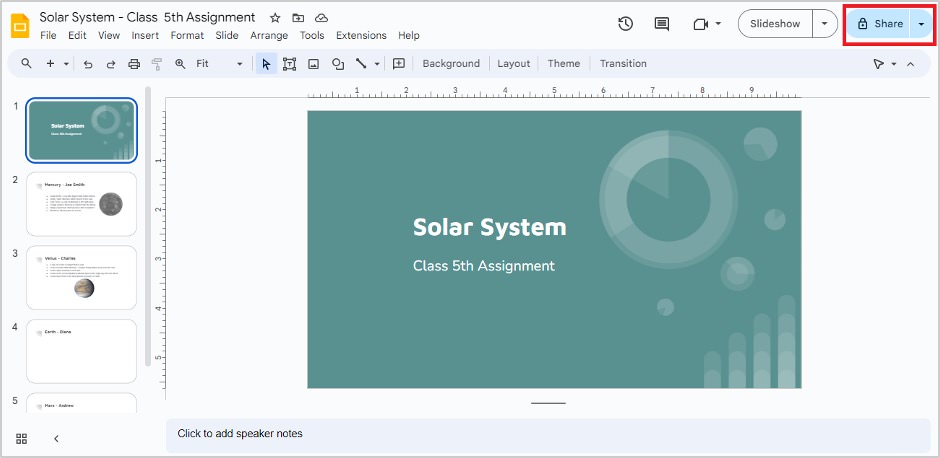
Google Slides enables you to facilitate student collaboration. You can either share the entire presentation or specific slides with students.
To share the entire presentation/slide, click on Share located in the screen’s top right corner.
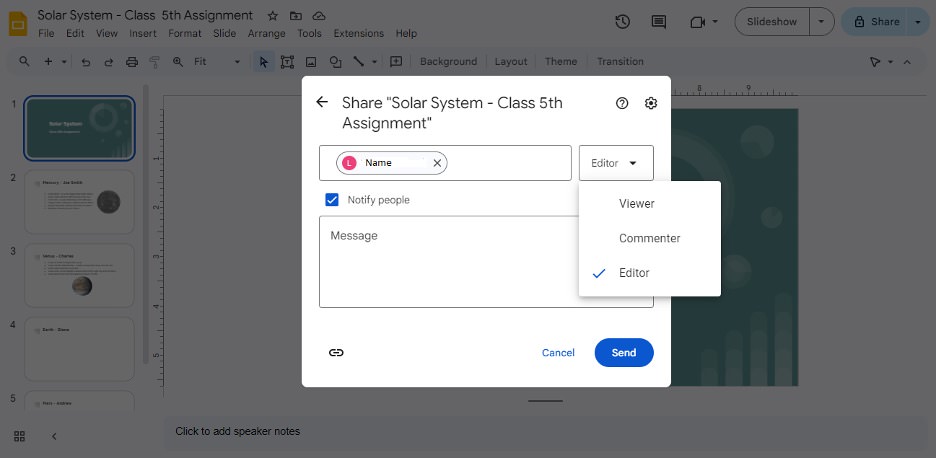
If the presentation is intended for a specific student or group of students, you can add their name or email address here. You can also assign roles, such as Viewer, Commenter, or Editor.

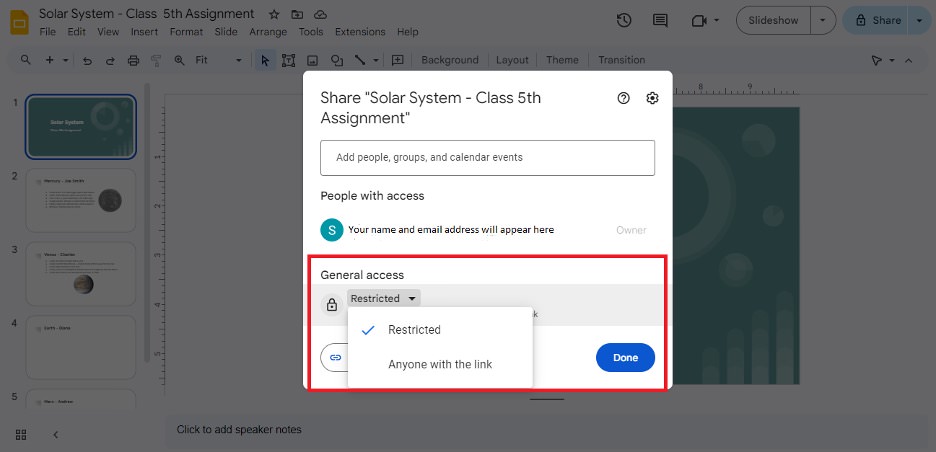
Google Slides also allows you to keep access restricted or public. If you set General Access to restricted, only people with access can open the link; otherwise, anyone with the link can open it.
3. Use Grid View to See Student Activities in Real Time
You can check the activities or progress of all students on a specific assignment in real time through Grid View.
Google Slides opens the Filmstrip view by default, which shows one slide (on which you are working) in the main window at a time and other slides on the screen’s left side. You can choose the Grid view by clicking either the ‘View‘ menu or the icon on the screen’s lower-left corner.

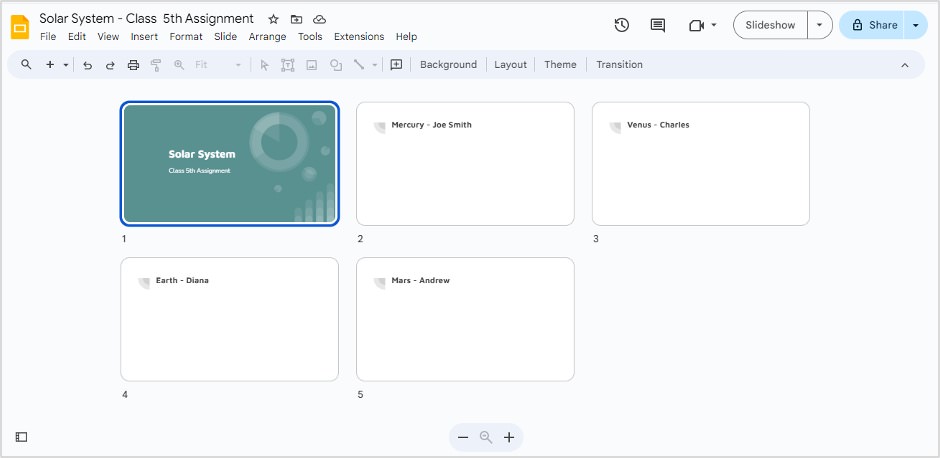
The Grid view appears this way, giving you a glance at all the slides.
4. Add Sound
If you want to add instructions or guidelines for students in your own voice, Google Slides will let you do this with ease. This Google Slides feature is very useful in storytelling.
Adding sound, music, or narration can make your presentations more informative and exciting, thereby keeping the students intrigued.
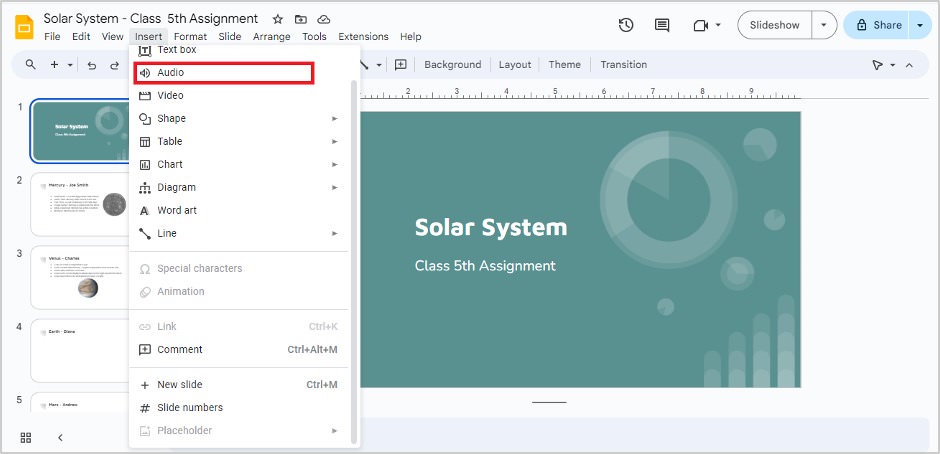
You can insert audio saved on your Google Drive or paste the audio URL.
Go to Insert > Audio.
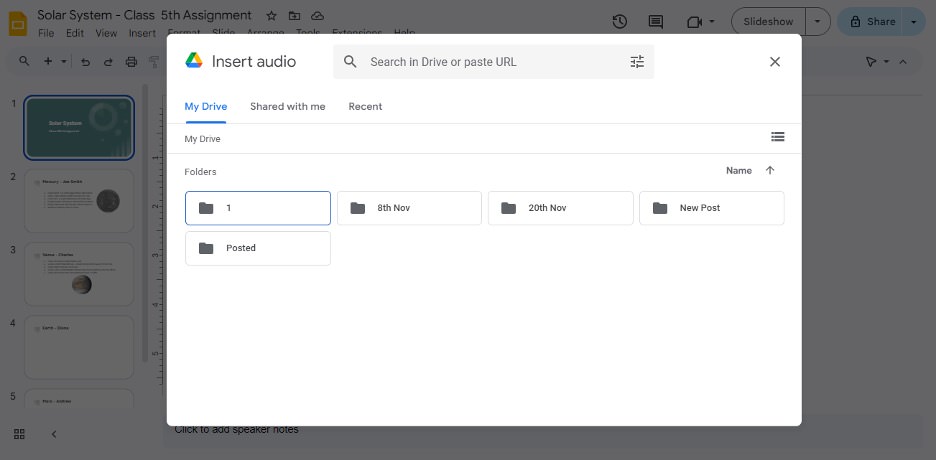
Choose the audio file that you want to insert.
5. Add Video
Add interactivity to your Google Slides presentations by inserting videos. Videos also make complex concepts easy to comprehend and retain for students. Besides, they reduce boredom and promote engagement.
Go to Insert > Video.

You can insert the video saved on Google Drive, paste the video URL, or search for a video relevant to your topic on YouTube.

6. Insert Diagram
Diagrams make learning complex concepts or topics, such as cycles, relationships, processes, hierarchies, etc., effortless for students and make your presentations more accessible.
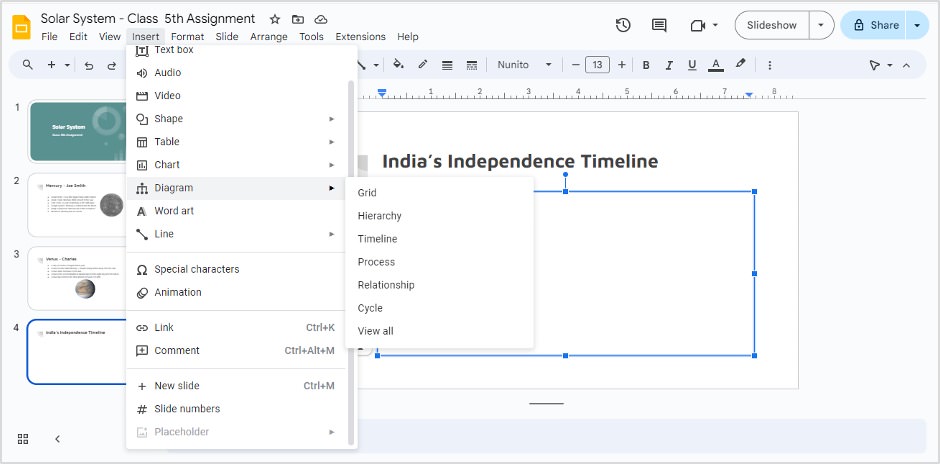
Here, we are choosing the Timeline diagram. Depending on your topic, choose the dates, color, and design of the timeline.

Replace the sample text in the diagram with your own content.
7. Print Your Presentation
After delivering your presentation, you can provide its printed handout to students for future reference.
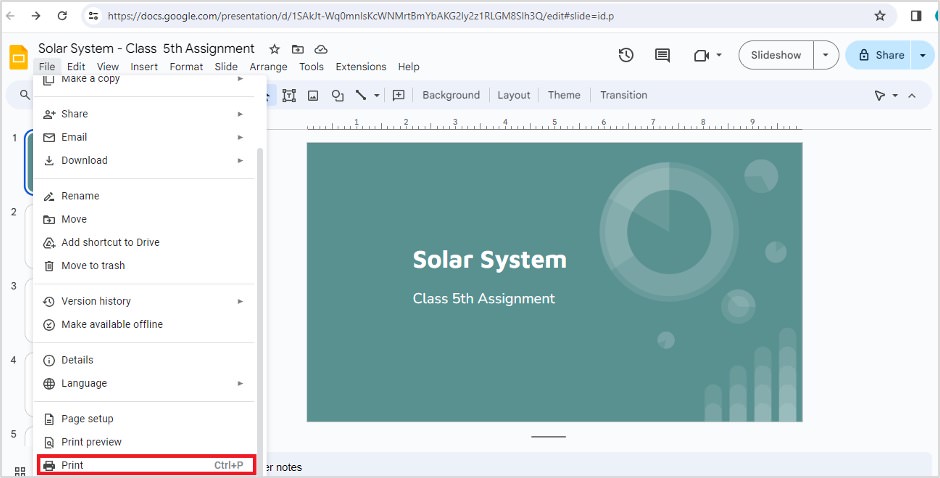
Go to File > Print.
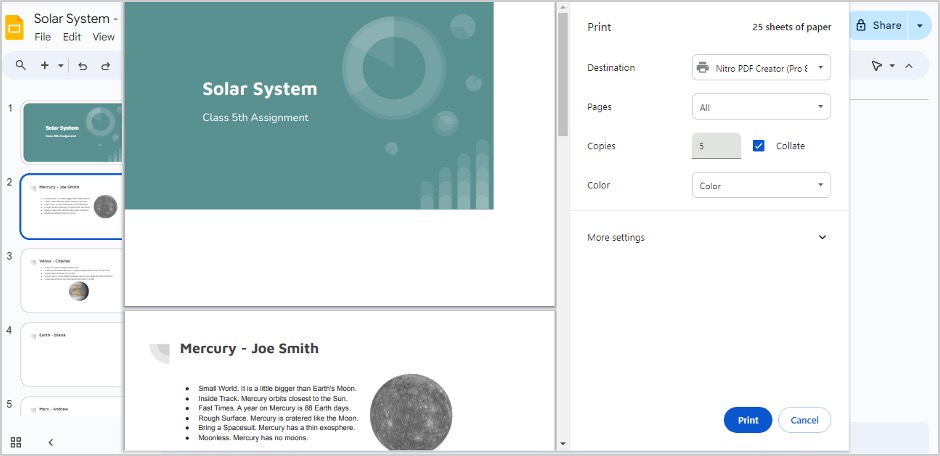
Set settings related to pages, copies, color, paper size, pages per sheet, and scale. After that, click on Print.
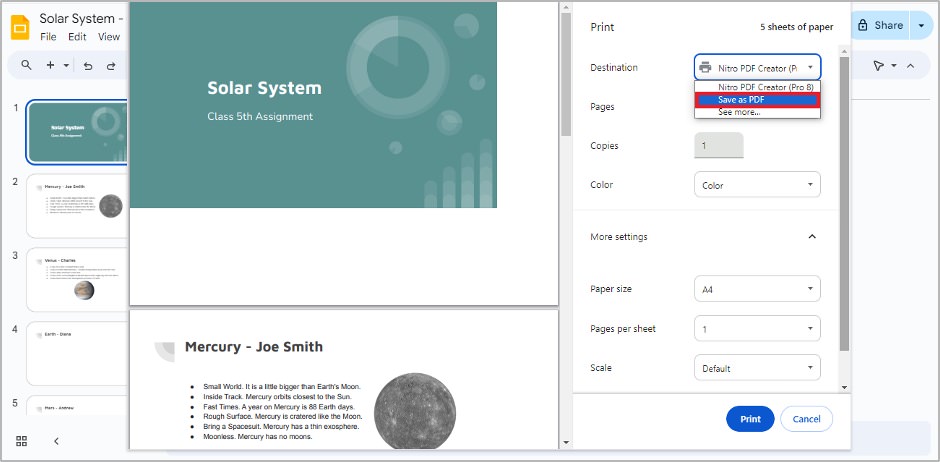
You can also save the Google Slides presentation in PDF format, which you can share with students via email. To do this, click the “Destination” dropdown menu and select the option “Save as PDF“.
Conclusion
We have covered only a few ways of using Google Slides to impart education. Teachers can also use this tool to create interactive notebooks, virtual field trips, digital posters, etc.
If you are still using the traditional way of teaching, it’s high time to learn modern ways to captivate students of today’s digital era. You can see online tutorials on How to Use Google Slides or seek expert guidance. Once you master it, you can make a huge difference in your teaching career. So, don’t stay behind!