6 Cursor AI Tips You Should Know
Cursor is a code editor designed to help you write code faster and more efficiently. It uses AI assistants that understand your code, offers smart suggestions, generates code snippets, and even helps fix bugs.
To make the most of Cursor, it’s important to use it effectively. In this article, we’ll share practical tips and tricks to boost your workflow and get the best results in this AI-powered code editor.
Ready to boost your productivity? Here are some practical ways to get the most out of Cursor.
1. Use the Cursor CLI
The cursor CLI is a command-line tool for Windows, macOS, and Linux that allows you to interact with the Cursor editor directly from your terminal. To install the CLI, you can launch the command palette with Cmd/Ctrl+P, and select the Shell Command: Install “cursor” command menu, as follows:
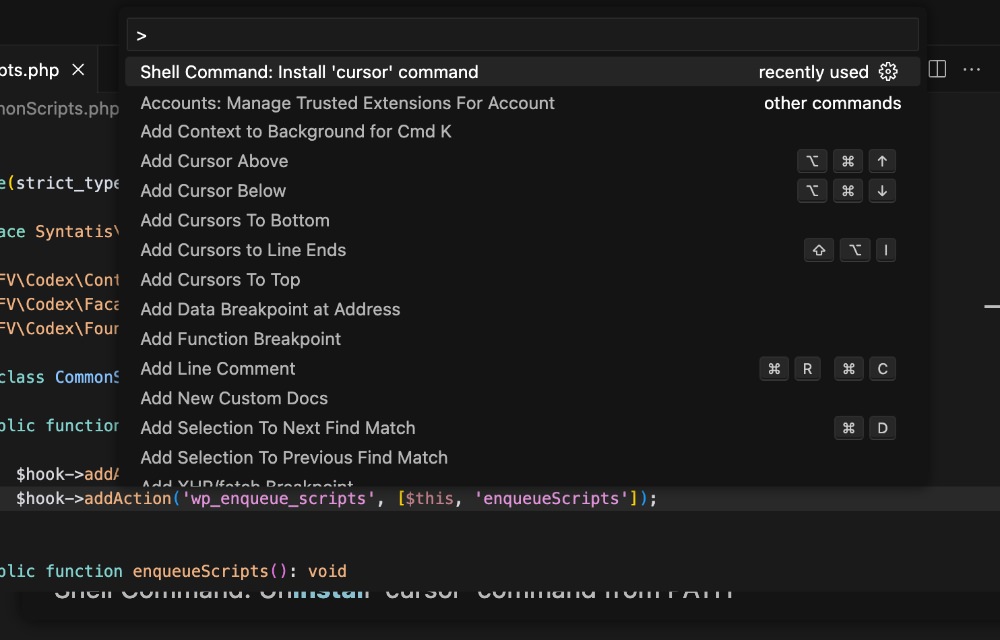
It works similarly to the code CLI for VSCode. It allows you, for example, to create, manage, and open projects in the Cursor editor without leaving the command line.
In addition to project management, the CLI also helps you handle extensions in Cursor. You can list installed extensions, update them, or uninstall ones you no longer need with simple commands.
Here are a few examples of how you can use the cursor CLI:
Open current directory in Cursor editor:
cursor .
Add folder to the last active window:
cursor --add site
List currently installed extensions:
cursor --list-extensions
Using the CLI is particularly useful especially if you frequently or prefer working in the Terminal, as it could help making your development process more efficient.
2. Use Context
The chat feature in Cursor allows you to interact with the AI assistant directly. You can ask questions, request code changes, and get suggestions that you can apply with a single click.
One important thing to remember is that Cursor works best when you provide the right context. The more relevant details you include, the better its responses will be.
A great way to do this is by tagging relevant files using @. This helps the AI understand your code better and give more precise suggestions.
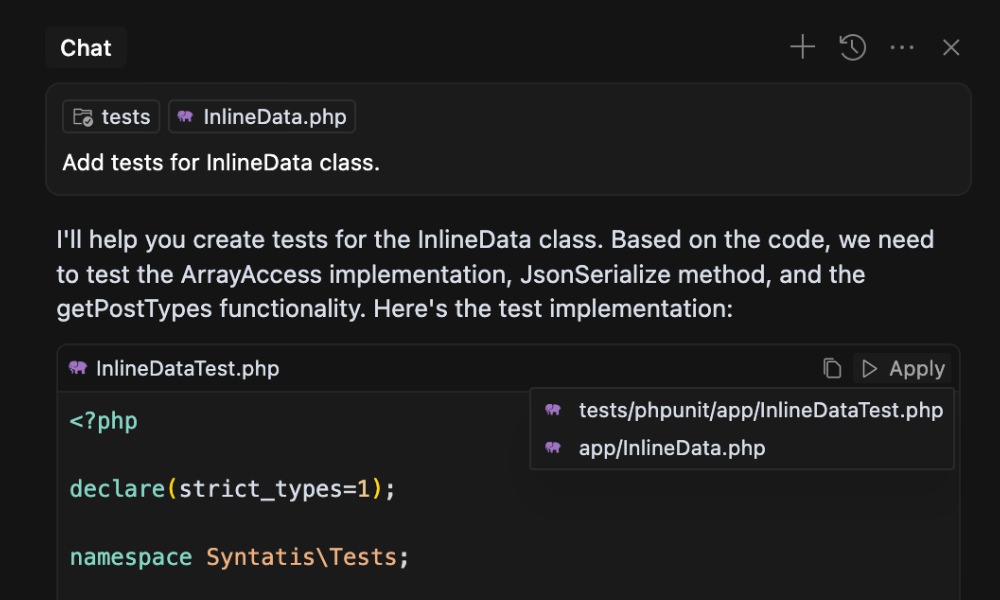
For example, if you want to create a test for a class, you can tag the file.
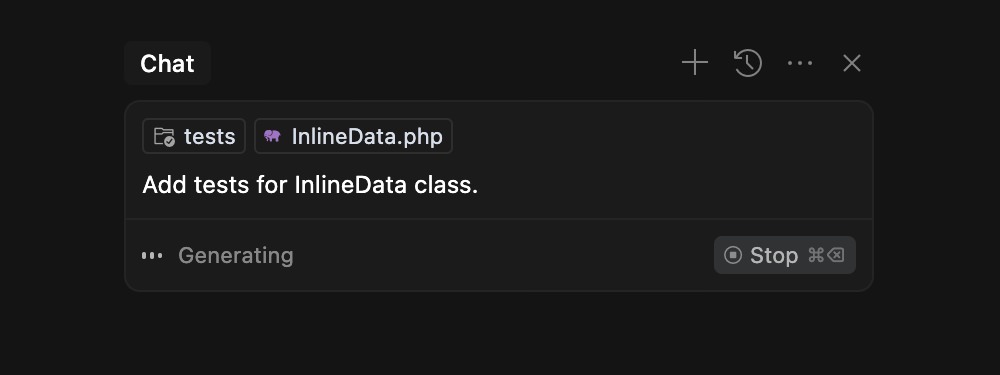
This way it can understand better what the code is about and thus can also provide more accurate responses. If you’re happy with it, you can simply click on the Apply option. It also understands where to put it in the directory, as we can see below:
3. Use Image for Context in Chat
Furthermore, one of the cool things about Cursor chat is that you’re able to include image as context. You can do so by drag-n-drop the image on the chat box.
When an image is included, it can analyze it alongside the provided text, enabling it to generate more relevant and accurate code. This is particularly useful for tasks that require visual cues, such as updating user interfaces or replicating design elements from mockups.
In this example, we will use it to generate an SVG.
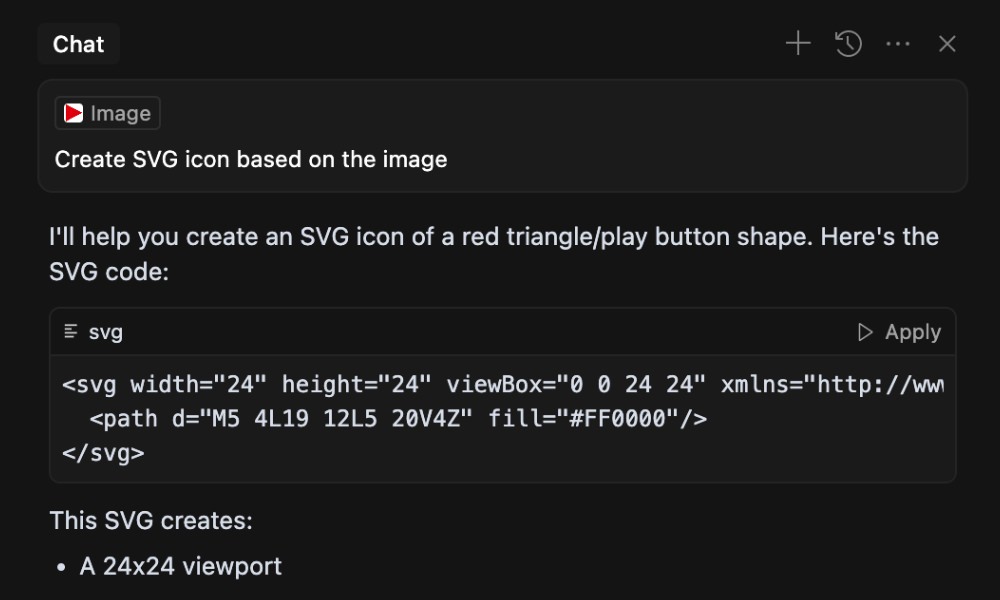
It’s pretty handy!
But it’s important to note that results may vary depending on the image’s complexity and the task. It can still struggle with finer details.
4. Use Custom Rules
Cursor also ships with a feature called Rules for AI.
This feature allows you to define rules for the AI to follow when suggesting or generating codes. You can define the format, naming conventions, best practices for your project, or apply rules for specific files.
This is super helpful if you’re working with a team and need everyone to follow the same coding rules, or if you just have a personal way of doing things. It can save you time, avoid unnecessary edits, and get suggestions that fit your workflow perfectly.
So, to set up the rules, you can go to the Settings > Cursor Settings > Rules. Click on the + Add new rule. Then, you will need to add the name, description, and optionally attach a file to the rule.

Now, it’s time to set up your rules.
If you’re just getting started, keep it simple. Don’t try to define every rule at once. Focus on the most important ones first. Then, test how the AI responds and refine your rules as needed to get the best results.
Here is an example of how we can describe the rule:
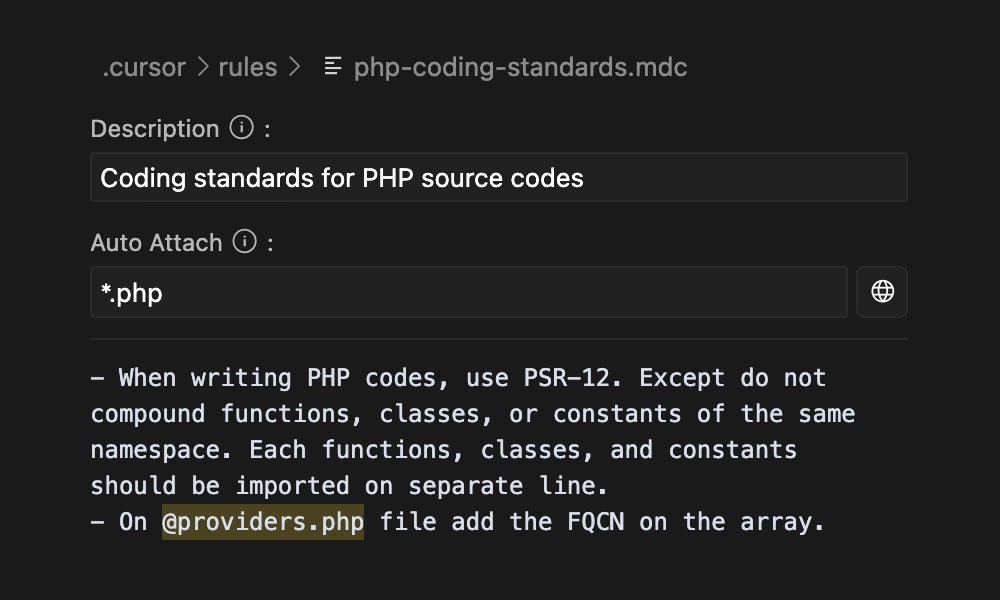
This will ensure the AI assistant would follow PSR-12 convention when generating PHP codes with few exceptions, and also apply specific rule to a one specific file.
5. Use Notepads
Another feature in Cursor that can make your workflow even more efficient is Notepads. By default, this feature might be hidden in the editor, but you can enable it by right-clicking on the Primary Sidebar on the right side and selecting Notepads from the menu.

Now, you can find Notepads in the Cursor sidebar. Create a new one with a clear name, add your content using plain text or markdown.
You can add for example the write down the project architecture decisions, recording development guidelines and best practices, and helping maintain consistency across your codebase.
If you frequently use certain code snippets, Notepads can act as a handy place to store reusable templates. It’s also great for keeping frequently referenced documentation, like API details, troubleshooting steps, or internal workflows.
Here is an example where we define the architecture decisions for the Frontend projects:

Now, you can refer your Notepads in Chat or in Composer (Agent) in Cursor, using @Notepads.

6. Documentation Integration
Cursor, like any AI assistant or tool, works best when it has the right context, such as relevant documentation, to guide its responses.
In Cursor, you can add and reference external documentation directly in the editor to give the AI assistant access to important resources.
By default, Cursor already includes a wide range of official documentation, covering frameworks like WordPress, Laravel, Vue, React, Angular, and many more. If the documentation you need isn’t available, you can easily add it by providing a URL. This is especially useful for including internal team documentation. As long as the content is publicly accessible, Cursor can fetch and use it.
To includes documentation as reference, you can type @docs in the chat box, and then you can search for the documentation you need.
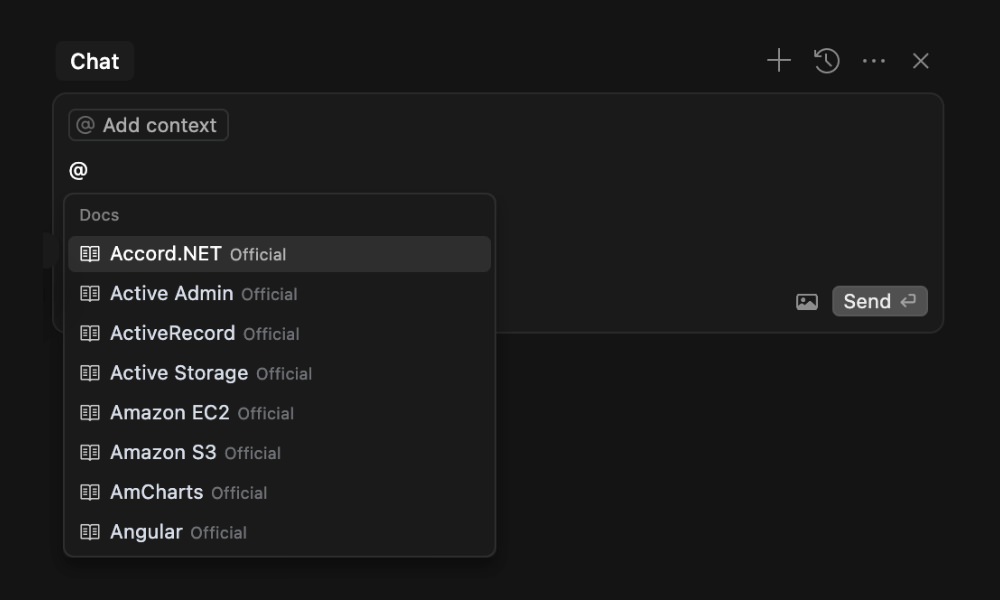
In this example, I add the reference to the WordPress official docs and ask Cursor to create a post type.
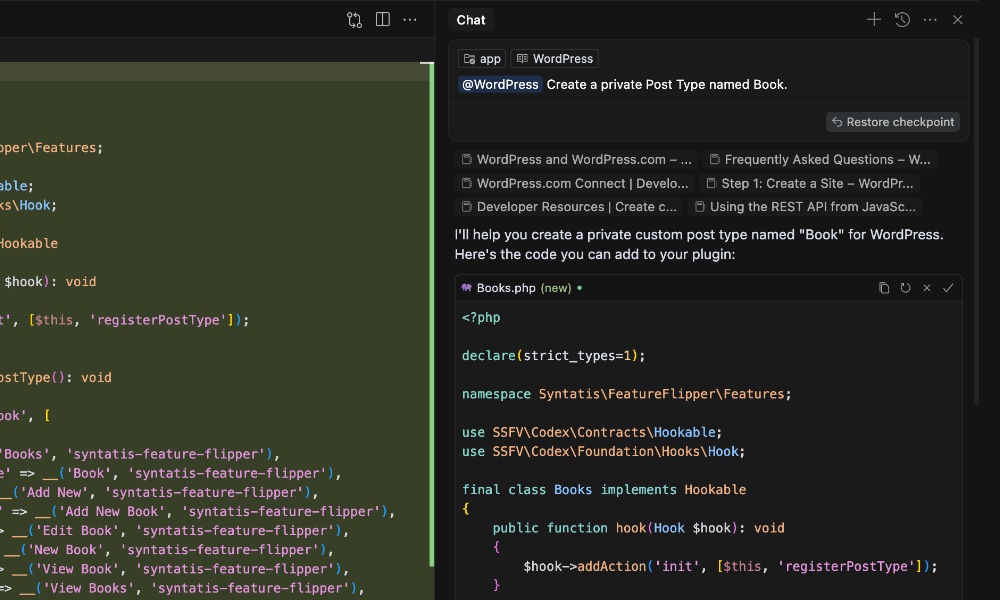
Cursor is quite smart that it defined the post type with a class with proper name, add it in proper directory, set the private option to false and add all translatable labels with the correct text domain.
Wrapping Up
Cursor is a powerful AI assistant that can help you write code faster, and improve your workflow. In this article, we’ve explored some of the tips and tricks that can help you get the most out of Cursor. Hopefully, you’ve found them useful and can apply them to your own projects.